Sunprinting on Wood

DIY Cyanotype Sunprints on Wood or Plywood
an easy project tutorial
When I created my simple flower press, I decided to try something different for decorating the top. I love sunprinting and have done several fabric projects using various sunprinting techniques. But this time I decided to do some sunprinting on the plywood of the flower press. I’m delighted with the results!
This is an interesting technique which could be used to decorate all kinds of wooden objects and surfaces.

Materials
a piece of plywood or other wood
flowers or other plant materials
Jacquard Solar Fast
Jacquard Solar Fast Wash
Disposable gloves
A sponge or paint brush
A sheet of glass larger than the piece of wood or some plastic wrap
Note: if this is your first time making solarprints, the Jacquard Printmaking Starter Kit is great! It contains three colors of Solar Fast as well as the wash, gloves, pins, and sponges. It’s reasonably-priced and has enough materials to make more than one project.


For this project, I used the Solarfast Dye in green, but it comes in several colors including the traditional blue. I have also tried using the more traditional cyanotype process on wood, but I found that the thicker SolarFast solution works MUCH better.


Creating a Botanical Sunprint
Be sure to work inside, out of the sunlight as you prepare your materials. And follow the directions for your cyanotype product. No matter what products you use, though, these same principles will apply, but the steps may vary slightly.
Note: work INSIDE until everything is prepared. Your solar print will turn out better if it is a sunny day.

Step 1: Prepare the Wood
I used standard 3/4” plywood for this project. Sand it so that it is very smooth. While I haven’t tried it, I don’t think this process would work well on wood that is stained or painted. However, once the process is complete and dry, I do think you could seal the surface as desired.
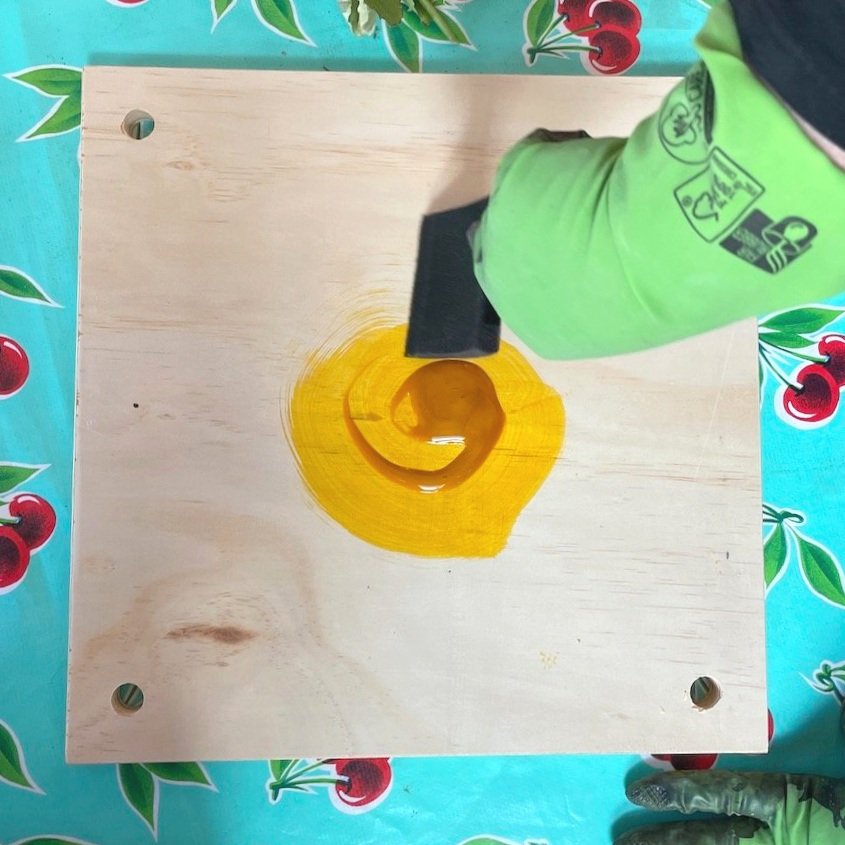
Step 2: Pour & Spread
Pour a small puddle into the middle of your wood. Using a foam paintbrush, spread the SolarFast solution across the surface of the wood.
Follow the directions for your product. Be sure to wear gloves and work with some speed.

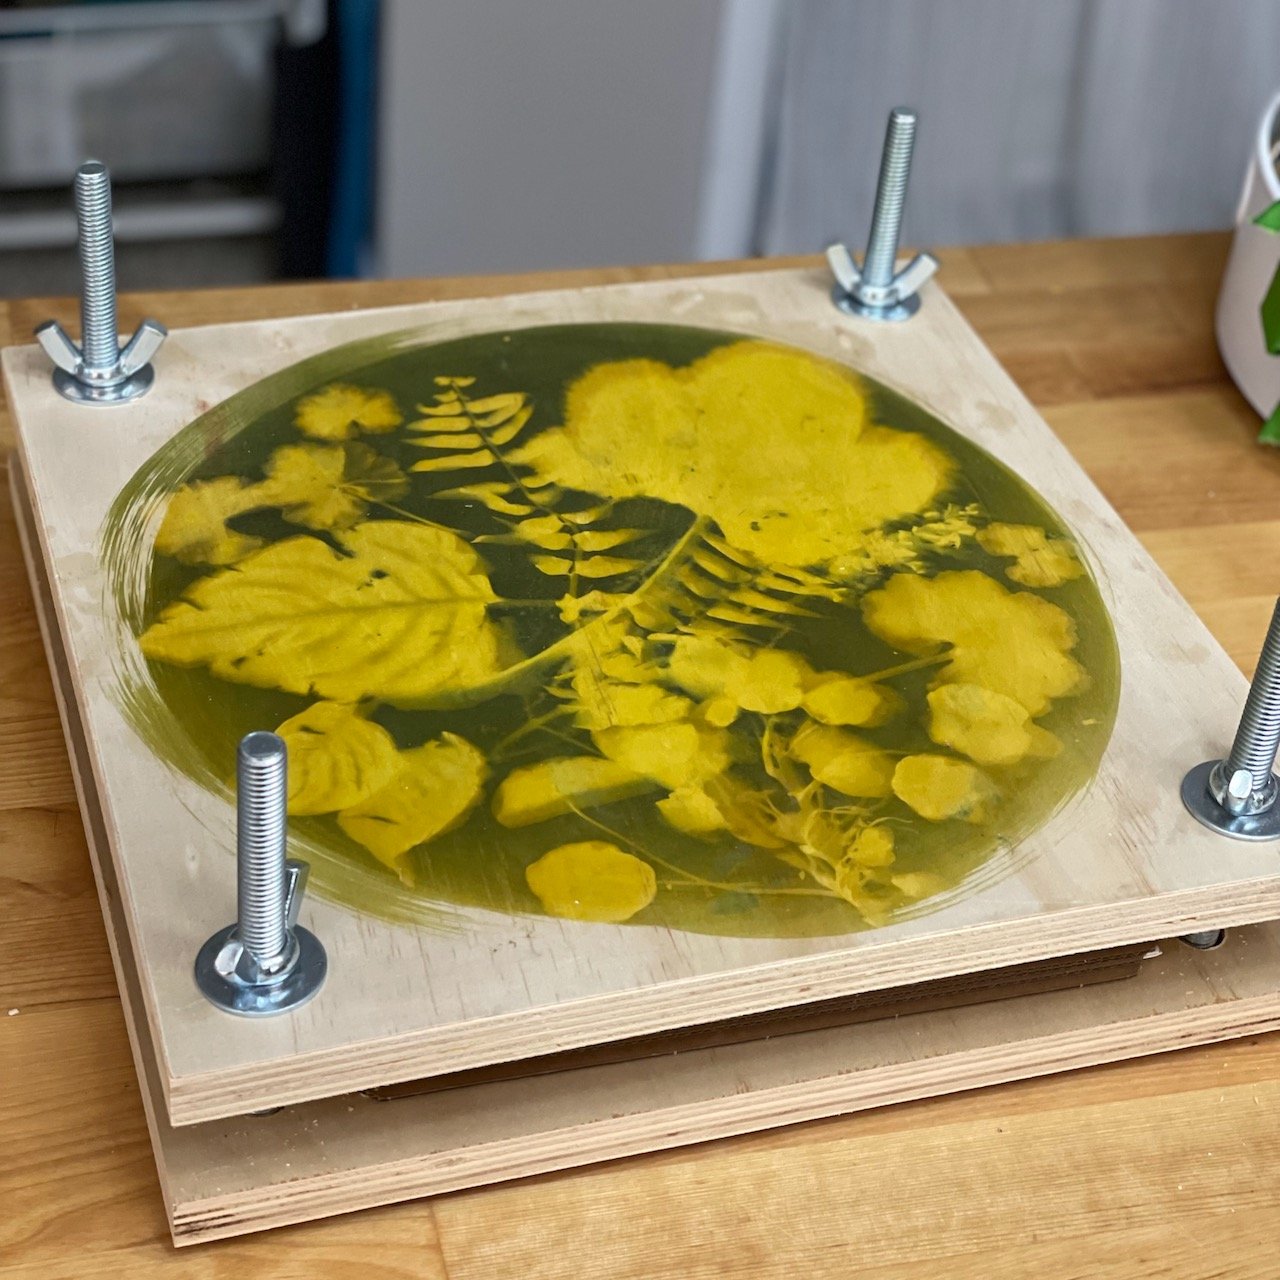
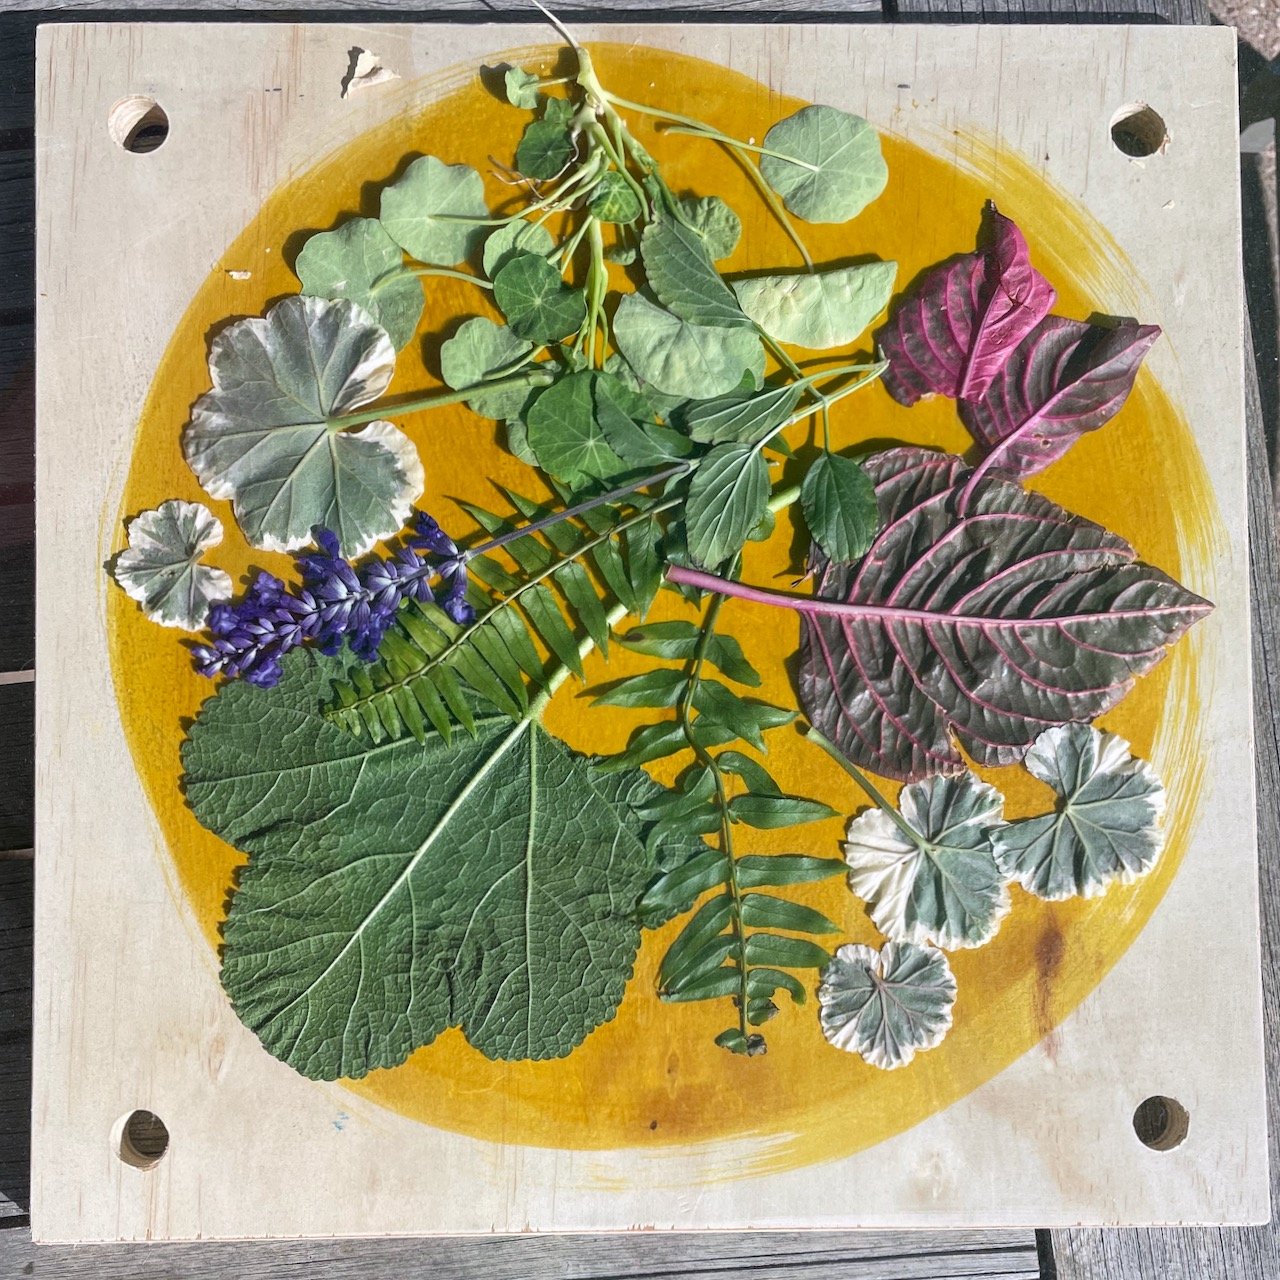
Step 3: Arrange the Plant Materials
Spend some time playing with the plants and flowers until you have a pleasing arrangement. Allow them to overlap — this is part of what makes a really interesting pattern in the finished product.

Step 4: Cover with Glass
Place the piece of glass or plastic wrap over the top of the finished arrangement. This will keep the wind from blowing the flowers and leaves while they are being exposed to the sun.
Step 5: Expose to Sun
Choose a sunny spot with no shadows. Place your piece in the sun and wait for the prescribed amount of time.

Step 6: Bring it Inside
DO NOT remove the leaves and flowers until you get inside!
You may not see much of a difference yet. That’s normal. Rinsing is part of the developing process.

Step 7: Rinse WEll
Rinse the surface of the wood well using plain water. Then apply the SolarFast Wash and rinse again.

Step 8: Dry Slowly
Water can warp and raise the grain of the wood, but drying slowly will help the wood resist delamination and other surface changes. Dry your piece in a darker, well-protected area for a day or two until all of the moisture is gone.

Step 9: Enjoy
Once finished, your print will show off the beauty and textures of the wood as well as the leaves and plants.
This is an easy and beautiful way to embellish wood projects, and I can imagine many beautiful applications of this simple sunprinting process. I can’t wait to see what you do! Be sure to tag me on Instagram when you post your own sunprinting projects!
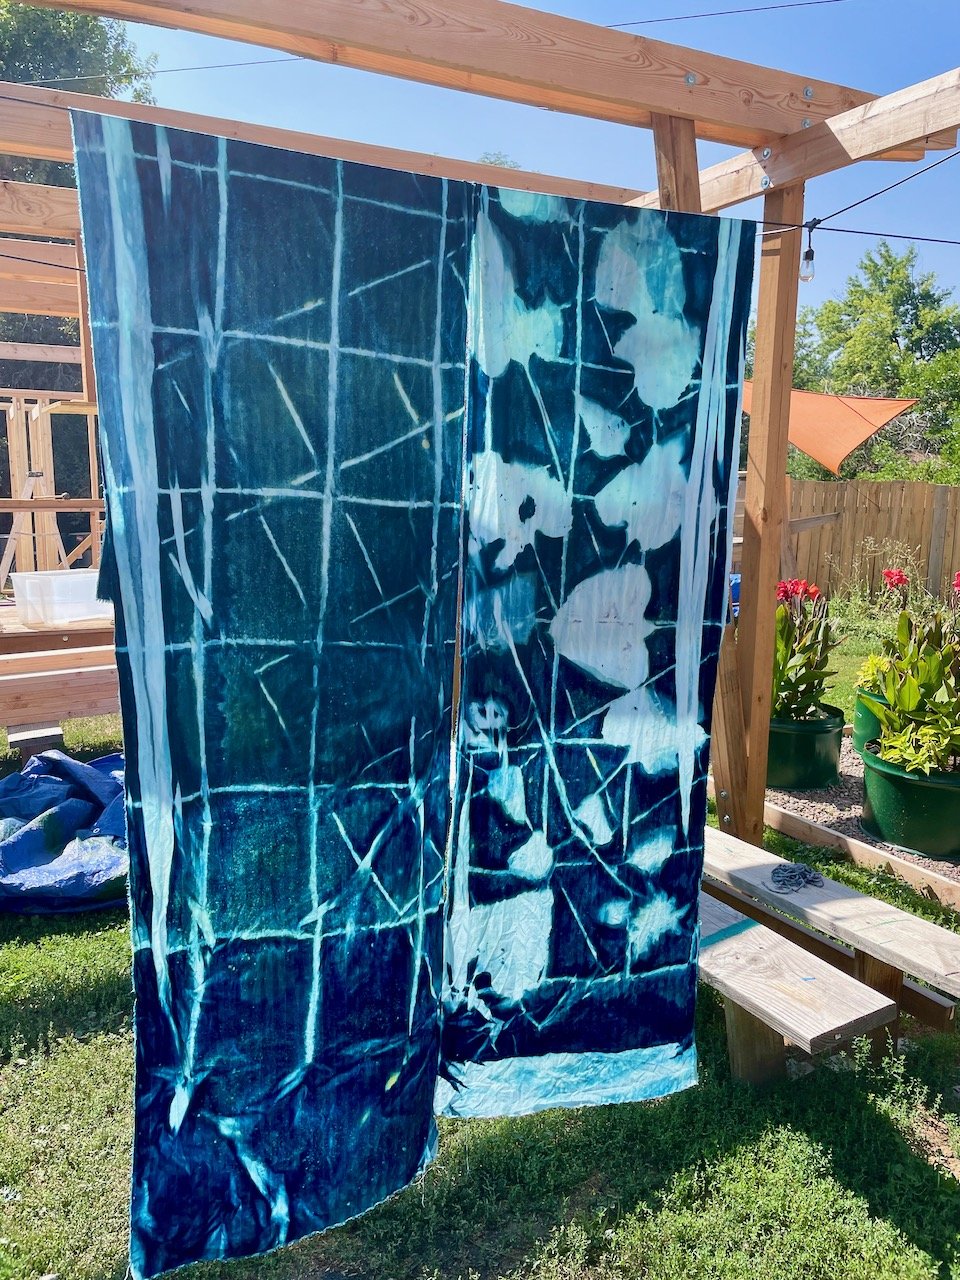
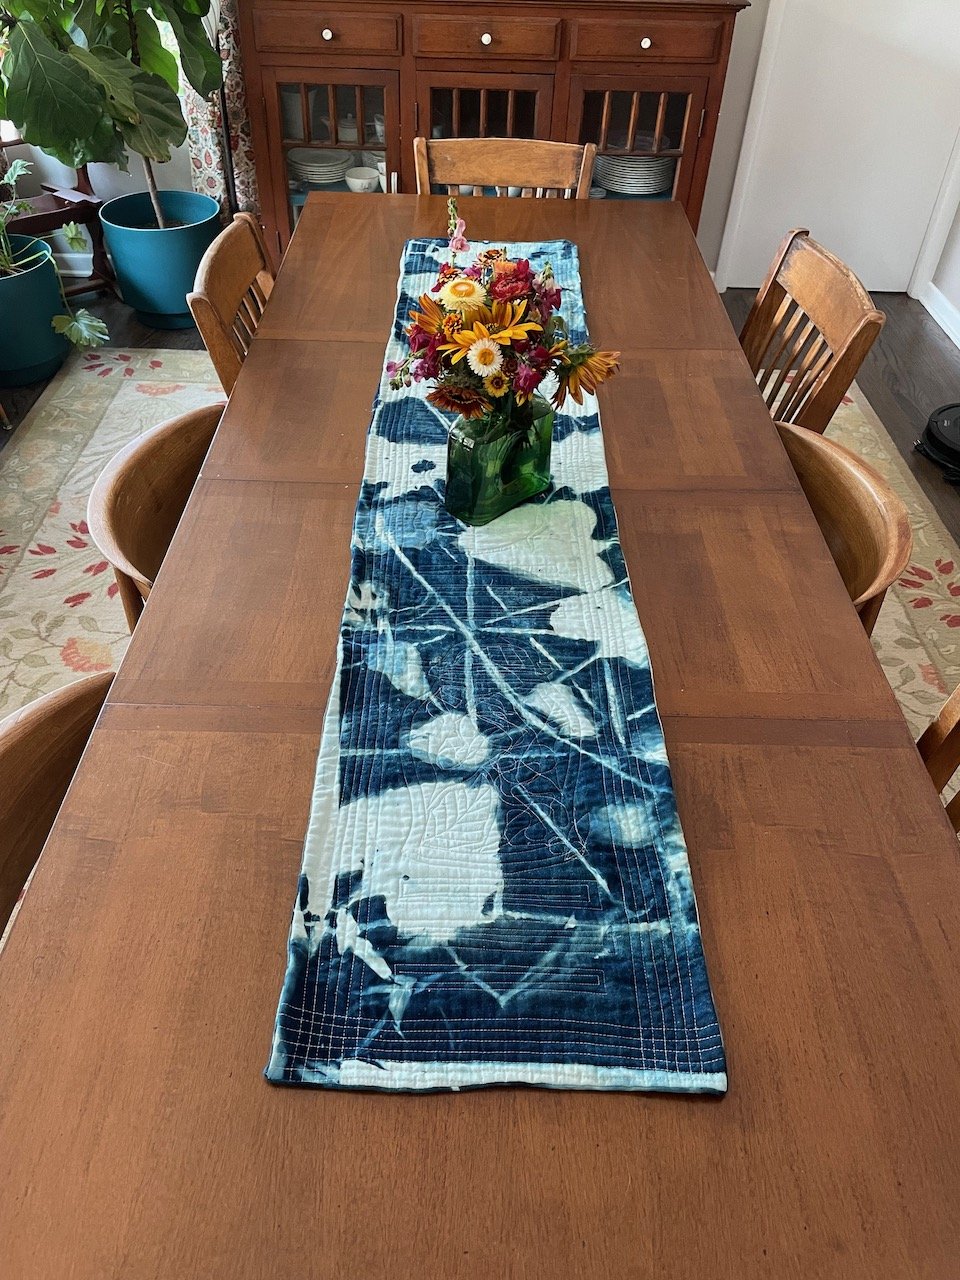
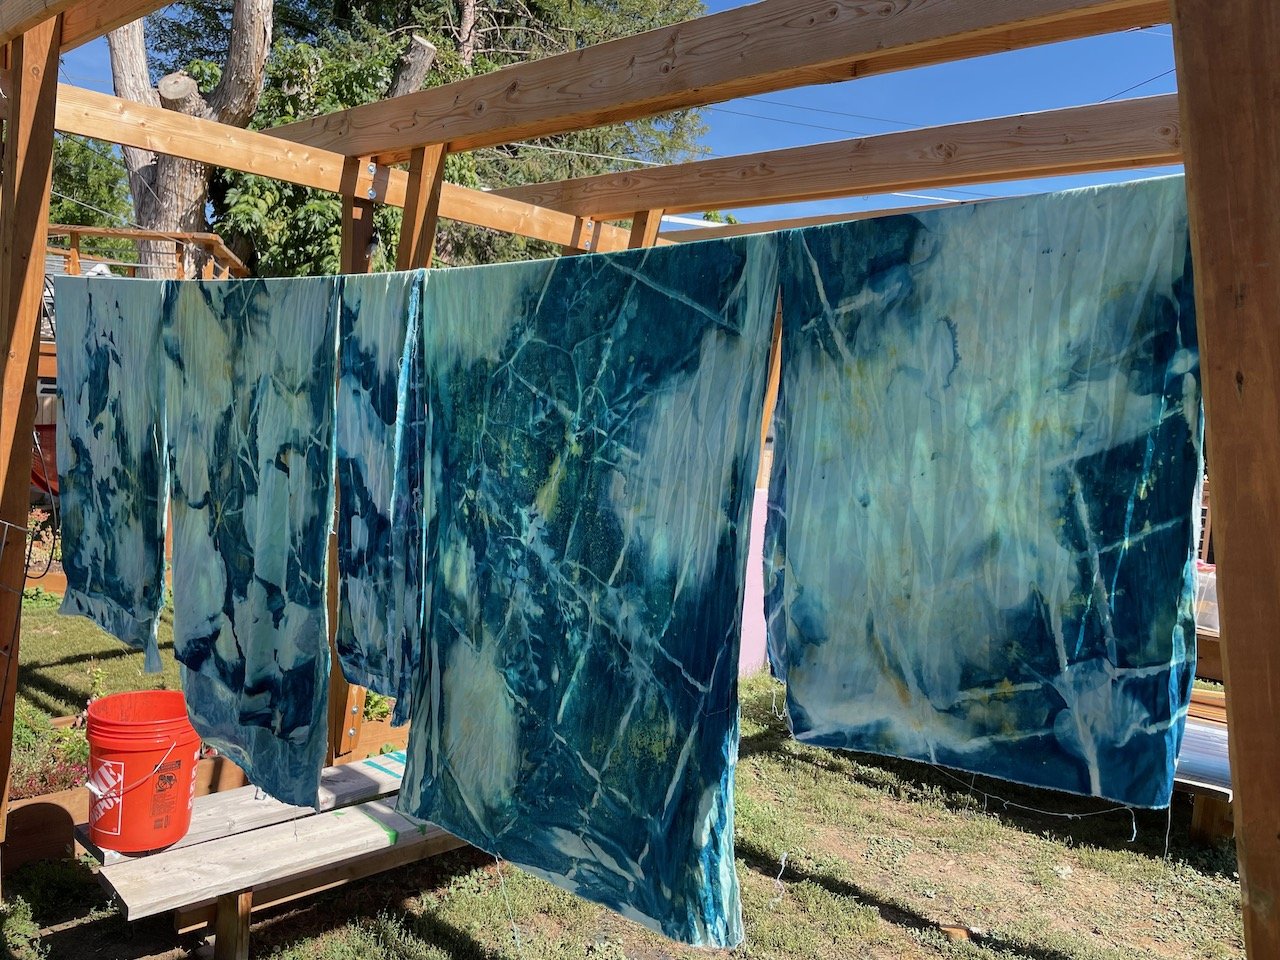
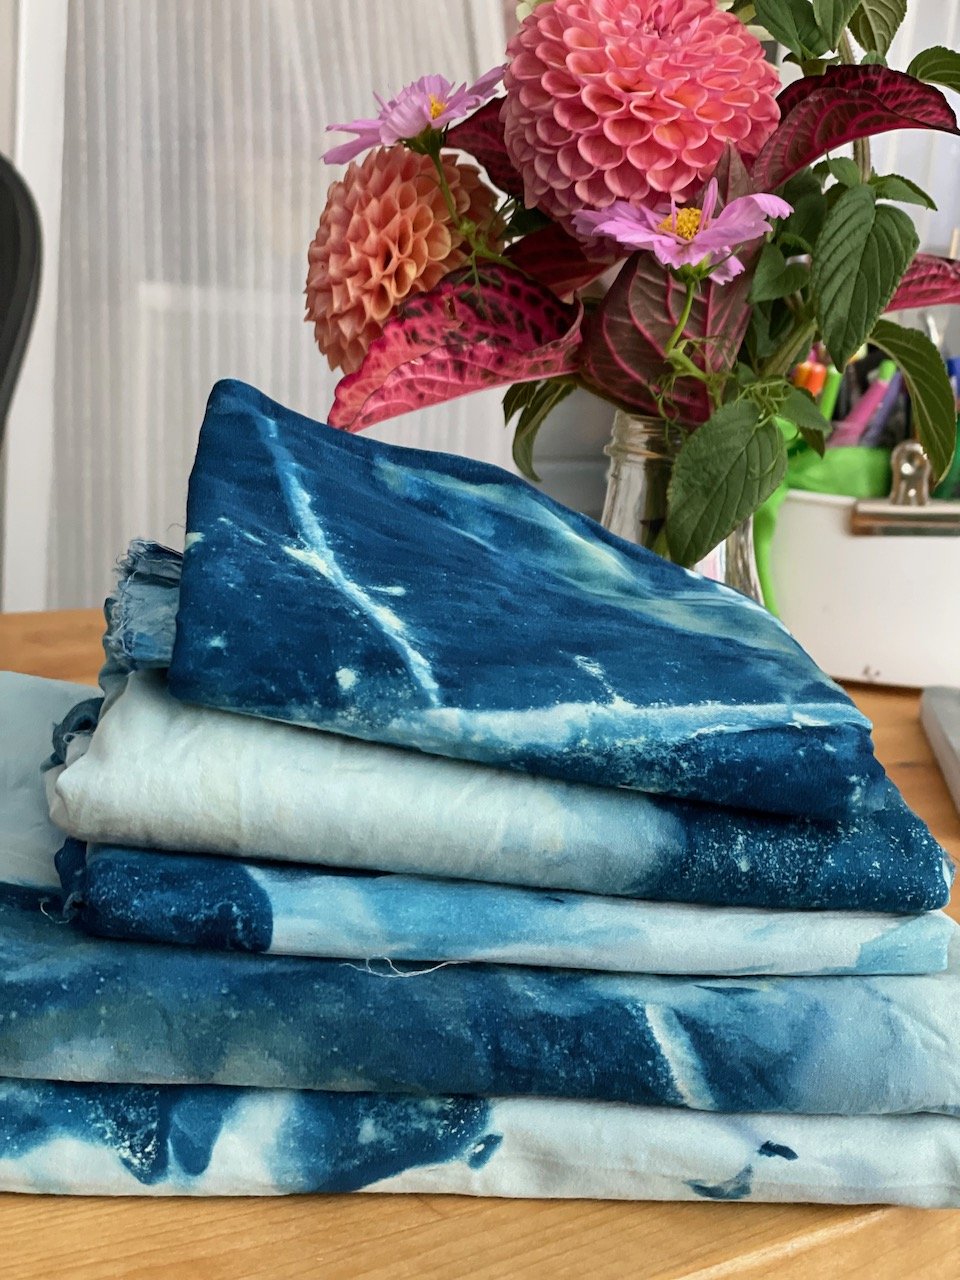
Here are a few of my other sunprinting projects: