
DIY Flower or Book Press
I have wanted a flower press since I was a young girl, but somehow it always seemed like an extravagance — something I would never use. Given my interests in journaling, gardening, and making, however, it no longer seems extravagant. Frankly, it seems like a very useful tool! So I made a simple flower press for myself. At the same time I made a book press for Owl and Ember — using the very same ideas. I’m happy to say the Owl and Ember book press works very well — as does my flower press (which may, from time to time, function as a book press as well). So this is a dual tutorial: make a book press or a flower press — or both!
Materials
2 square pieces of 3/4” plywood cut to the same dimensions; sanded
Drill with the appropriate drill bit sized for the bolts you choose
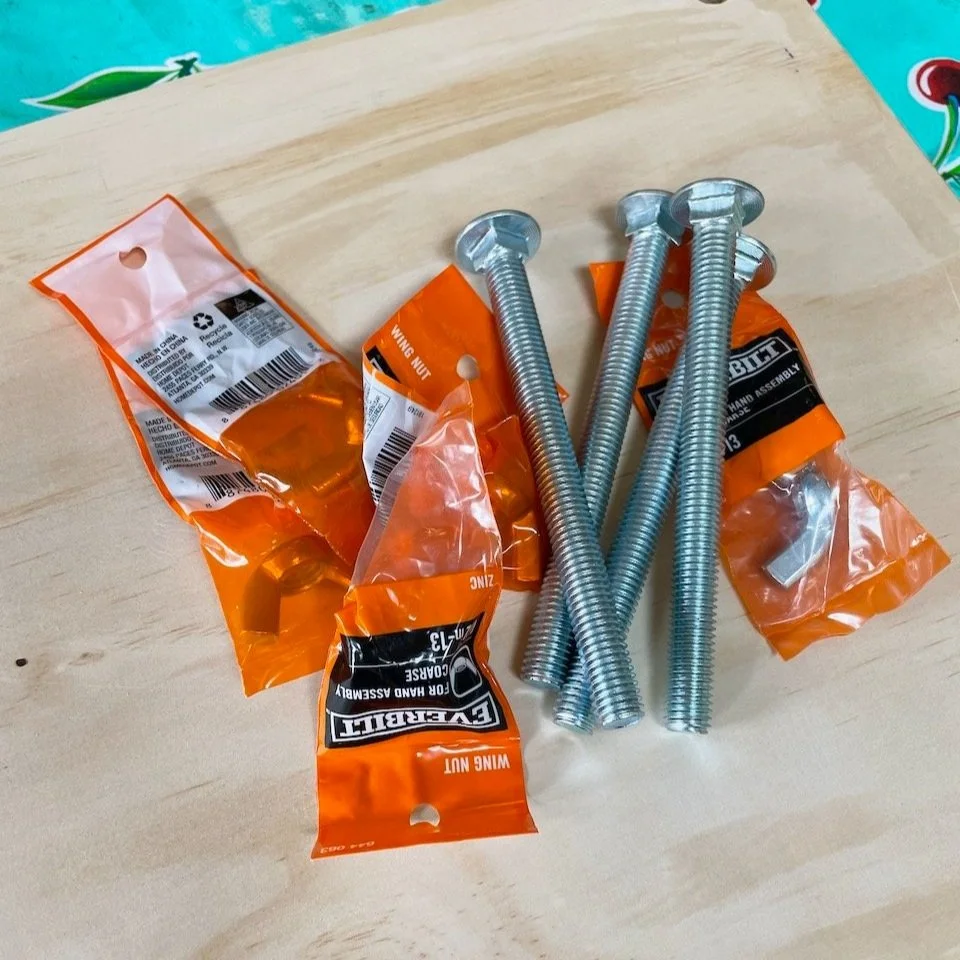
4 hex bolts (6.5 in)
4 wing nuts (1/2 in - 13)
4 washers
Ruler
Pencil
10 sheets of corrugated cardboard: I used pre-cut cardboard, but you could just as easily recycle cardboard you already have. Cut down a box into sheets the right size.
20 sheets of watercolor paper
straight edge
utility knife or Cricut
self-healing mat or cutting surface
A Note about Dimensions: this project can be scaled up or down depending on your needs. I decided to make my press 14” square because it will function both as a flower press and as a book press. Just doing flowers? Make it 8-10” square. Only doing books? The book press I made for Owl and Ember is 18” x 18” which is adequate to do several stacks of books at a time.

A Note about Hardware: you can buy the bolts, nuts, and washers together as a set. I used 8 inch bolts, because this is a large press. If you decide to make a smaller press, reduce the size of the bolts, nuts, and washers correspondingly. And then you’ll need a smaller drill bit, too.
Sunprinting: The materials for sunprinting the top of the press, as I did, are found in a separate post — Sunprinting on Wood — along with complete instructions for that process.
How to Make the Press
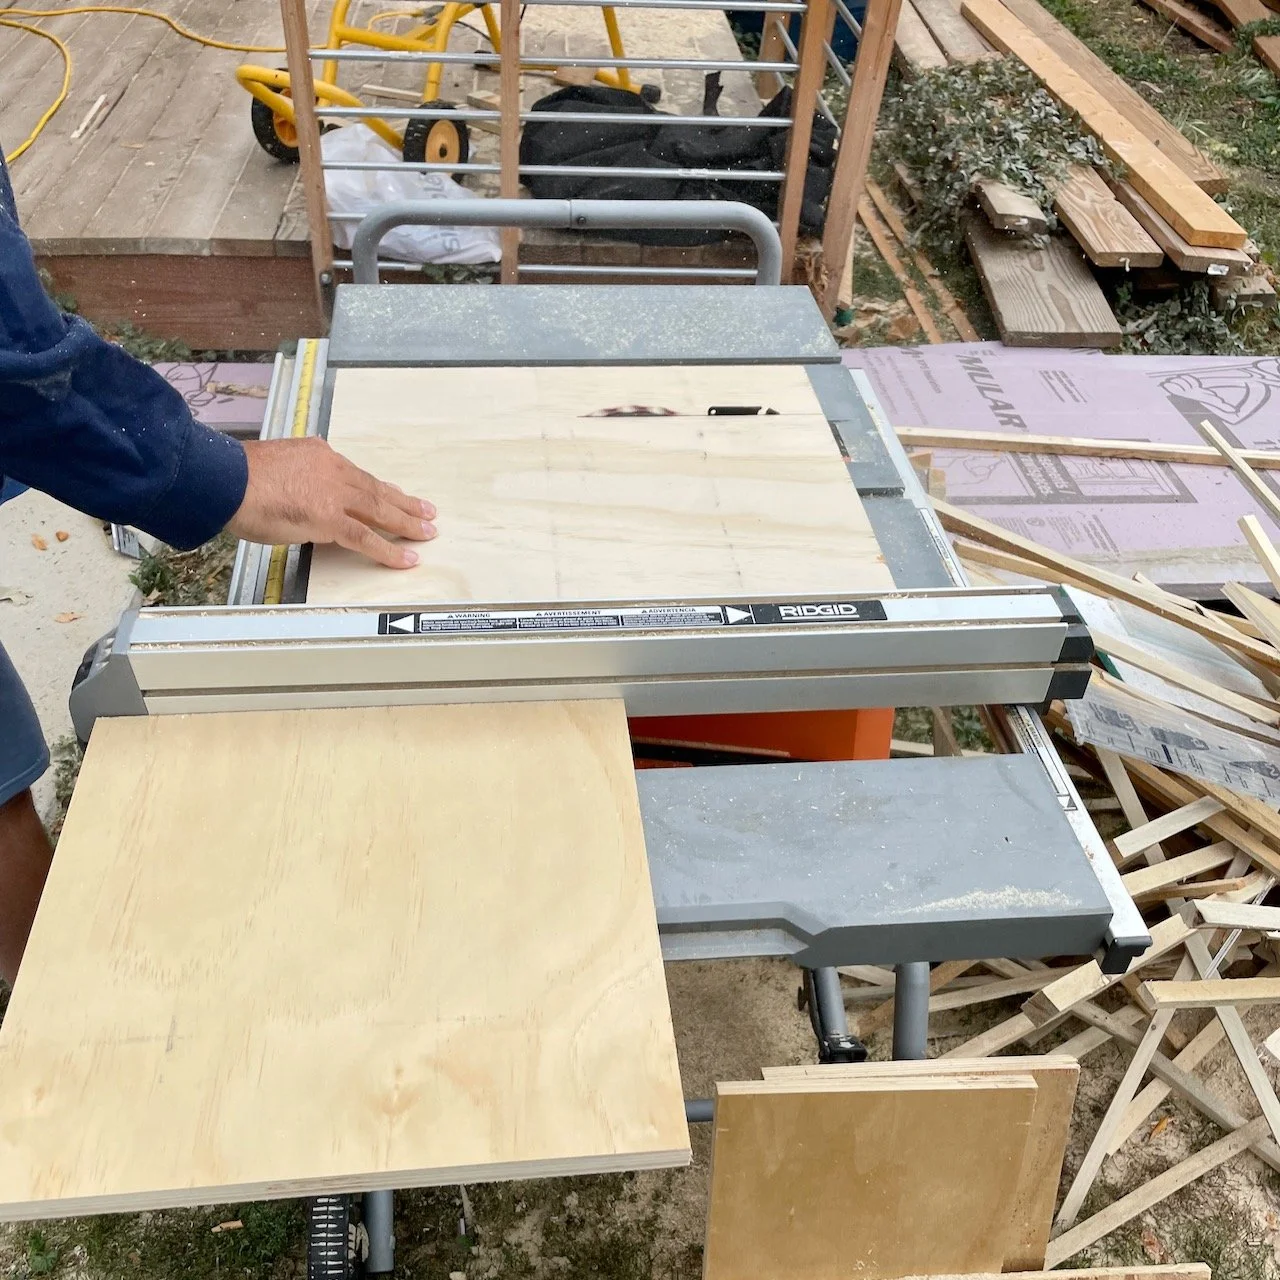
Step 1: Prepare the wood
Cut the wood to the right size. You can have this done at a hardware store in the lumber department — often at no cost — if you don’t have the tools at home to do it.
Sand all of the edges as well as the surfaces as needed.

Step 2: drill the holes
At each corner, measure in at least 1 inch from each edge and mark with a pencil. If your drill bit is long enough, clamp the two boards together, and then drill a large hold at each of the four corners.


Step 3: Cut the paper & Cardboard
Book press: if you are only making a book press, skip this step.
The watercolor paper and cardboard will be stacked in the press to hold the flowers and absorb any moisture as they are pressed and dried. Depending on the size of your press, you will need to trim the watercolor paper and cardboard to accommodate the bolts.
Thread the bolts through the holes on one board. Measure between the bolts. Cut the paper and cardboard to fit, clipping the corners as needed.
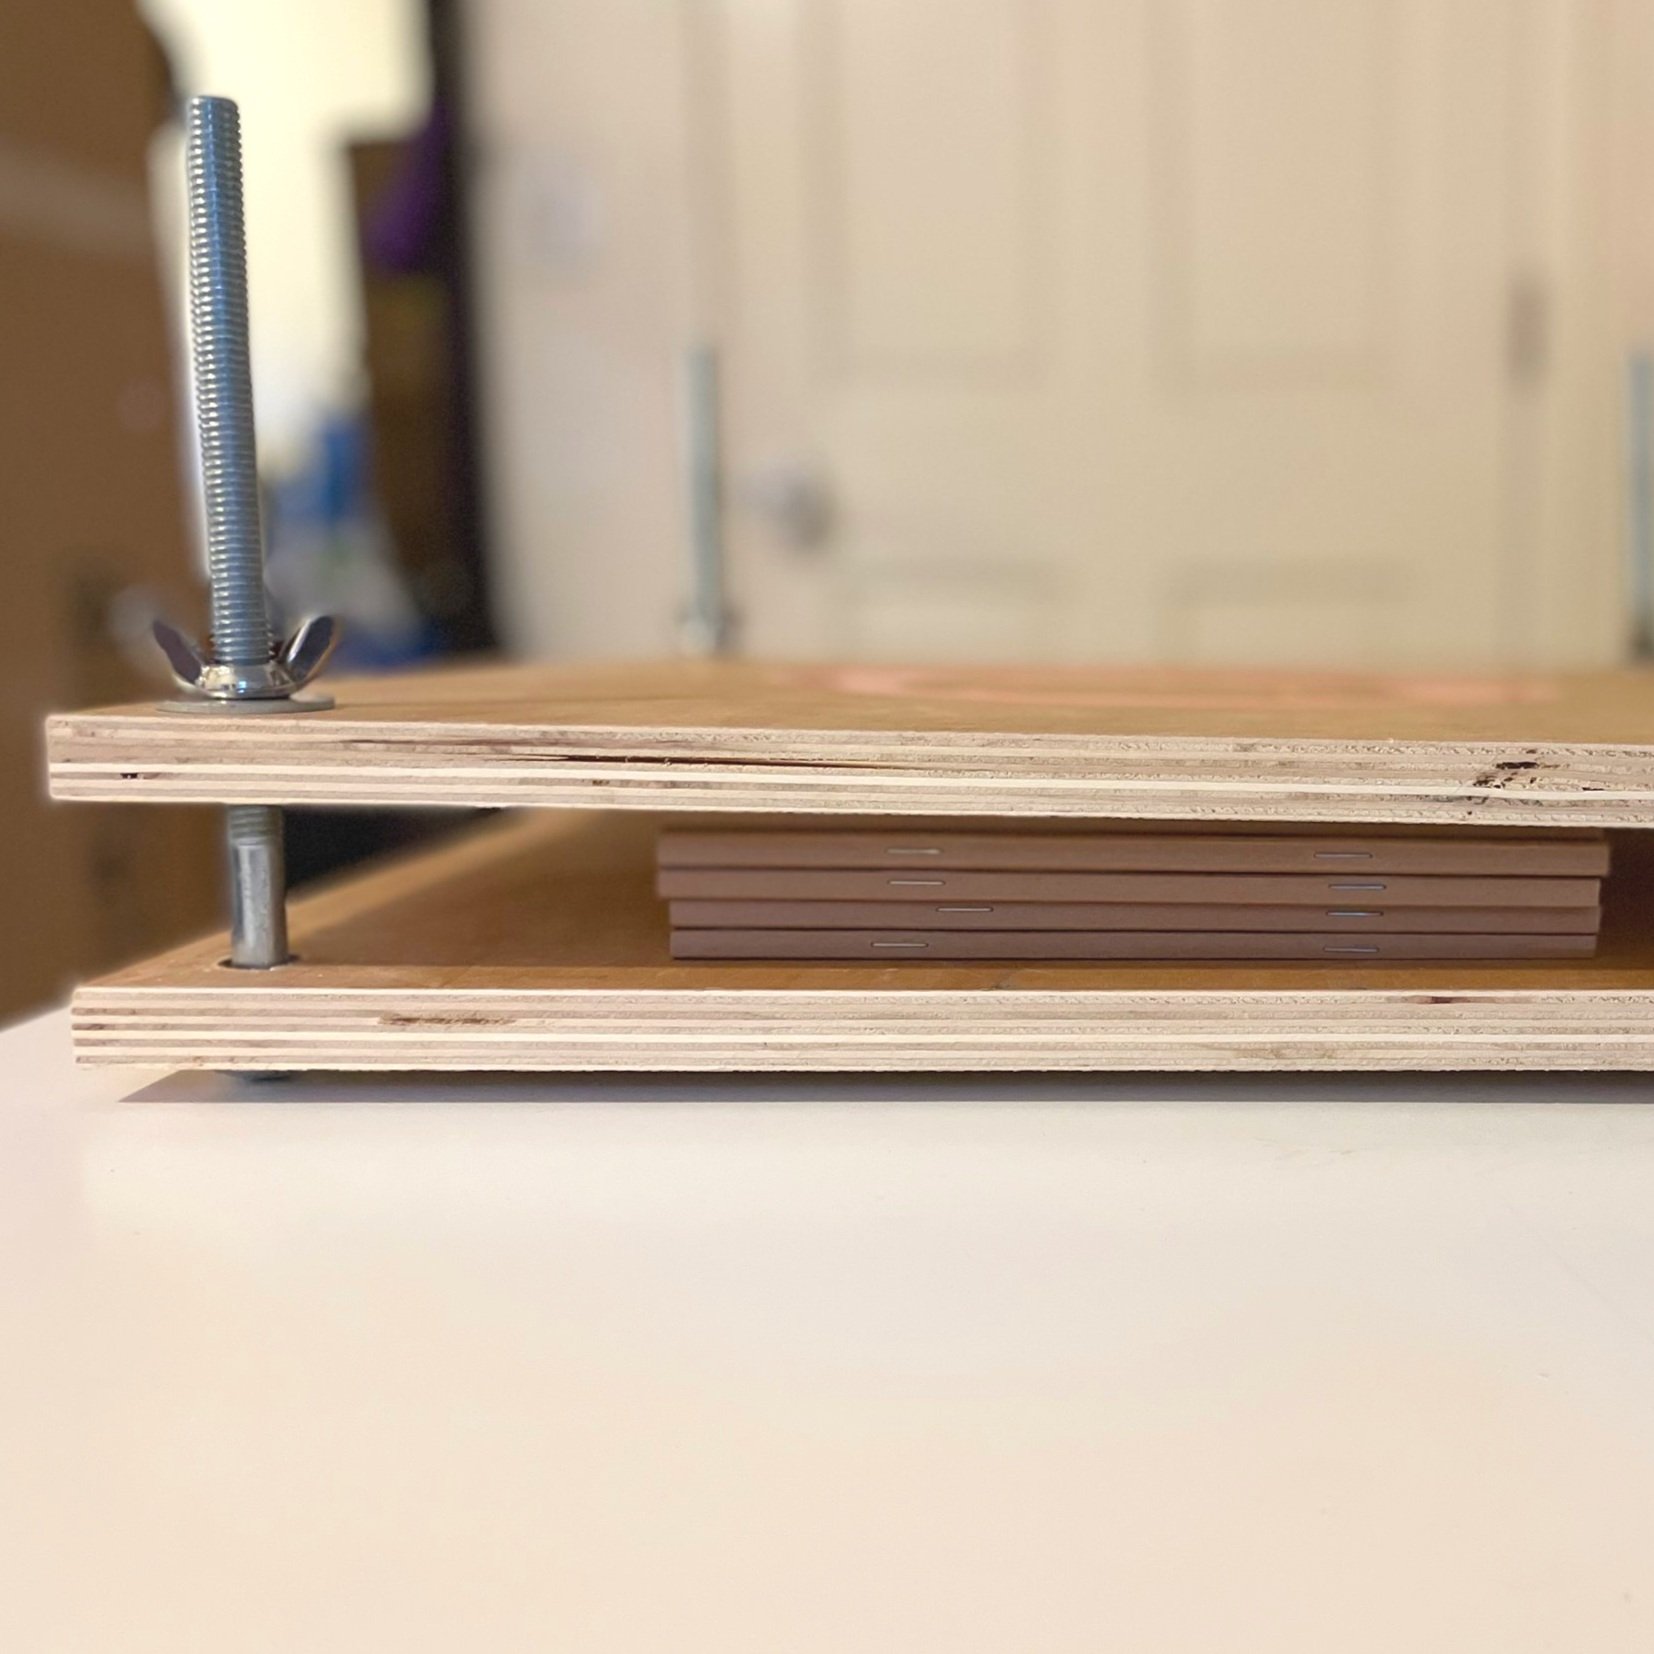
Step 4: Assemble the Press
Thread the bolts up through the bottom piece of plywood.
Stack the paper and cardboard starting with a piece of cardboard followed by two pieces of watercolor paper. Then a piece of cardboard. Repeat until all of the paper and cardboard is stacked.
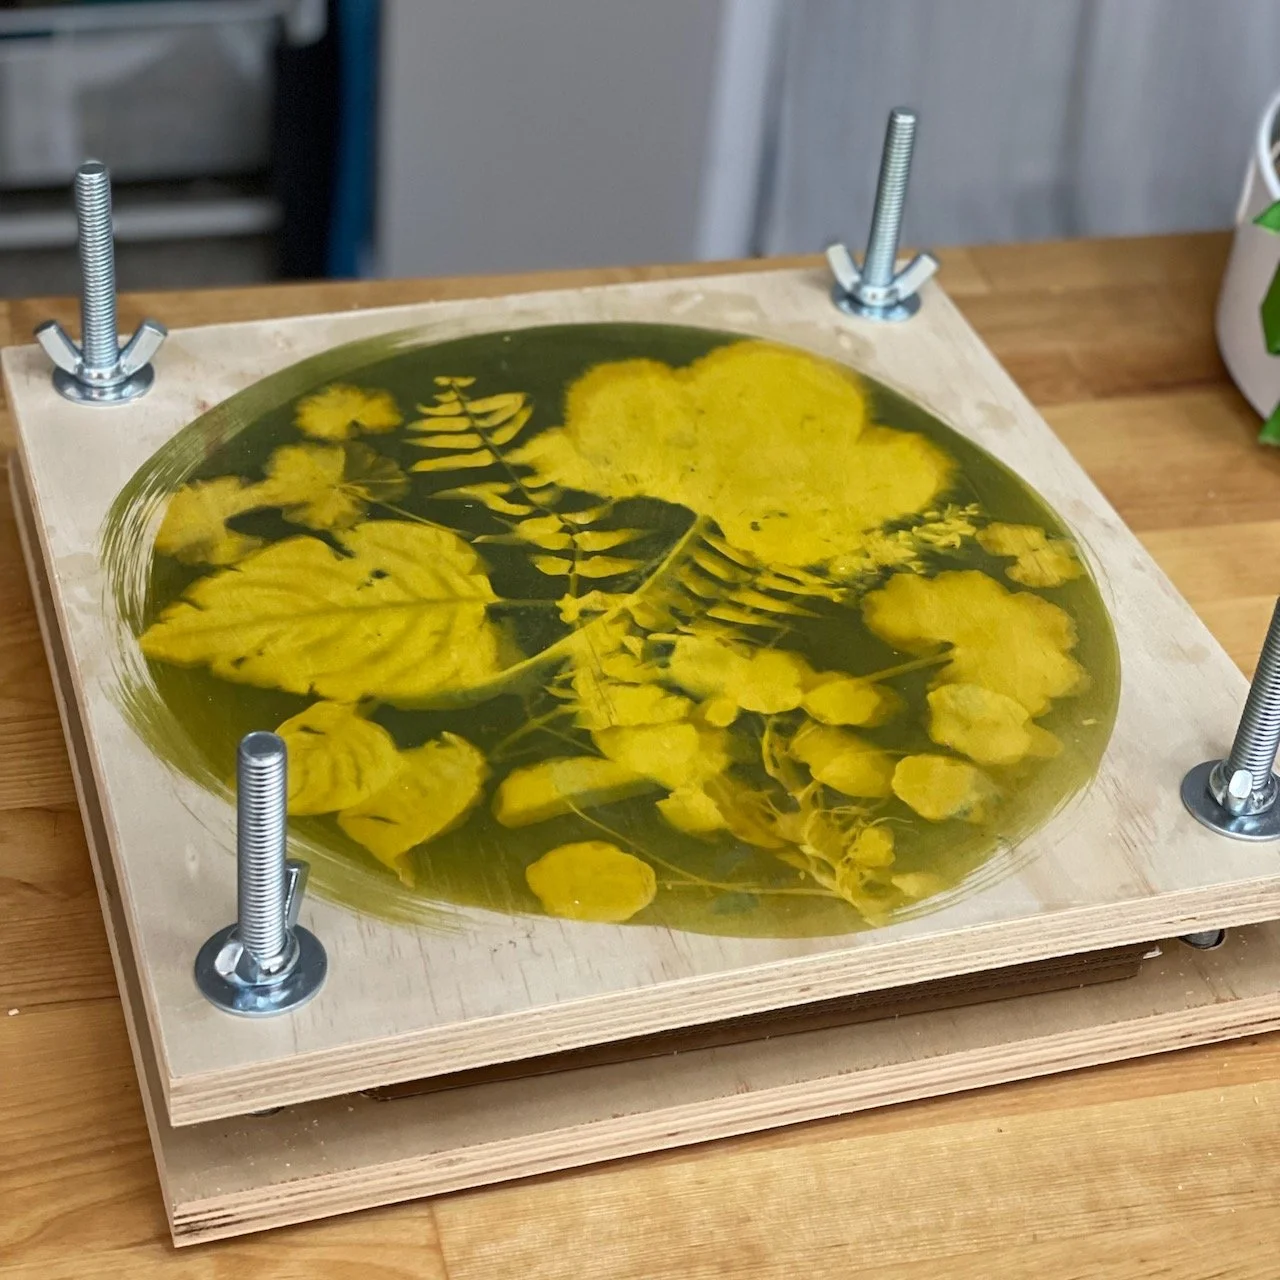
Thread the top piece of plywood onto the bolts. Secure with a washer and wing nut.
This short video shows how it all fits together!

Step 5: Optional
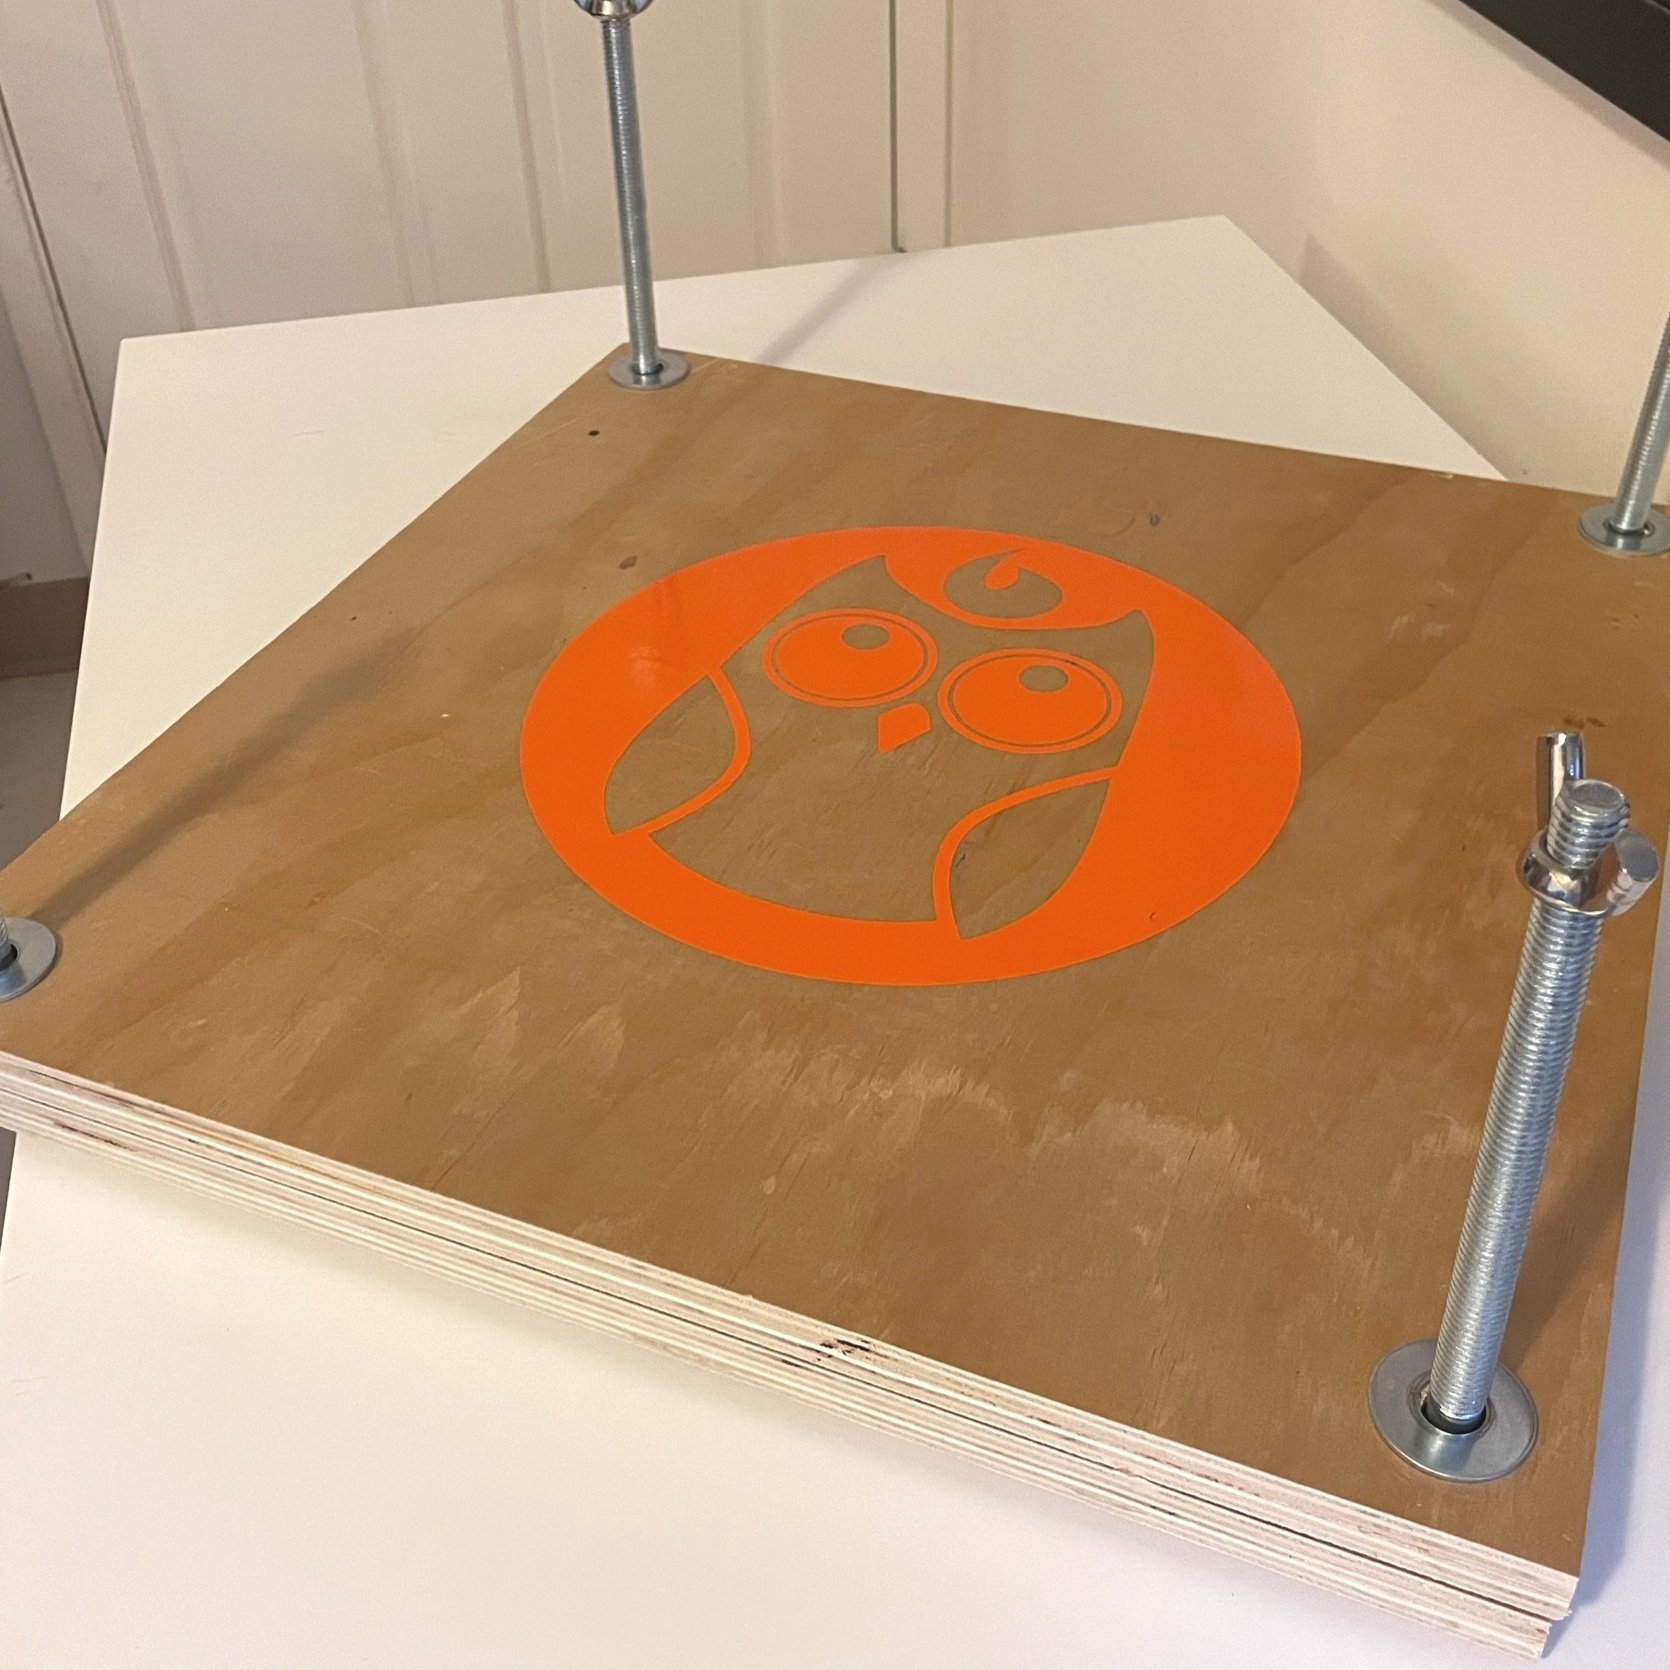
You can decorate the top of your press as desired. For the Owl and Ember book press, I cut the Owl and Ember logo from vinyl on my Cricut and applied it in the center of the top board.
For my own press, I used flowers and leaves from my garden and created a sunprinted design on the press top.
Other ideas: acrylic paints, stamps, vinyl stickers, Sharpies, decopauge.
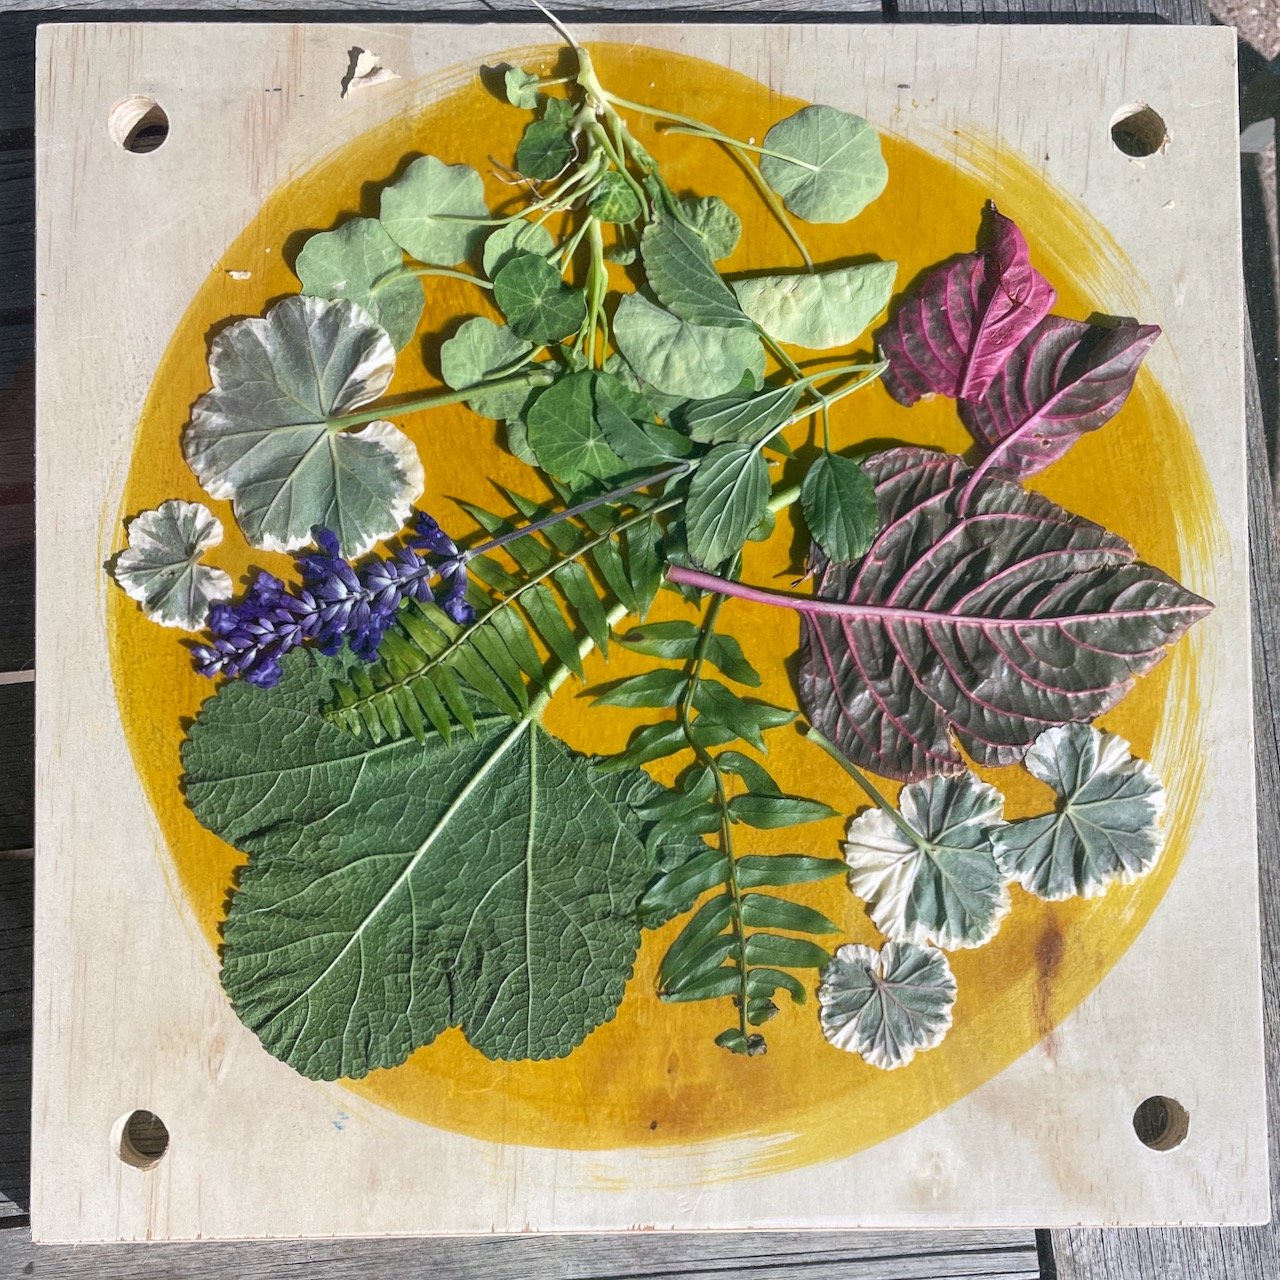
Step 6: press Stuff
Fill your press and get to work!
For flowers and leaves: lay your selections flat between two pieces of watercolor paper. The paper will absorb any moisture and potentially leaked colors from the flowers and leaves. Leave them in the press for at least one month.
For books: arrange your stacks of books or pages neatly and evenly. We have found that pressing overnight is adequate, but you may need to experiment.
Whether you are pressing books or flowers, I hope your press serves you well! The key to a good result is even pressure —- tighten the corners as evenly as you can, and don’t over-tighten so that the plywood bends or bows. Even pressure over time will flatten almost anything! I am currently pressing some paintings I did on watercolor paper which warped because of moisture. They should be nice and flat in just a few days!
