How to Set Up Your Cricut Workspace
Tips & Ideas for Cricut-based Businesses & Crafters alike

Workroom Makeover
Office | Library | Art Studio | Sewing Room
Get all of the details on the whole project, here!
You have a Cricut! Congratulations! Whether you are new to Cricut or a pro looking for some new ideas, you have probably asked: what’s the best way to set up my Cricut workspace? I have some great answers for you from my own home office as well as from craft rooms and small business headquarters all over the world. Whether you are setting up your first Cricut for a new hobby or you have a small business selling your Cricut-made products, an organized, efficient, and functional workspace is important for your success. I have all the tips from setting up your Cricut area to storing supplies and tools, creating a shipping station, and even what to do with multiple Cricuts.
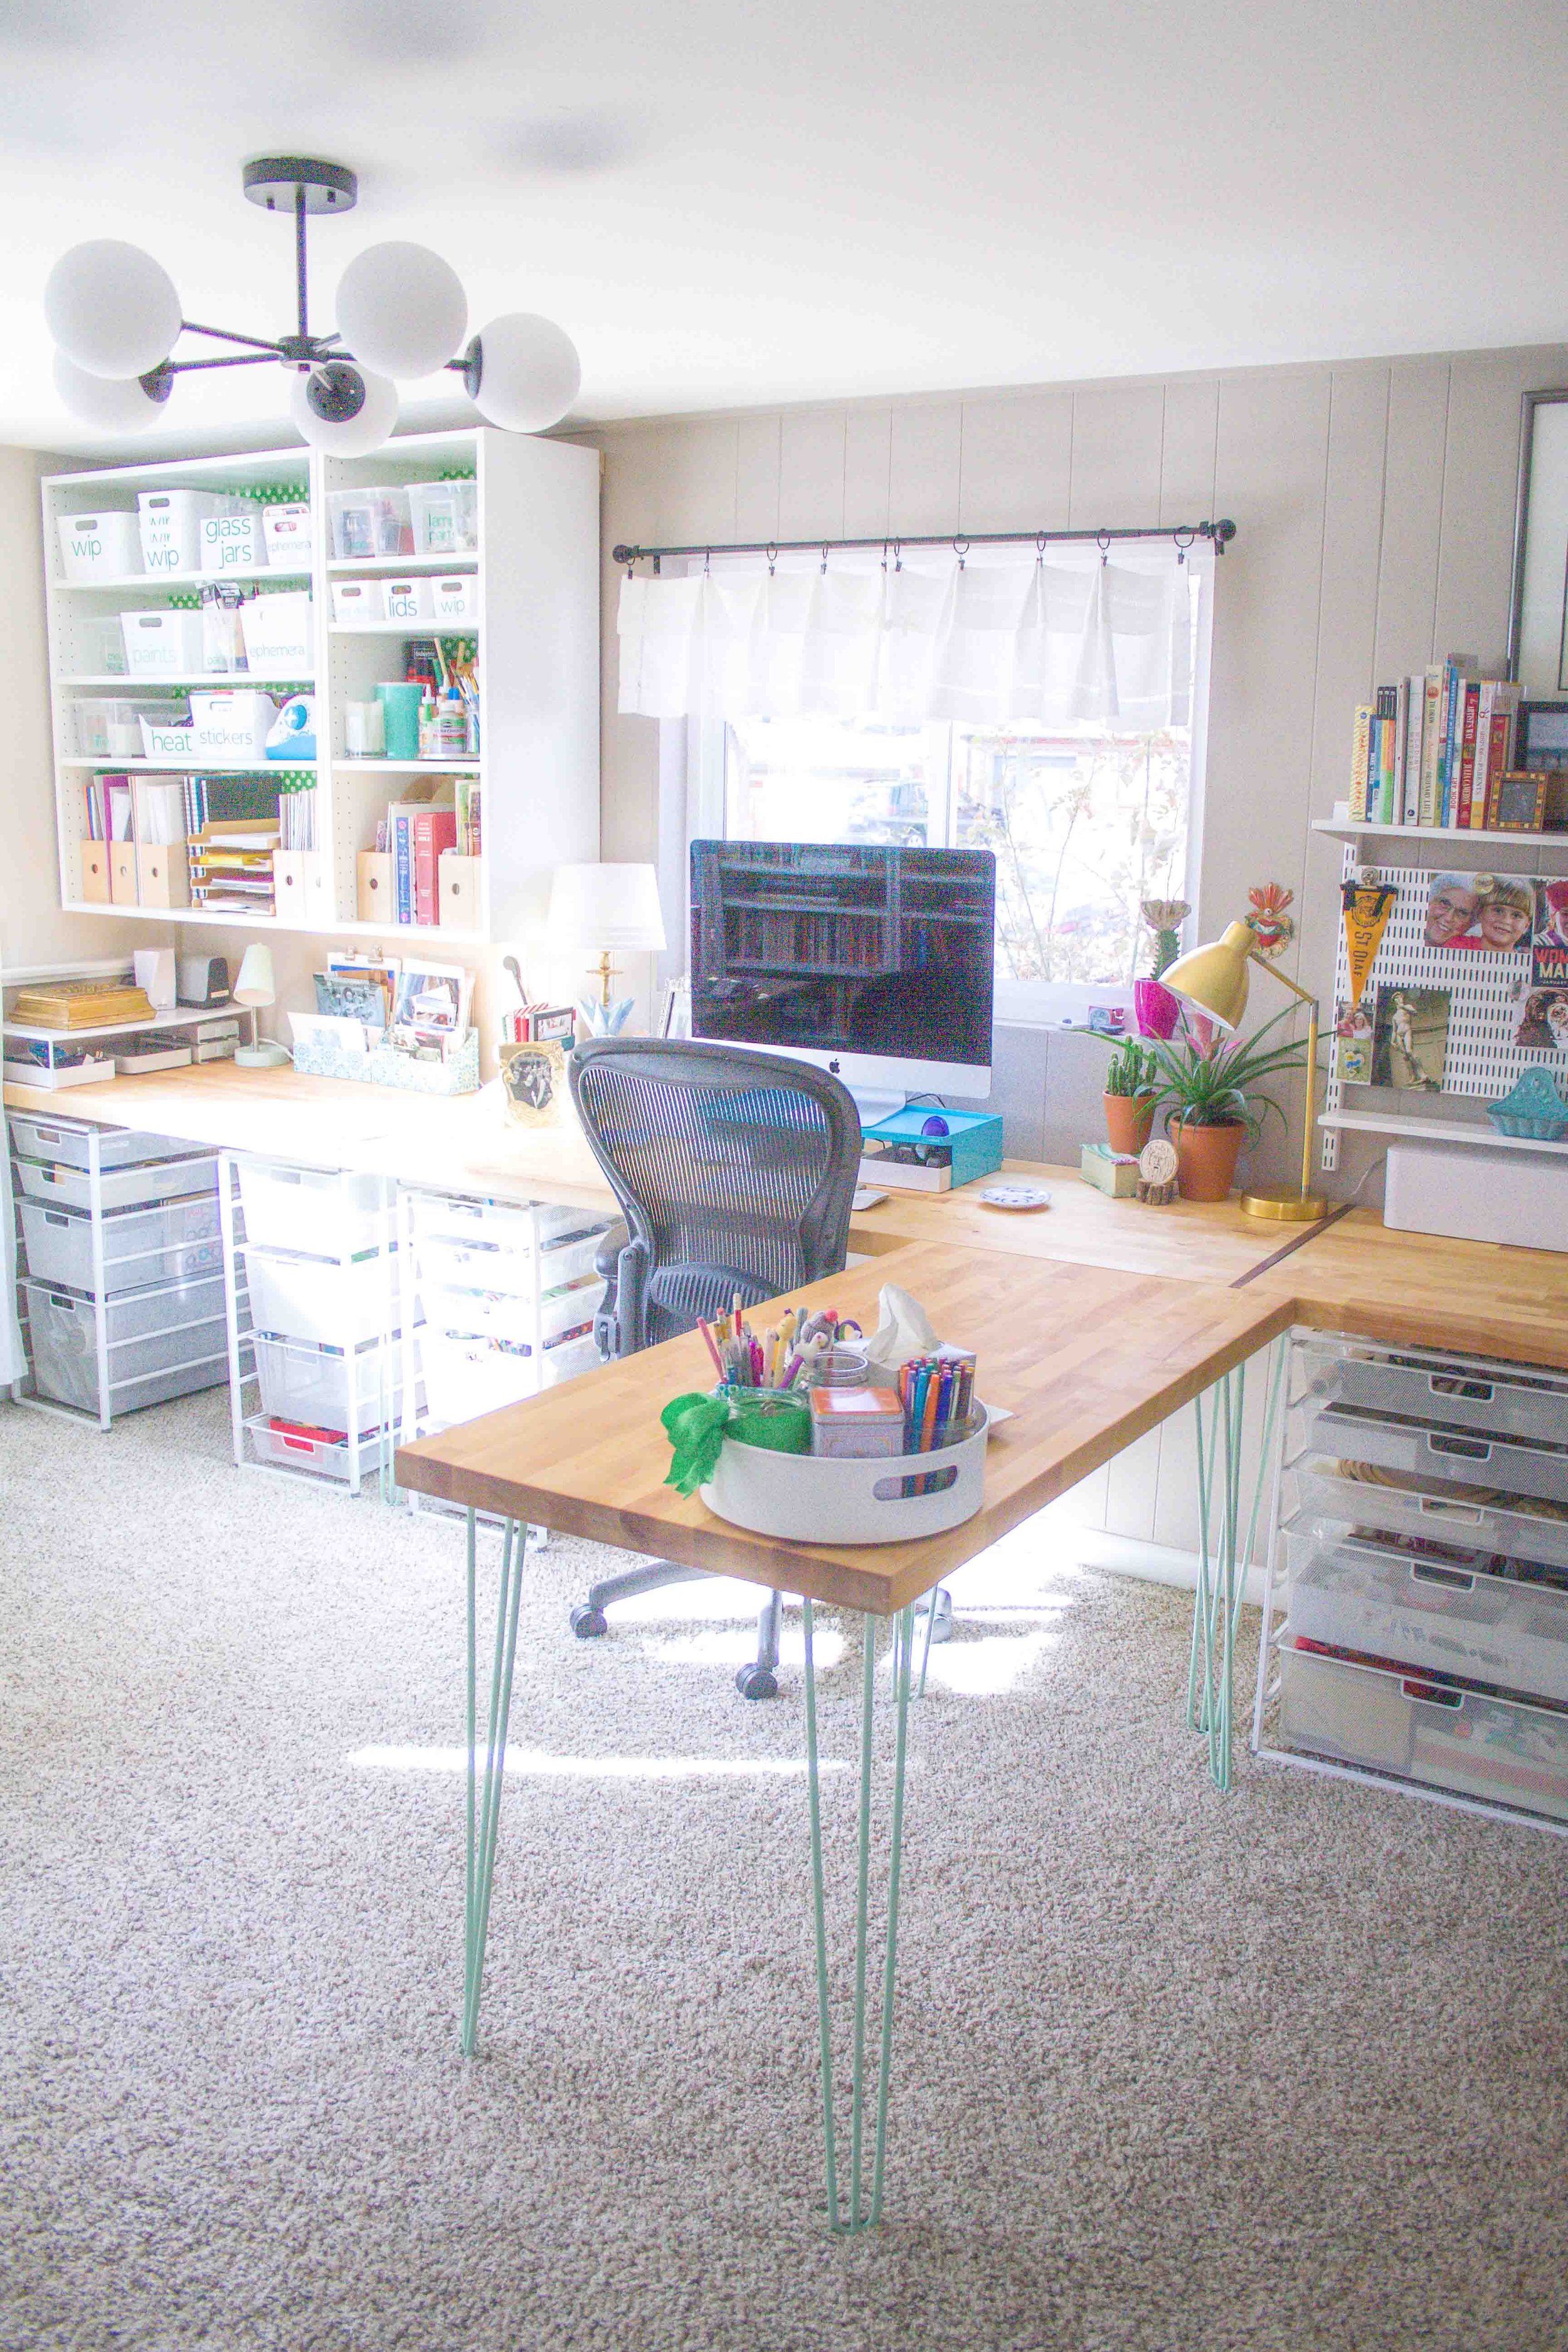
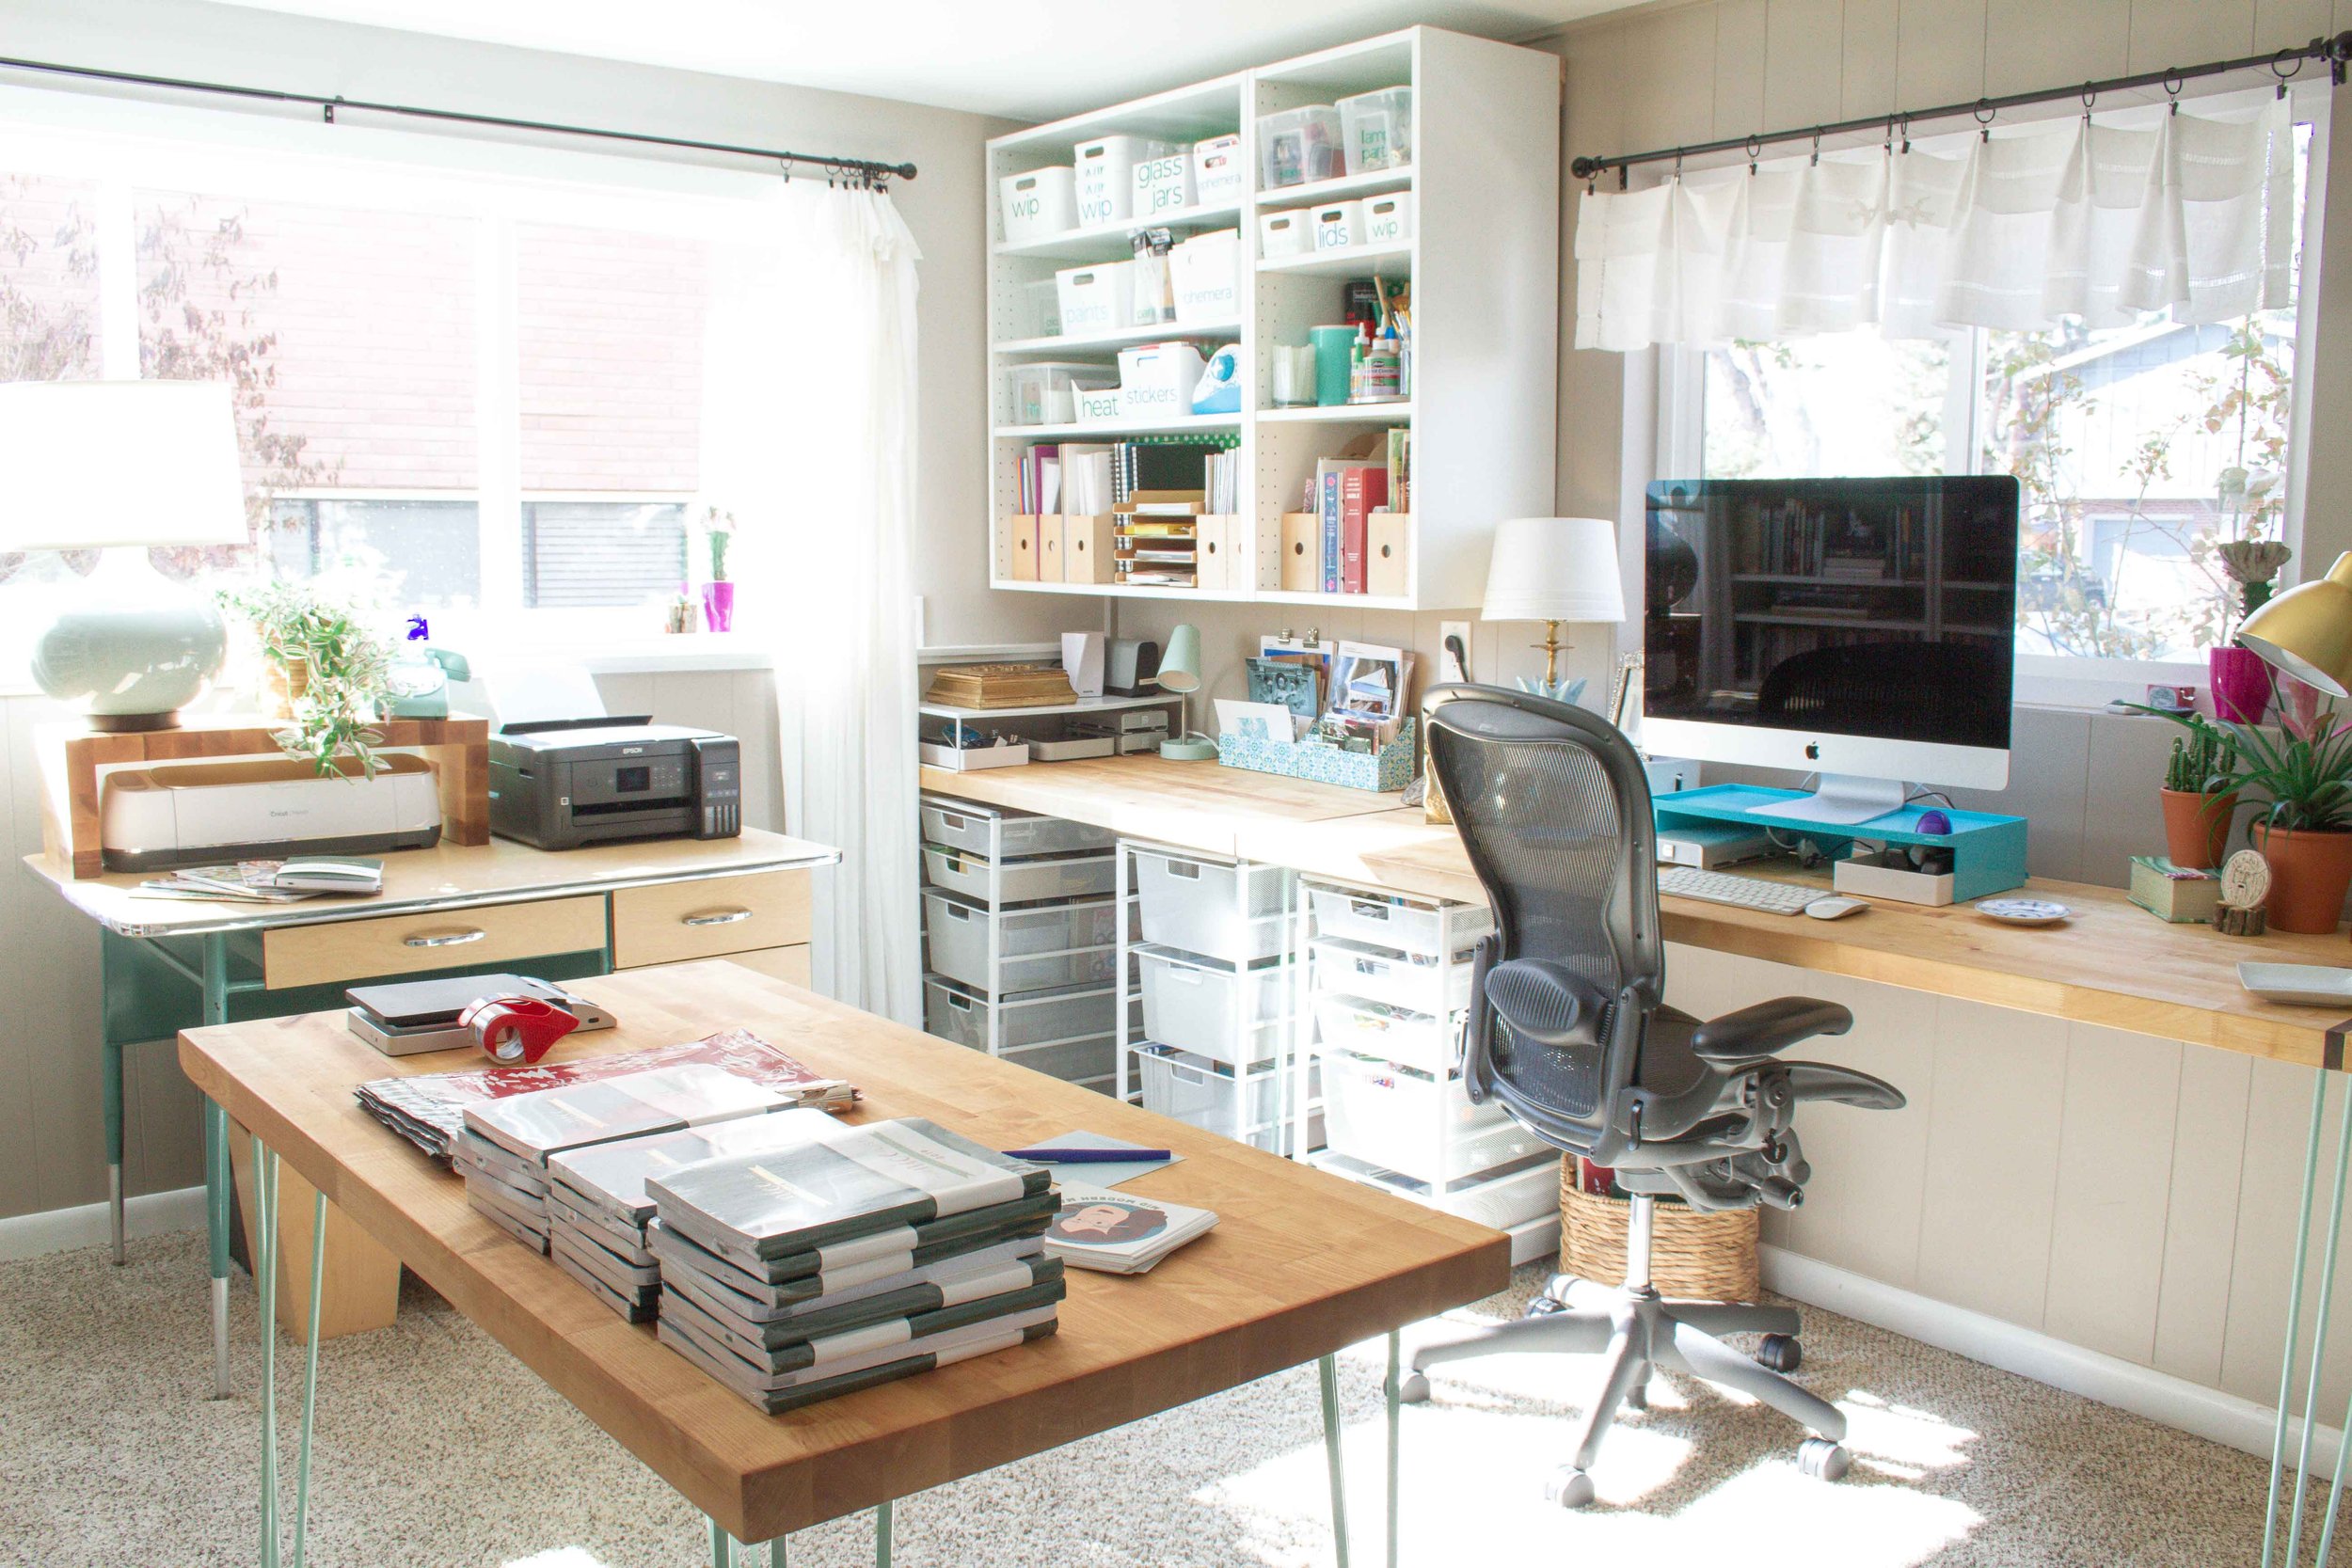
Personally, I redid my own workspace as part of the Fall 2019 One Room Challenge. My own office went from cluttered and dysfunctional to clean, crisp, and organized in just six weeks. In doing so, I found some simple and inexpensive solutions for organizing a room that serves many purposes. For me my Workroom is a home office, library, sewing room, and crafting space.
Some of the examples in this piece are aspirational. Some are more modest. No matter what your budget is, setting up your workspace can be achieved! Mine was largely accomplished using storage I already had, items purchased from the Facebook Marketplace (a great place to find office furniture), and vintage pieces. Frankly, I love vintage pieces in a craft room or a maker space because vintage desks tend to have larger work surfaces and can be less precious in case your making gets a little messy!
So, let’s get started!
Disclosure: This post is sponsored by Cricut, but all ideas and opinions are my own. AKN
How to Set Up Your Cricut
Choosing a place for your Cricut is important. It needs to be a spot that is flat and secure, convenient, and will work with your workflow. And that setup may change as your business or crafting expertise changes, too.

Flat & Study
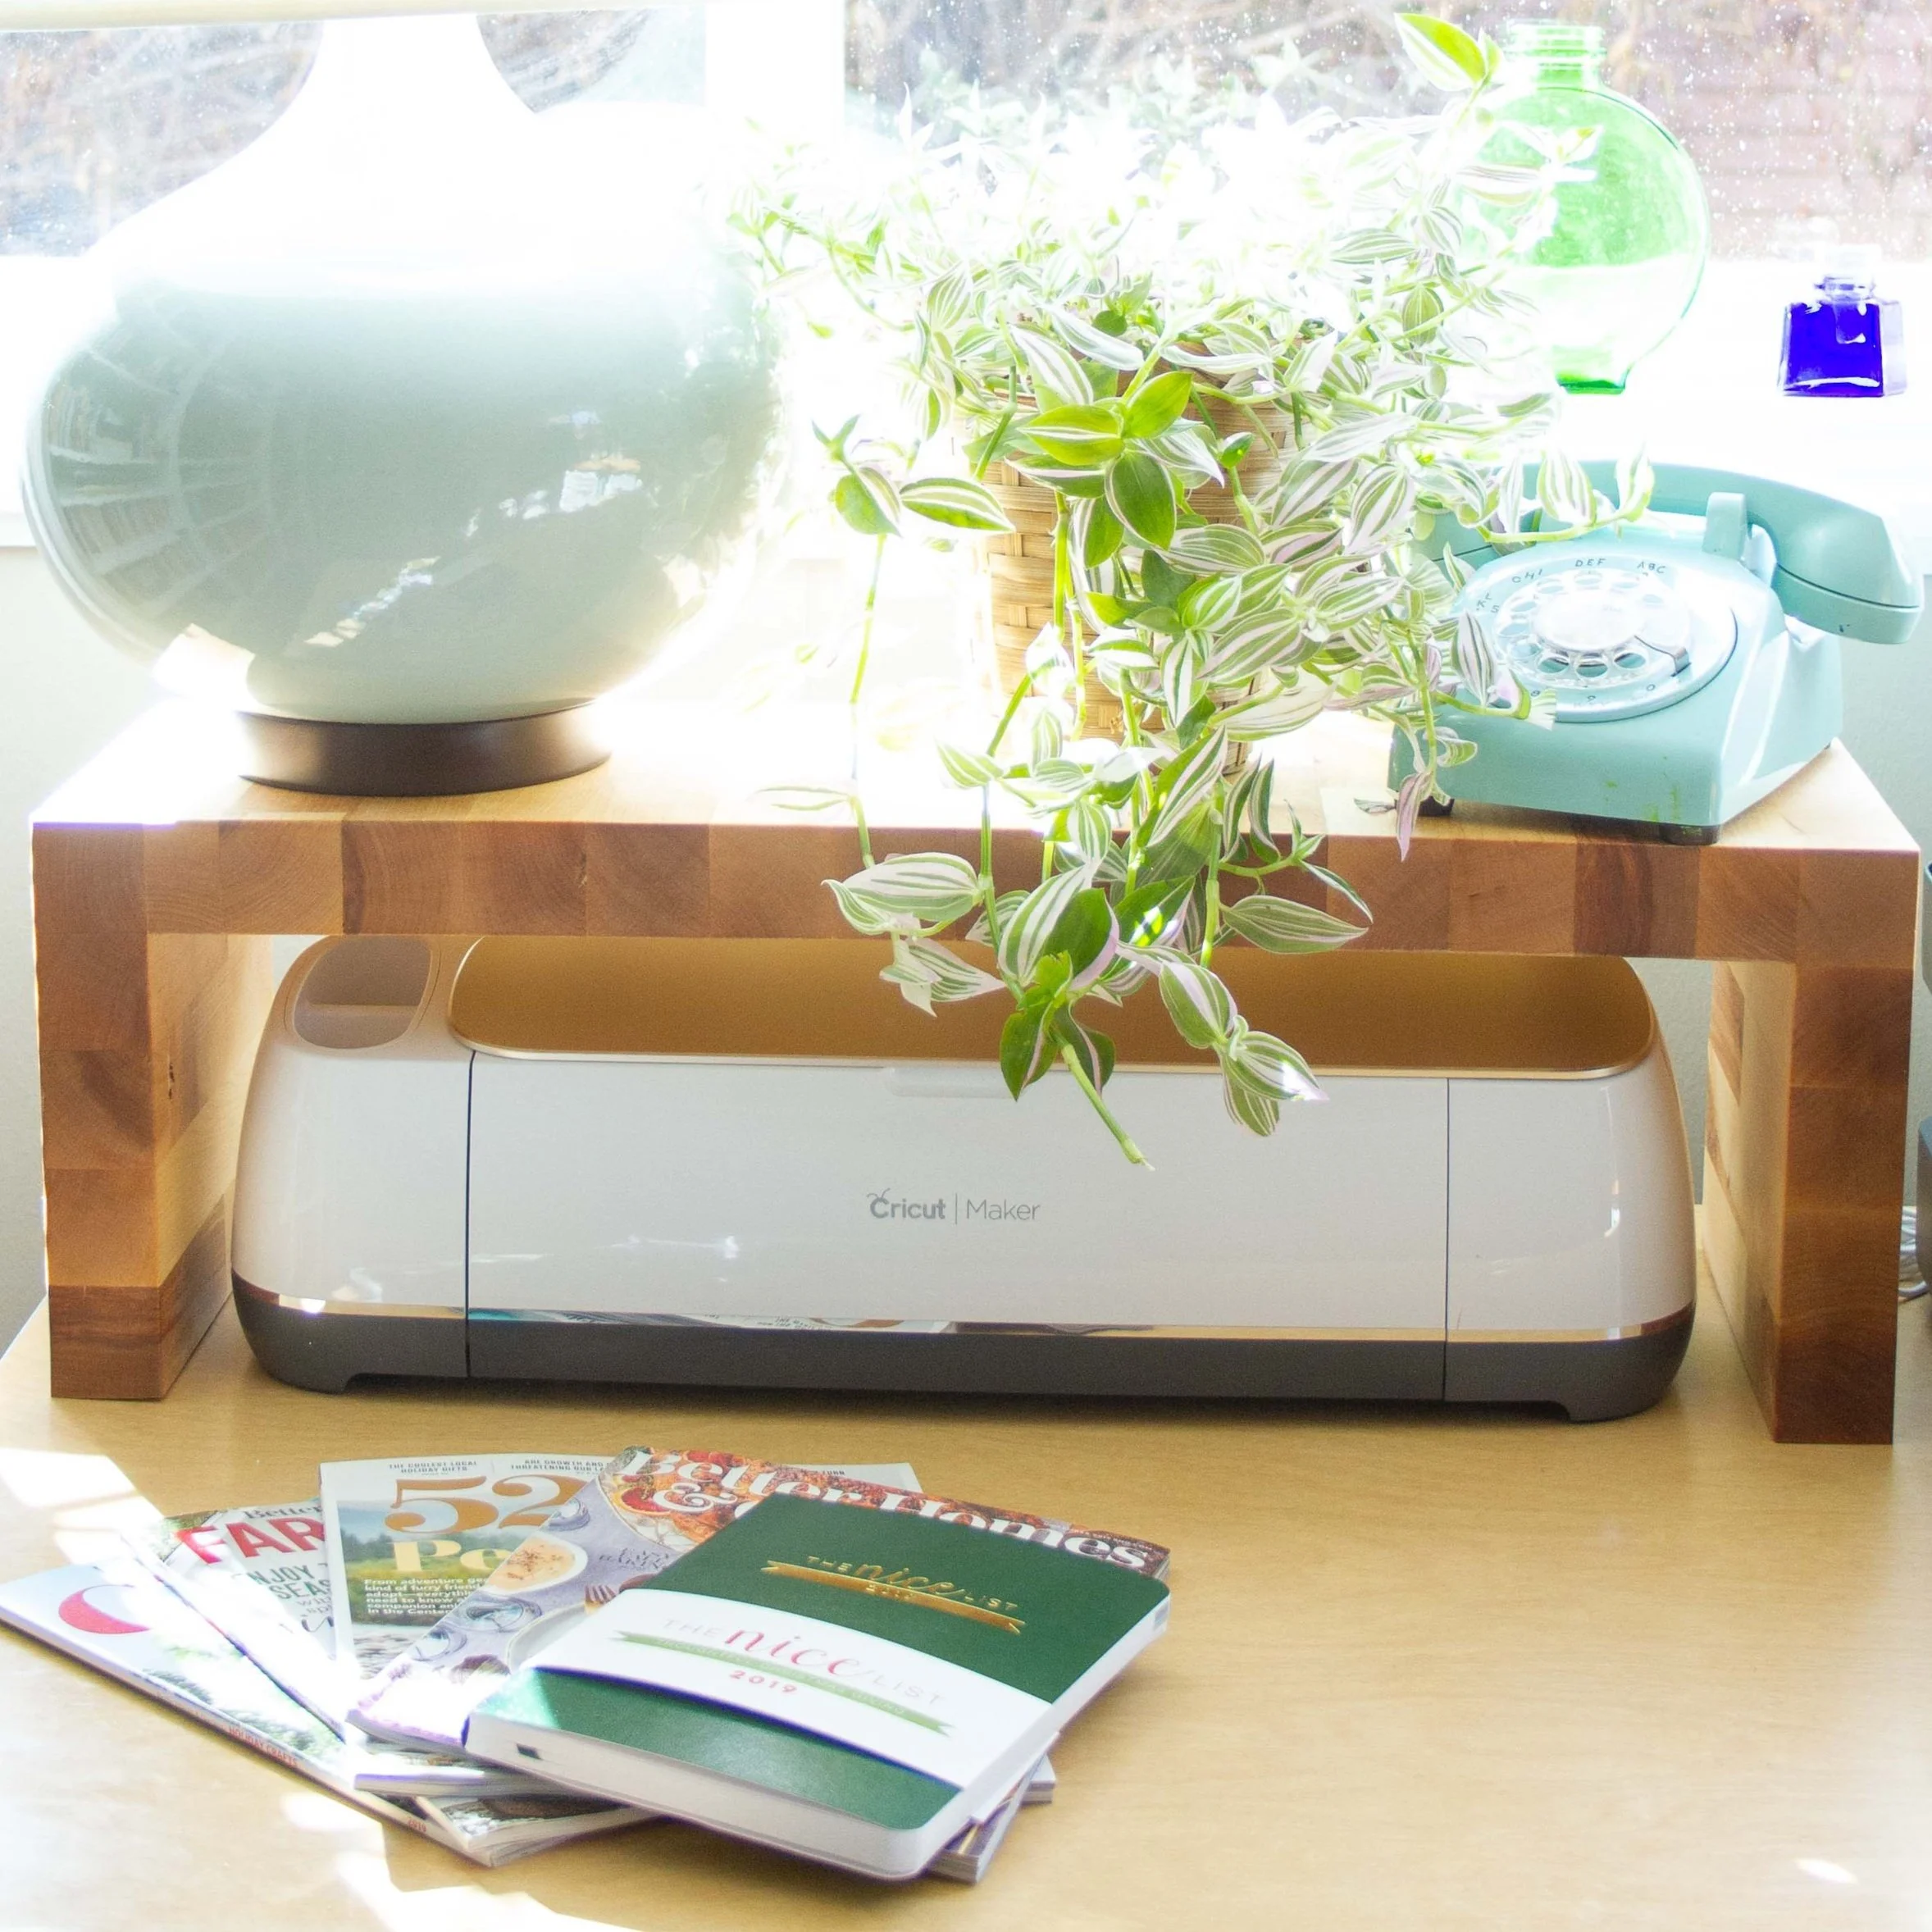
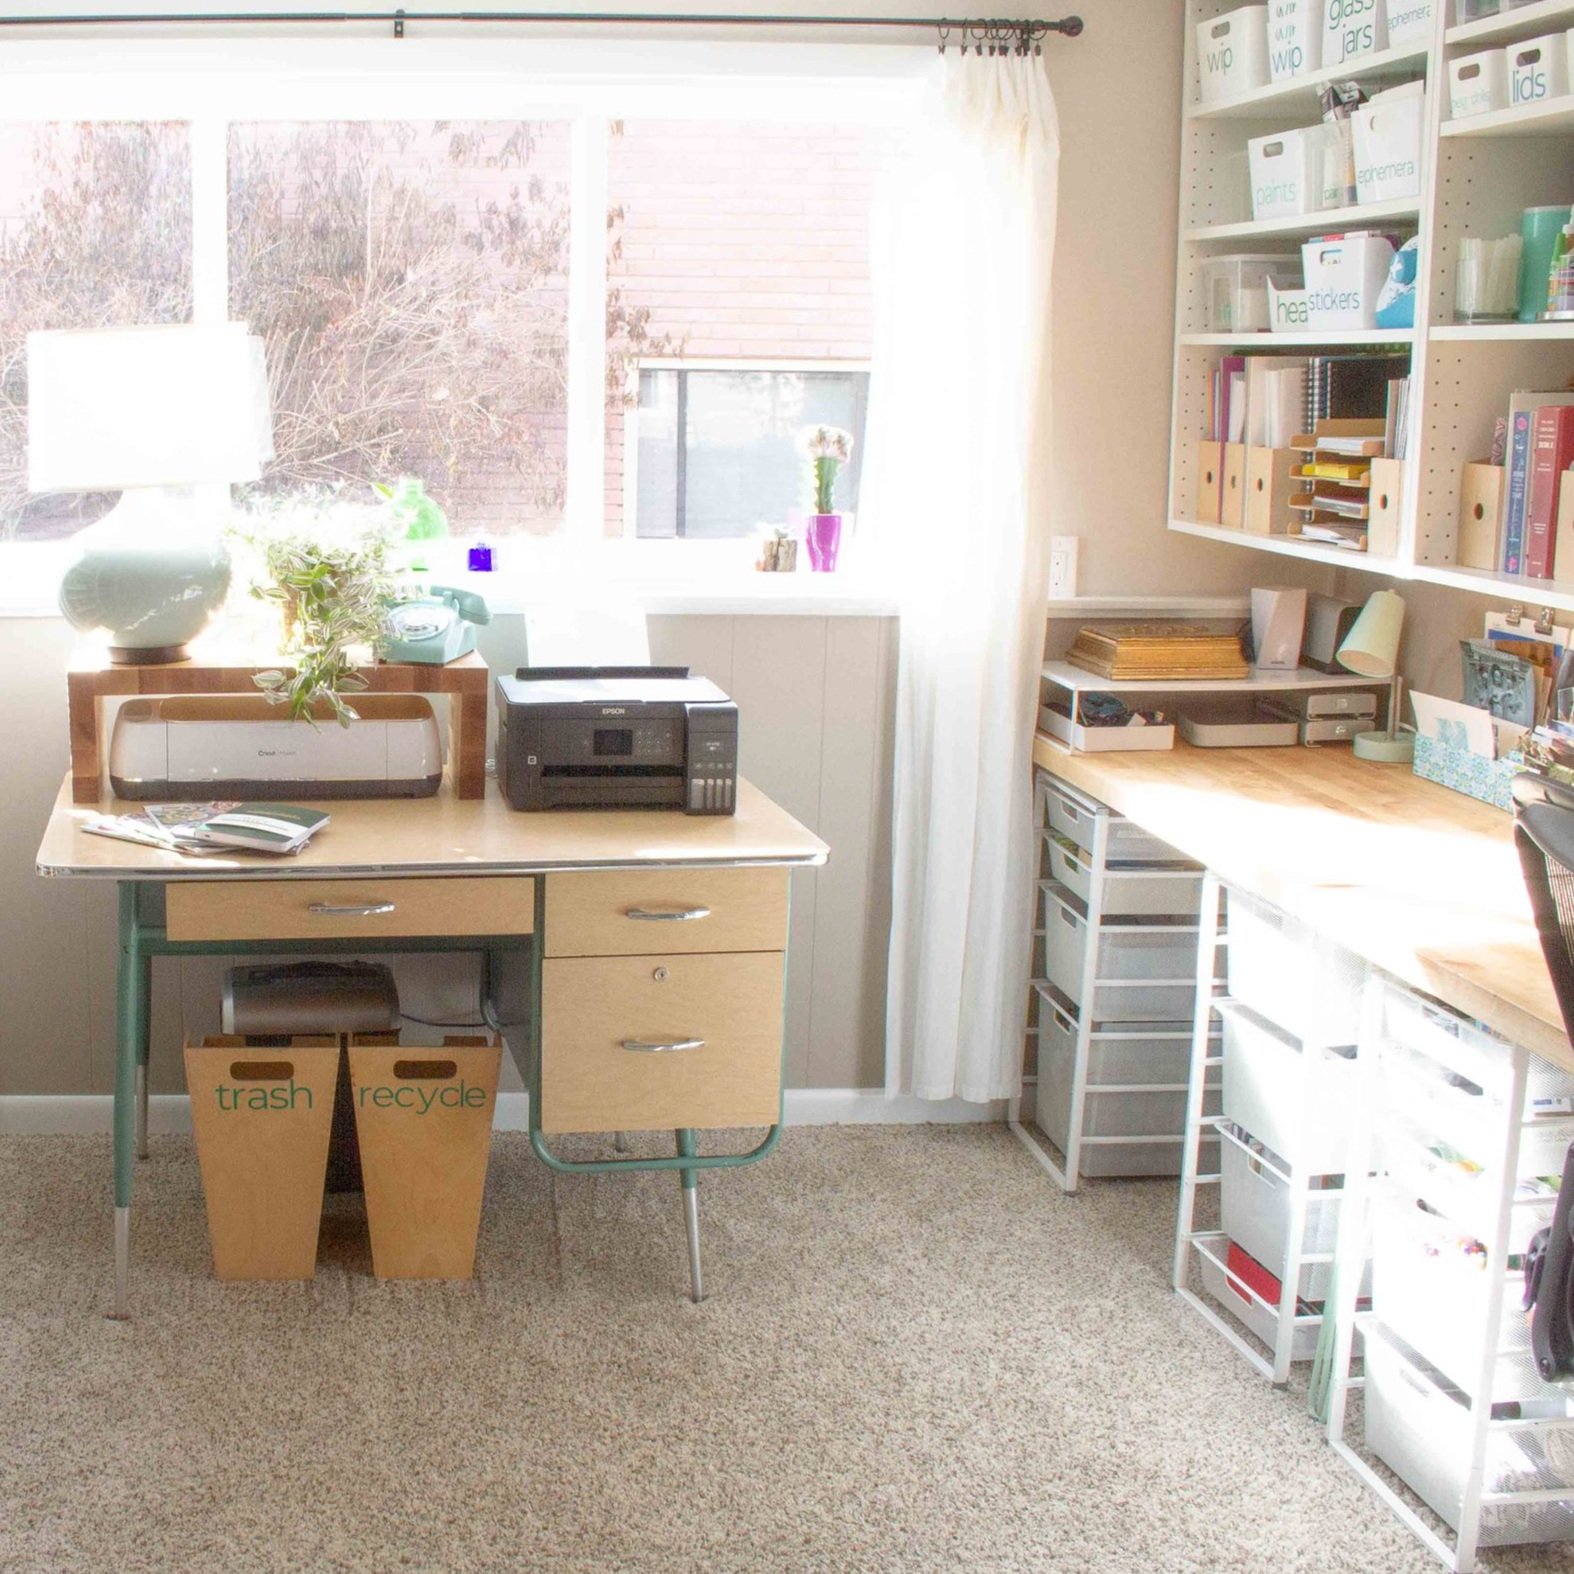
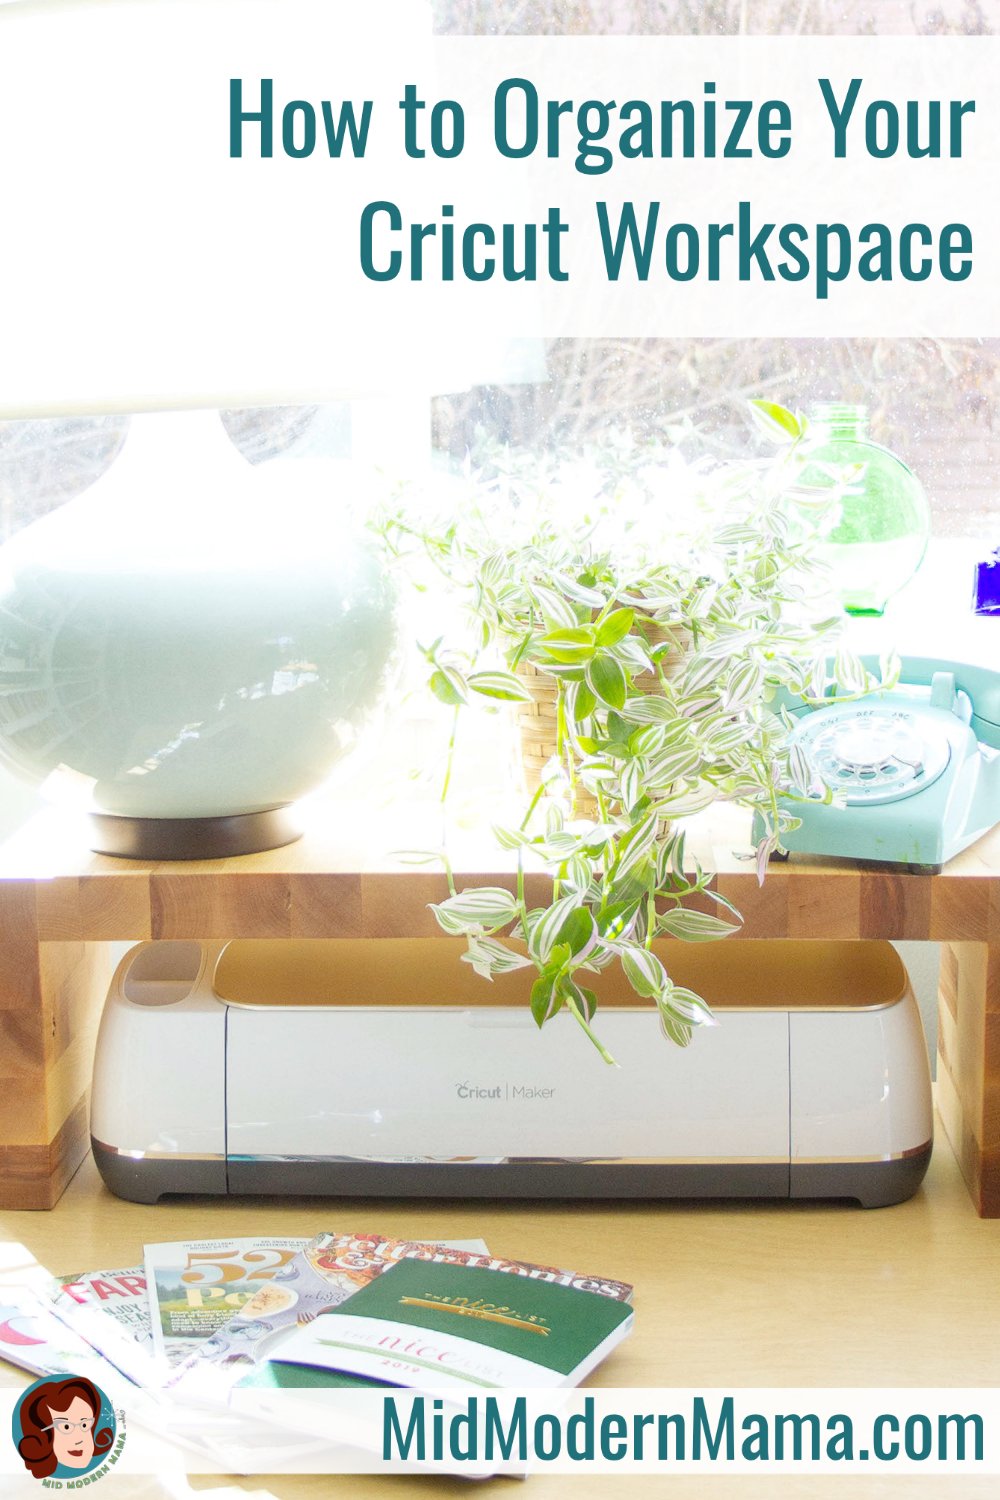
Because the Cricut moves when it is working, choose a flat and sturdy work space. I wanted my Cricut to be close to my computer and printer. I found a vintage tanker desk from the 1950’s which I cleaned up and restored. It is the perfect work area for my Cricut.


Room Behind & in Front
Your Cricut requires space both behind it and in front as the materials move through the machine during cutting. One of the best parts of this vintage desk is the very deep work top. When I am using the Cricut, I can slide it out giving it plenty of room both behind and in front.
Bonus: my vintage desk has a melamine top which is very easy to keep clean.
Consider Going Up
Using leftover scraps from my desk which is made from butcher block, I created a shelf that sits above my Cricut. It’s the perfect spot for a lamp and a plant — but it would also be sturdy enough for a second Cricut machine if needed.
If you aren’t handy enough to build something, don’t worry! Etsy has you covered with these 3D-printed legs for your Cricut!

Here are a few examples from other makers’ workspaces. We all have our own styles!
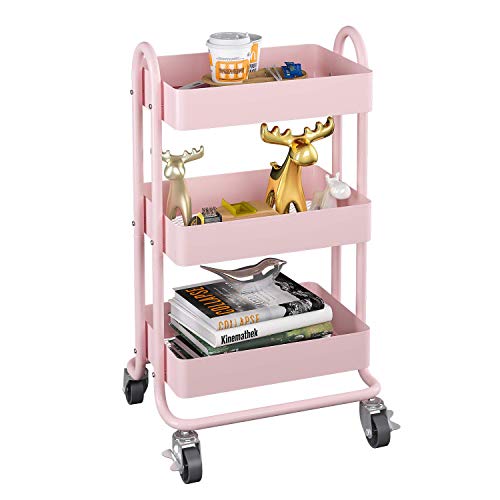
@heyletsmakestuff put her Cricut on a cart which allows it to be moved around as she is working on projects and tucked away when she isn’t.
@pigskinsandpigtails uses her Cricut for screenprinting and has a great wall-mounted solution for many of her tools, too.
I love @ourcoordinatedchaos ‘s work area! She maximized the wall storage for her vinyl with a cheap IKEA hack.
Organizing Your Cricut Tools
Depending on what your Cricut focus is — paper, vinyl, fabric, etc — there are some amazing tools to go with your Cricut machine. But you’ll need a good way to store them all, neat and tidy and easy to find.
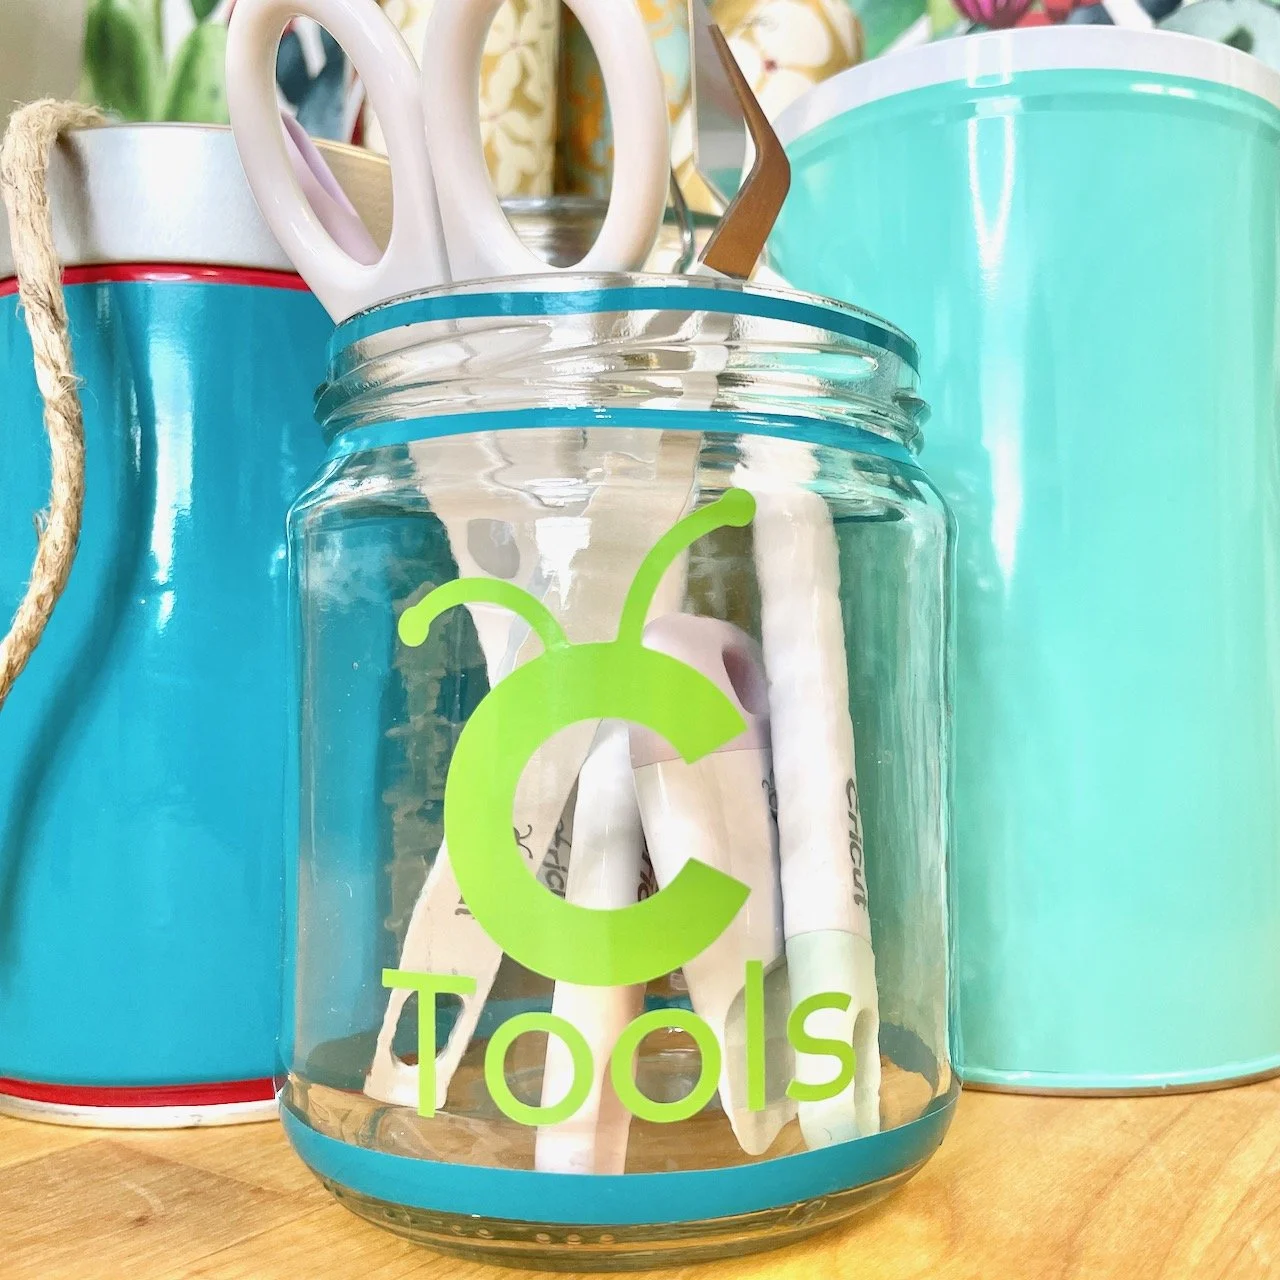
Small Tool Storage
Small tool storage doesn’t need to be fancy or expensive to get the job done! I took an empty glass pickle jar and dressed it up with some vinyl — cut on my Cricut, of course, and now I have a set of weeding tools all in one place sitting on my desk. Simple and cute!
I’ve saved this project in the Cricut Design Space where you can make your own upcycled pickle-jar! You’ll find the project here:
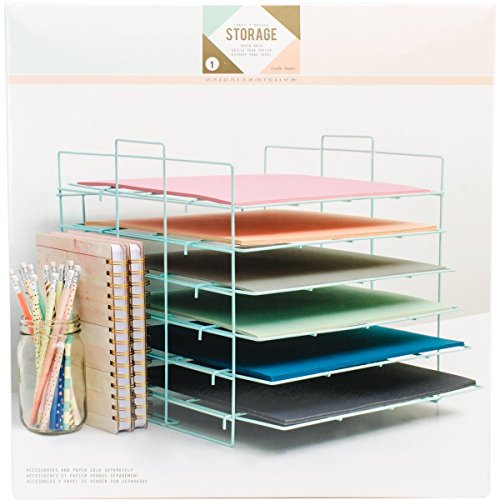
Storing Cutting Mats
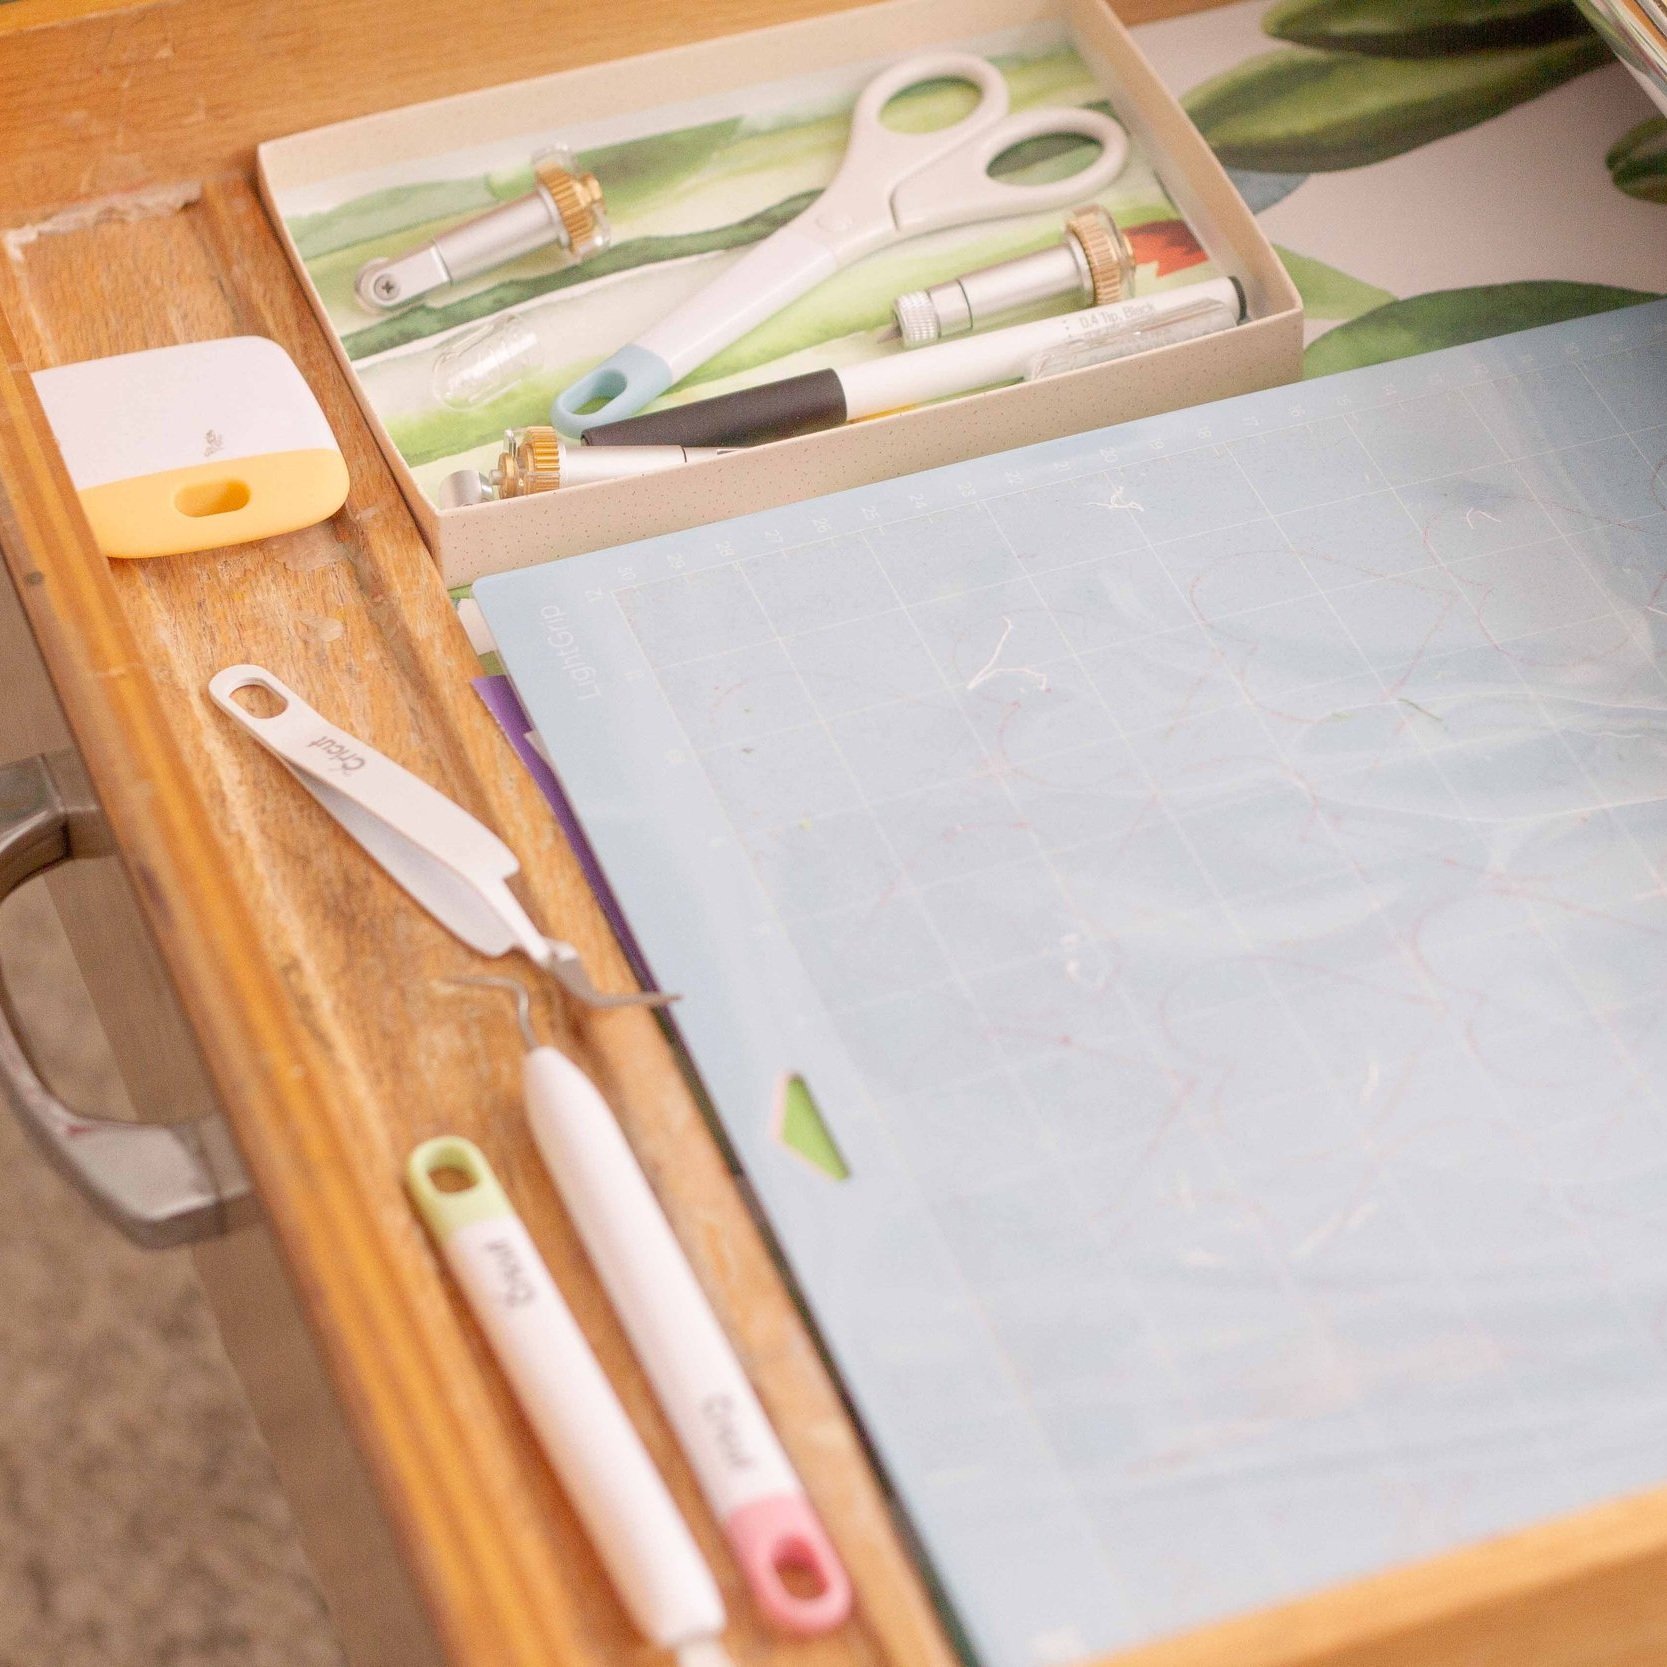
Another reason to love my vintage tanker desk: the pencil drawer! It’s perfect for storing all of my cutting mats. I lined the drawer with some leftover wallpaper from redoing the room. And I added a small box to hold my blades and markers when they aren’t in use. It’s all tucked away neatly and out of sight when I’m not using my Cricut — but right there when I need them.
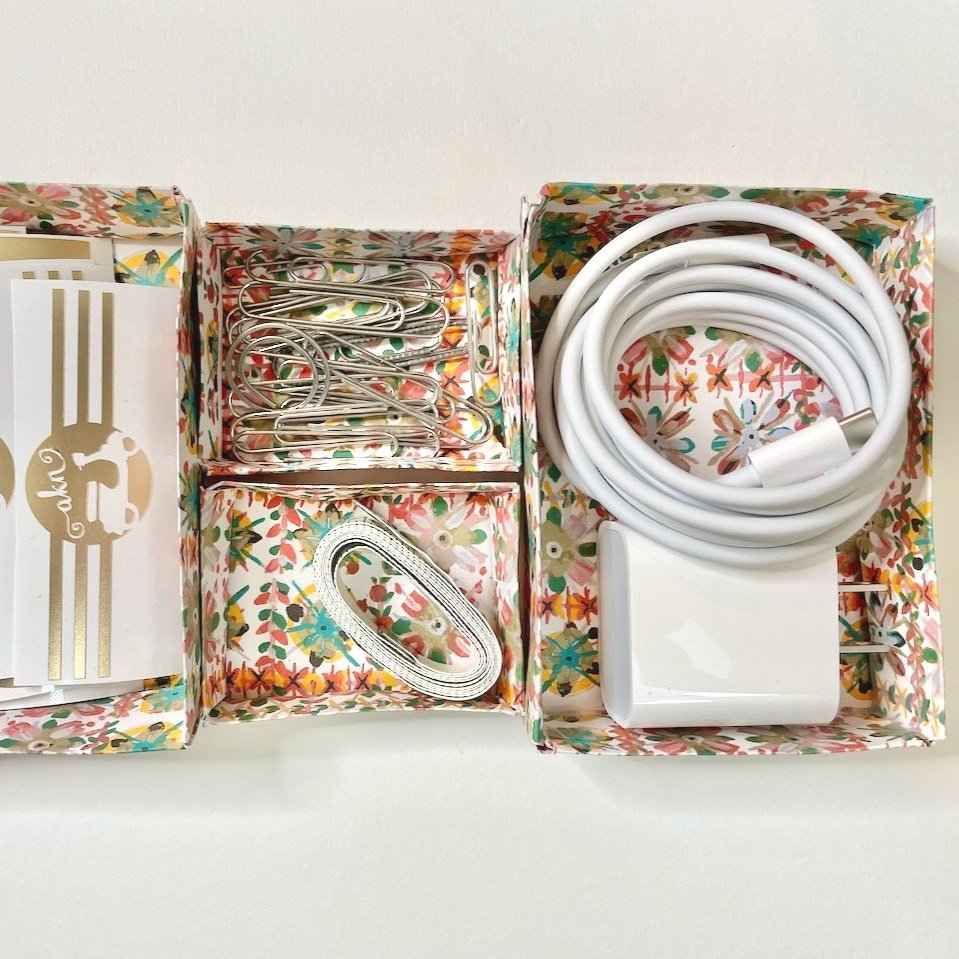
Storing Accessories
I also created some small paper boxes which hold the essentials and accessories for my Cricut habit like the cord and plug for my BrightPad. These are easy to cut out on your Cricut. They have scoring lines to help you fold them. Use them all over your work space for dividing larger areas like drawers into smaller spaces — all for the cost of a sheet of cardstock.
The printable paper I designed for these bins is available in my Library, and the box patterns are available in the Cricut Design Space.


There are so many great storage ideas in other people’s workspaces, too! Check these out:
@customhappinessco keeps all of her materials front and center. Her workstation is neat and tidy and has everything she needs within arm’s reach.
@scripted.bysam keeps her weeding tools in the Cricut’s tool caddy — part of the machine itself. It’s incredibly convenient!
@stickingjoy makes stickers and keeps her supplies close at hand. I spy her Cricut EasyPress on a shelf underneath her Cricut, too!
Storing Your Supplies
Depending on what you do — making cards, creating with vinyl, cutting pieces for quilts — you will have a range of supplies to store away and use with your Cricut. But there are some simple ideas which will make that storage process easier and tidier.
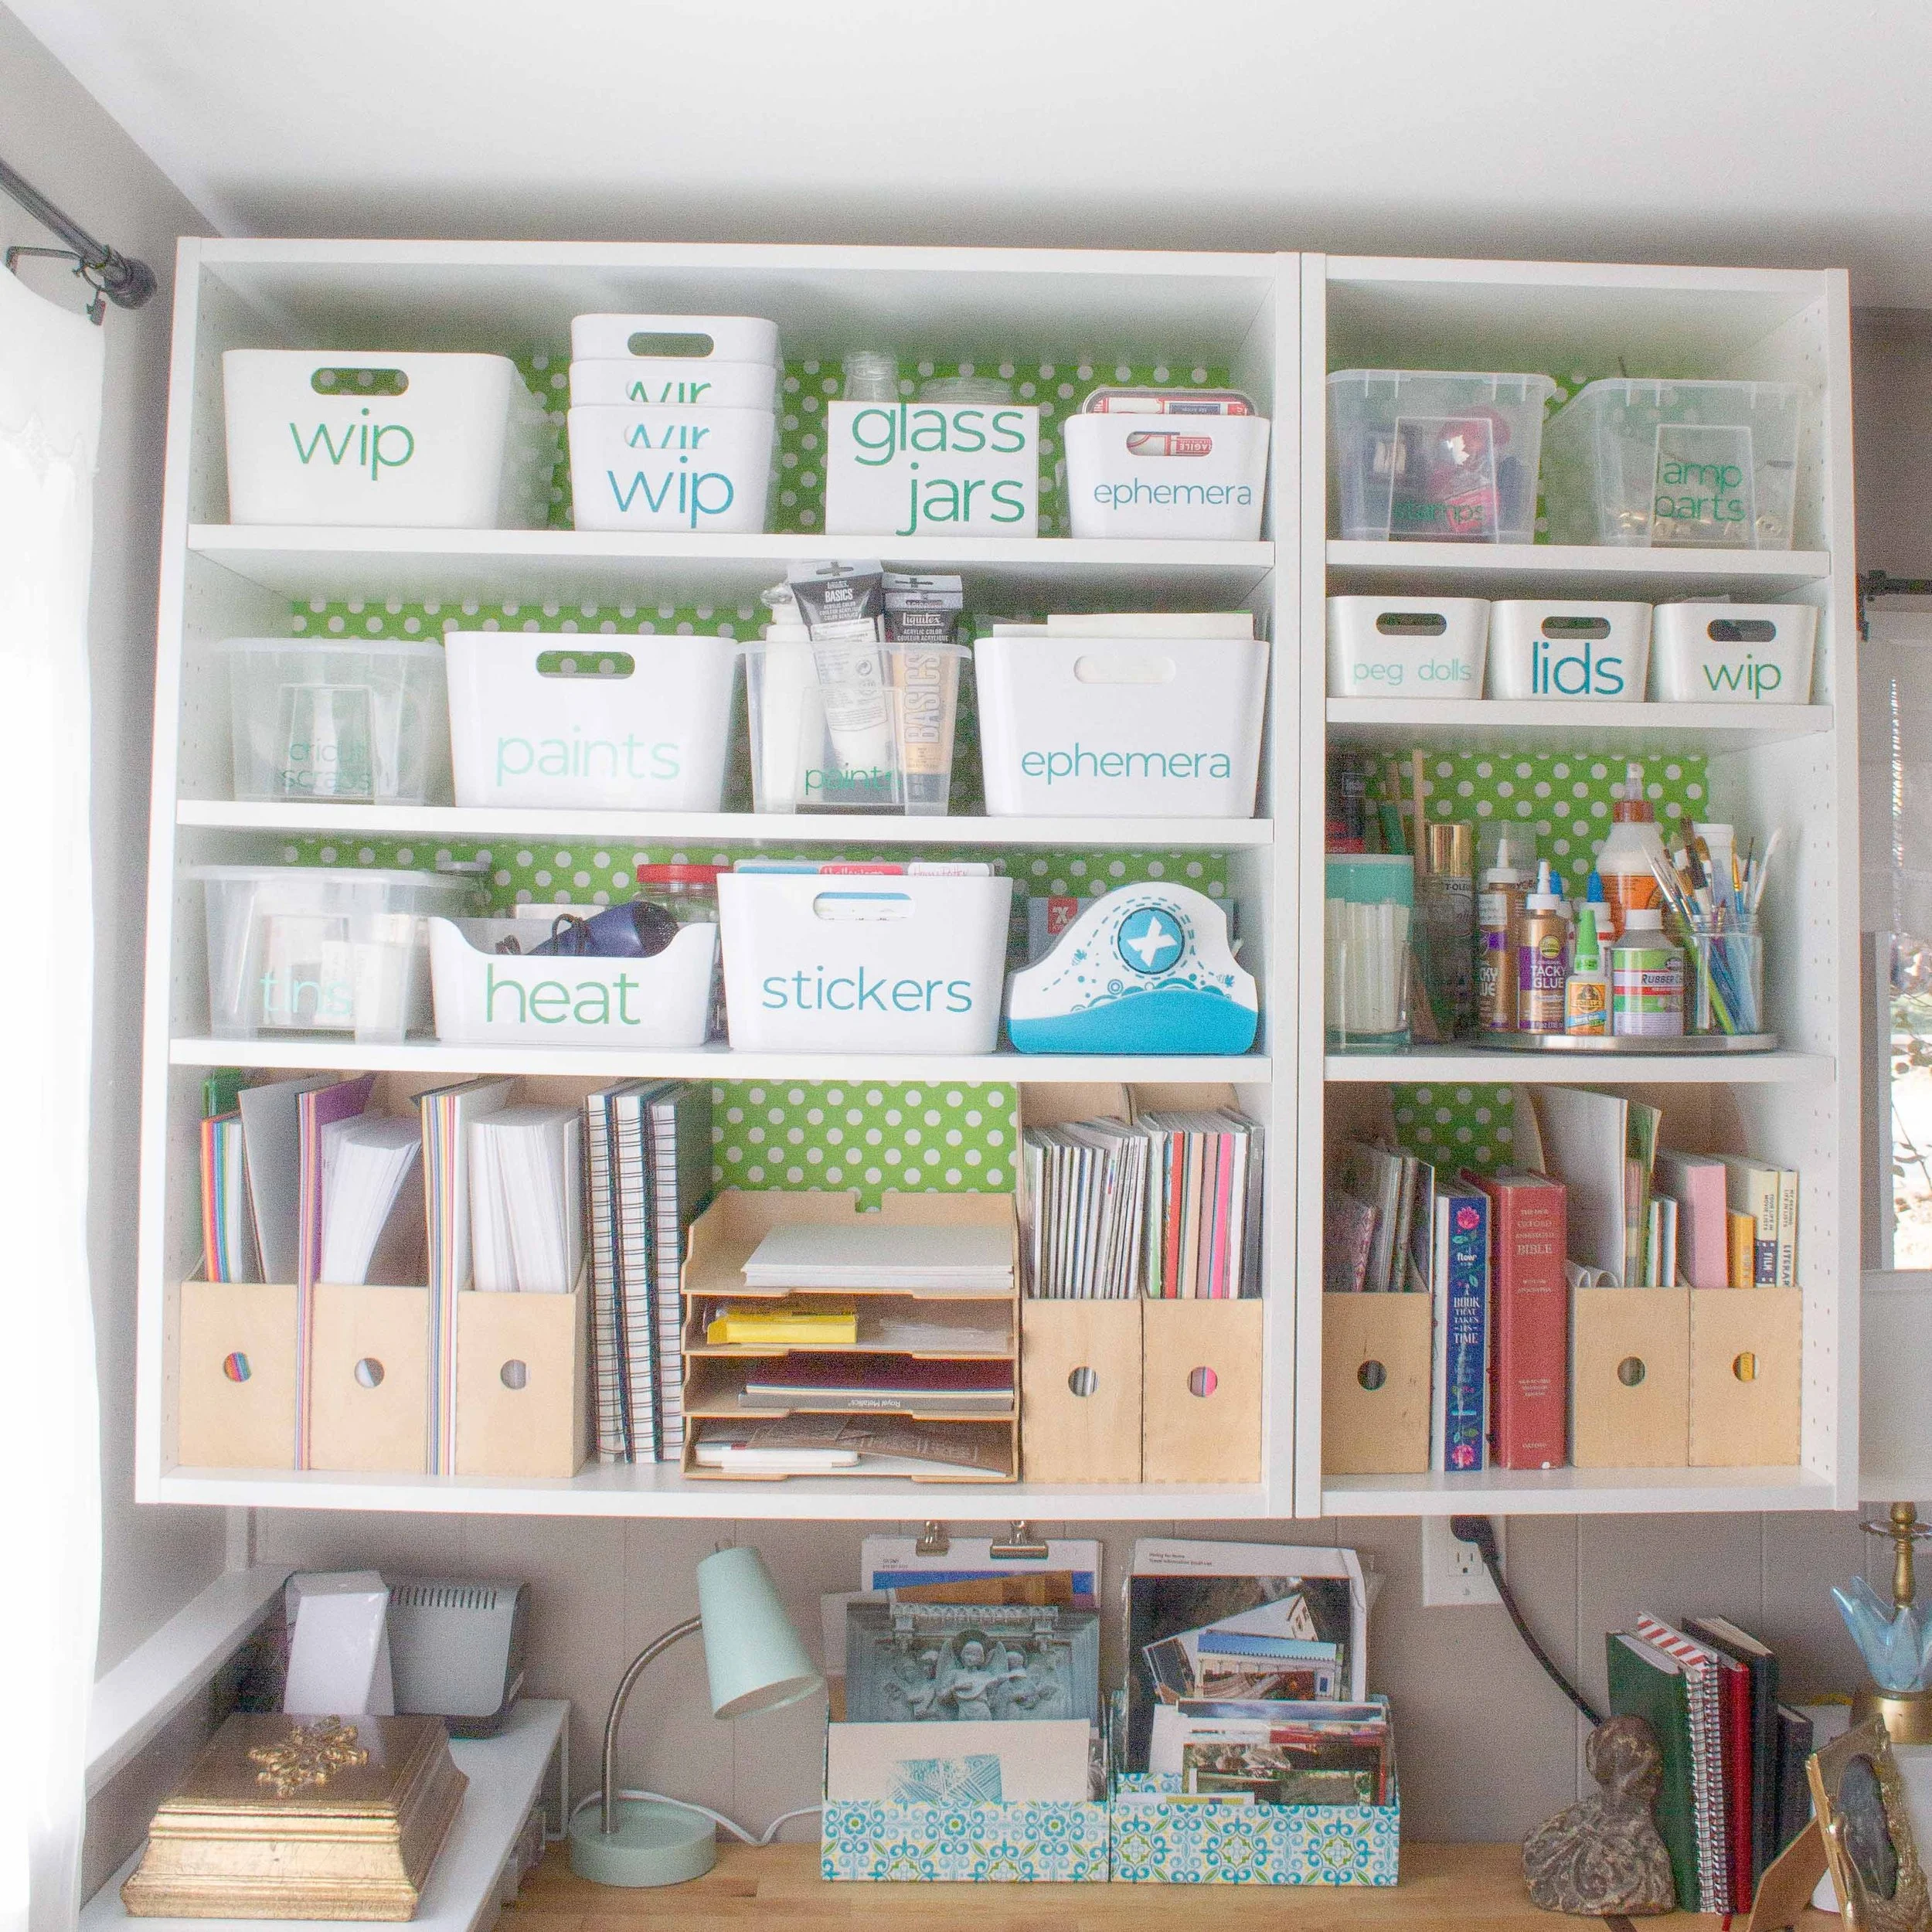
Label Everything
Personally, I don’t want to look at all of my supplies all the time. It’s too visually stimulating. So I keep almost everything in bins or open cardboard boxes with labels — made on my Cricut, of course. I can’t see what’s there, but I know exactly where everything is.
I used Cricut Permanent Vinyl in several colors to label my bins and boxes.


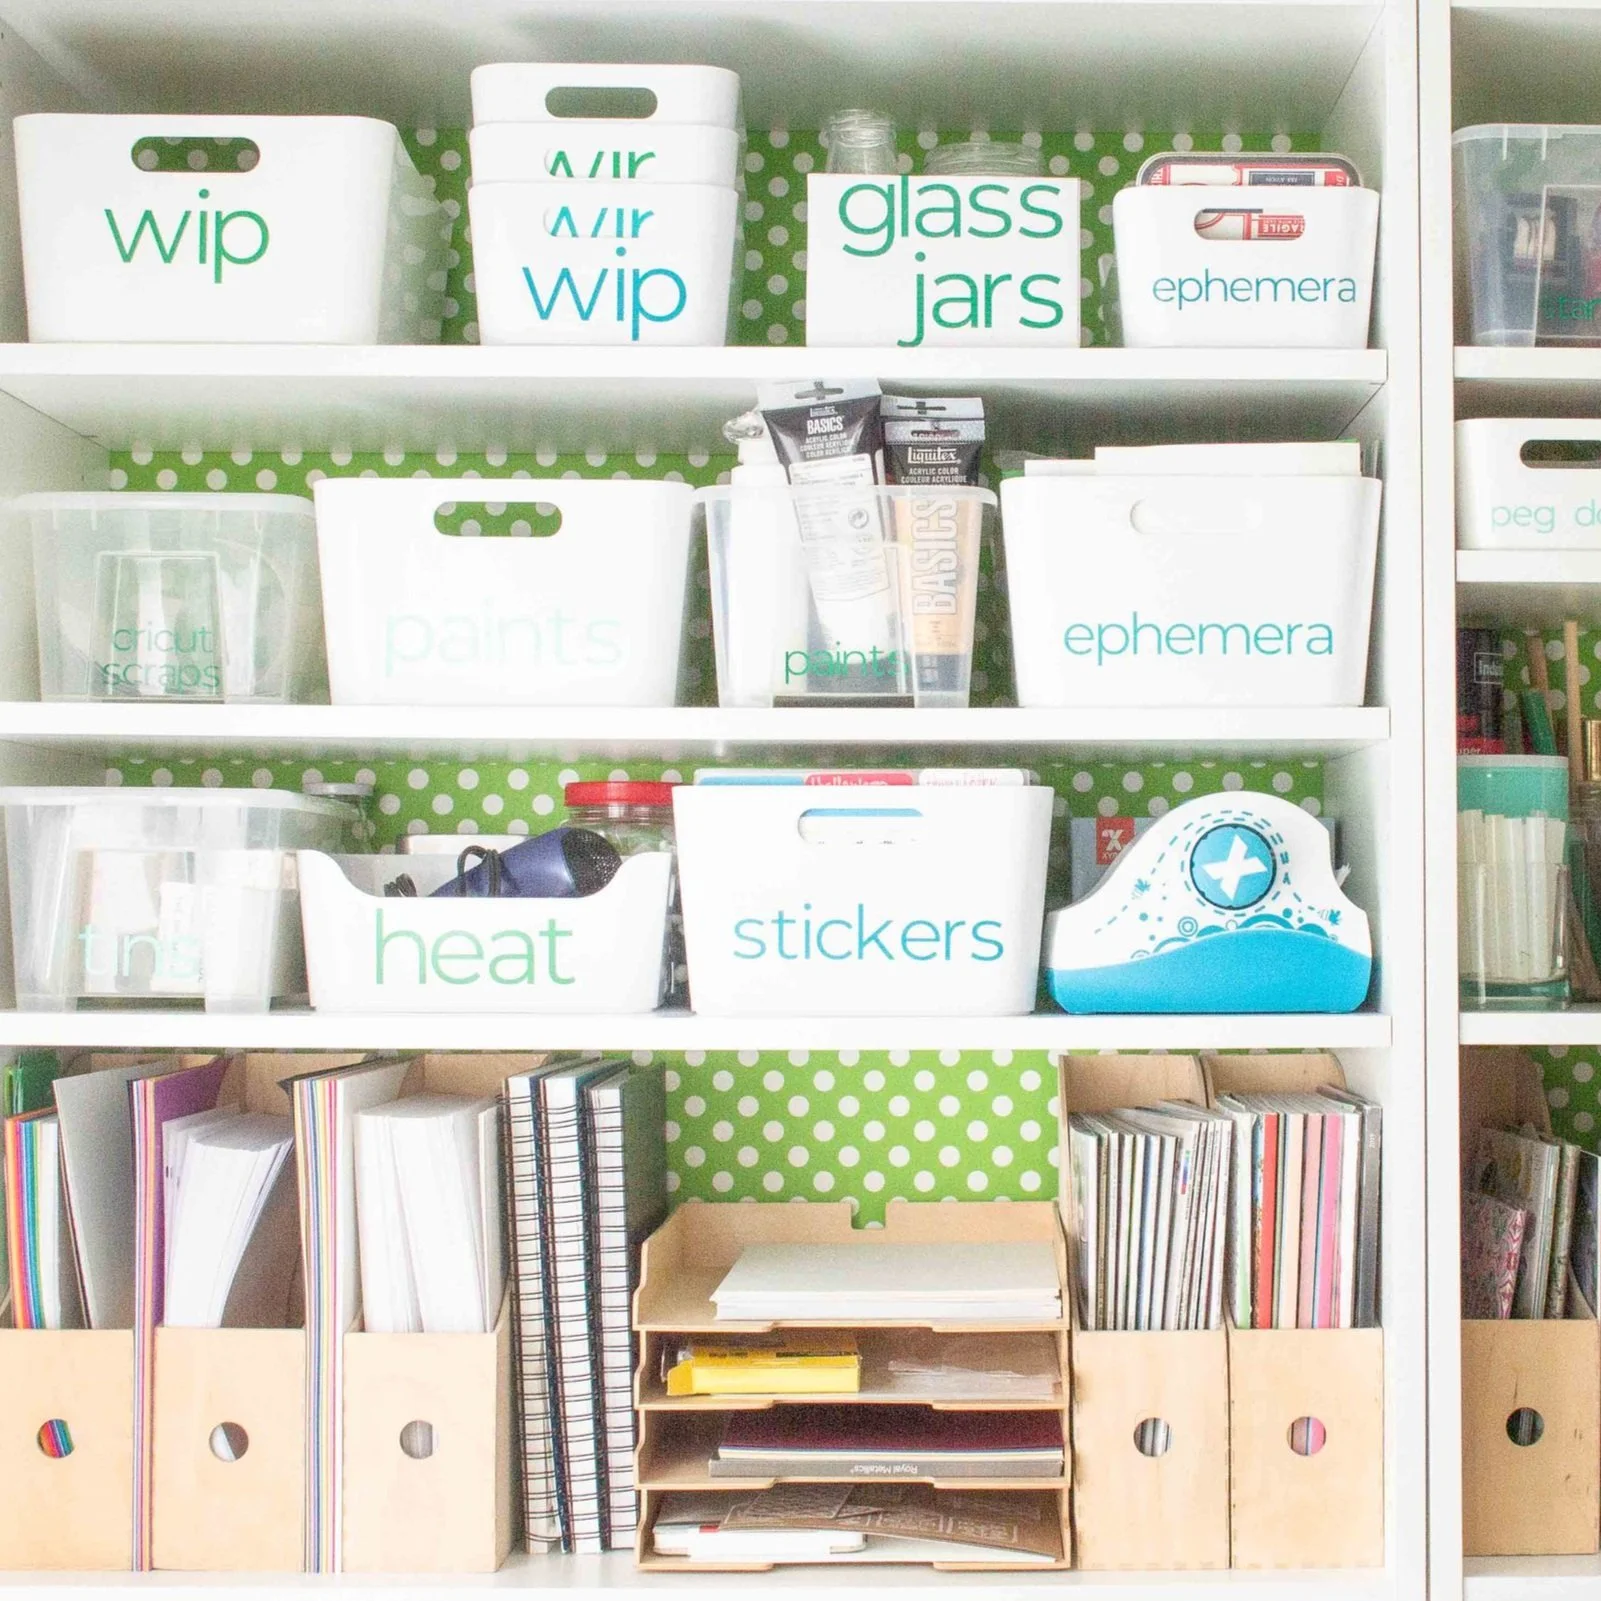
A Spot for Everything
In planning my Workroom, I used the KonMari Method — taking stock of every item in the room and letting go of things I didn’t need anymore. Then I designed the storage — like these bins and open cupboards — for what was left — putting like items together.

Room to Grow
I had not had a Cricut for long when I redid my office space, but I knew that my love for all-things Cricut would continue to grow. So I deliberately left empty spaces, some of which have now been filled with new supplies. By using a modular system for storage, I am able to expand it as needed, too.
Check out these great storage solutions, too:
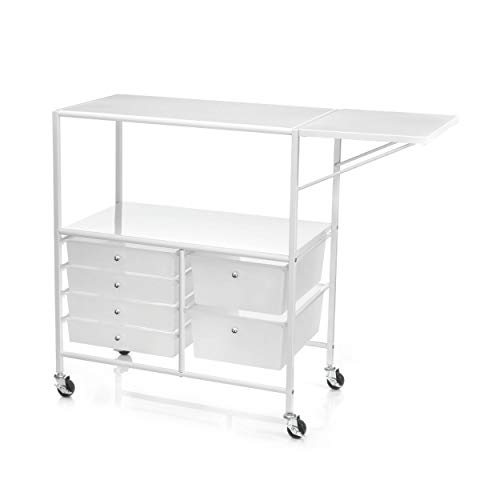
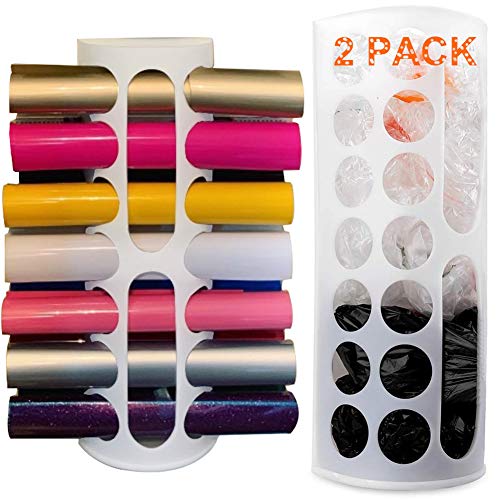
@radpartyshop has a great set up with multiple Cricuts on a movable cart as well as an inexpensive storage solution for her vinyl rolls.
@cricutcult has an enviable workspace and has prioritized having all of her materials easy to find and close at hand.
@rabia.khans uses very shallow pull-out drawers to store her supplies which makes them easily accessible but still tidy.
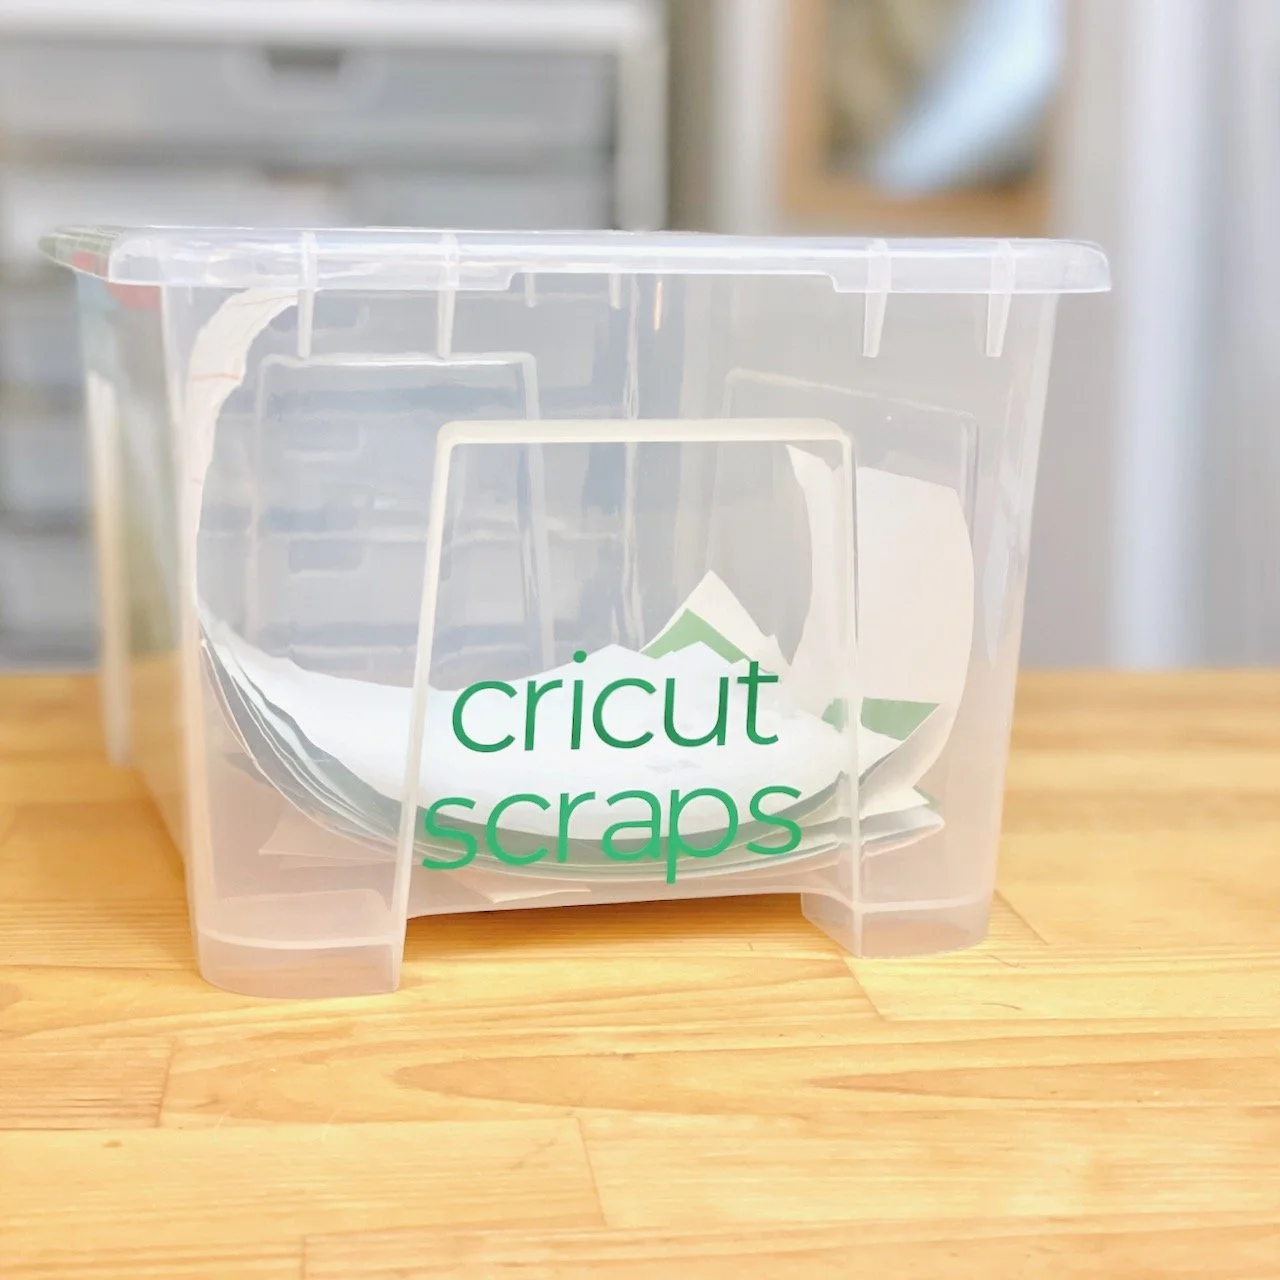
How to store your scraps
Keep them! Keep. Your. Scraps. You’ll need a storage solution to keep them organized, but you never know when that small piece of paper or vinyl will be the perfect size for something else. Plus, all of your supplies cost money. Whether you are running a business or just crafting for joy, when you throw away a scrap, you are thowing away your hard-earned cash. So create a simple storage solution for smaller pieces, and you’ll be saving money and resources, too.

Sort Your Scraps
Whether you organize them by color, size, or pattern, you’ll want to create a system which keeps them neat and tidy. Using my Cricut, I created a greeting card organizer which can easily be adapted to sort vinyl or paper scraps of all kinds. You’ll find the tutorial below. Cut your dividers using your Cricut from cardstock, and then use a simple bin or box to keep everything tidy.

Throw them in a Bin
Alternatively, just create a bin that you throw your scraps in for later. This works well if you use the same kind of material most of the time. If you use multiple kinds of vinyl, for example, take the time to write what kind it is on the back of each scrap for later. Or create separate bins for each type of material.
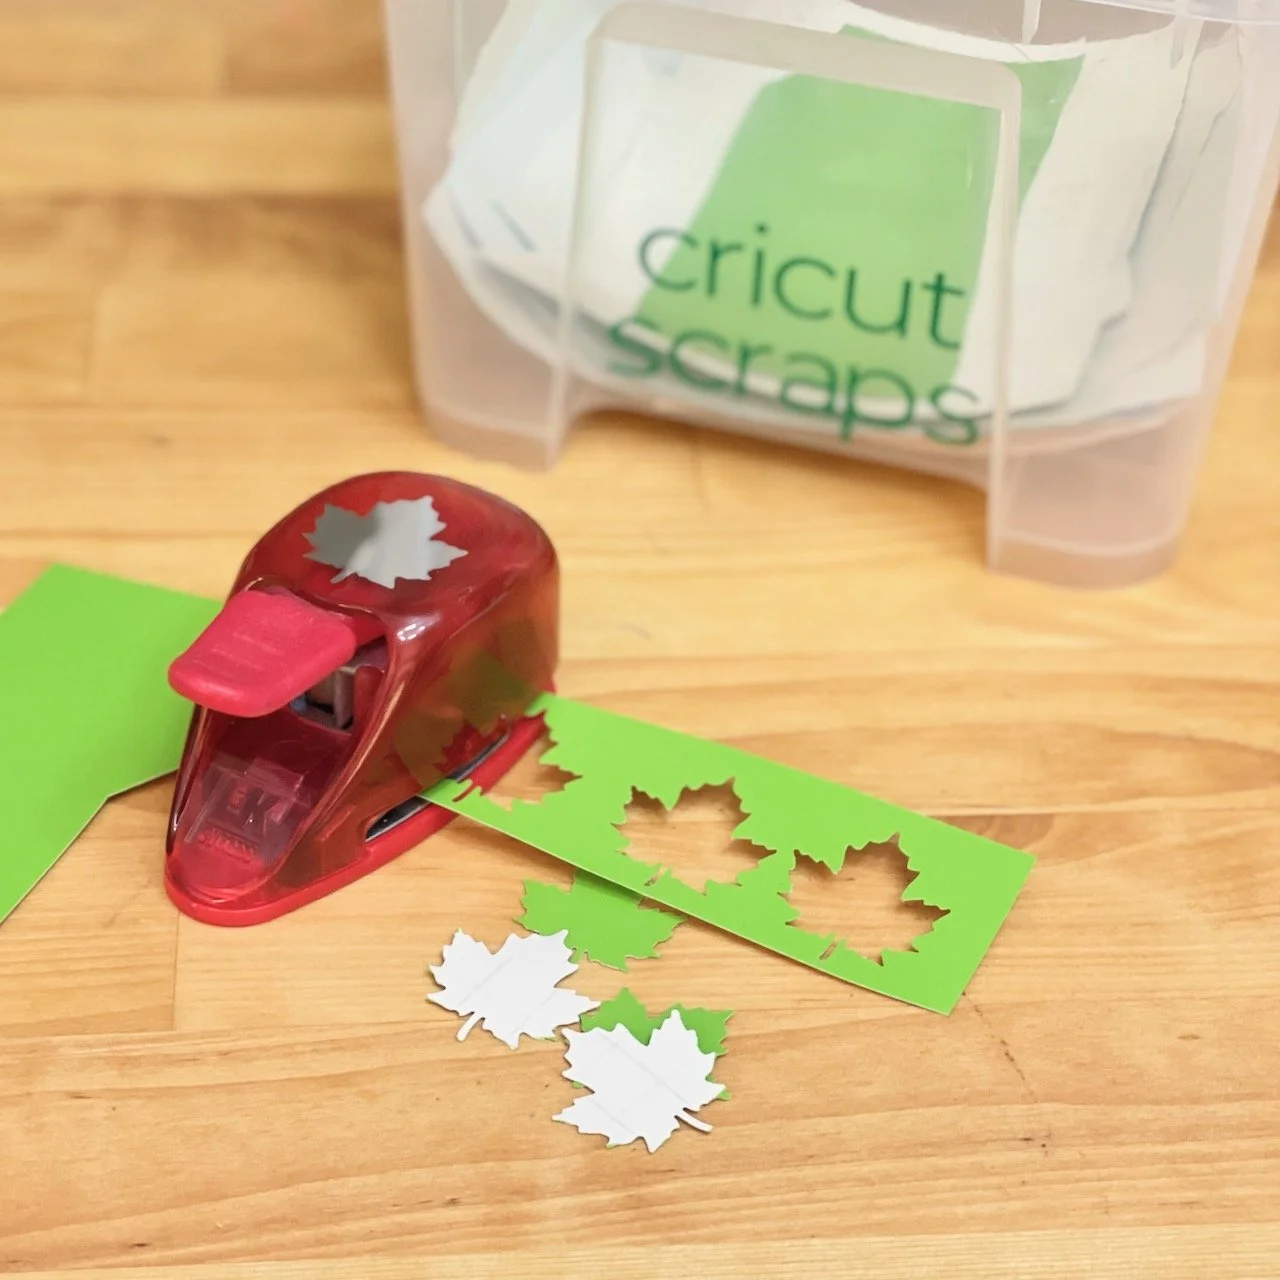
Make something Fun
If a scrap is just too small to save, turn it into something else. I have several craft punches. When I have a small scrap of paper or vinyl, I will use my punch on it making stickers or ephemera for using in a journal or as a freebie for purchases from my shop.
@bargain_momma has a clever solution with multiple labeled bins for her vinyl scraps.
@ubyus uses a binder system to sort her vinyl scraps by color.
Look at these cute shoes @paigejoannaa made using her vinyl scraps!
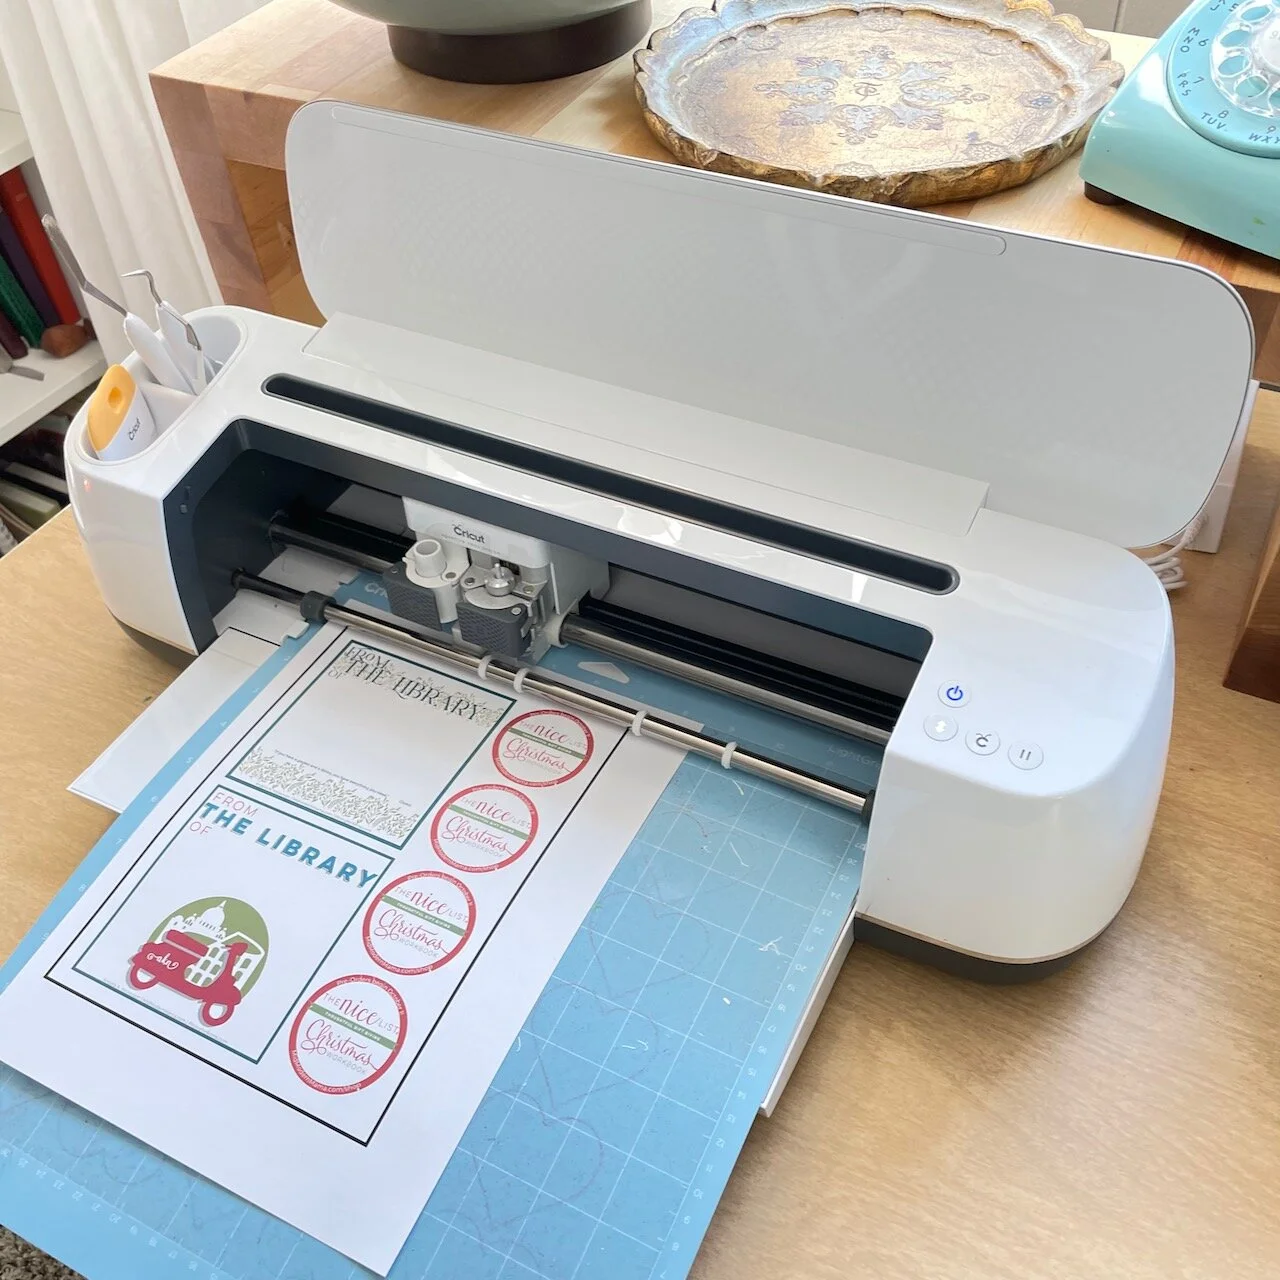
Create a Shipping Station
Having your shipping supplies and tools in one place will help make shipping simple and easy whether you ship out one or 100 orders per day. I don’t ship every day, so my shipping station is quite modest. However, before the holiday season I am much busier shipping out The Nice List. My desk is designed with a floating table which, during the busy season, becomes my shipping station. I can relocate it in the room, assemble my inventory, and pull all of my supplies out to make shipping easy.
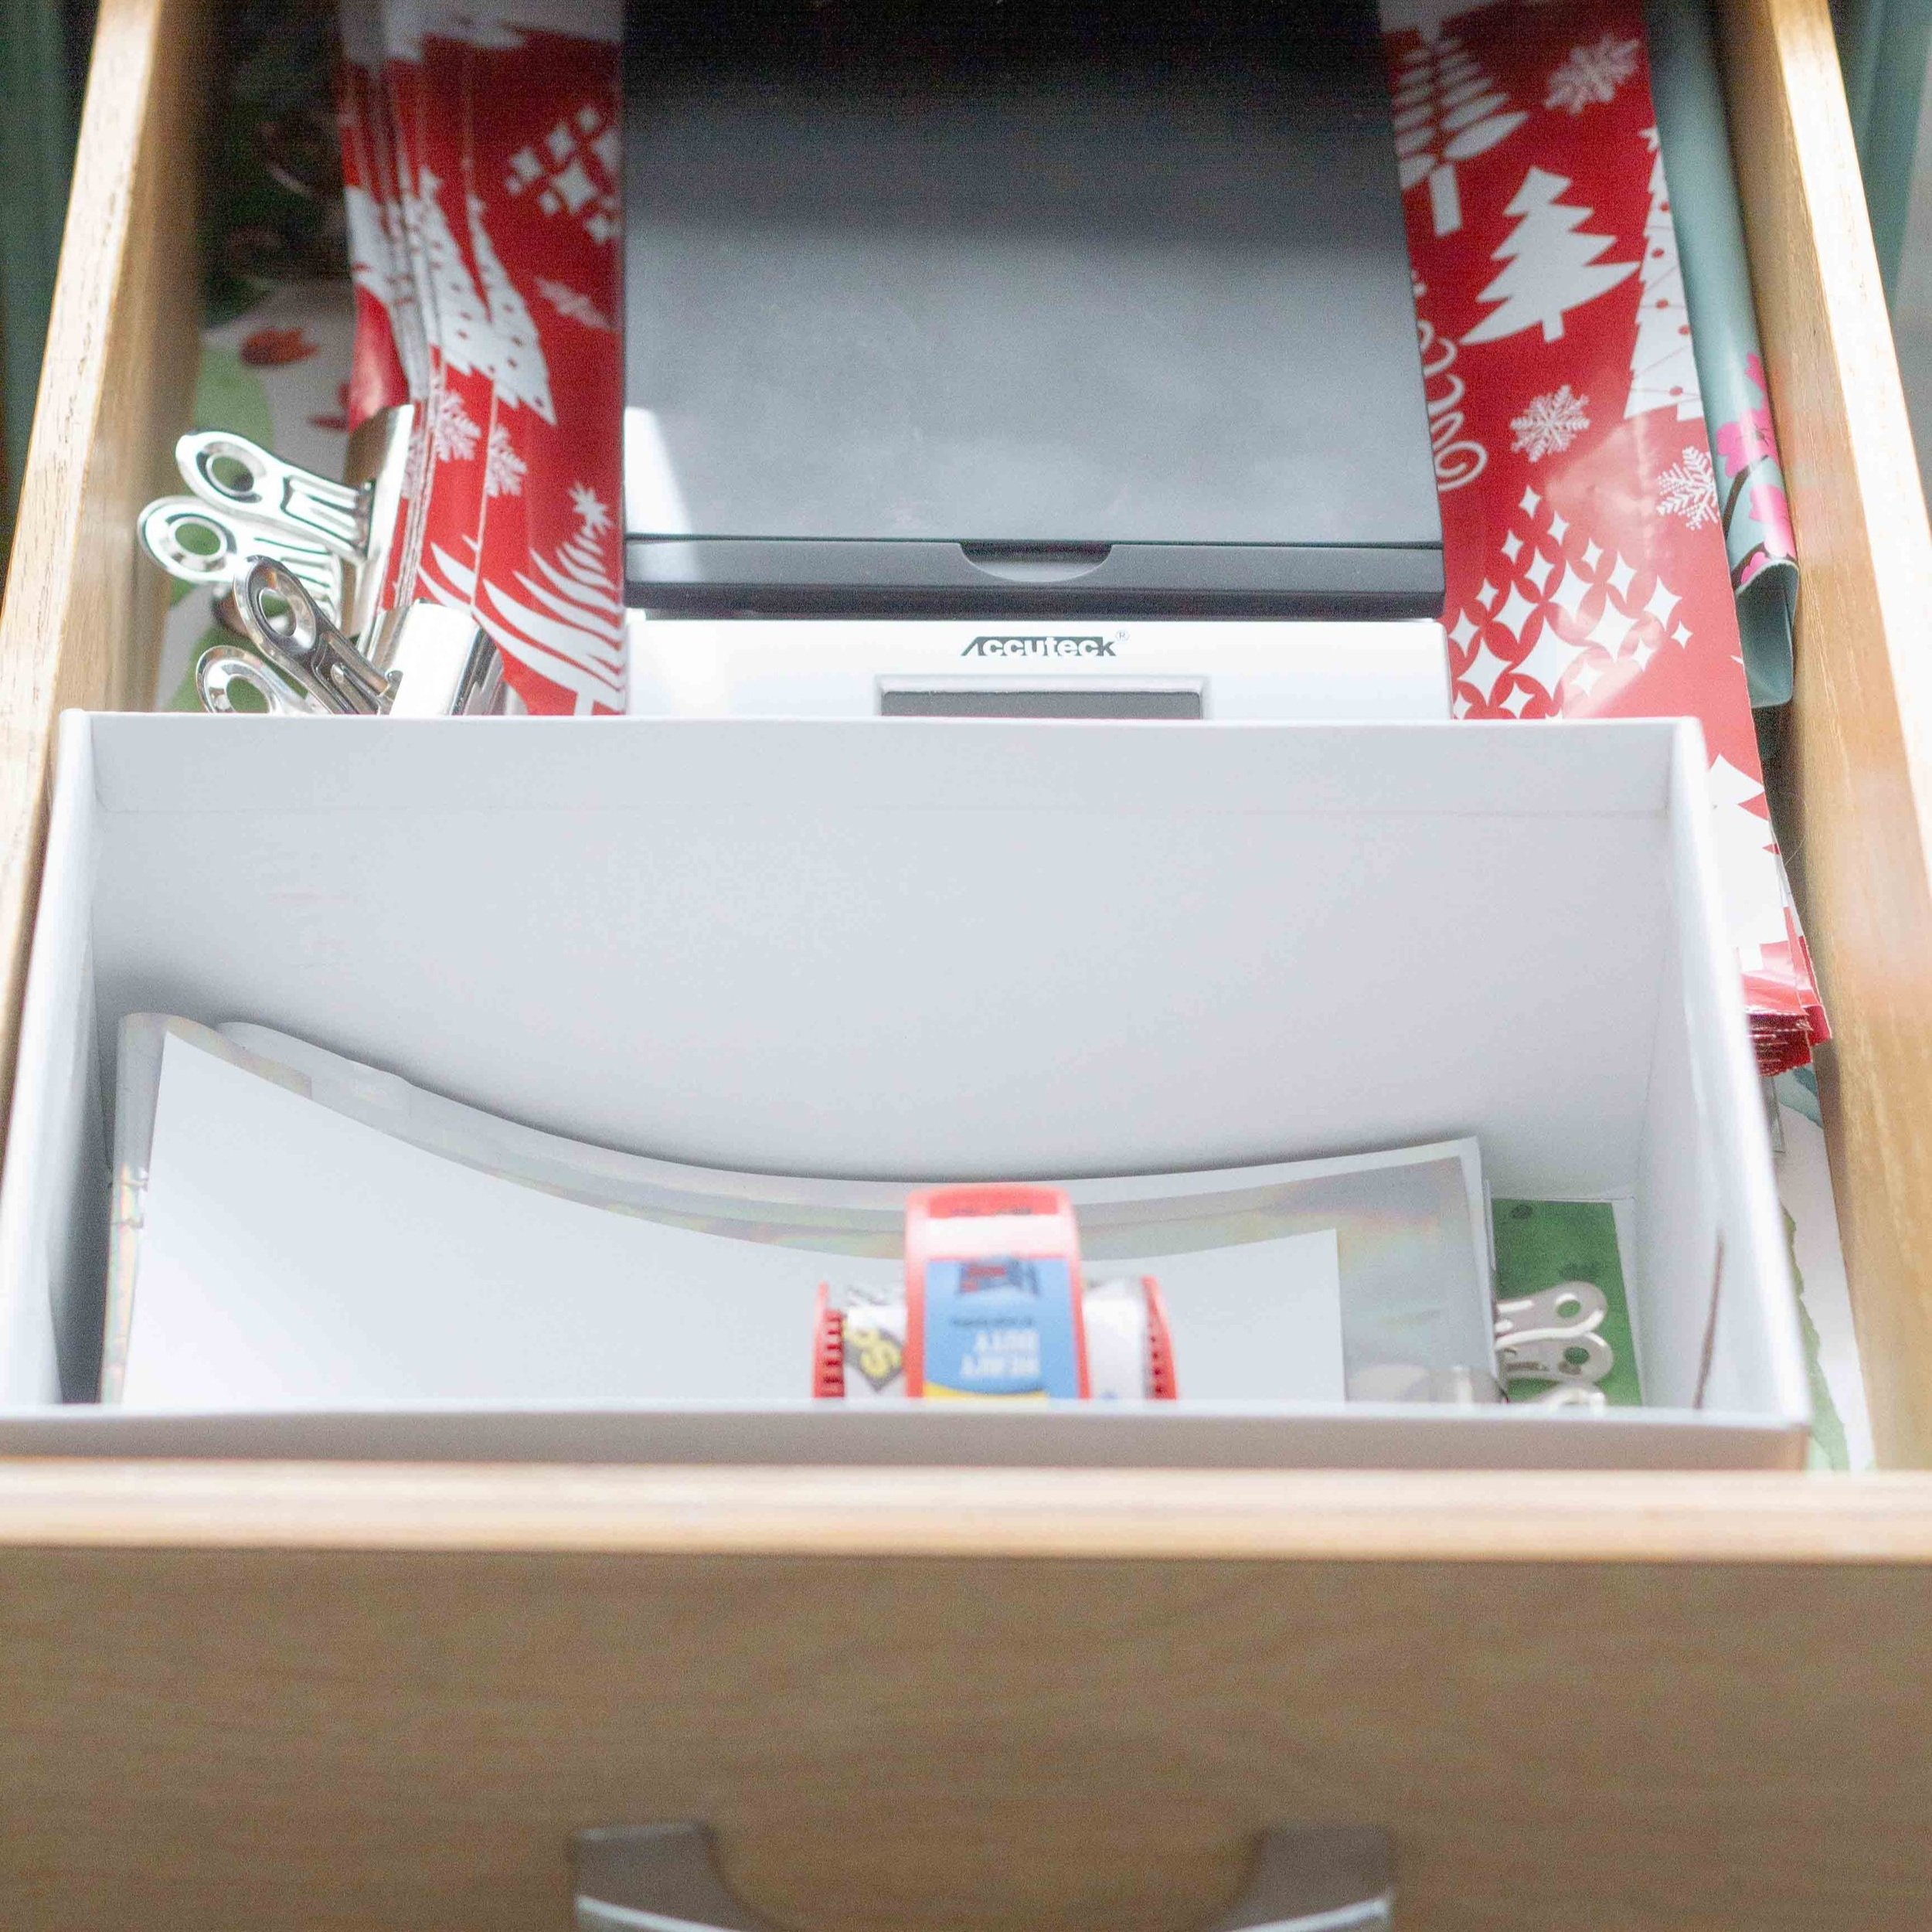
Most of the year, my shipping supplies fit in a drawer with a few larger boxes tucked away in a closet.
What do you need to set up a shipping station? Just a few basic supplies including:
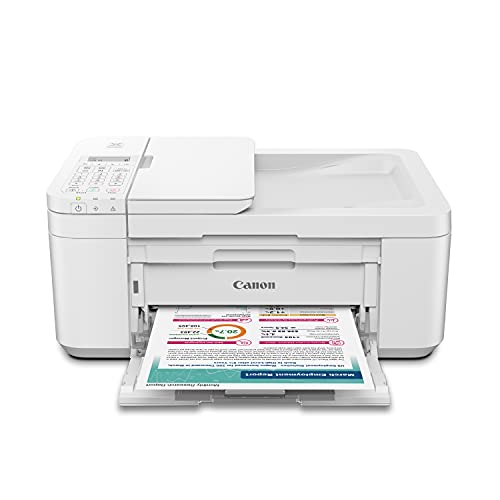
a printer
printable labels
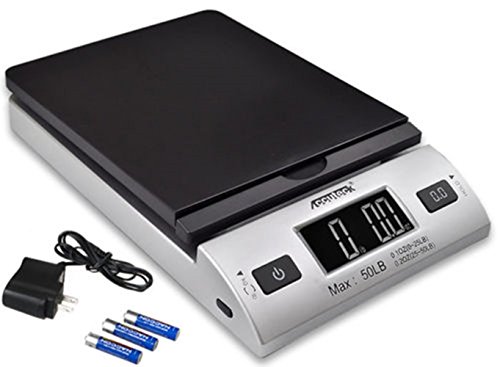
a postal scale
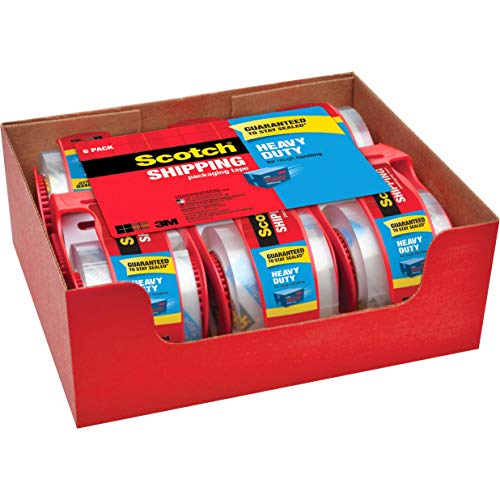
packing supplies which vary depending on what you are shipping
personalized notes to send with each order

Here are a few other examples of shipping stations for sellers:
@attemptingless uses a cart to hold all of her shipping supplies which are also eco-friendly!
@stickingjoy has a compact workstation which includes her shipping supplies. Watch her pack an order and see how everything she needs is close at hand.
@dyeddesignsbymaryjane uses a long counter for packaging and shipping out her orders.
Using Multiple Cricuts
I don’t have a set up for multiple Cricut machines, but there are some incredible shops and makers who have given a peek into their workrooms. Check out these examples for ideas if you are adding more than one Cricut to your tool box!
@designbydenis arrayed her Cricuts around her work area for convenience.
@jamelapayne has an impressive set-up and a great tip for working with longer mats using yardsticks to support them.
@makersgonnalearn Created this cute “Cricut bunk” for storage of two Cricuts using vertical space. This is a great option for smaller work areas.
@atelierhiboublanc gave us a peek into how she stores her blanks and inventory for the shirts and other items which she creates.
@lelaburris keeps her two Cricuts side-by-side on a narrow shelving unit with all of her tools arrayed behind them on a peg board system.
@abbi_kirsten_collections has an amazing tower of Cricuts for her business.
I hope you’re both inspired and excited about setting up your new Cricut workspace! A Cricut is a wonderful tool, and having a proper place to work doesn’t have to be expensive or complicated. Take into account your basic design needs, and working with your Cricut will be fun!
Pin it!
Helpful Products
Below are a few of the products featured in the solutions above. Hope these are helpful as you begin to set up your room!