
DIY Card Organizer
Create a simple file system
for cards, Stationery, Keepsakes
I love stationery. I have a problem! And I really love cards for all occasions. Paper stores, card stores… they are some of my happiest places! So it isn’t a surprise that when I used the KonMari Method to tidy my Workroom as part of the Workroom Makeover, I found more stationery and cards than I had imagined. I have postcards, envelopes, and greeting cards for every occasion.
Now that they are all gathered in one place, I needed to upgrade my card storage. About 15 years ago, I created my first greeting card storage box with dividers. It served me well, but it has been moved many times and at some point had gotten wet… so it was time for a new box and a new set of dividers.
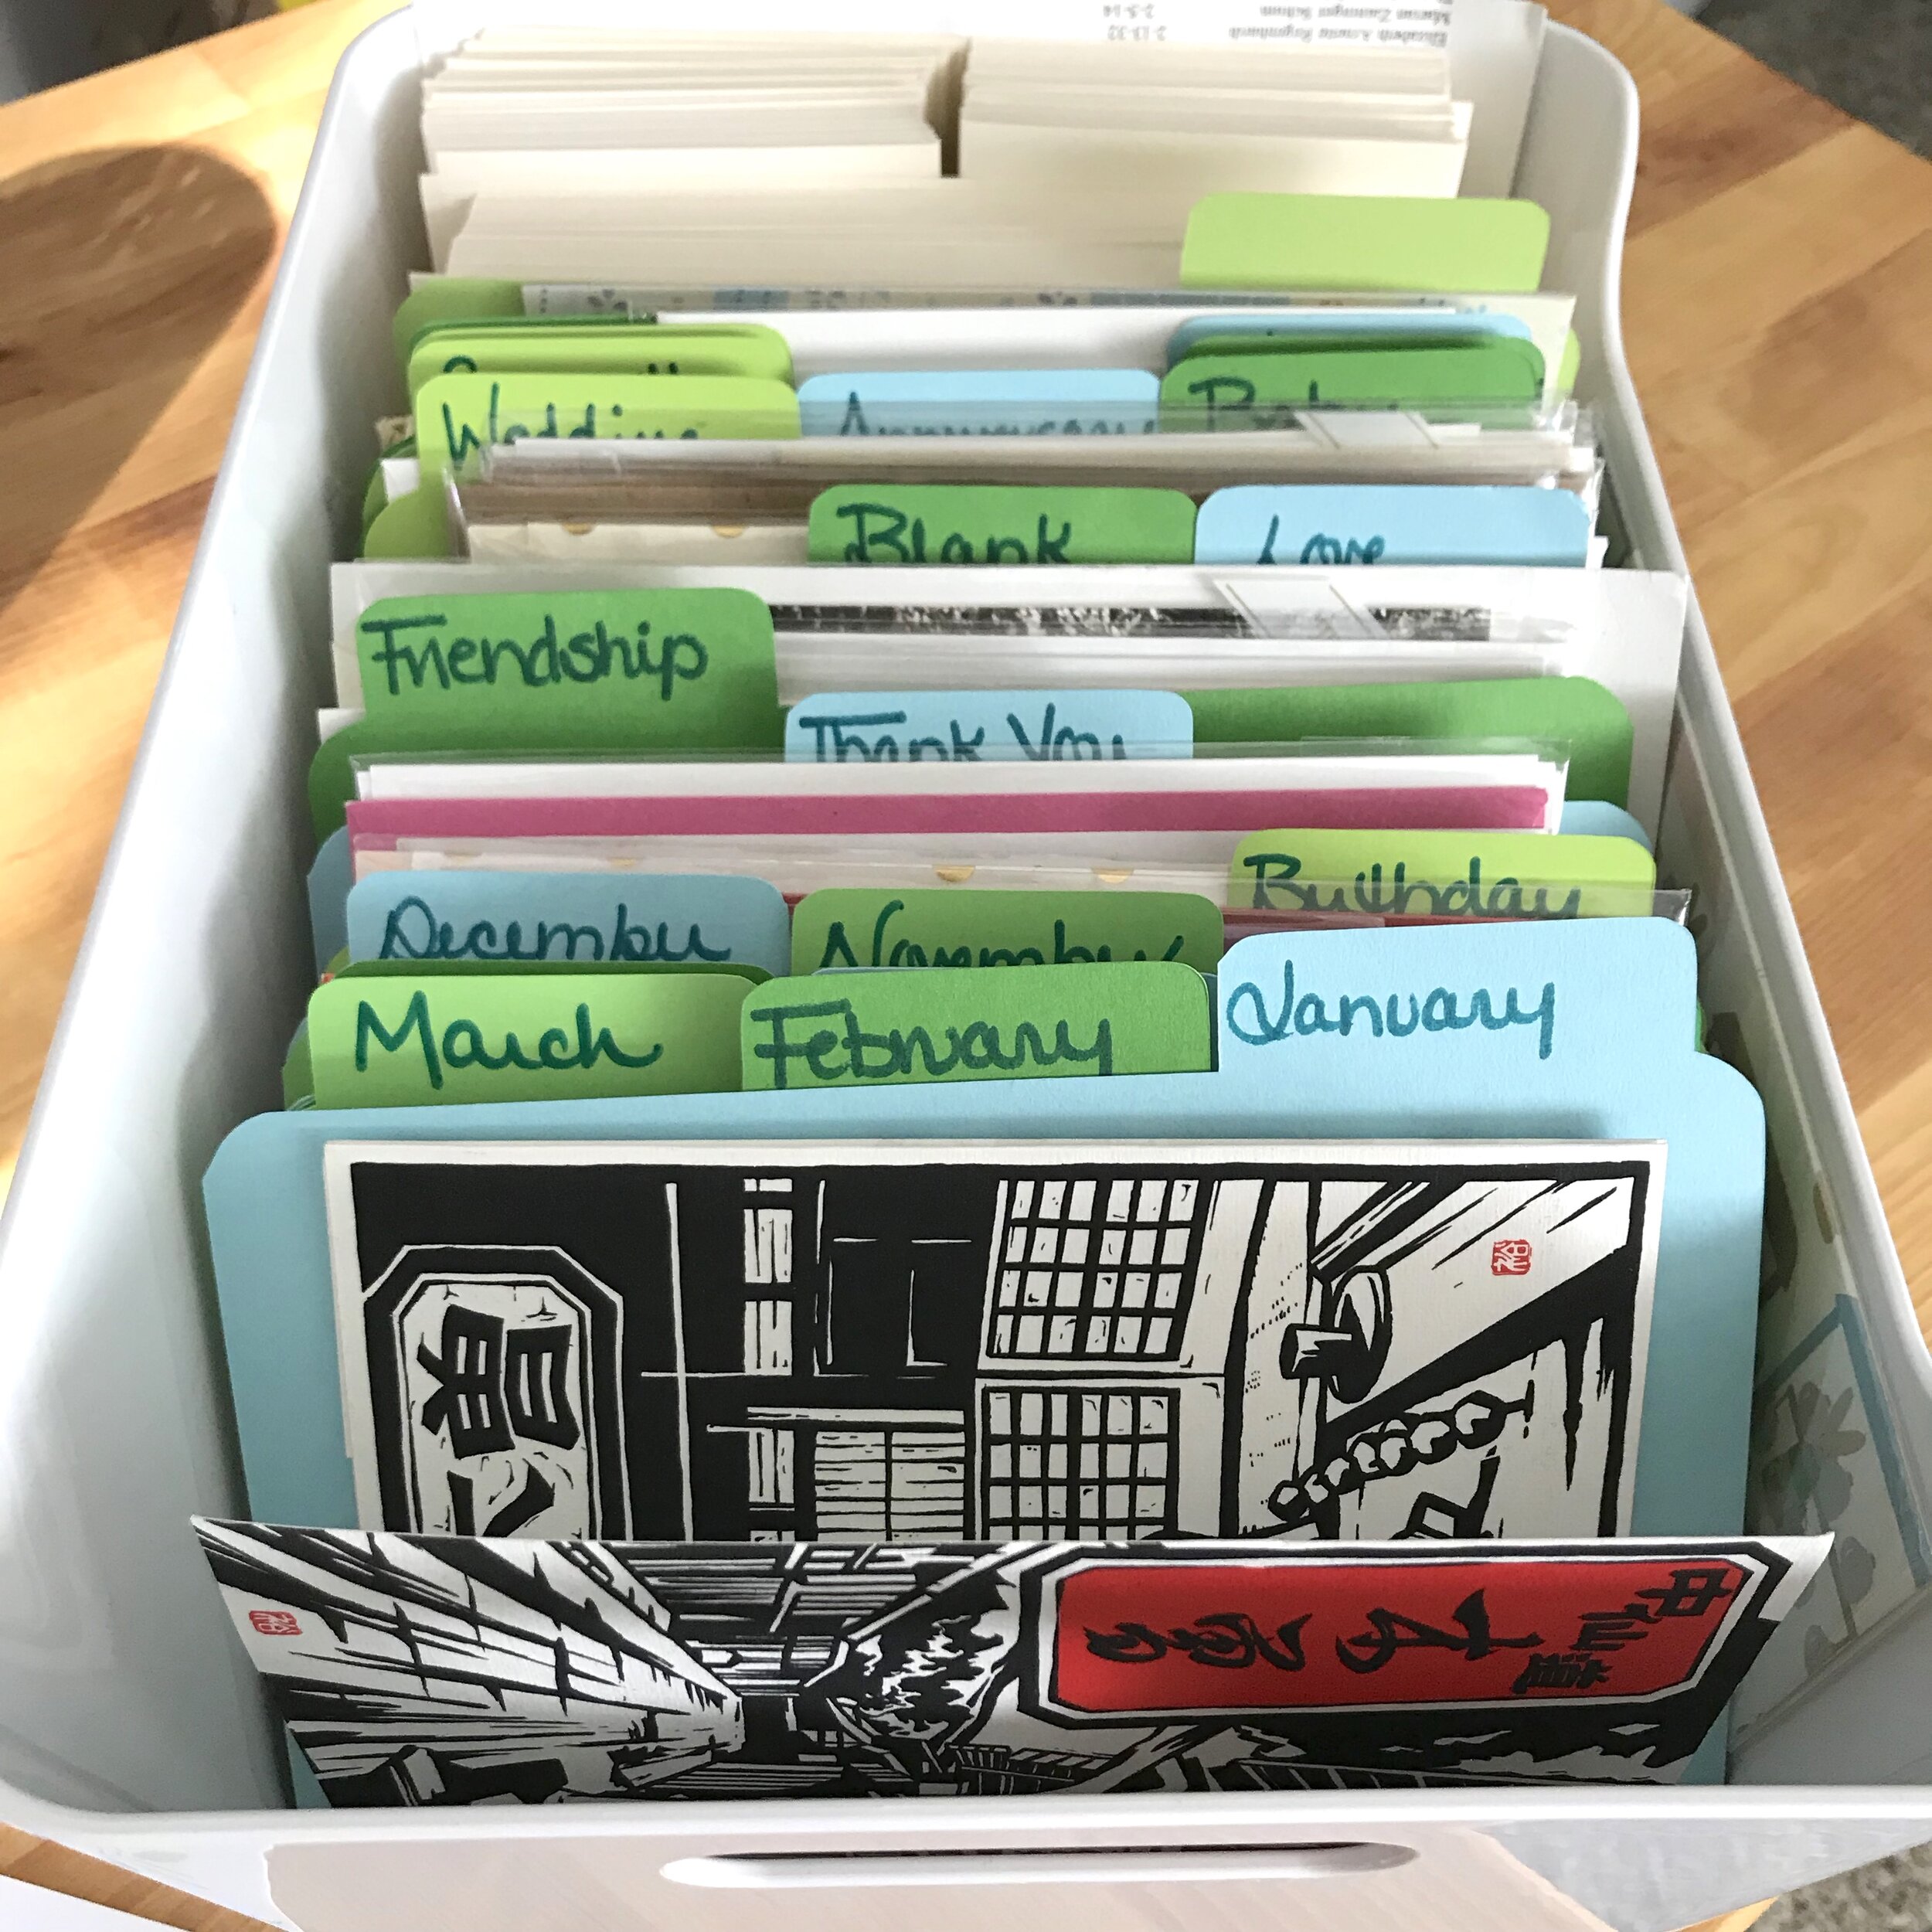
So here we are: the new and improved card storage box!
This time instead of a cardboard box, I set up my greeting card storage in a large VARIERA bin (size: 13 1/4” x 9 1/2”) from Ikea. If you aren’t familiar with these white, plastic bins they are slightly larger than a shoe box and have handles. I just happened to have an empty one on hand which is why I used it for this project, but it also fits nicely in my elfa desk drawers. This project can be adapted, however, to a box of any size by adjusting the measurements of the dividers. And the same dividers can be used in a medium VARIERA box (size: 9 ½” x 6 ¾”) — just running the length of the box — if your collection isn’t as large as mine.

A simple solution for storing cards which can be adapted for storing any number of other things including keepsakes, collectible cards, stickers, or stationery.
Materials
a medium or large VARIERA box or another container of a similar size
Cardstock: 80# or heavier (see note about paper size)
Cricut or printer
Scissors
Marker in contrasting color
Files: can be downloaded from the Mid Modern Mama Library
To do this project without a Cricut: you will need a printer. You can simply print the files on card stock, and then cut the dividers out by hand.
A Note about Cardstock
If you are using a Cricut, use 12” x 12” card stock. If you are printing, you may have to adjust your print area to print all the way to the edges. Test before printing. The files are sized for 8.5” x 11” paper, but every printer has different print margins.
The amount of cardstock you will need depends on how many dividers you want to have in your box. I created 24 categories and stocked my bin with 26 dividers (2 blanks for future use). But that’s up to you! To do so required 13 sheets of card stock in a variety of colors.


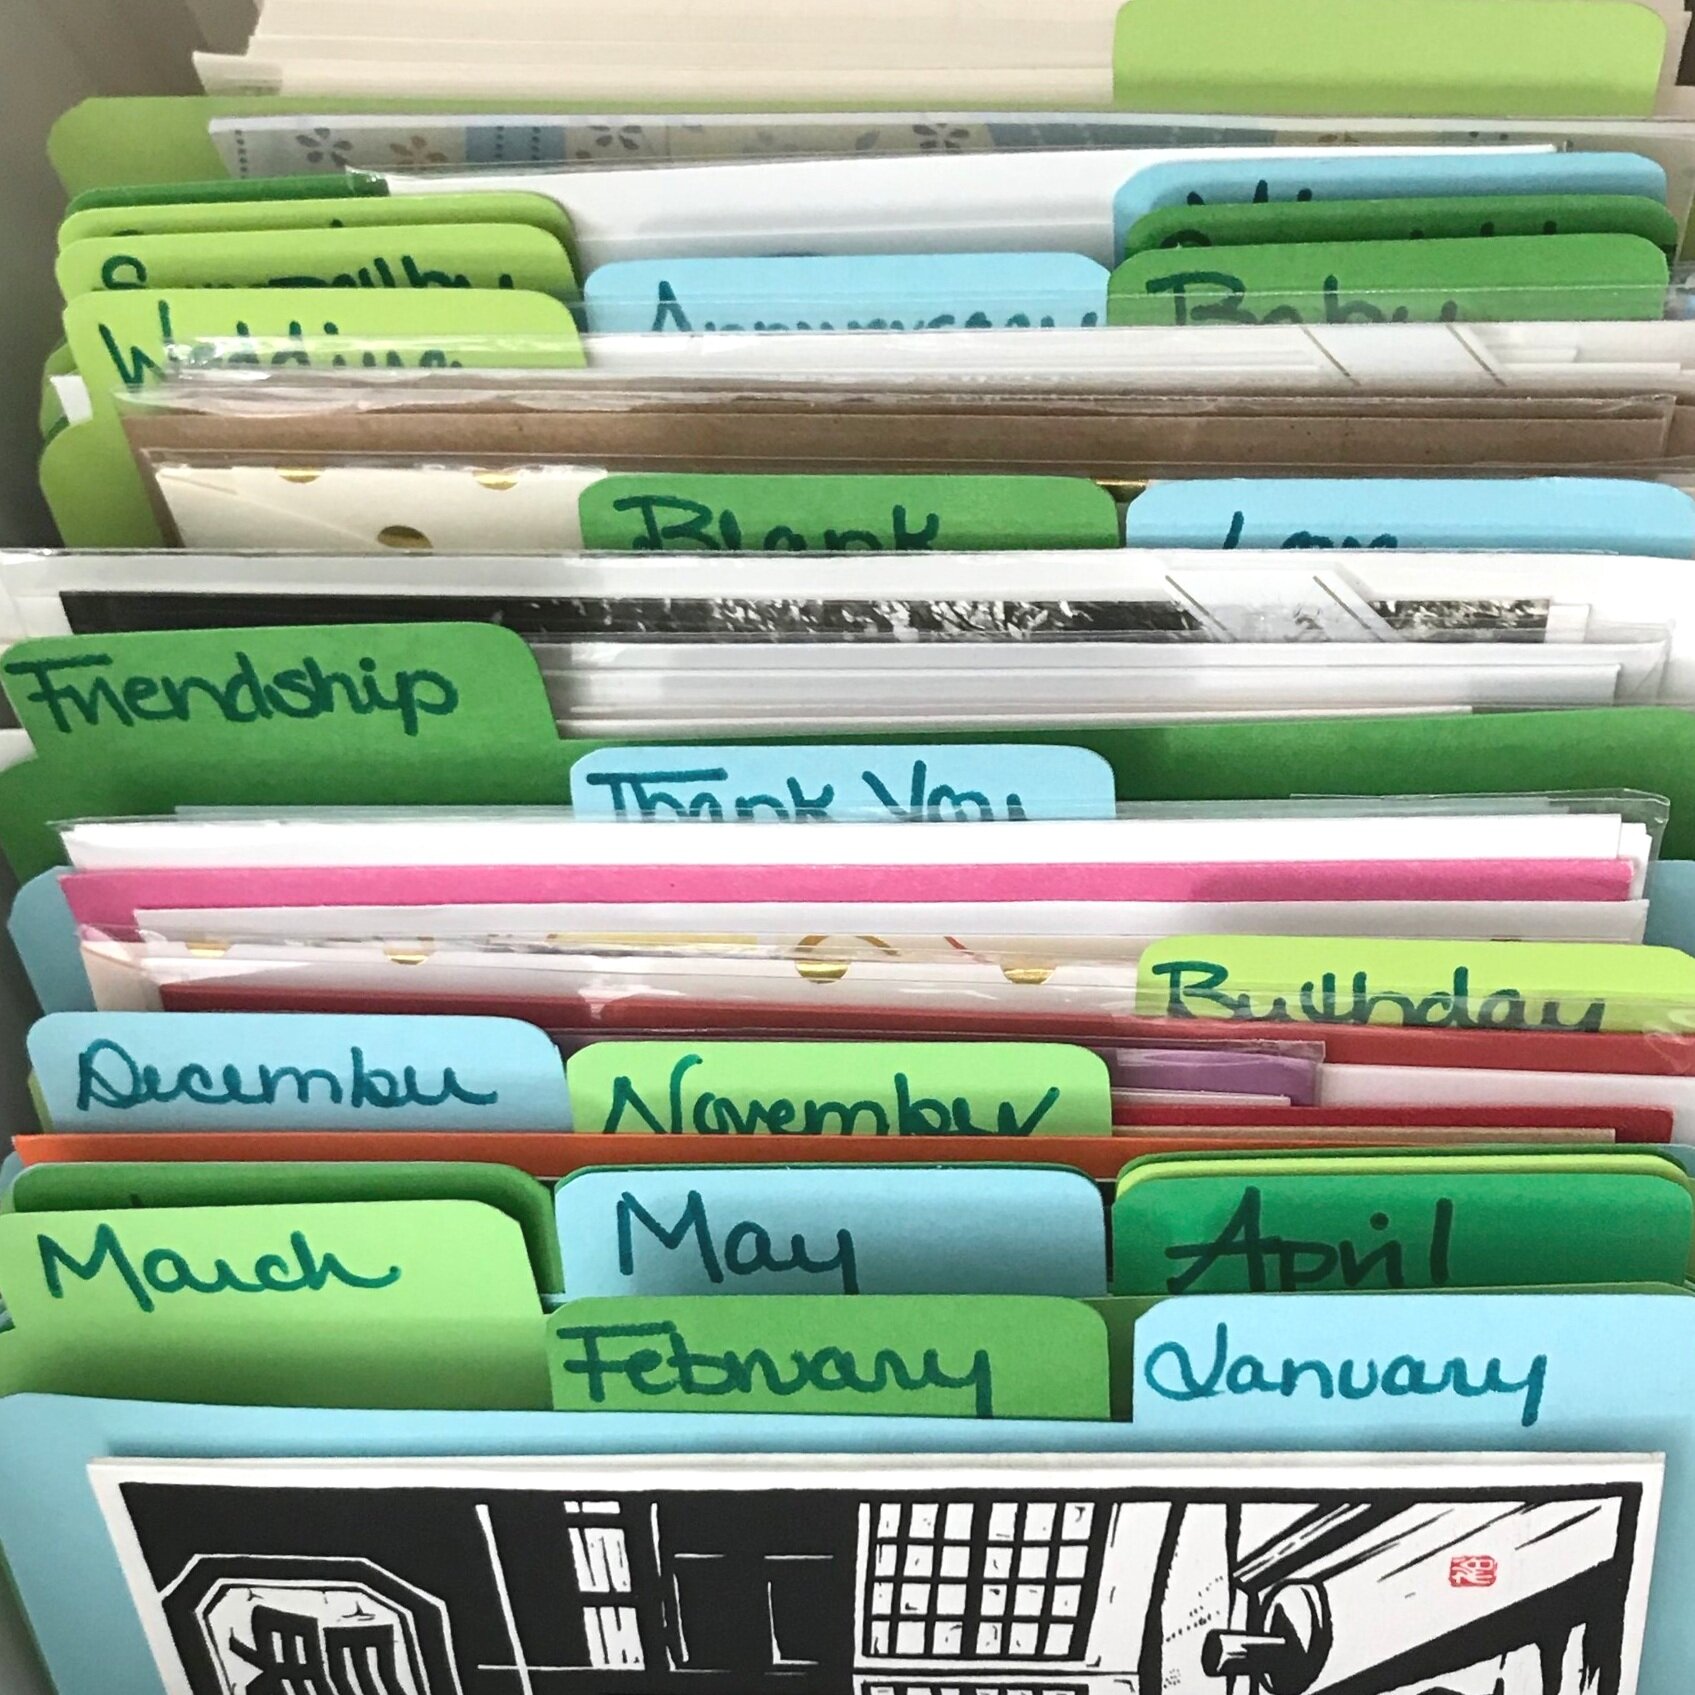
Categories for a Greeting Card Organizer
My categories include two sets: the months of the year — for when I see the PERFECT card for someone and just want to tuck it away for them; and general categories because having a good sympathy card and generic birthday cards on hand are always in good taste. These are the 24 categories I created for my card organizer, but adjust your list according to your needs! I’ve also indicated which kind of tab I wrote the categories on. Again, this is your personal preference. There are no rules here! But this is one way to keep them all straight!

There are two separate files needed to create this project. Both are found in the MMM Library and are free to download. To create these 24 dividers you will need:
Center/Left file: 8 copies
Right/Left file: 4 copies
Step 1: Choose your Categories
Define the list of categories to make your box suit your needs. This determines how many dividers you need to print and/or cut.
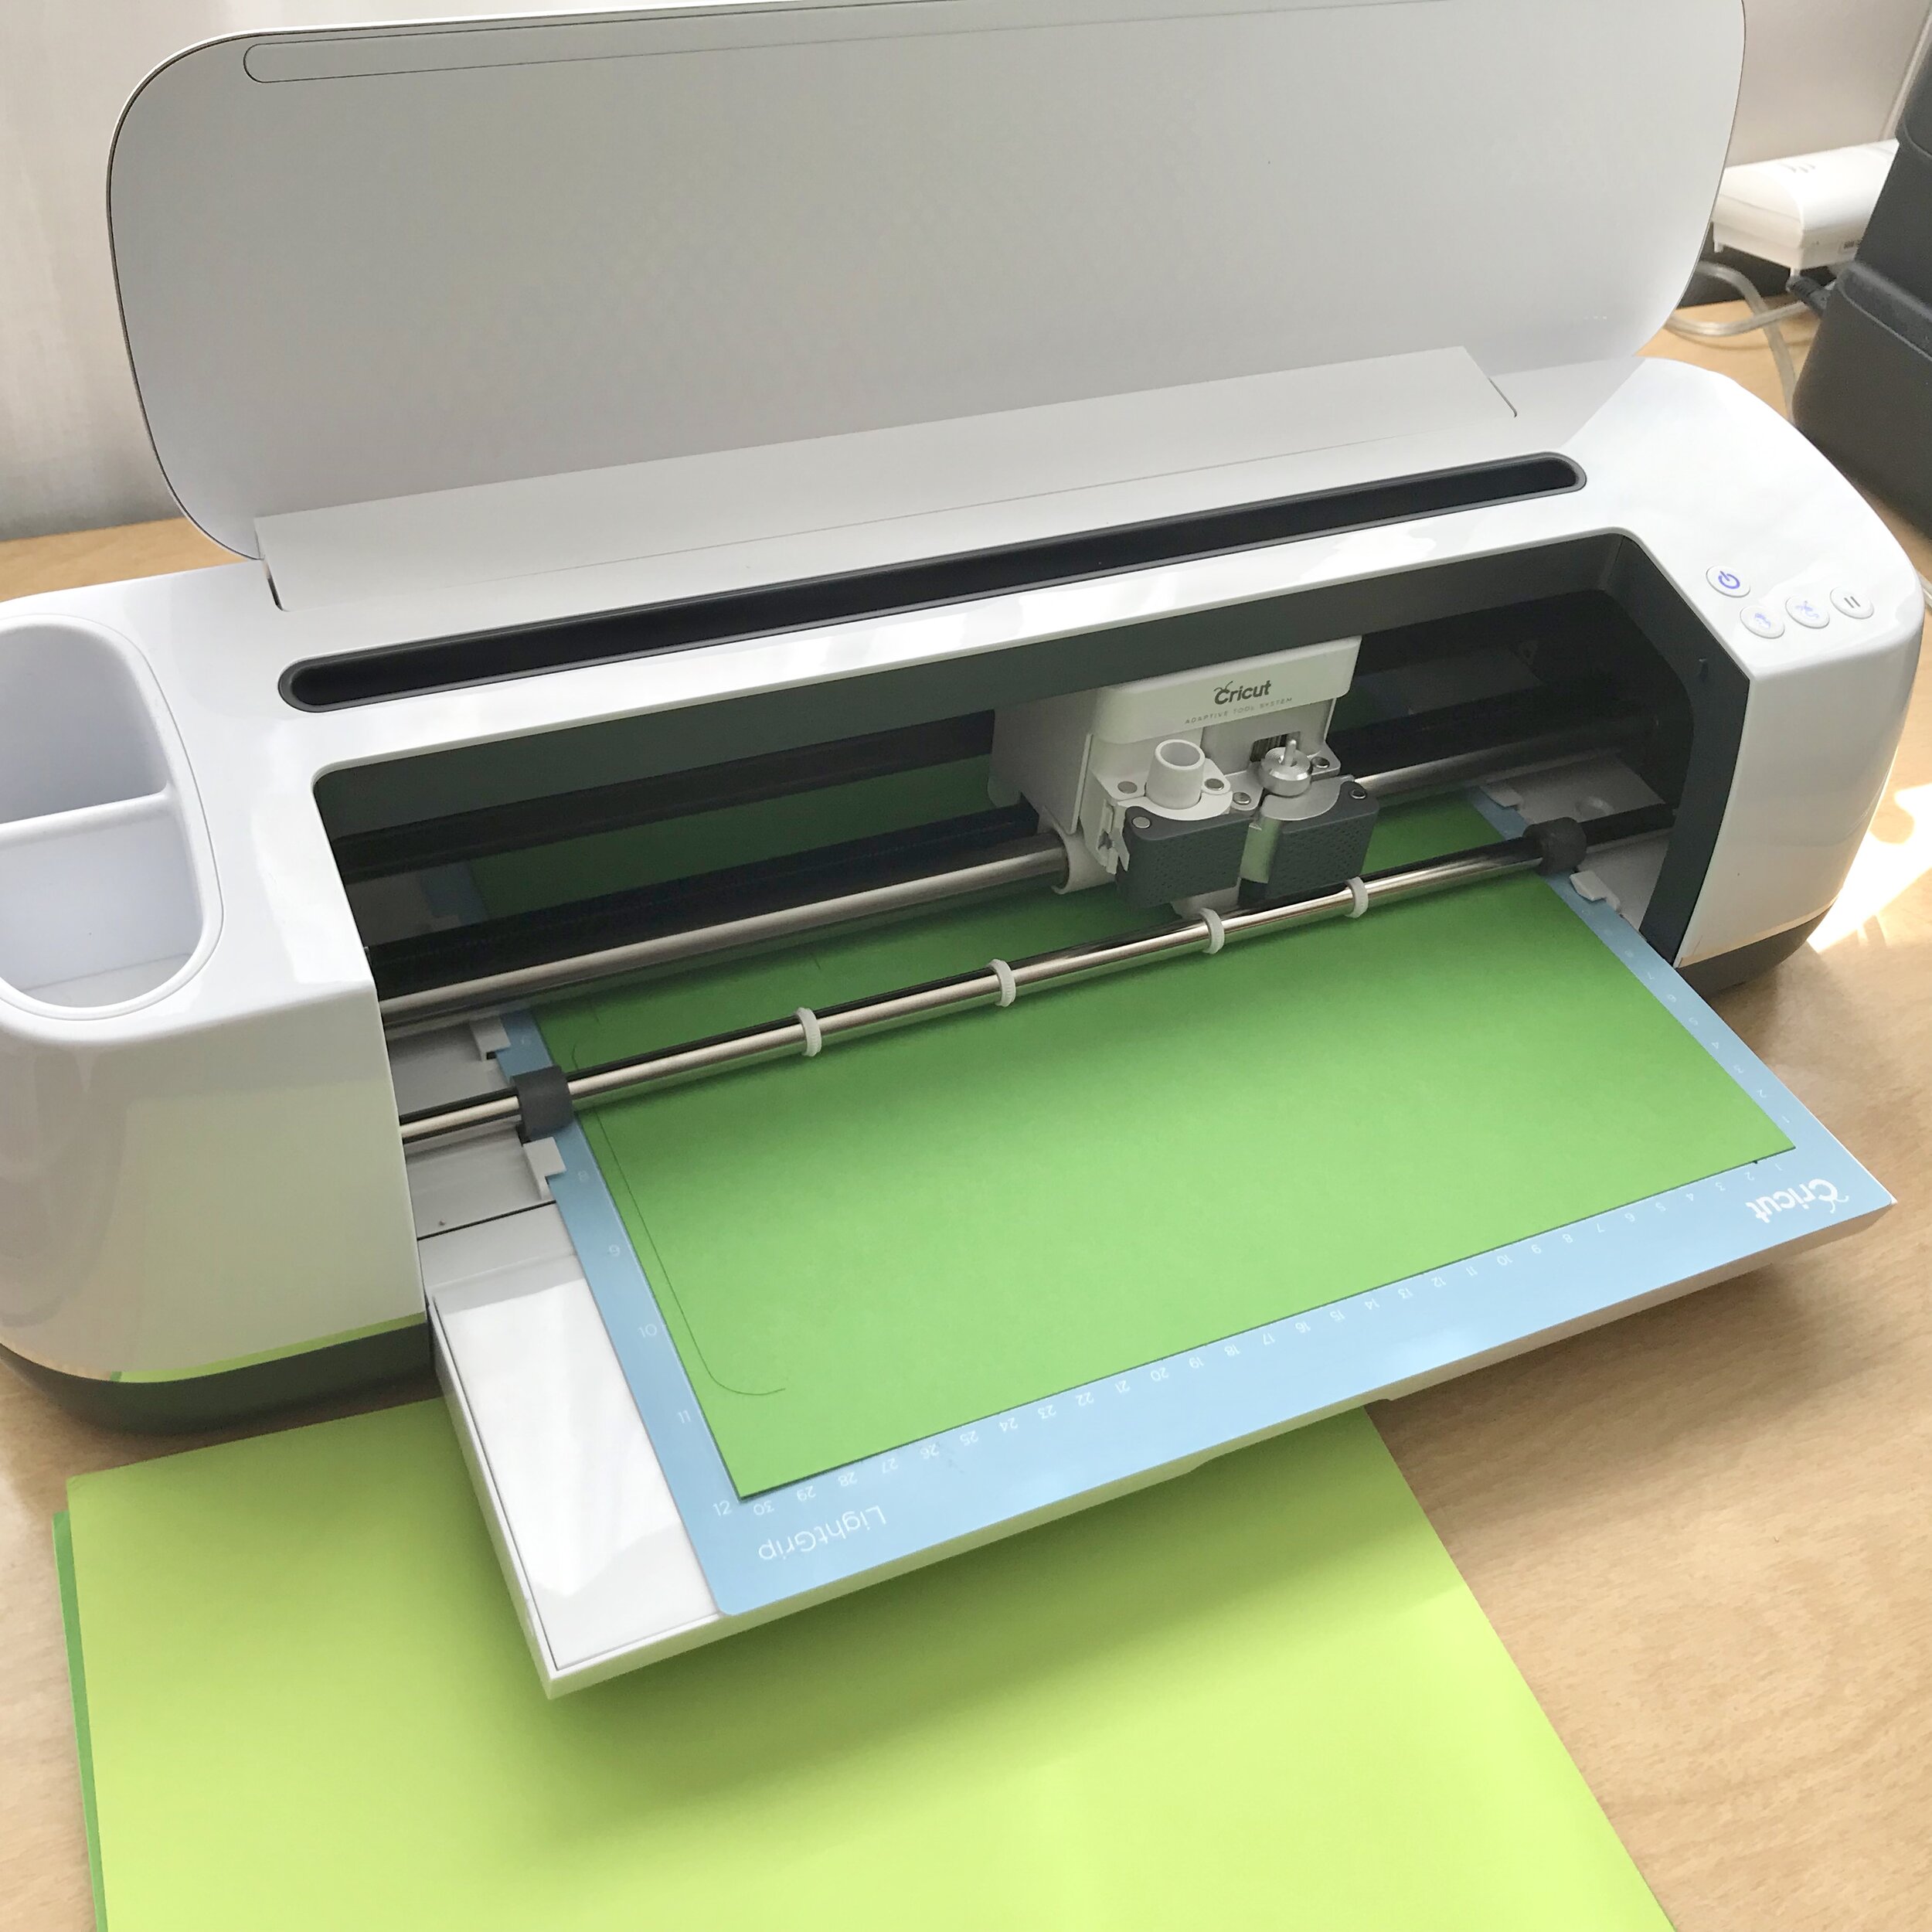
Step 2: Print and/or Cut
Cricut: using the Cricut Creative Space, cut the appropriate number of each file.
Printer: print the appropriate number of each sheet on card stock. Cut around the outline of each divider with scissors.
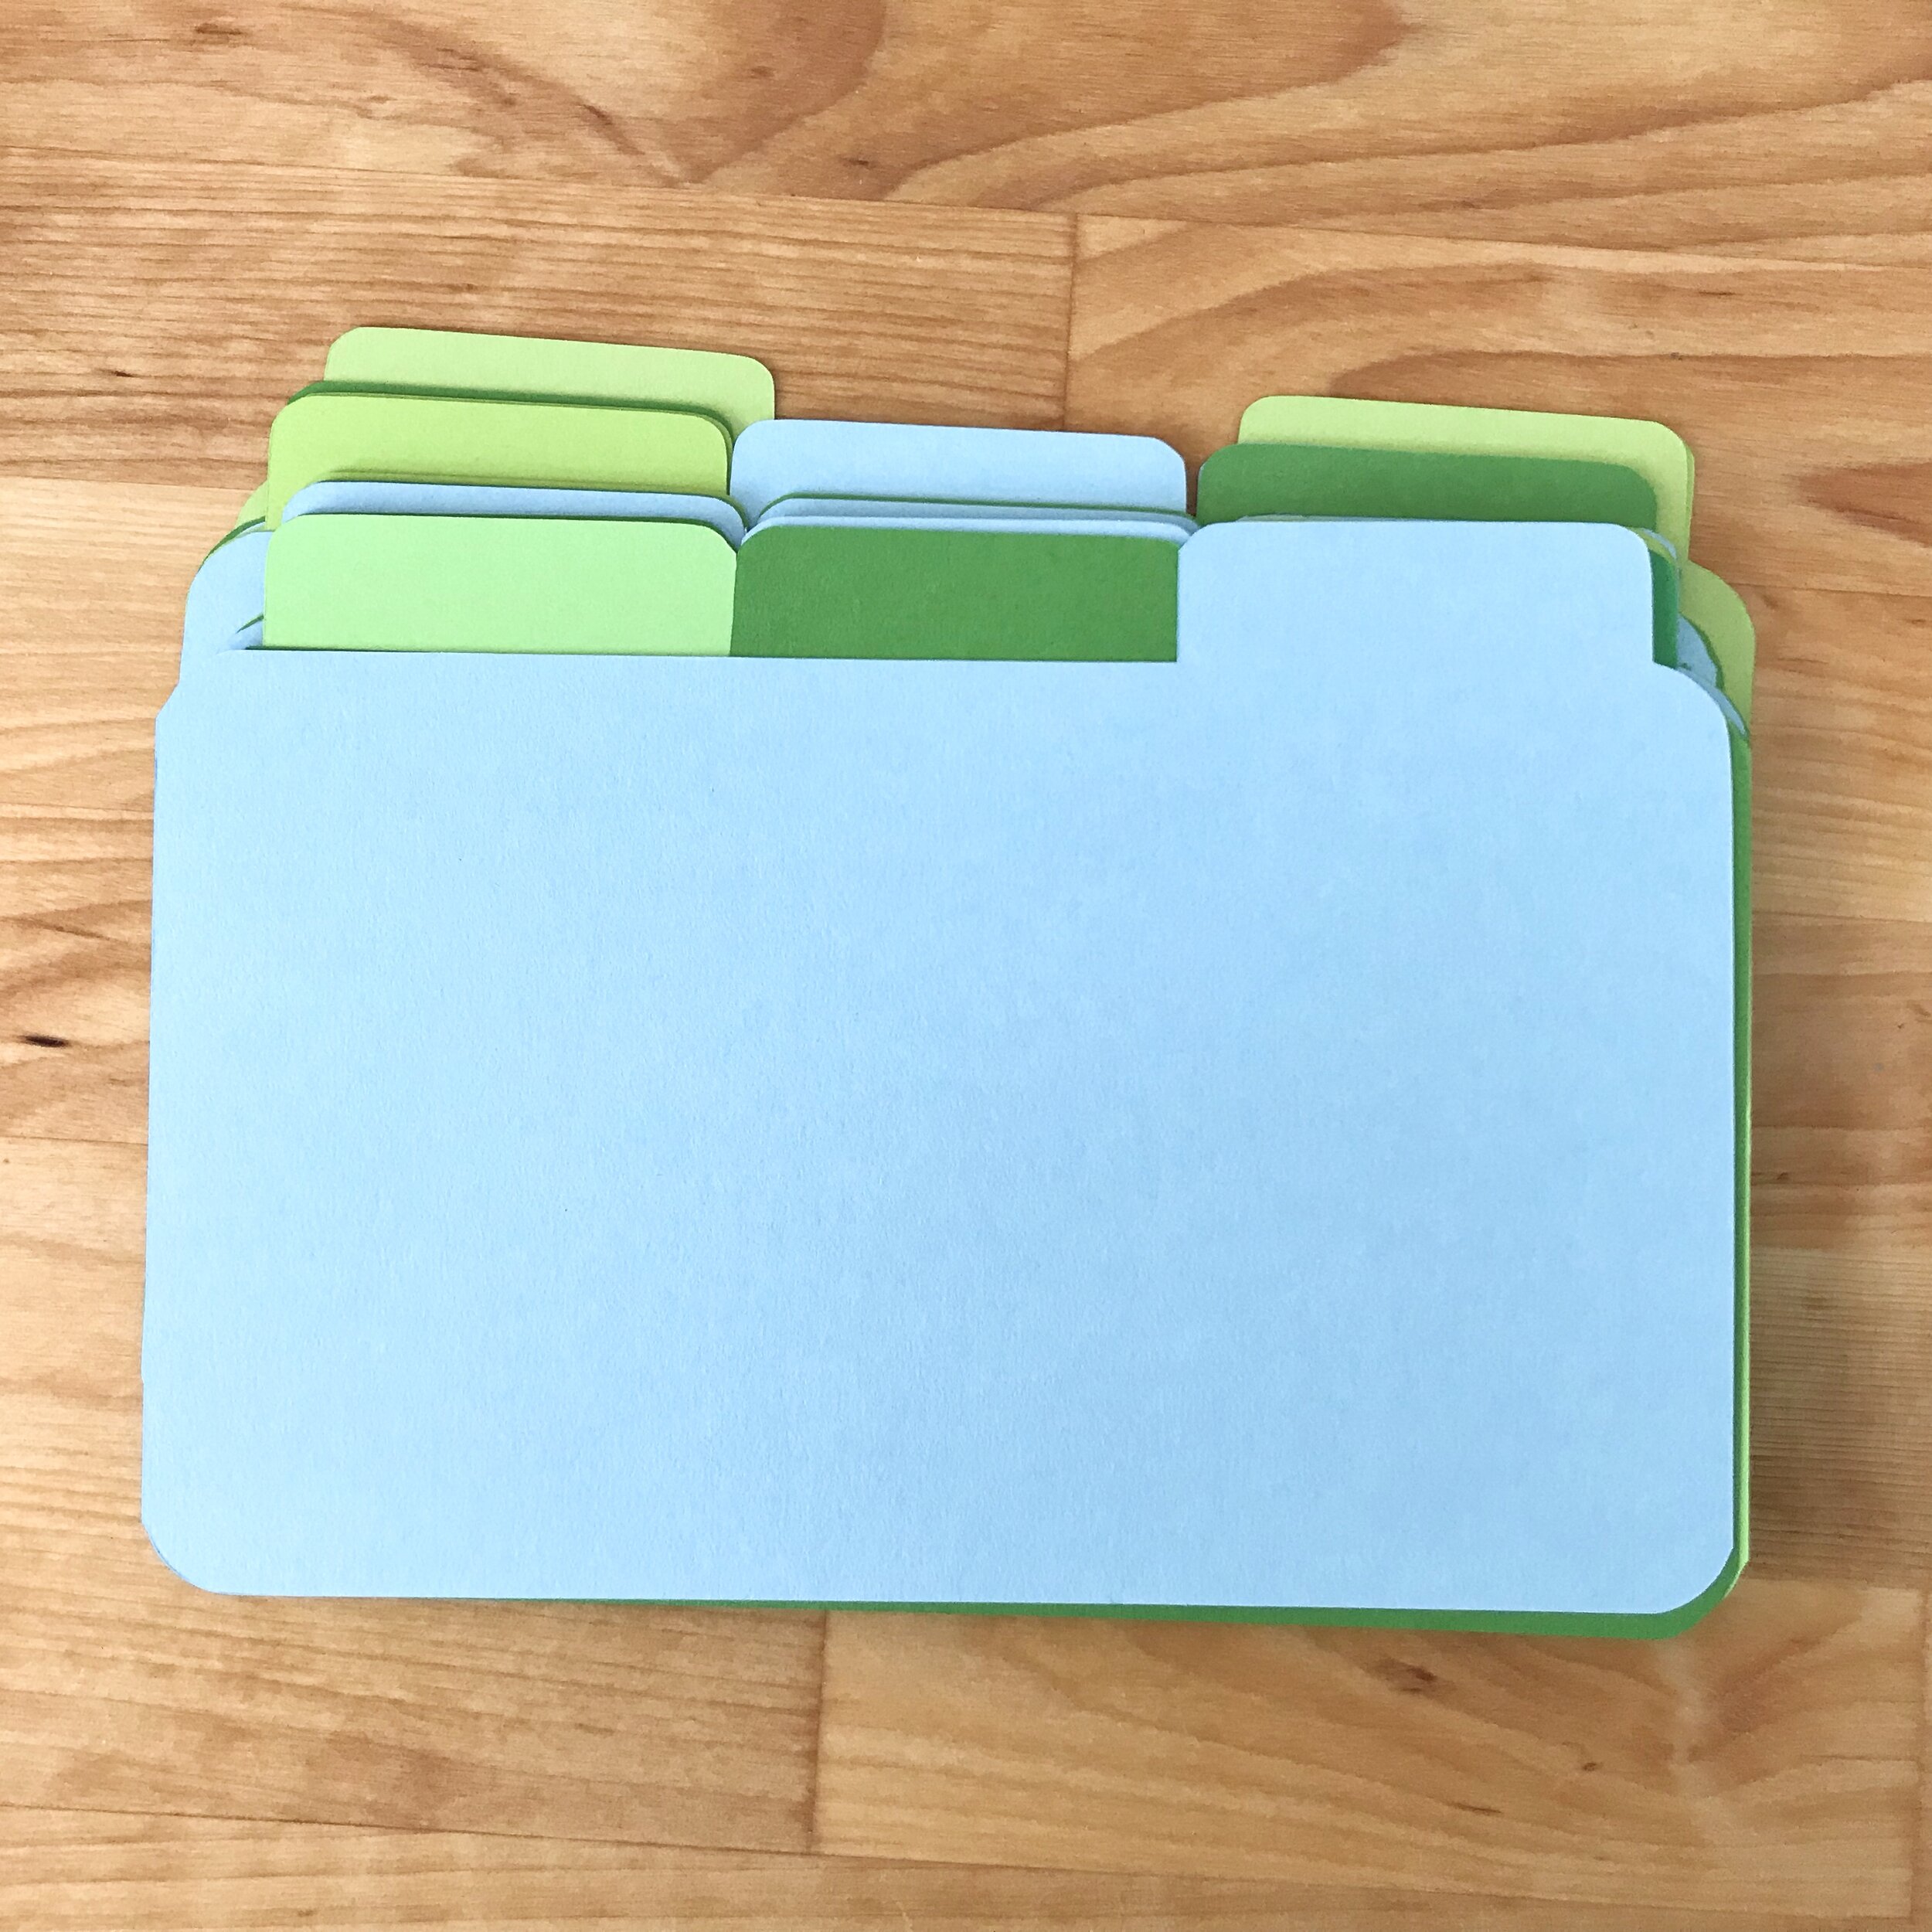
Step 3: Sort your Dividers
Sort your dividers right tab — center tab — left tab and repeat until all of your dividers are in order.
If you used multiple colors of paper, sort into an aesthetically appealing order.
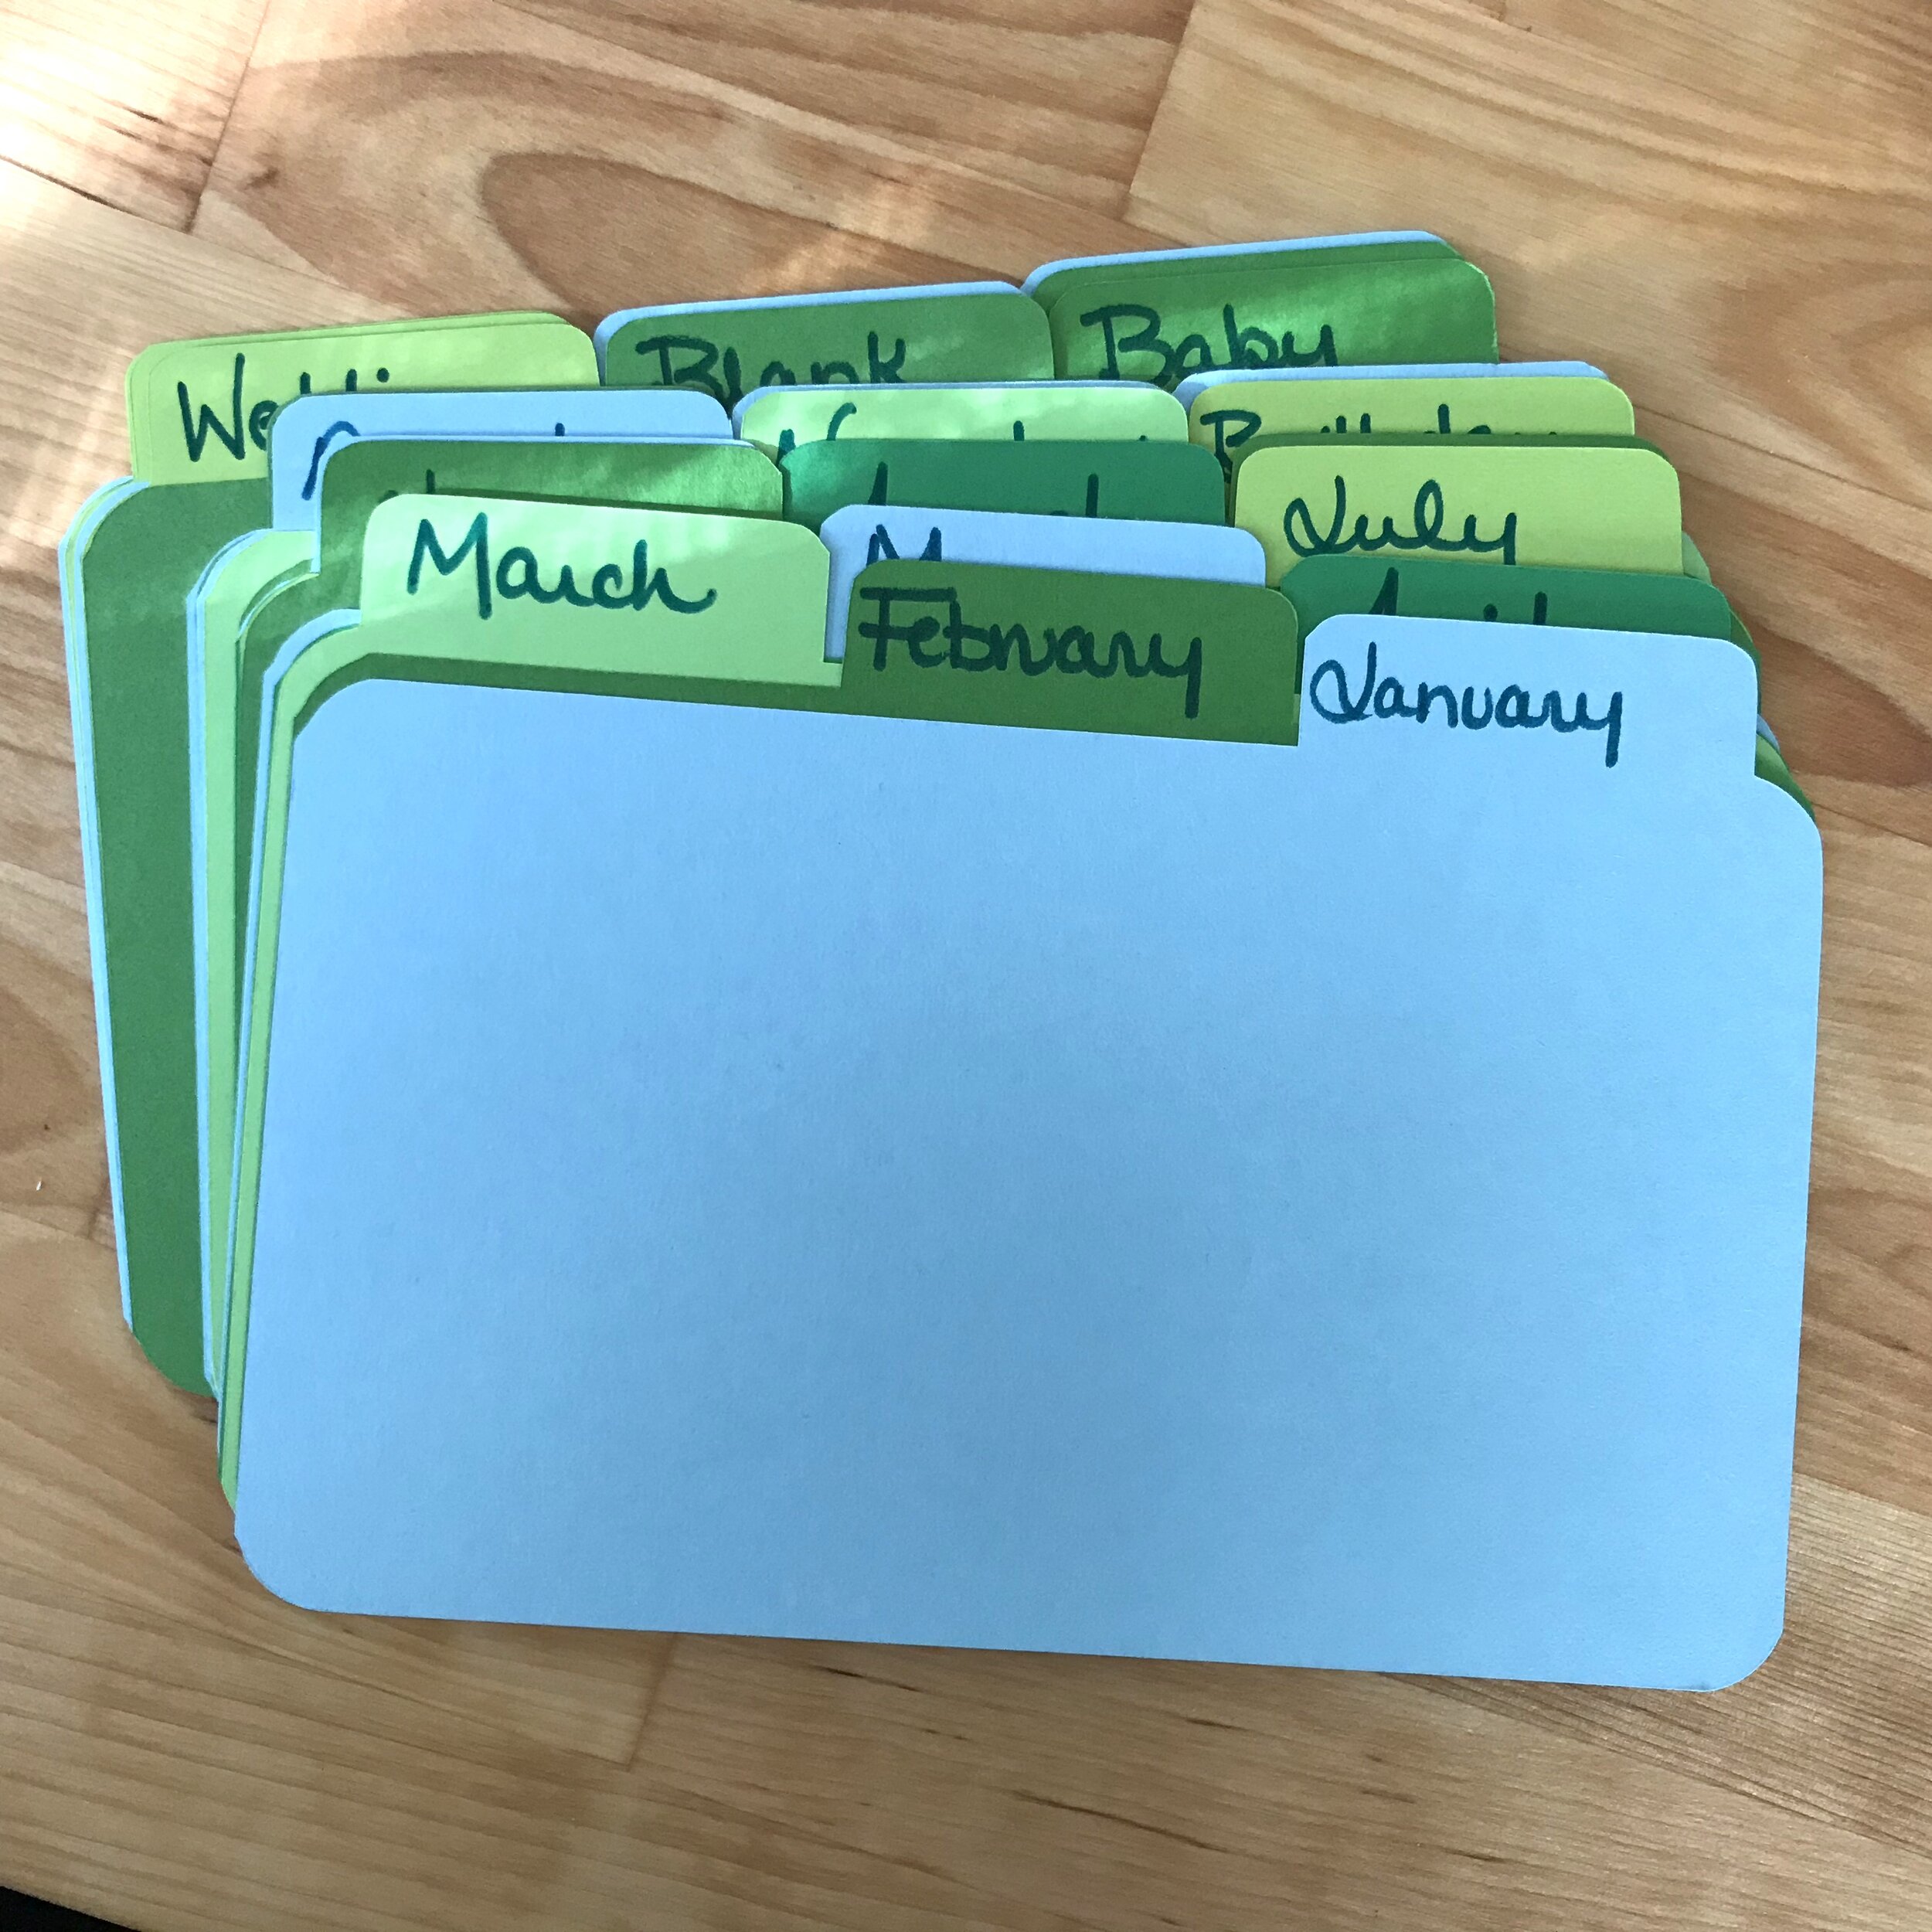
Step 4: Label
I labeled my dividers by hand. You also could run them through a printer, use a label maker, or even use stamps. Make them your own!
Step 5: Set up Your Box
Now sort your cards and fill your box just like a small filing cabinet. If you are using a large Variera box, the dividers fit facing the handles. In a medium Variera box, they fit facing the notch in the long side.
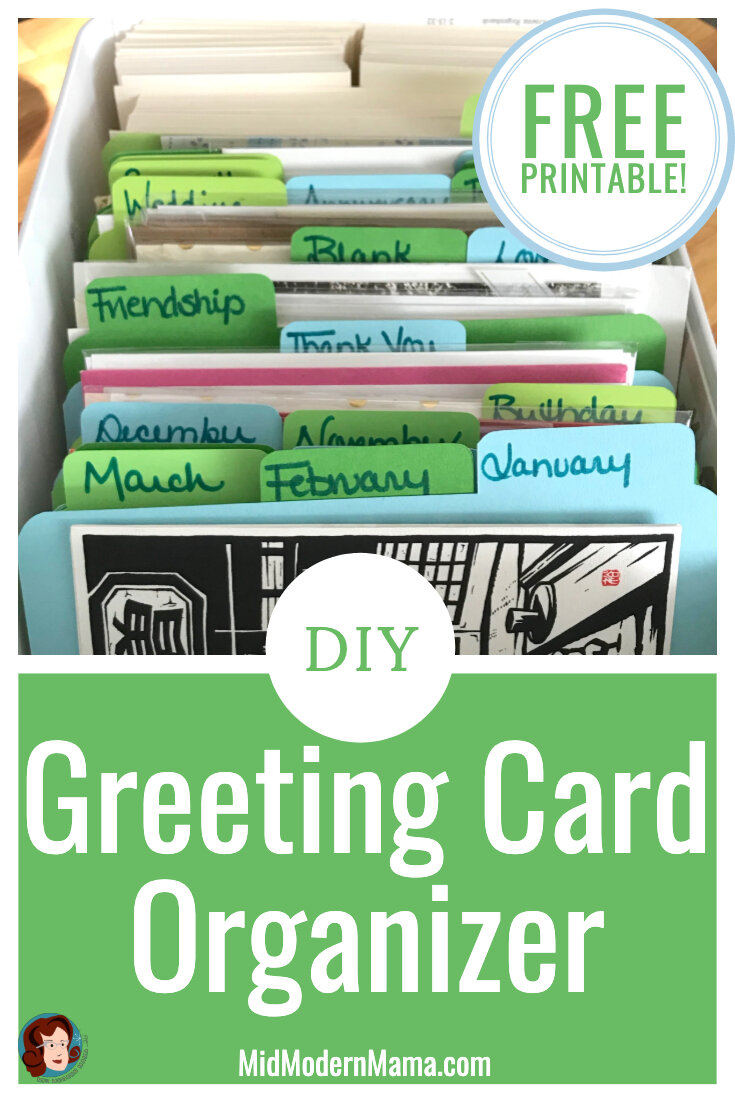
Pin it!
I hope you enjoy your card organizer! Send snail mail! Everyone loves to get something other than junk in the mail!