
How to Plan a Wildlife Garden
a Step-by-Step Guide

Thinking about planning a wildlife garden — large or small? Many people look at Naturalistic plantings and see something that looks effortless, unplanned, and simple. But, honestly, effective wildlife gardens take work and planning and time. They are neither instant nor simple. But the end result is AMAZING! And I highly recommend the effort. It’s worthwhile!
It took about six months for me to create our complete Wildlife Garden plan — and that was after fives years of observing the space and dreaming about the project. However, your process doesn’t have to be as long or as complicated. You can benefit from my work, and you won’t have to start from scratch. And I have several tools to help you along the way, too.
So, I’m going walk you through my planning process step-by-step. As I write this, the plants have been in the ground for several months, but the project continues to unfold — and it will for years! But these same steps can be used whether you are taking on a project of 10 square feet or 10,000. The principles and intentions are the same — and the results will be dramatic!
Step 1: DO A Site Assessment
Having lived in our house for several years, I had done a Site Assessment over time. It’s important to be honest and deliberate about your site, or the plants you choose may not perform the way you want them to. They need to be the right plants in the right places. So here are a few things to consider as you think about your site:
Light levels: Is it sunny? Shady? Part-Sun? Morning Sun? Afternoon Sun?
Direction: What direction is this area facing?
Where do the prevailing winds come from?
Where does water runoff?
Are there wet spots? Dry Spots?
Draw a map of your area and mark the answers to those questions on the map. You may have wet shady areas as well as dry sunny areas — within even a small garden.
Decision: What do you want to keep?
Perhaps you have some lovely trees, or a few beautiful borders or beds. Great! Keep them! If they need to be relocated, consider when the best time to do so would be — that varies plant to plant. And if you are relocating something, where will it go? Make a distinct plan for anything being moved.
Decision: What do you want to remove?
Consider removing anything dead or dying or diseased. And invasive species should absolutely be removed. Think about how you will do this and what resources site preparation will take.
Our Site Assessment
Spring, 2023
During the six years we had lived here, we had done NOTHING to the front yard other than building beds close to the house. It certainly wasn’t a monoculture — there was very little grass. It was largely weeds, frankly, many of them invasive including bindweed, dandelions, and invasive thistles. We kept it cut as short as possible. Our site is full sun most of the day with intense afternoon sun, and the ground was so compacted with a slope that much of the rain we get ran off to the sidewalk and into the storm sewer. There are no wet spots, really, but there is a big dry spot where nothing — not even weeds — grow in the summer.
Decision: What do you want to keep?
We have a large cottonwood tree which we have worked assiduously to maintain as well. It takes a lot of moisture from the yard as a whole and shades a good deal of the north side which makes for an interesting microclimate.
Decision: What do you want to remove?
In the spring, we removed an ailing ash tree before the Emerald Ash Borers could move in. The poor tree had been badly pruned by a previous homeowner, and it was never going to be healthy. So it was time to go. However, we kept the wood from the tree which we reused in the new garden. More on that later.
Step 2: Set Goals for your Project
What are you hoping to accomplish with this project? What do you want the end result to be? We set our goals around these four parameters:
A percentage of native plants vs. non-natives (0% invasive species)
Water management
Wildlife: who are you interested in inviting?
Aesthetics: how will it look?
These goals can be aspirational, but every step that you take moving forward should move you closer to one of these goals!
Our Project Goals
We have four big goals for this project:
1. Utilize 85% native species at a minimum.
2. Provide shelter and water for our local ecosystem.
3. Manage and capture the watershed on our property.
4. Enhance the beauty of our property in an inspirational and aspirational way.
Let’s talk about those goals a bit.

1. Utilize 85% native species at a minimum.
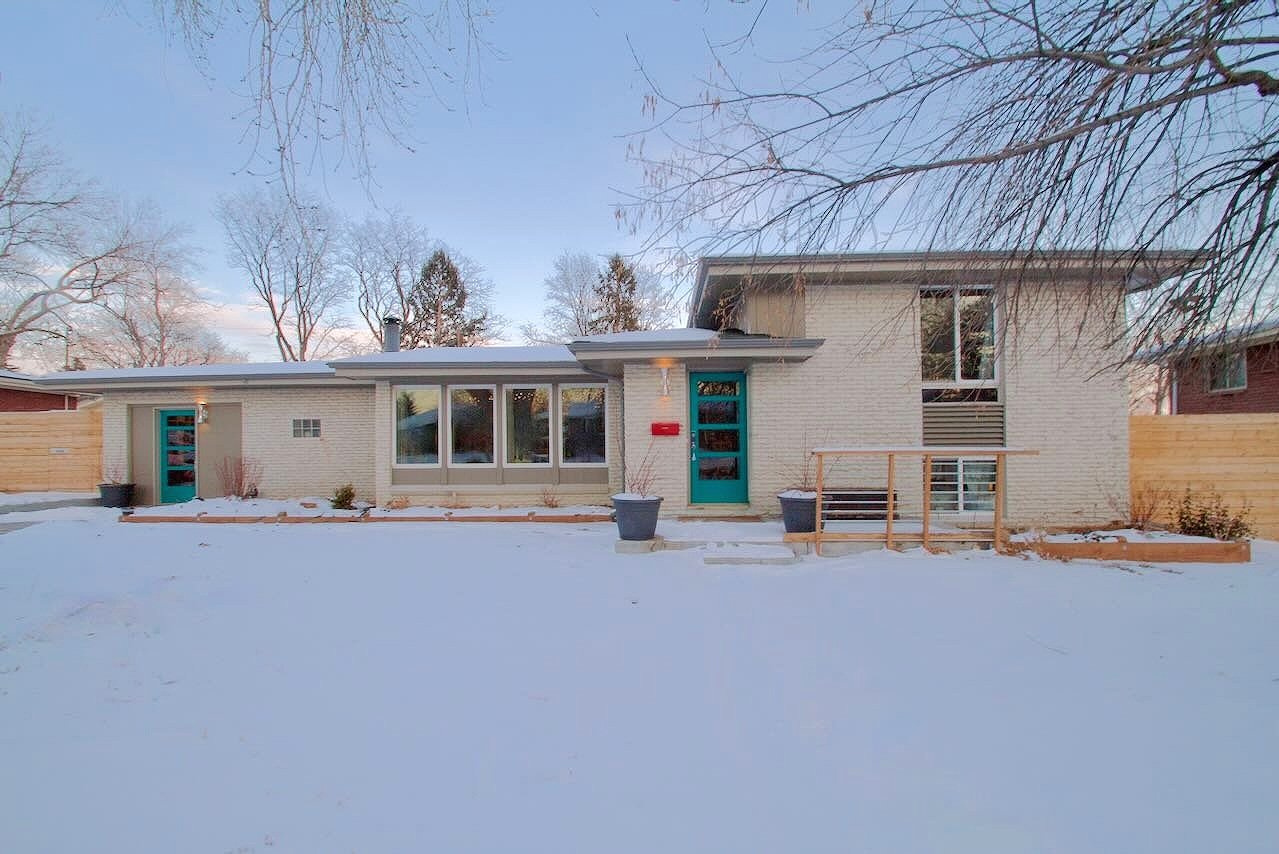
This is the listing photo of our house. What it doesn’t show you is that there were ZERO native plants growing on this property when we purchased it with the exception of the Cottonwood, Maple, and Ash trees. So anything is an improvement. And we have planted quite a few native plants. But this project will be a HUGE infusion of native species.
2. Provide shelter and water for our local ecosystem.
Thinking of our yard and home as part of an ecosystem has been an interesting paradigm shift — but it is such a good one! As part of the larger ecosystem, we need to provide places of shelter and sources of water for the other creatures who live here. That starts with building up the soil and fostering microbes, worms, and other invertebrates. It also means creating nesting sites, water sources, and brush piles for insects, birds, and mammals — but this is our front yard. It has to be done in a way that doesn’t worry or annoy our neighbors.

3. Manage and capture the watershed on our property.
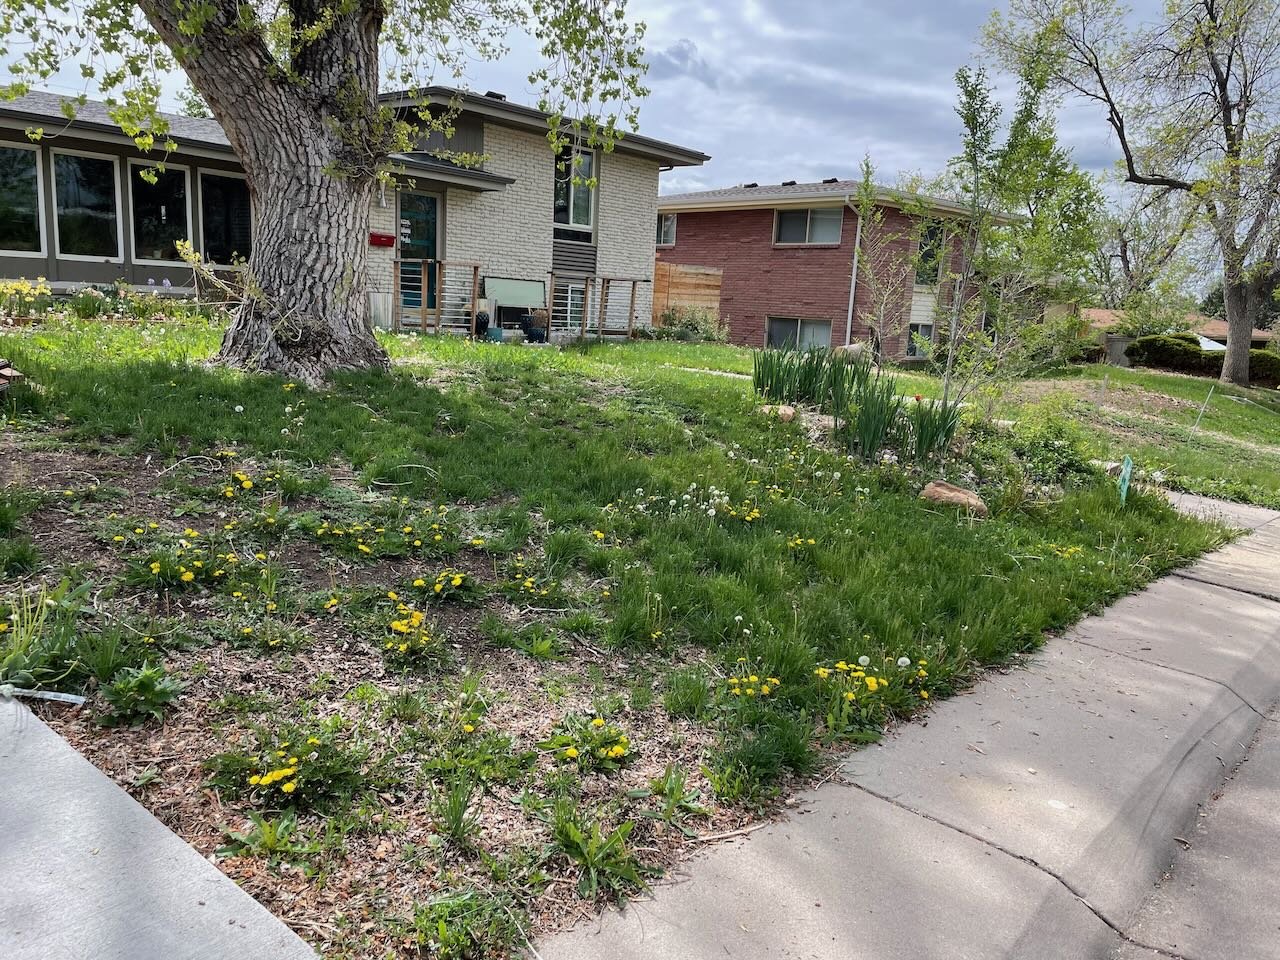
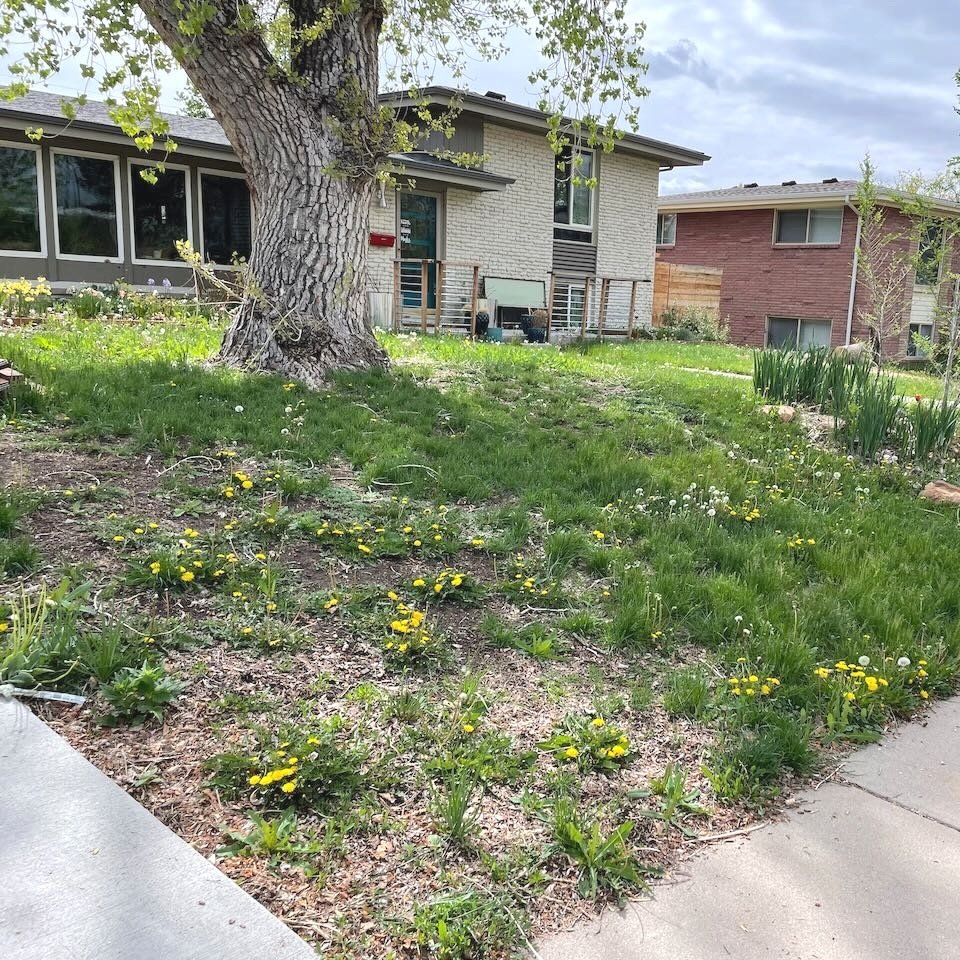
The south side of our property does not absorb rainwater at all. The photo above was taken after snowmelt and rain — and yet there are bare places of powdery soil. There are probably two reasons for this: the slope which diverts water off the site and down to the street and a lack of top soil and organic matter. This is probably soil that was piled up when our street was made in 1958. It lacks nutrition and is largely innert. So we need to fortify the soil a bit and plant lots of native plants with deep roots which will help absorb and retain runoff.
4. Enhance the beauty of our property in an inspirational and aspirational way.
Our house isn’t the prettiest on the block. And it has been a work in progress since the day we moved in. So it is time to give it some curb appeal. We want our neighbors to enjoy walking past our yard, and we want it to reflect the love and care we have for our home. I also hope to inspire some of our neighbors to ditch their manicured yards and to opt for native plantings instead.
Step 3: Make a Plan & Set a Budget
The Five Essential Elements of a Good Wildlife Garden
No matter their size, there are several pieces which are essential to a wildlife garden. And as you plan a wildlife garden, you should plan for these essentials within the planting:
A water source: animals big and small need water, and whether it is a big pond or a washing basin pond, a water source is essential for your wildlife garden. Once established, animals will use your water source as a place to drink, bathe, and breed.
Food sources: you’ll need plants that provide nectar, berries, seeds, nuts, leaves, and pollen. They also need to attract and support insects which are a food source for birds and other animals.
Shelter: think like a small creature — your wildlife garden needs height and cover to shelter from storms and predators.
Nurseries: the animals you’re inviting need places to raise babies and the right food sources to support those babies. That might mean specific plants (like Milkweed for Monarch Butterflies) or sources of insects for nesting birds plus good places to nest, too.
Sustainable practices: commit to not using pesticides, herbicides, or artificial means of control once your garden is established. It’s better for the soil, the air, and everything in between.
Now it is time to make a plan, and that plan needs to take several things into account:
Financial budget: how much money do you have to spend on this project?
Time budget: how much time do you have to invest in this project?
Materials: What materials will you need for the project? What do you have on hand that you can already use?
Needs: Will this plan meet every stakeholder’s needs? For example: is your whole family on board?
Timeline: Will you tackle the whole project at once? Or will it be delivered in phases?
Essential Elements: How are you addressing each of the 5 Essentials of a Good Wildlife Garden?
Use your goals as your touchstones. How are these plans moving you toward your goal?

The basic planting plan which we used to lay out all of our plants and other elements in the scheme.
Our Plan
We have been thinking about and planning this project for years. The scheme has evolved and changed hundreds of times as our goals solidified and as we got to know our property and neighborhood better. We had several criteria coming in to this project:
It had to be a DIY project. We just didn’t have a budget to hire help, so we needed to be able to do all of the work ourselves.
We needed to reuse and repurpose materials we already had. This included the wood from the ash tree we took down as well as some rocks and stones that had been placed by the previous homeowners.
Our son wanted a play area in front for playing catch. So we will have some grass — or a grass-substitute. This will be part of the Year 2 work, but we had to plan for it at the outset.
In the end we settled on an L-shaped planting area bisected by our sidewalk. It would have trees, native plants, and shrubs in a pattern of planting blocks. The top boundary would be a raised bed which would act as the visual boundary between the wildness of the planting and the green of the play space.
The 5 Essentials for a Wildlife Garden:
How are we addressing these needs? I’ve used this list as a guiding point in every decision I have made. Here are a few examples:
A water source: I have secured two old sinks which will become ponds in Year 2 of this project, and I’m excited to get them installed.
Food sources: when making the plant list, I chose plants for this very purpose. I considered whether they were host plants for insects, when they bloom, what kinds of seeds they provide, etc.
Shelter: we piled logs and stones in several places creating cave-like cavities and nesting areas for creatures of all kinds. Additionally, dense planting with groundcover creates shelter for smaller ground-dwellers. And one day the new trees will be tall enough to host birds.
Nurseries: both the plant choices and the hardscape choices we made tick this box, too.
Sustainable practices: lots of hand weeding and tending. But I don’t use herbicides, pesticides, or any other artificial interventions on my property.

Part of the plant list using plants from High Country Gardens.
How are We Addressing our Goals?
Utilize 85% native species at a minimum.
With High Country Gardens as a partner for this project, this goal has been relatively easy to achieve. I developed an extensive plant list from their plant offerings with a target of 85% native North American plants. When the whole project is done, I suspect we will be well above that target, but even for the first phase of planting, we exceeded that target. Native plants are amazing, and I’m thrilled to be using so many beautiful examples.
You can download the full plant list here!
This also helps us provide Food Sources, Shelter, and Nurseries — three of the essentials of a wildlife garden. Almost every plant on the list flowers. Many will provide seeds — and I won’t cut the seed heads off. There are also shrubs that will produce berries, plants that provide ground cover, grasses for insects — frankly, every plant was chosen for a specific purpose.

The log piles are there — but the plants hide them, at least from our human neighbors.
Provide shelter and water for our local ecosystem.
Providing shelter and water can be a tricky business — particularly when also keeping your neighbors happy. However, we have deployed a few clever tricks — and have more planned. Having removed the ash tree on the south side of the yard, we saved all of the wood from the tree and created two tidy log piles tucked in amongst the newly-planted Amelanchier trees. These piles of logs create nooks and crannies for insects, birds, and small mammals to use. Plus, the rotting wood will be filled with microbes, fungi, and insects — great food for birds and other animals, too. But we tucked them between the trees so they are sheltered from the sun and so they are more aesthetically-pleasing, too.
I have plans for a water source as well as some other forms of shelter, too. Those will evolve over time. And as the wood piles rot away, they will be replaced, reconfigured, or maneuvered.

The addition of six trees on the south side of the planting scheme will help to absorb water runoff along with the other watershed-management methods we have deployed.
Manage and capture the watershed on our property.
In a dry and arid climate, capturing rainwater is critical. Our planting scheme goes a long way toward helping to capture runoff, however. We placed six new trees on the sloping hillside. Their roots will help to absorb rainwater as it travels downhill. Those log piles will also act as sponges — holding on to some water as well. In addition, we will eventually reroute our rain gutters so that they are supplying water to the plants on the south side of the scheme. And the south side is also planted deeply with grasses — deep-rooted native plants that will hold that water as well.
Eventually, we will also reroute the rainwater runoff from our driveway into the bed on the other side of the yard as well. That is a future phase of this project.
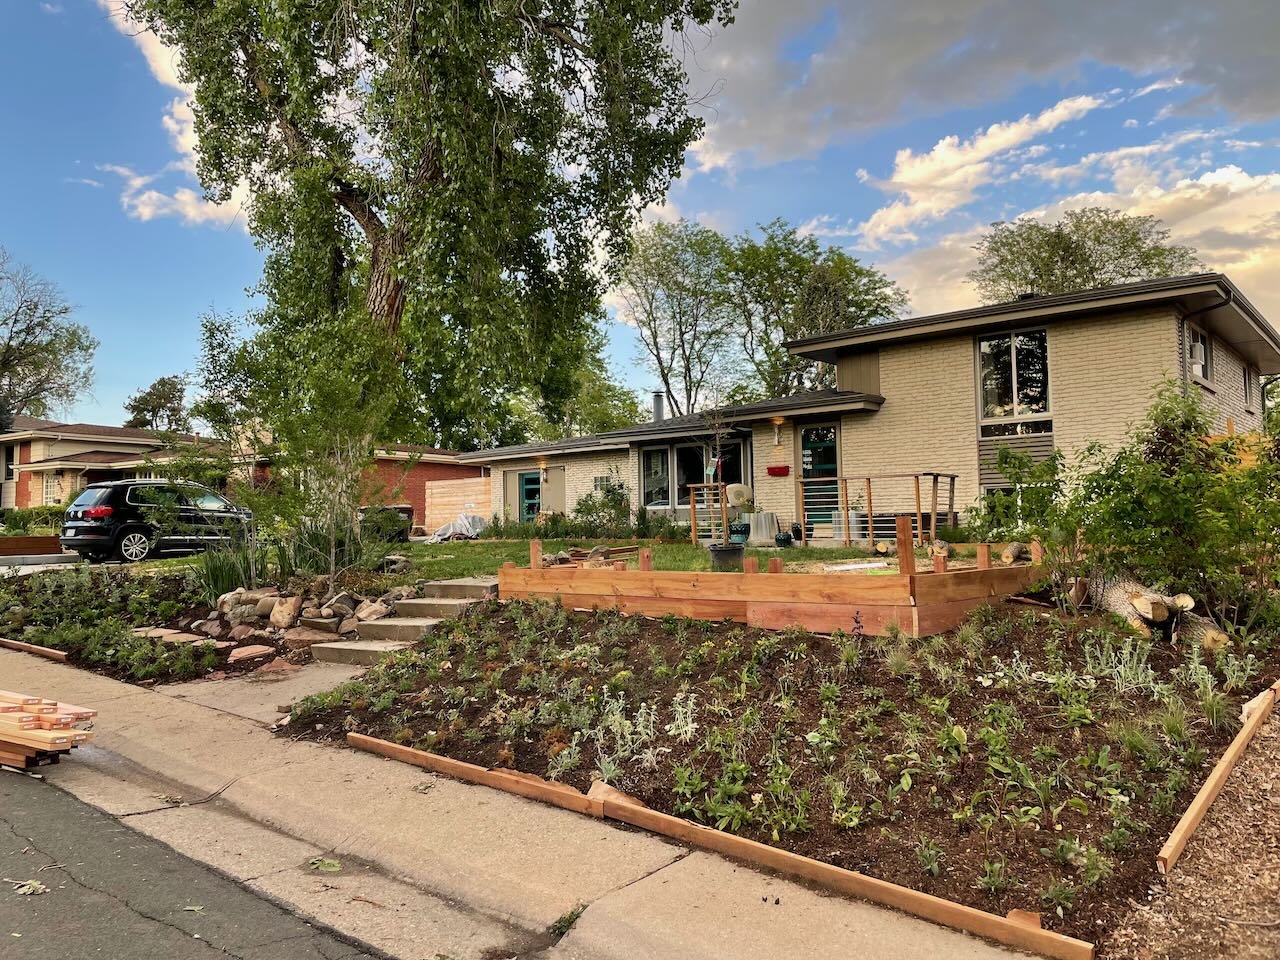
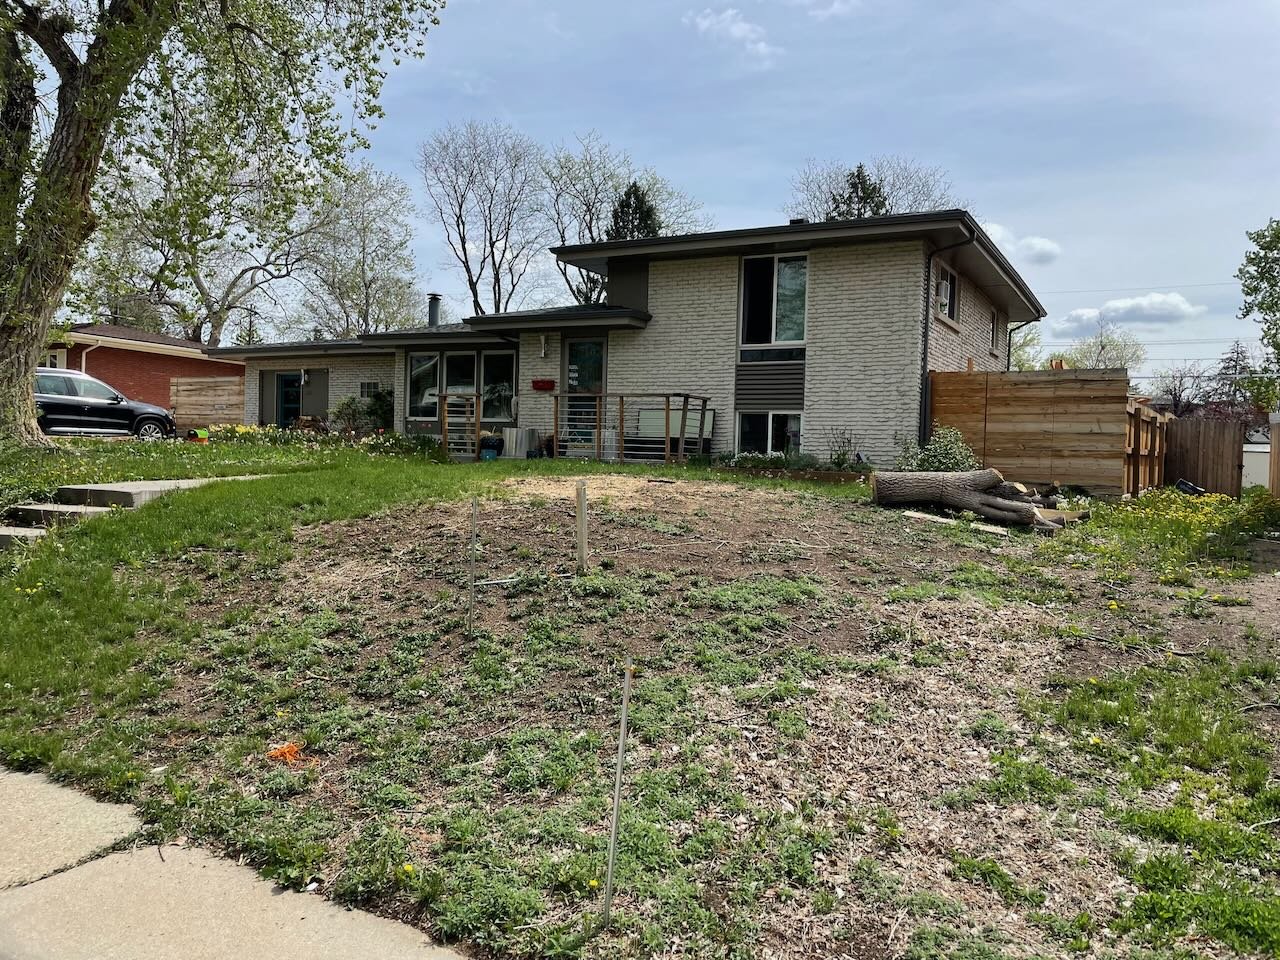
Here the retaining beds are under construction, but Phase 1 of the planting scheme is complete.
Enhance the beauty of our property in an inspirational and aspirational way.
Frankly, it already looks better! And our neighbors stop and chat with us about the project almost daily. As the scheme evolves and the plantings mature, it will only improve, too.
Step 4: Get Your Hands Dirty!
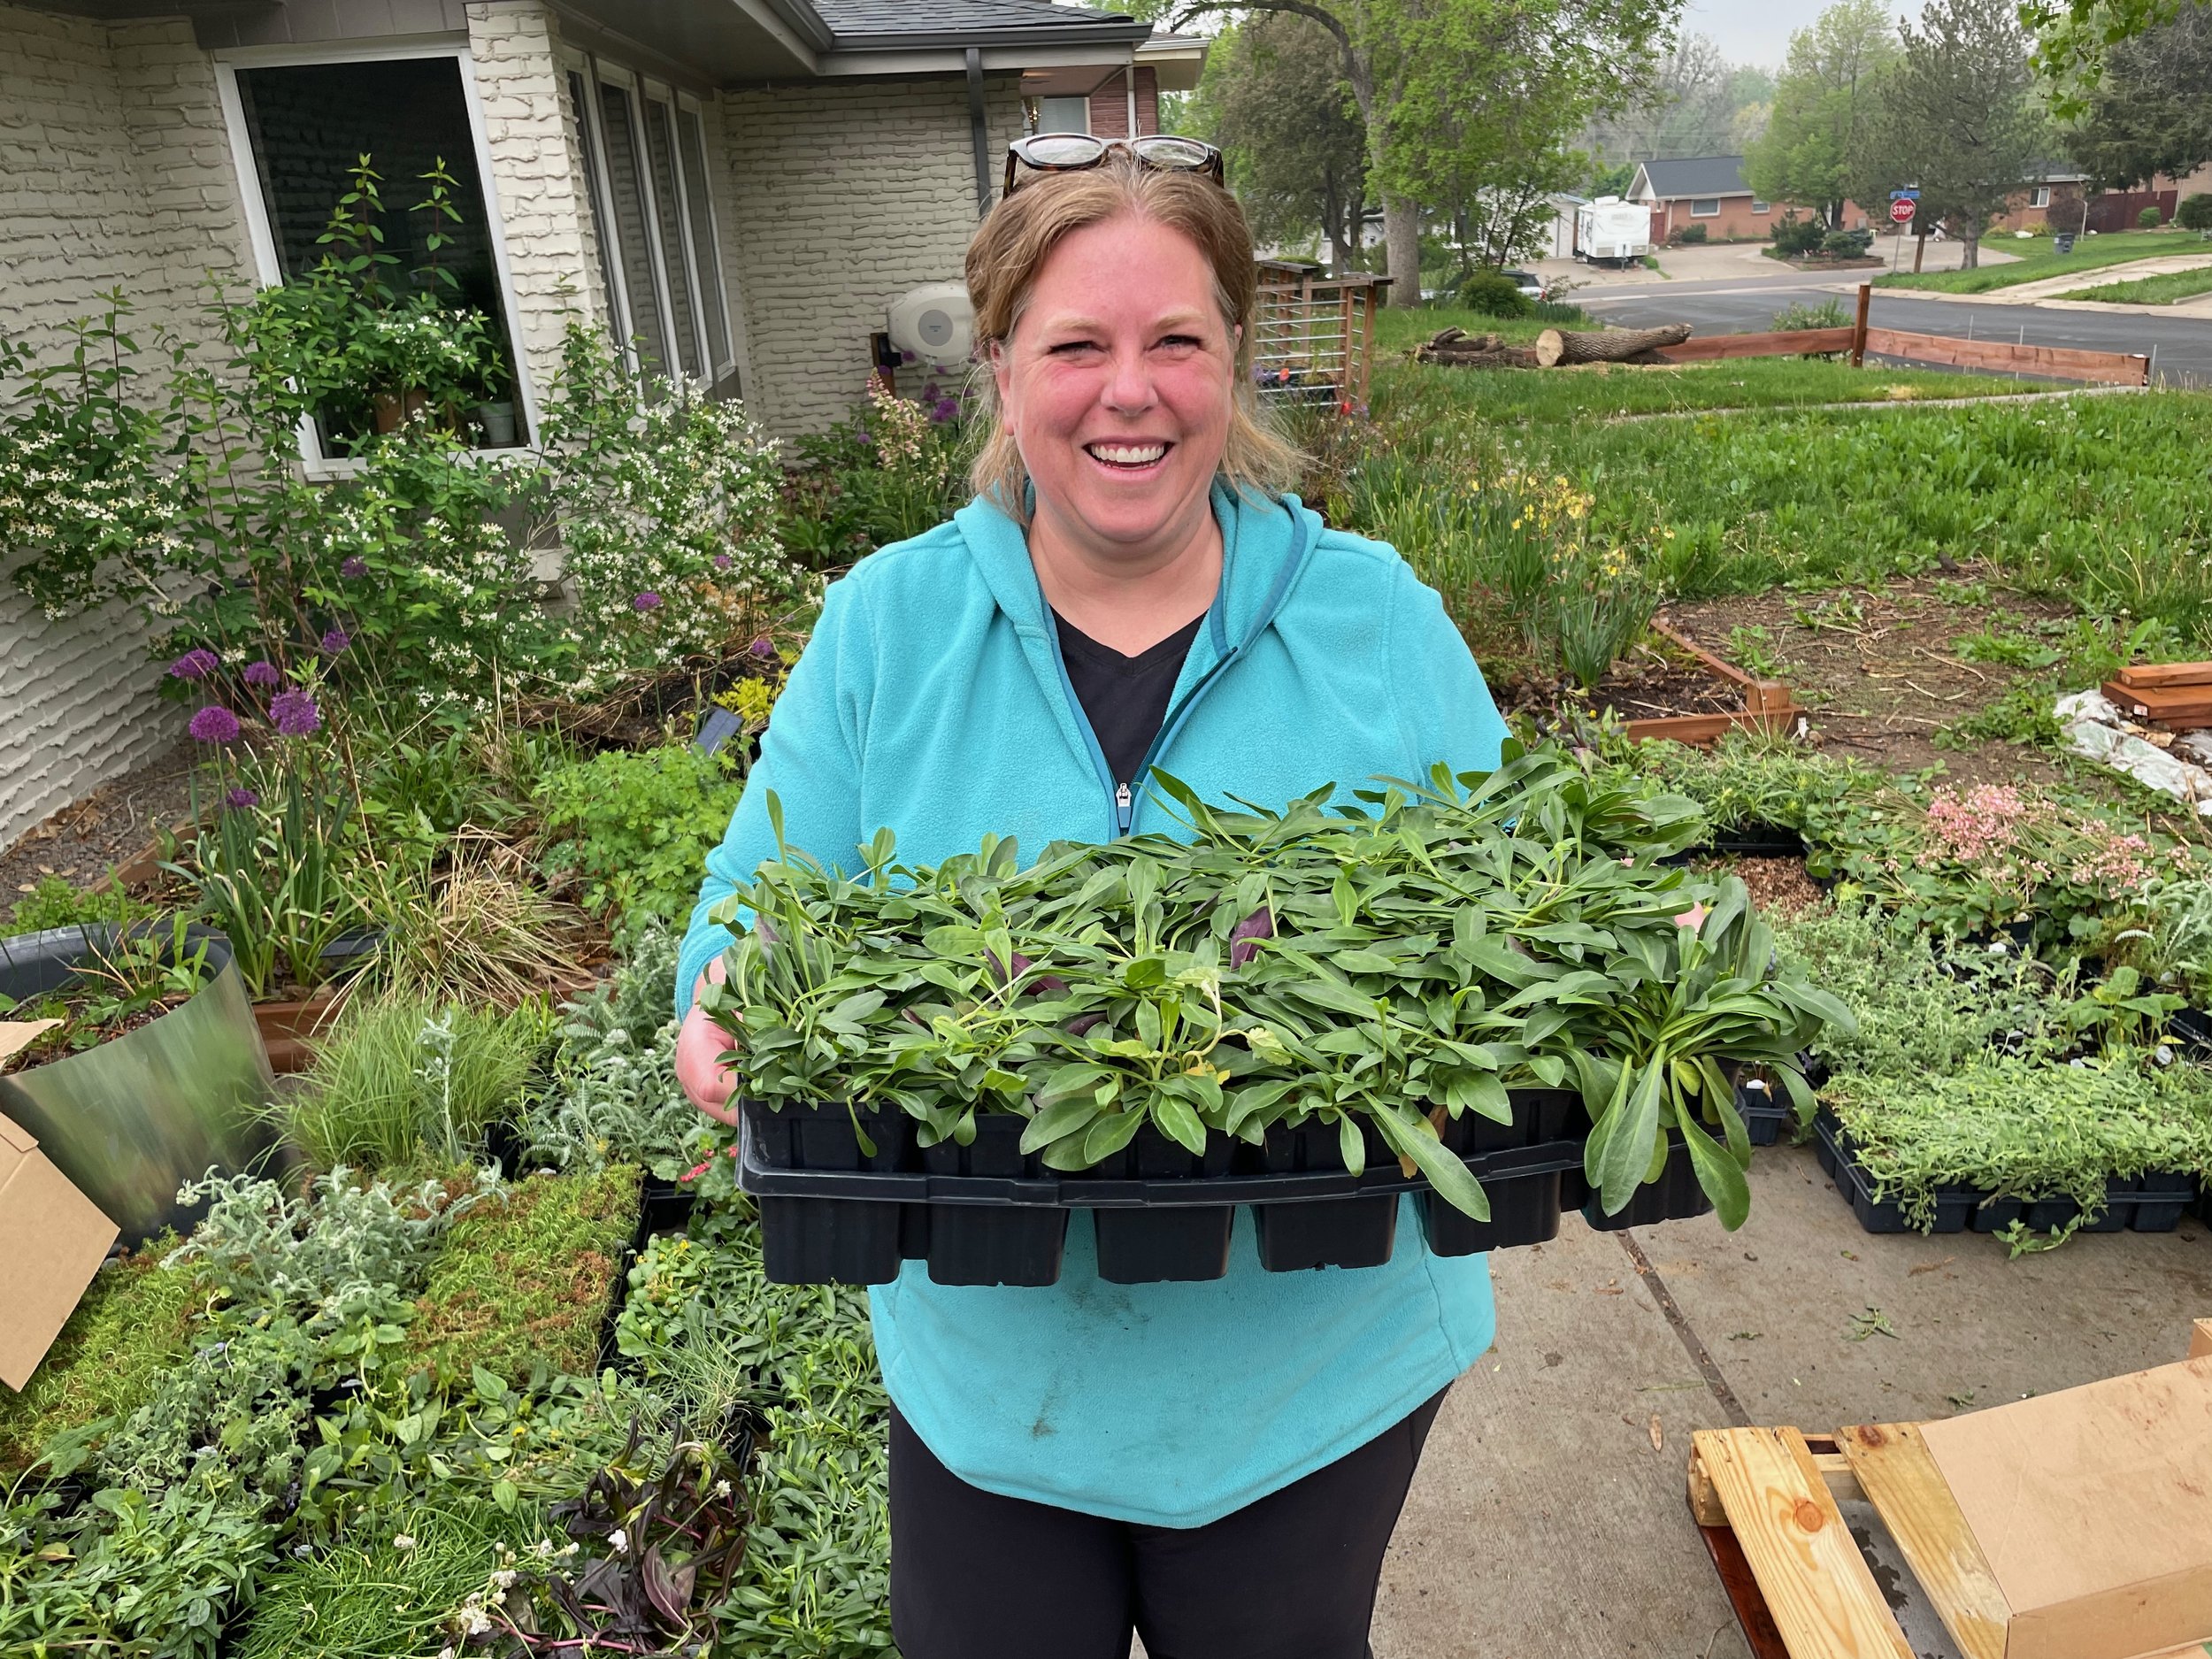
All of that planning only gets you so far. Once you have planned out everything you need to do for your wildlife garden, it’s time to get to work! The planting process is so fun and rewarding and exhausting — depending on the scale at which you are working, of course. But get some friends and neighbors involved, and dig in!
I hope this look at how to plan a wildlife garden helps you as you think about your own place — big or small — as a piece of a much larger ecosystem. Be sure to check out my list of resources, posted below, where you’ll find lots of books and digital resources that may be helpful in your quest as well.
And sign up for my mailing list! As this project evolves and changes, I’ll post updates. There’s always something happening in a Wildlife Garden!
Pin it!

Planning a wildlife garden has never been easier with our comprehensive guide! Learn how to design a haven for biodiversity in your own backyard with our step-by-step tips and tricks. From selecting native plants to creating inviting habitats, we'll show you how to attract birds, butterflies, and beneficial insects to your outdoor space. Dive into our blog for expert advice on maximizing biodiversity and promoting a healthy ecosystem right at home! #WildlifeGardenPlanning #NativePlantSelection #BiodiversityGarden #EcoFriendlyLandscaping