How to Make a Personalized Clipboard
An Easy & Inexpensive gift for kids, teachers, or friends

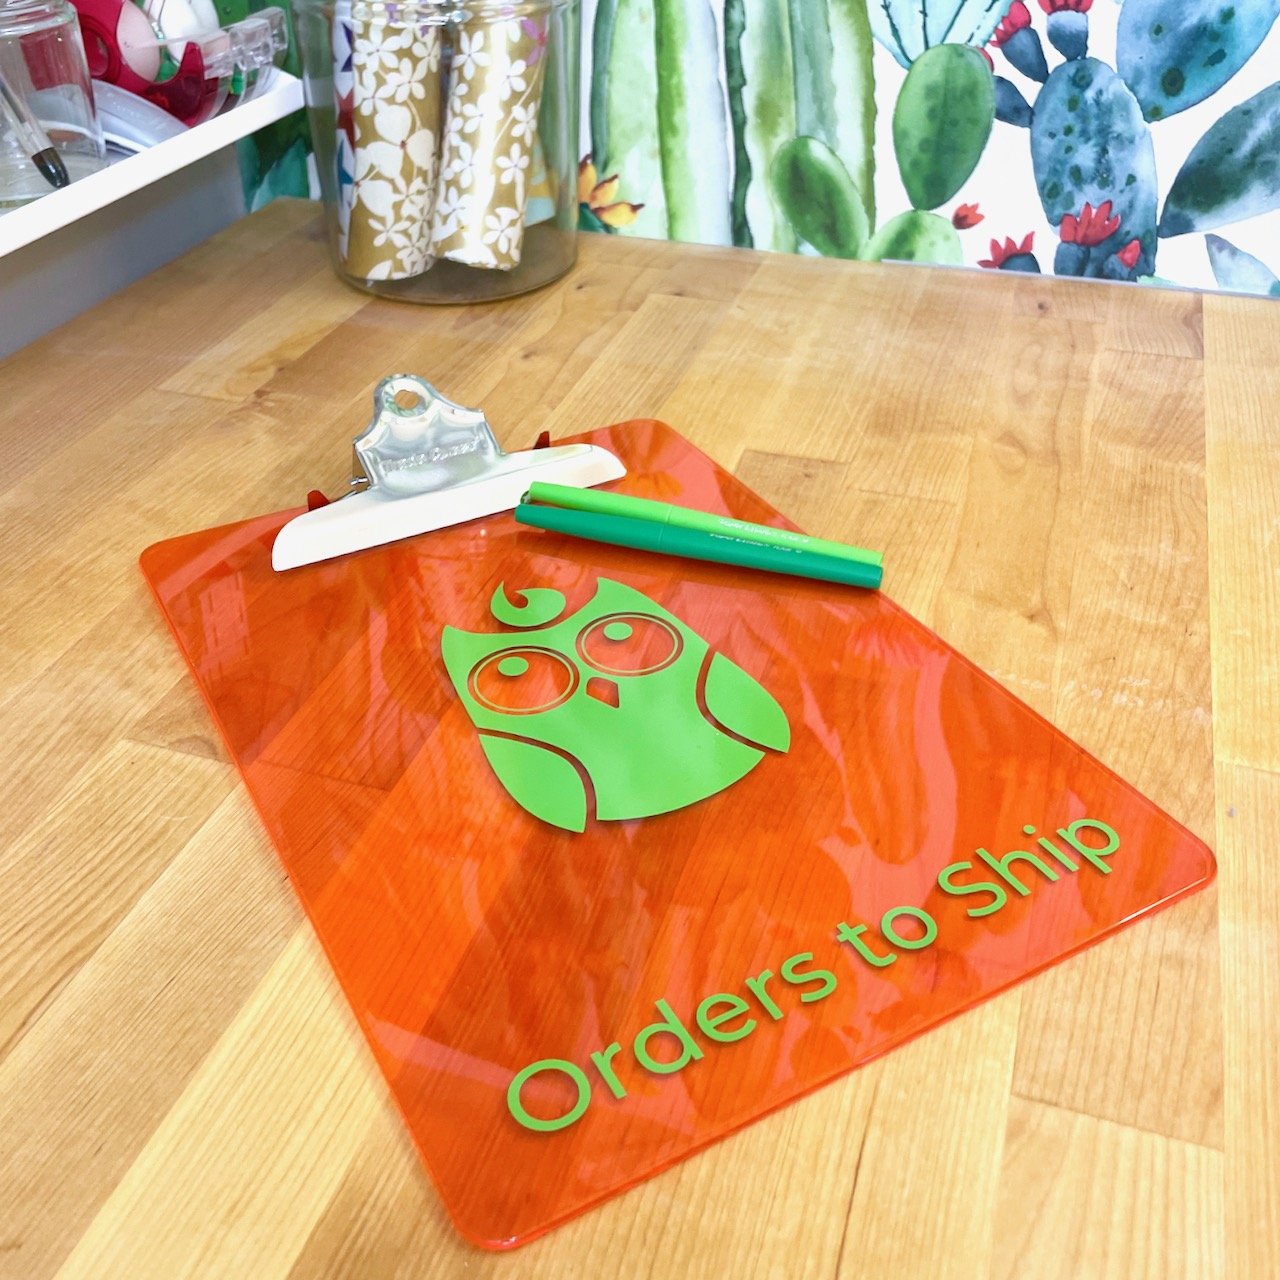
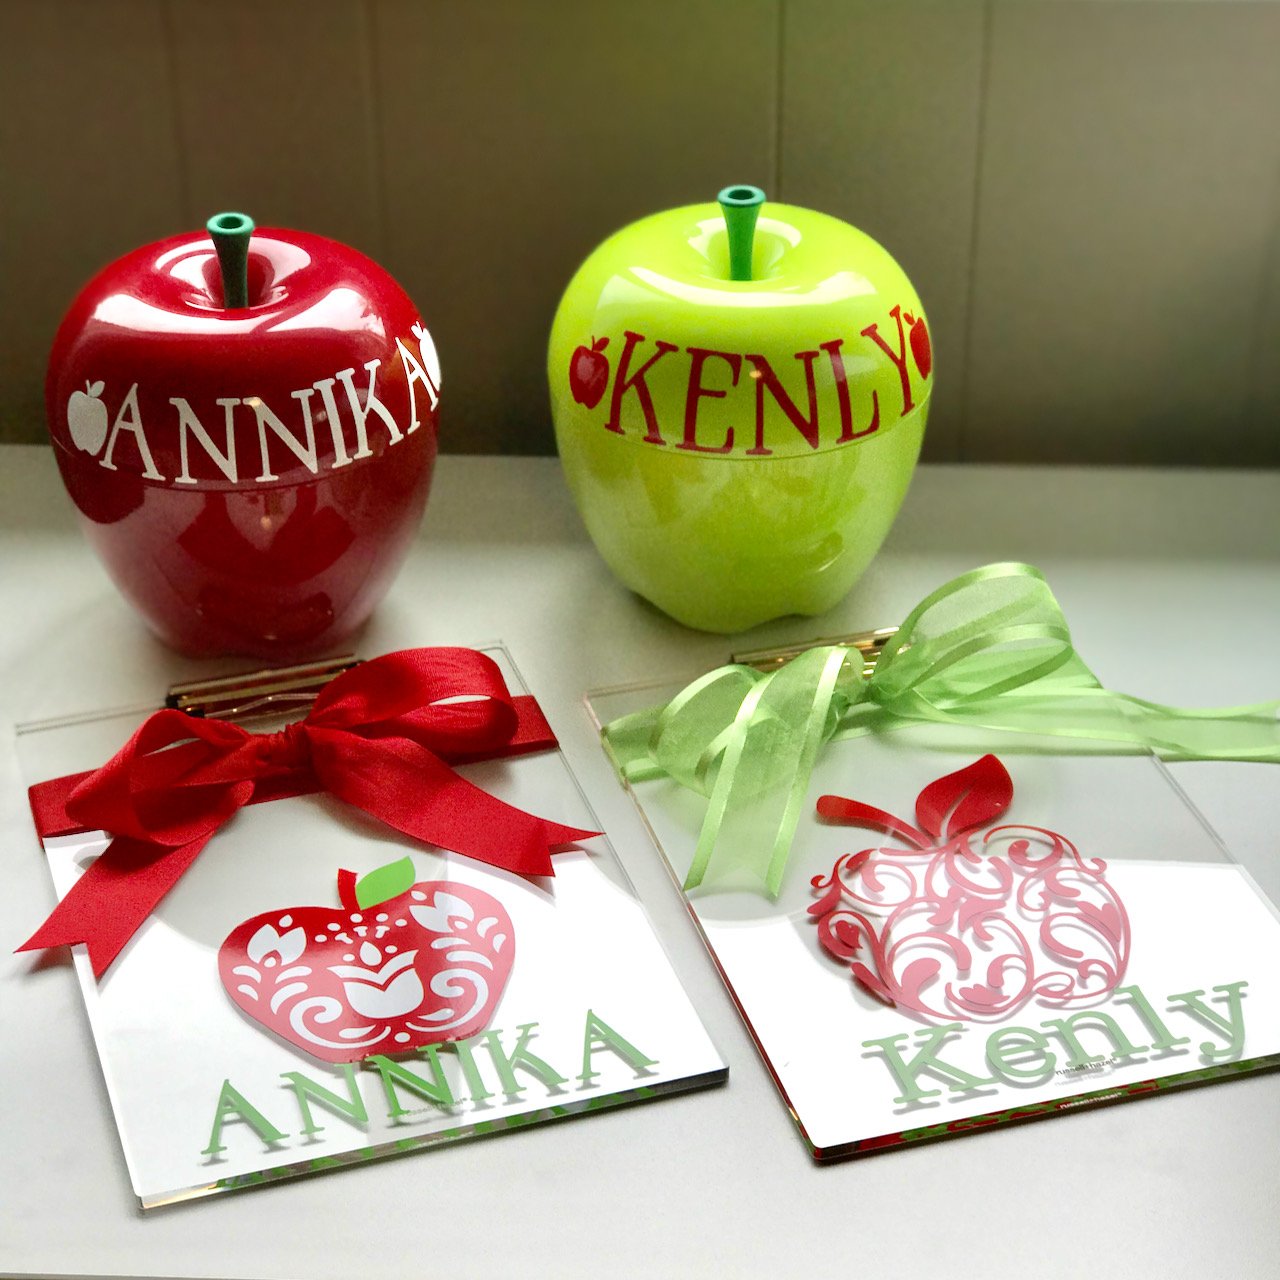
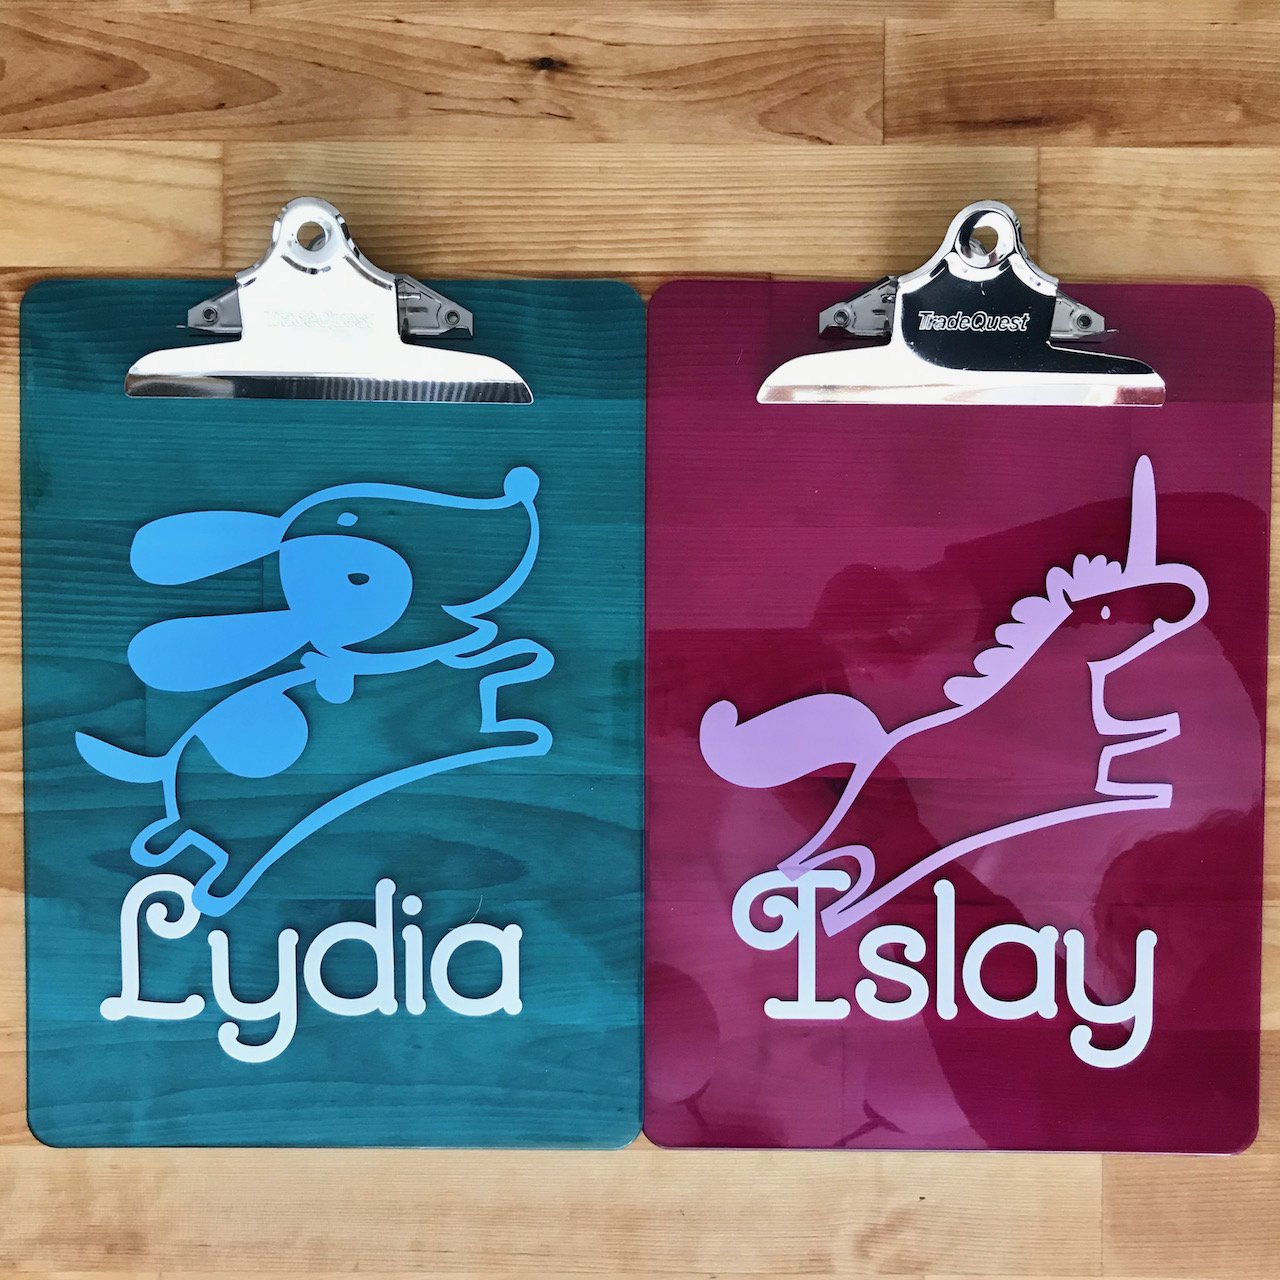
I hate rushing around to find the perfect birthday gift for every birthday party. And teacher gifts can be challenging, too. So I have developed a few easy Cricut projects which I can whip out quickly and inexpensively for almost any occasion. A personalized clipboard is always a fun gift, and it’s a really easy project that will be used and appreciated by almost anyone. I’ve made these for our Owl & Ember office, too! Use your Cricut and a little imagination, and your personalized clipboard will be treasured!
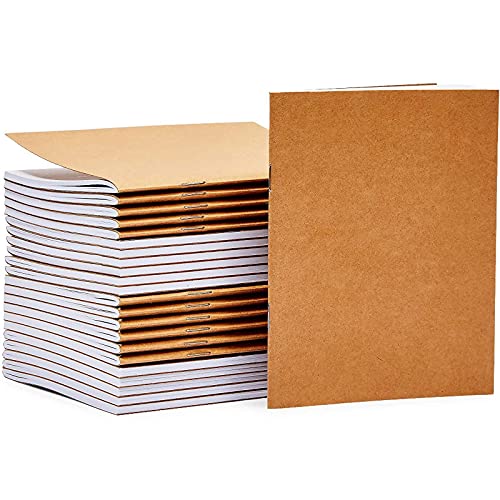
I always have a few clipboards on hand for those last-minute gifts. I buy them by the dozen and tuck them away. I also buy packages of our family’s favorite pens — Paper Mate Flair felt tips. When the clipboard is done, I wrap it with a package of pens and a blank sketch book — a perfect kid’s birthday party gift!
For teachers: clip in a gift card and wrap it up! You could even have the whole class sign the clipboard in paint pen for an extra personal touch.
Disclosure: This post is sponsored by Cricut, but all ideas and opinions are my own. AKN
Materials
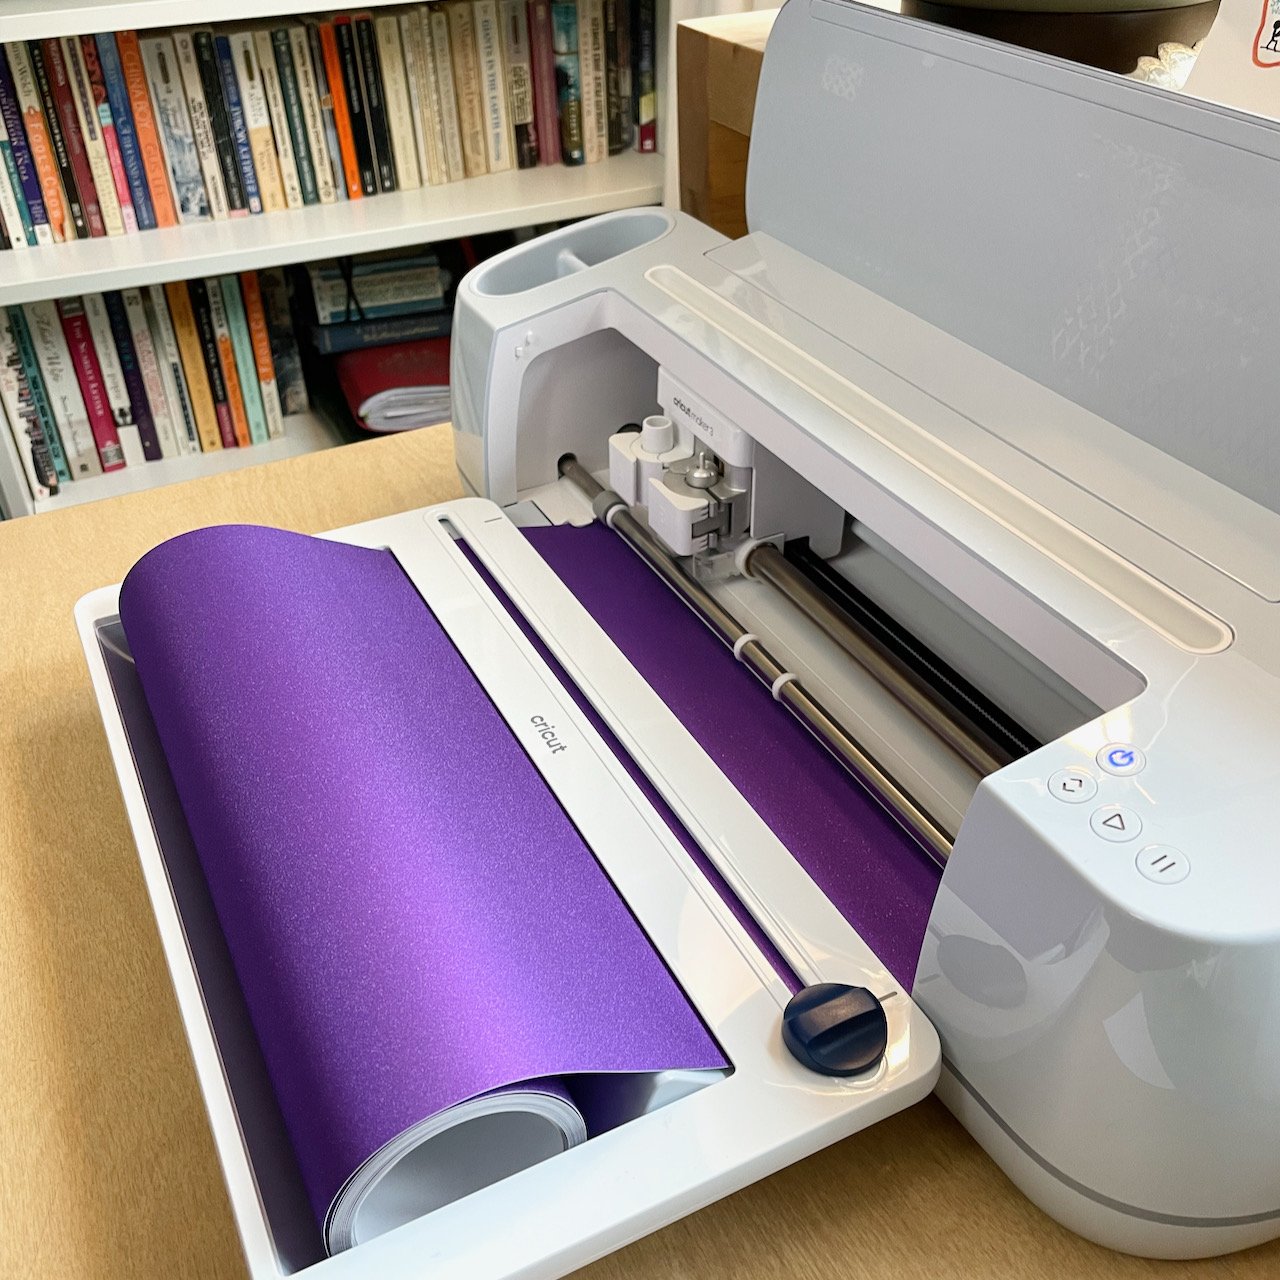
Cricut Maker or Cricut Maker 3 : I have both and love them! See my note below about machines.
Standard Grip Mat (unless you are using Smart Vinyl)
Permanent Vinyl or Permanent Smart Vinyl
In this example I used:
brayer
scissors
painter’s tape or masking tape
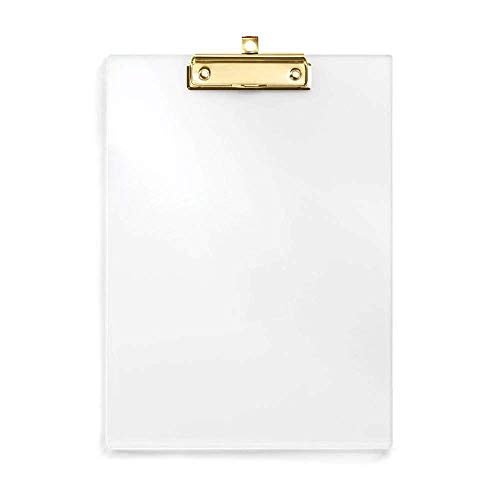
a clipboard (a few of my favorites are listed below)
A Note about Cricut Machines: these projects could absolutely be done on other Cricut machines. I happen to have the Maker and the Maker 3, but I know many of you out there have hardworking Joy and Explore machines, too. Use what you have! The principles are the same.
Whether you are creating your own graphics or using the thousands of graphics in the Cricut Design Space, simple, colorful artwork makes for the best vinyl designs.


How to Make a Customized Clipboard

1. Design Your Graphics
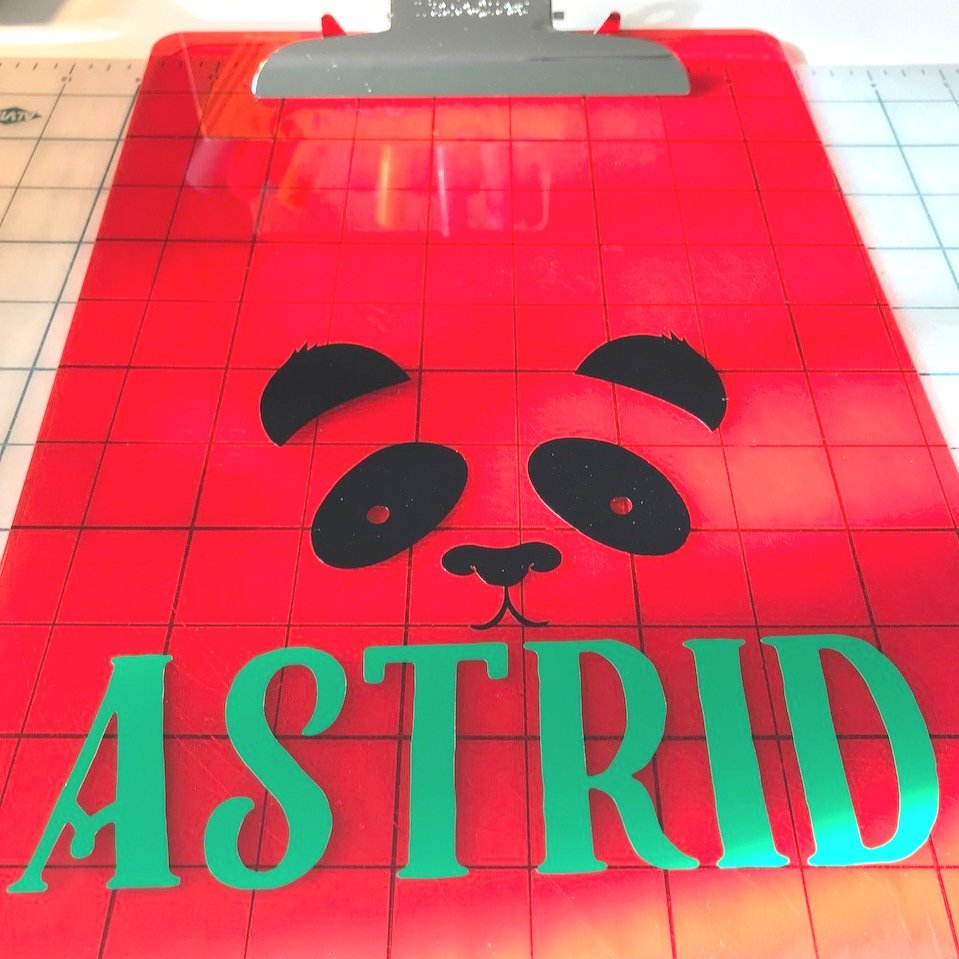
This process generally starts with a conversation with my child about their friend. We go through the Cricut Design Space graphics and choose something that their friend will love — a favorite animal, sport graphic, or hobby. There are thousands of graphics to choose from as well as a wide range of fonts. I tend to choose designs which only require one color of vinyl for ease. Often I’ll do the graphic in one color and the name in another.
Measure your clipboard to determine how large or small your graphic and name should be. Generally, my design is no larger than 6” x 8” to allow for space around the design.
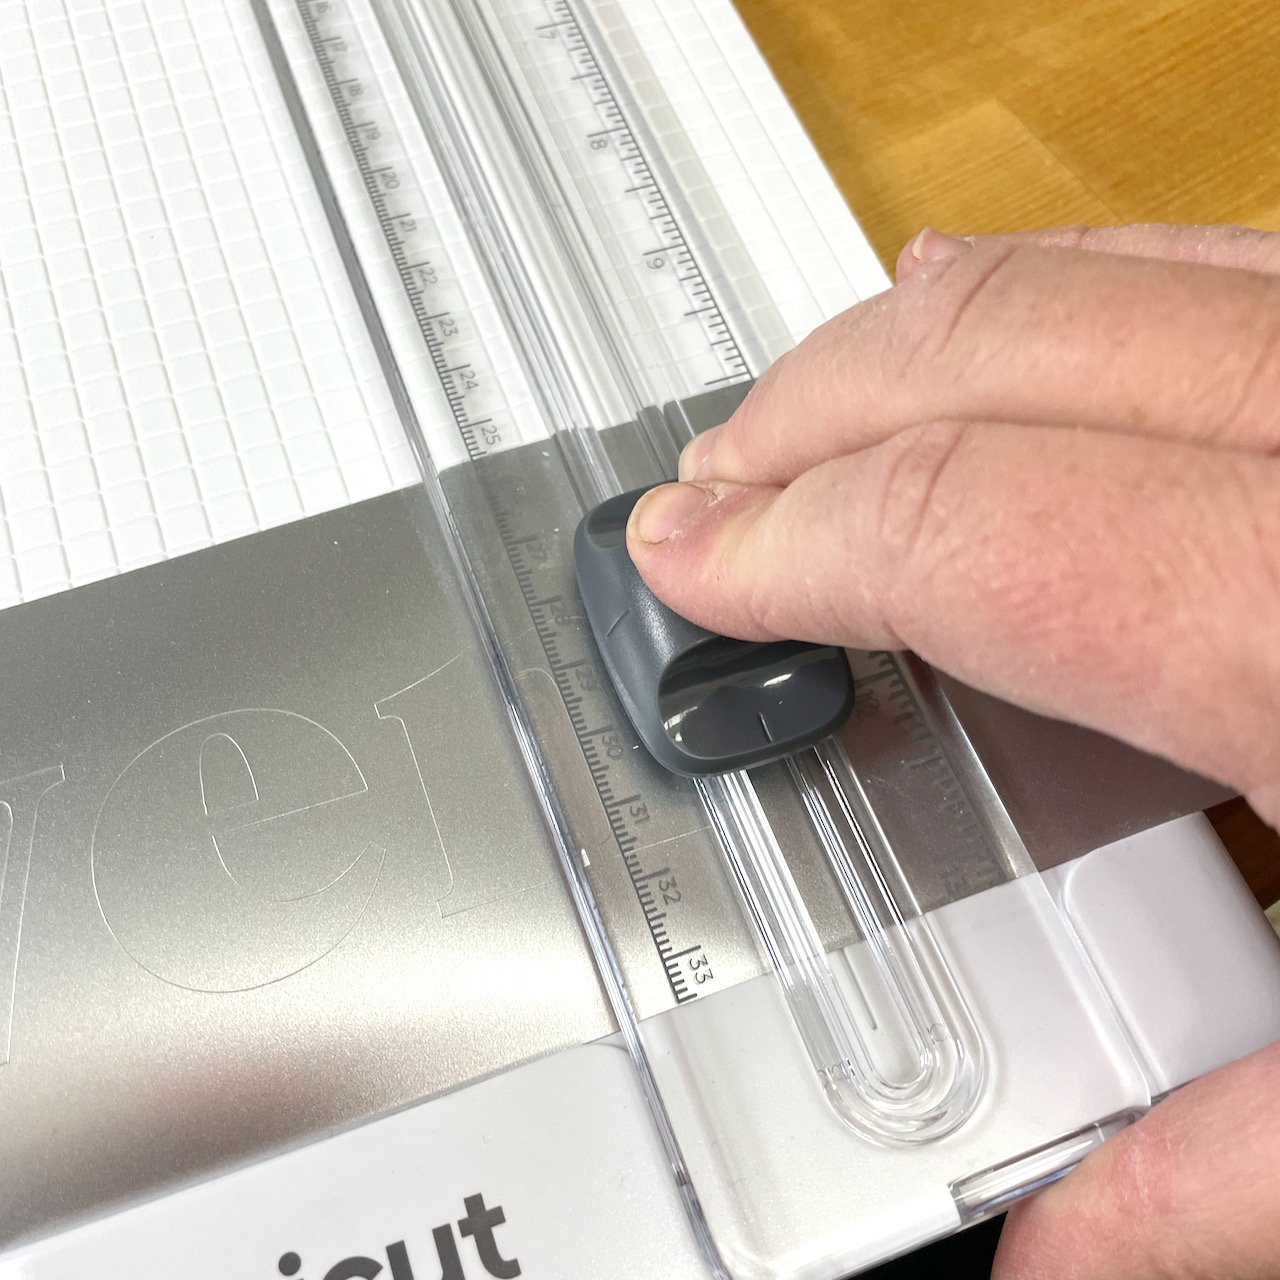
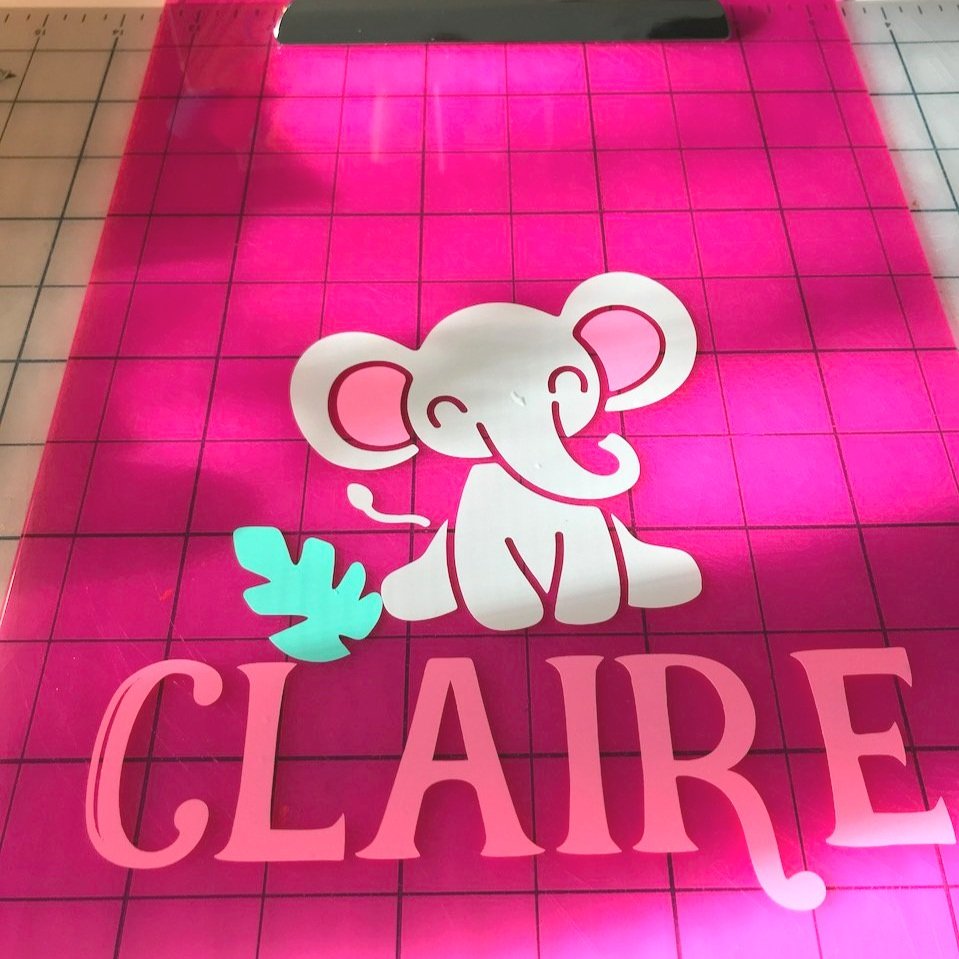
2. Cut the Vinyl
Once you are happy with the design, send it to your Cricut to cut the vinyl. If you are using regular sheets of vinyl, set up your cutting mats. If you are using Smart Vinyl, you won’t need mats at all.
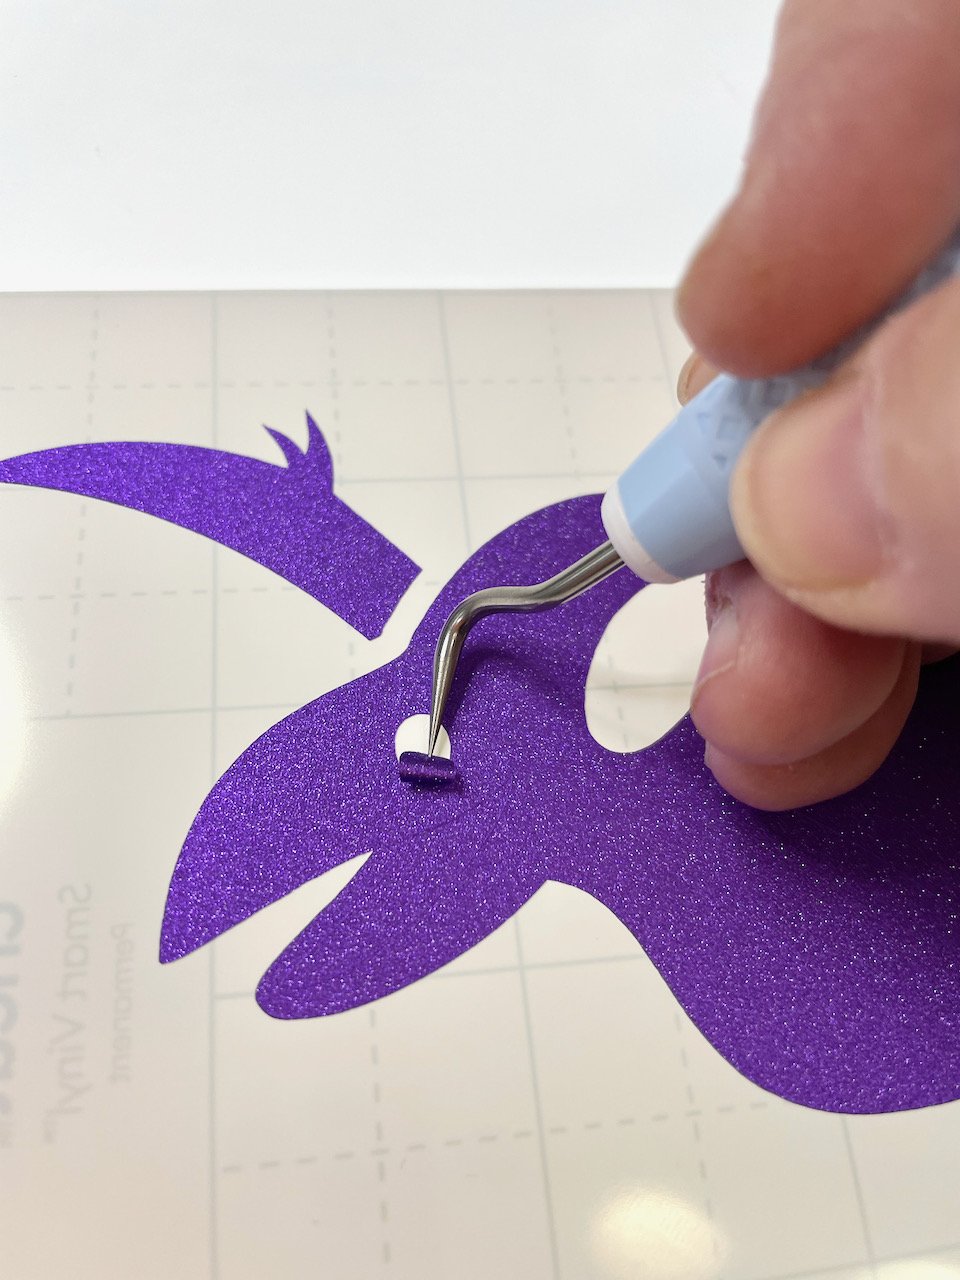
3. Weed the Vinyl
Once your vinyl is cut, weed the design. If it is particularly complex, I find that using my BrightPad can be helpful in seeing where to weed.

4. Apply Transfer Tape
Once fully weeded, it’s time to apply the transfer tape. If you are using multiple colors and or layers, you can get everything lined up, centered, and in the right place using your transfer tape.
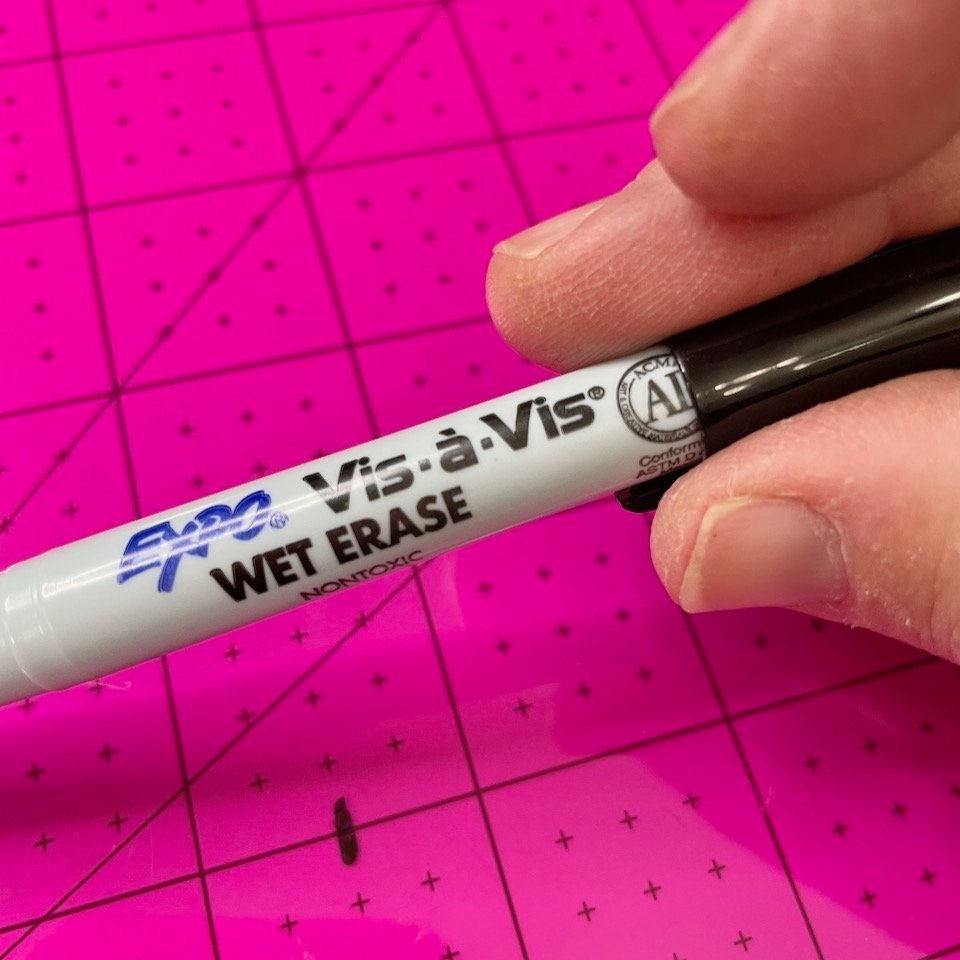
Tip: Don’t be afraid to mark on the transfer tape with Sharpie or wet erase markers. I often make registration marks which help line up one layer with another. I also mark the middle of the design to help place it correctly on the clipboard.
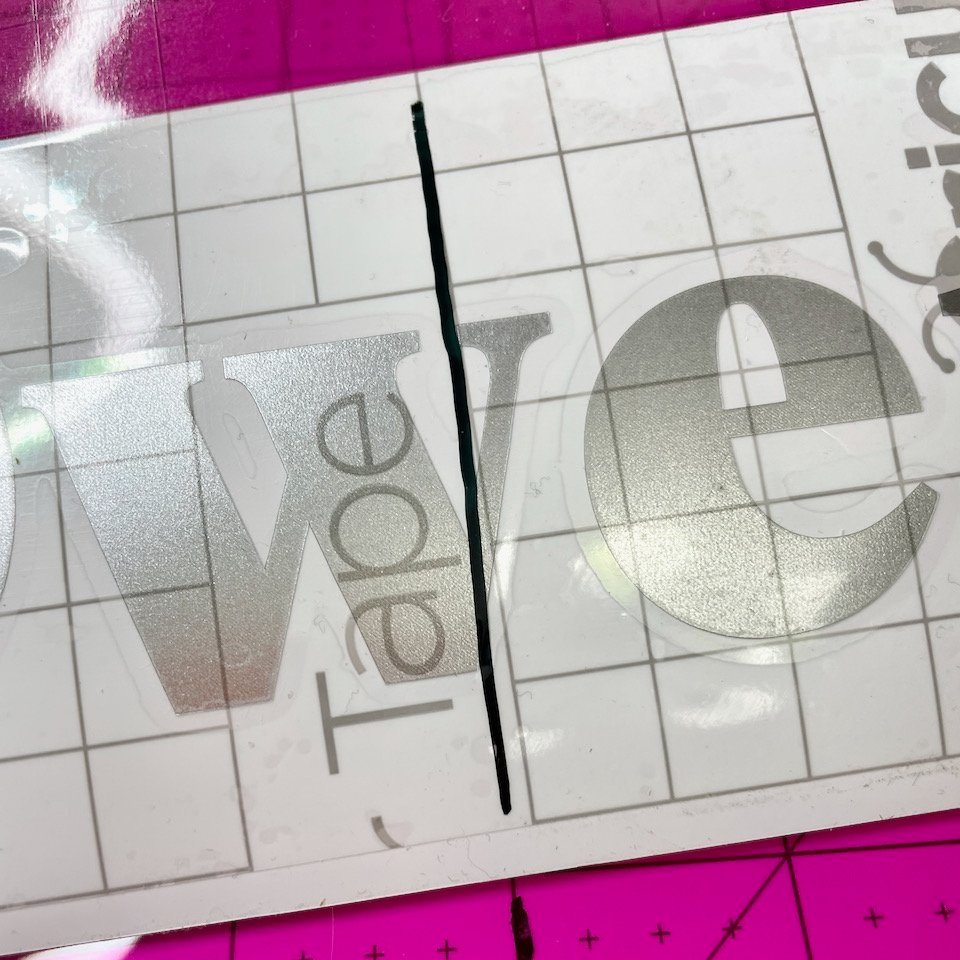
And use the grid marks on the transfer tape to make sure your design is straight.
5. Apply the Vinyl
Use the clipboard’s transparency to your advantage when lining everything up. I always place the clipboard on a self-healing mat with a grid. Using a wet-erase marker, I mark the center of the clipboard on the BACK of the clipboard. This mark will come off later!
Then align the clipboard on the grid marks of your self-healing mat.
Test the placement of your vinyl with the backing still on it.
Tip: If your transfer tape doesn’t have grid marks on it, draw a straight line with a Sharpie which you can then align with the grid on the mat. This will help you get your design on correctly.
Once you are happy with the placement, use the hinge method for applying the vinyl:
Tape the top or longest length of your design in place with painter’s tape or masking tape (or just cut your transfer tape a little longer). This tape will become the hinge.
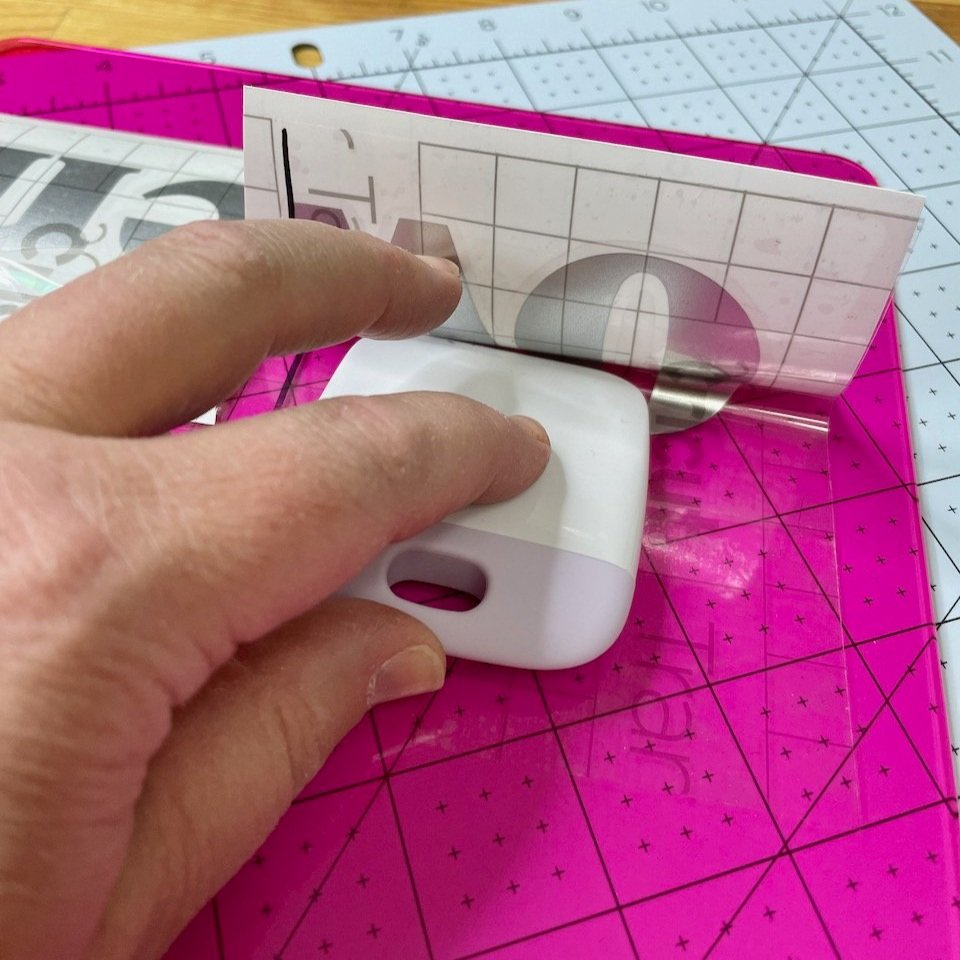
Cut the transfer tape into managable pieces.
Remove the transfer tape backing a bit at a time and smooth the vinyl down and into place with a brayer.
Remove the transfer tape.
This video is a quick tutorial on the Dry Hinge method.

6. Admire Your Work
Whether you are making a birthday gift, a teacher gift, or a work tool, your personalized clipboard is sure to be long-lasting and well-used.