
Making Coasters with Your Child’s Artwork
A Simple & Useful Gift from Kids’ Art

I love making gifts using my child’s artwork. He is a prolific artist, and his grandparents and friends appreciate personalized gifts with his unique touch. I had never tried Cricut’s sublimation process using their infusible inks, but with Mother’s Day and Father’s Day coming, I decided this would be a great opportunity to try making personalized coasters for the people in our life who make parenting a little easier. The process was a snap, and the end results are fantastic! So here’s a step-by-step tutorial for making coasters with your own child’s artwork. The project is simple, and the end result is a keepsake any grandparent or special friend will appreciate for years to come.
Disclosure: This post is sponsored by Cricut, but all ideas and opinions are my own. AKN
Cricut: Customizable Blanks

Making GIfts with Your CHild’s Artwork
This is part of a whole series on making fabulous gifts using your kids’ art. Check out all of the project ideas here!
First: what is sublimation?
Sublimation is a process that used to only be available in industrial settings — or through the rare mail-in kit. It’s the infusing of special inks — for Cricut they are called Infusible Inks — with a plastic or a plastic coating at very high heat. Basically, the ink is applied to a special paper. When it is heated and applied to a specially-coated surface, the ink transfers to the surface and is permanent when cool.
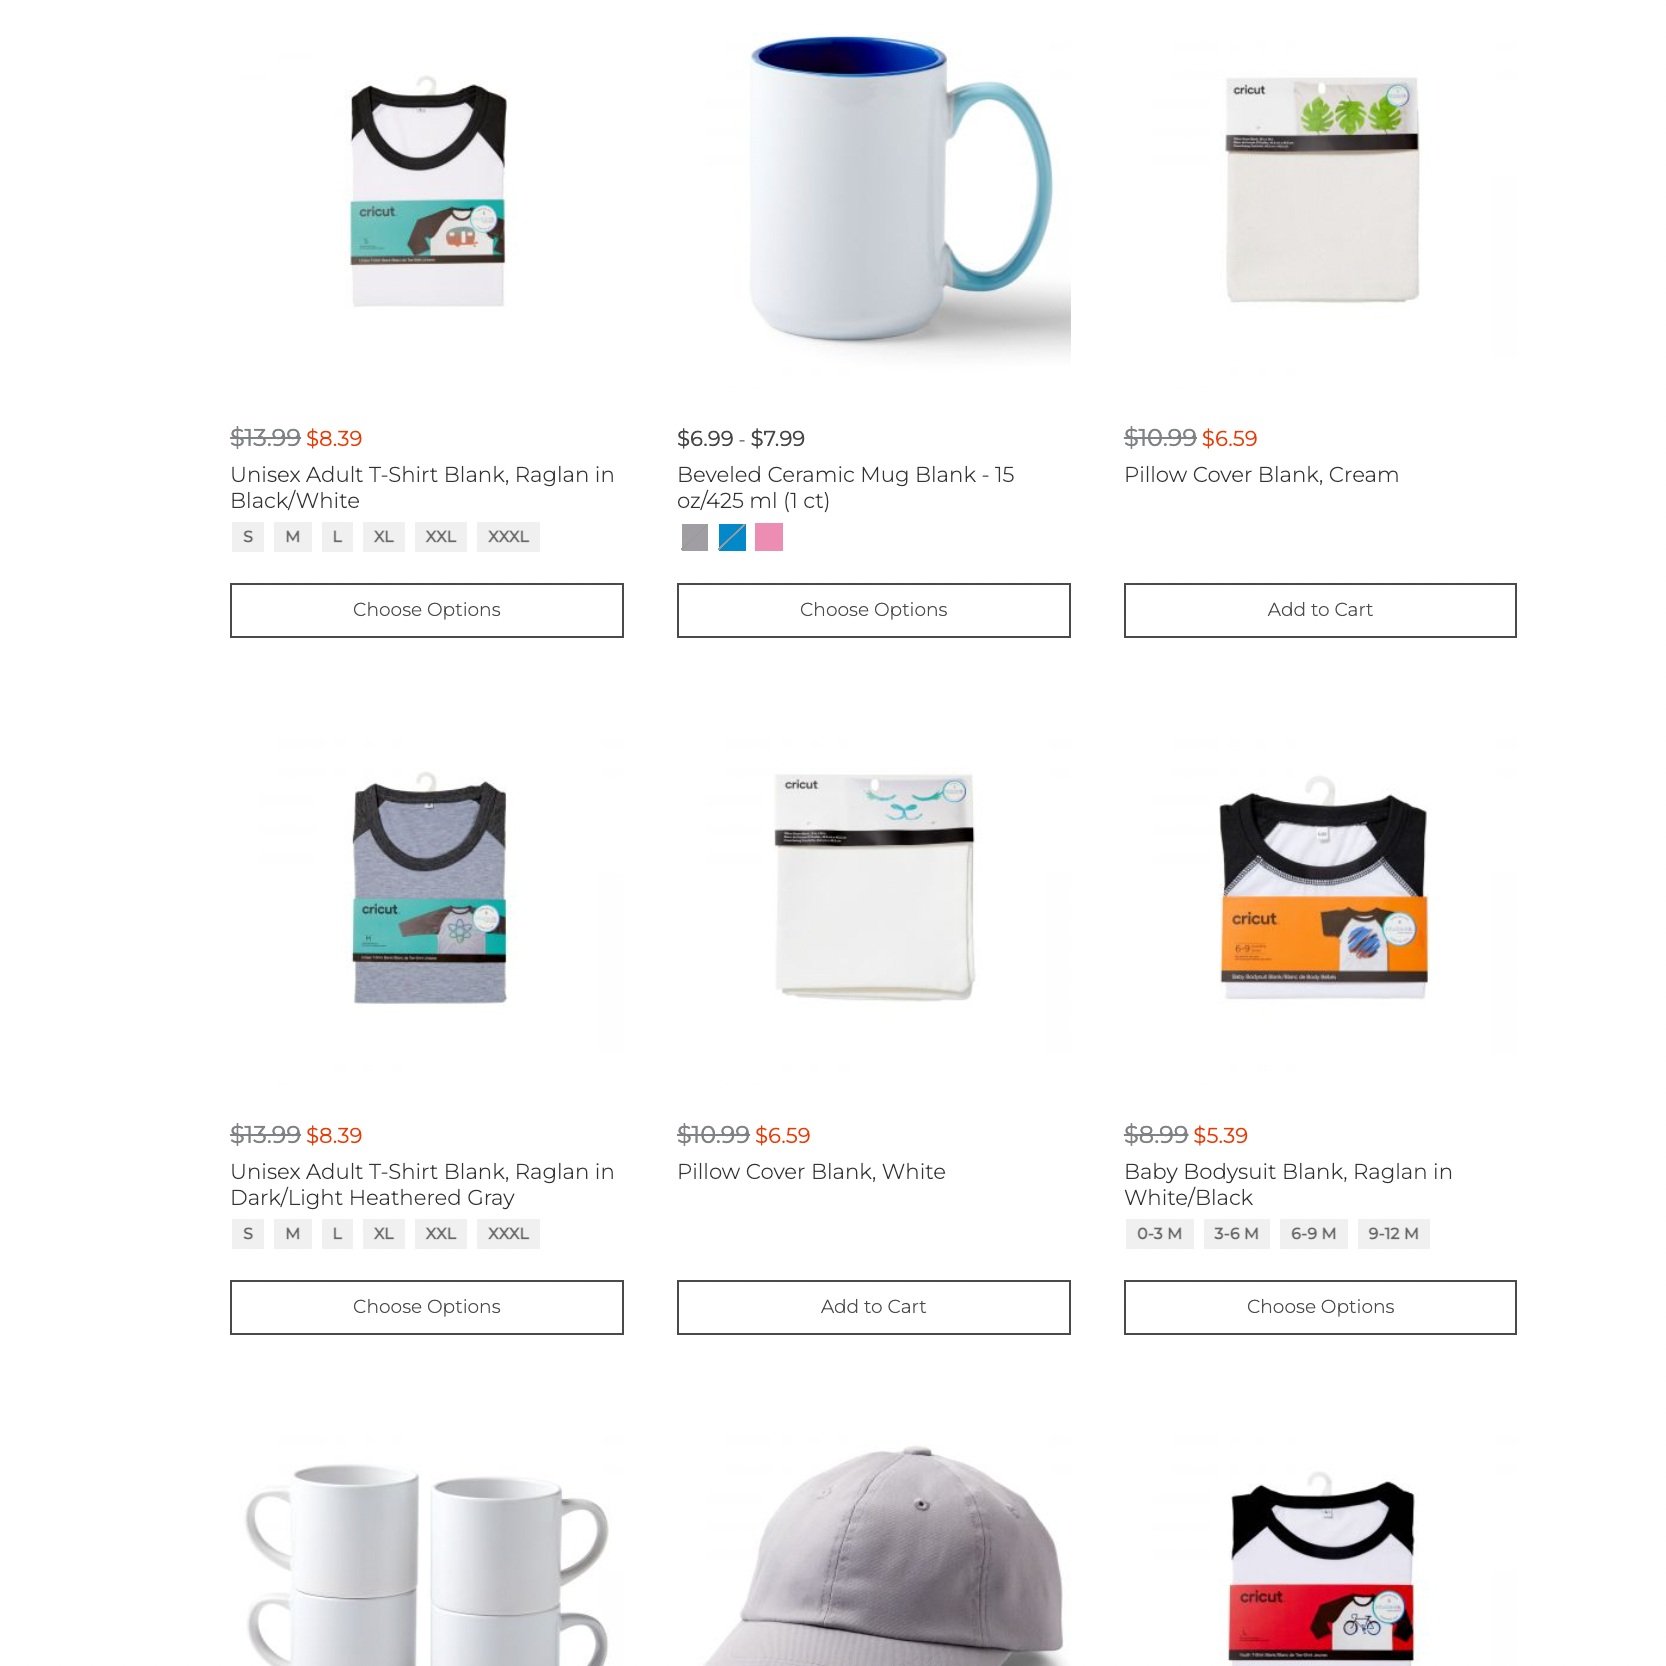
Cricut has brought sublimation into the home. With Infusible Inks, their series of blanks, and a HeatPress, you can use the sublimation process at home with just about anything! While I have used coasters for this example, you can apply the same process and make mugs, clothing, tote bags, pillowcases, and a wide range of other projects, too. Check out the entire range of customizable blanks here.
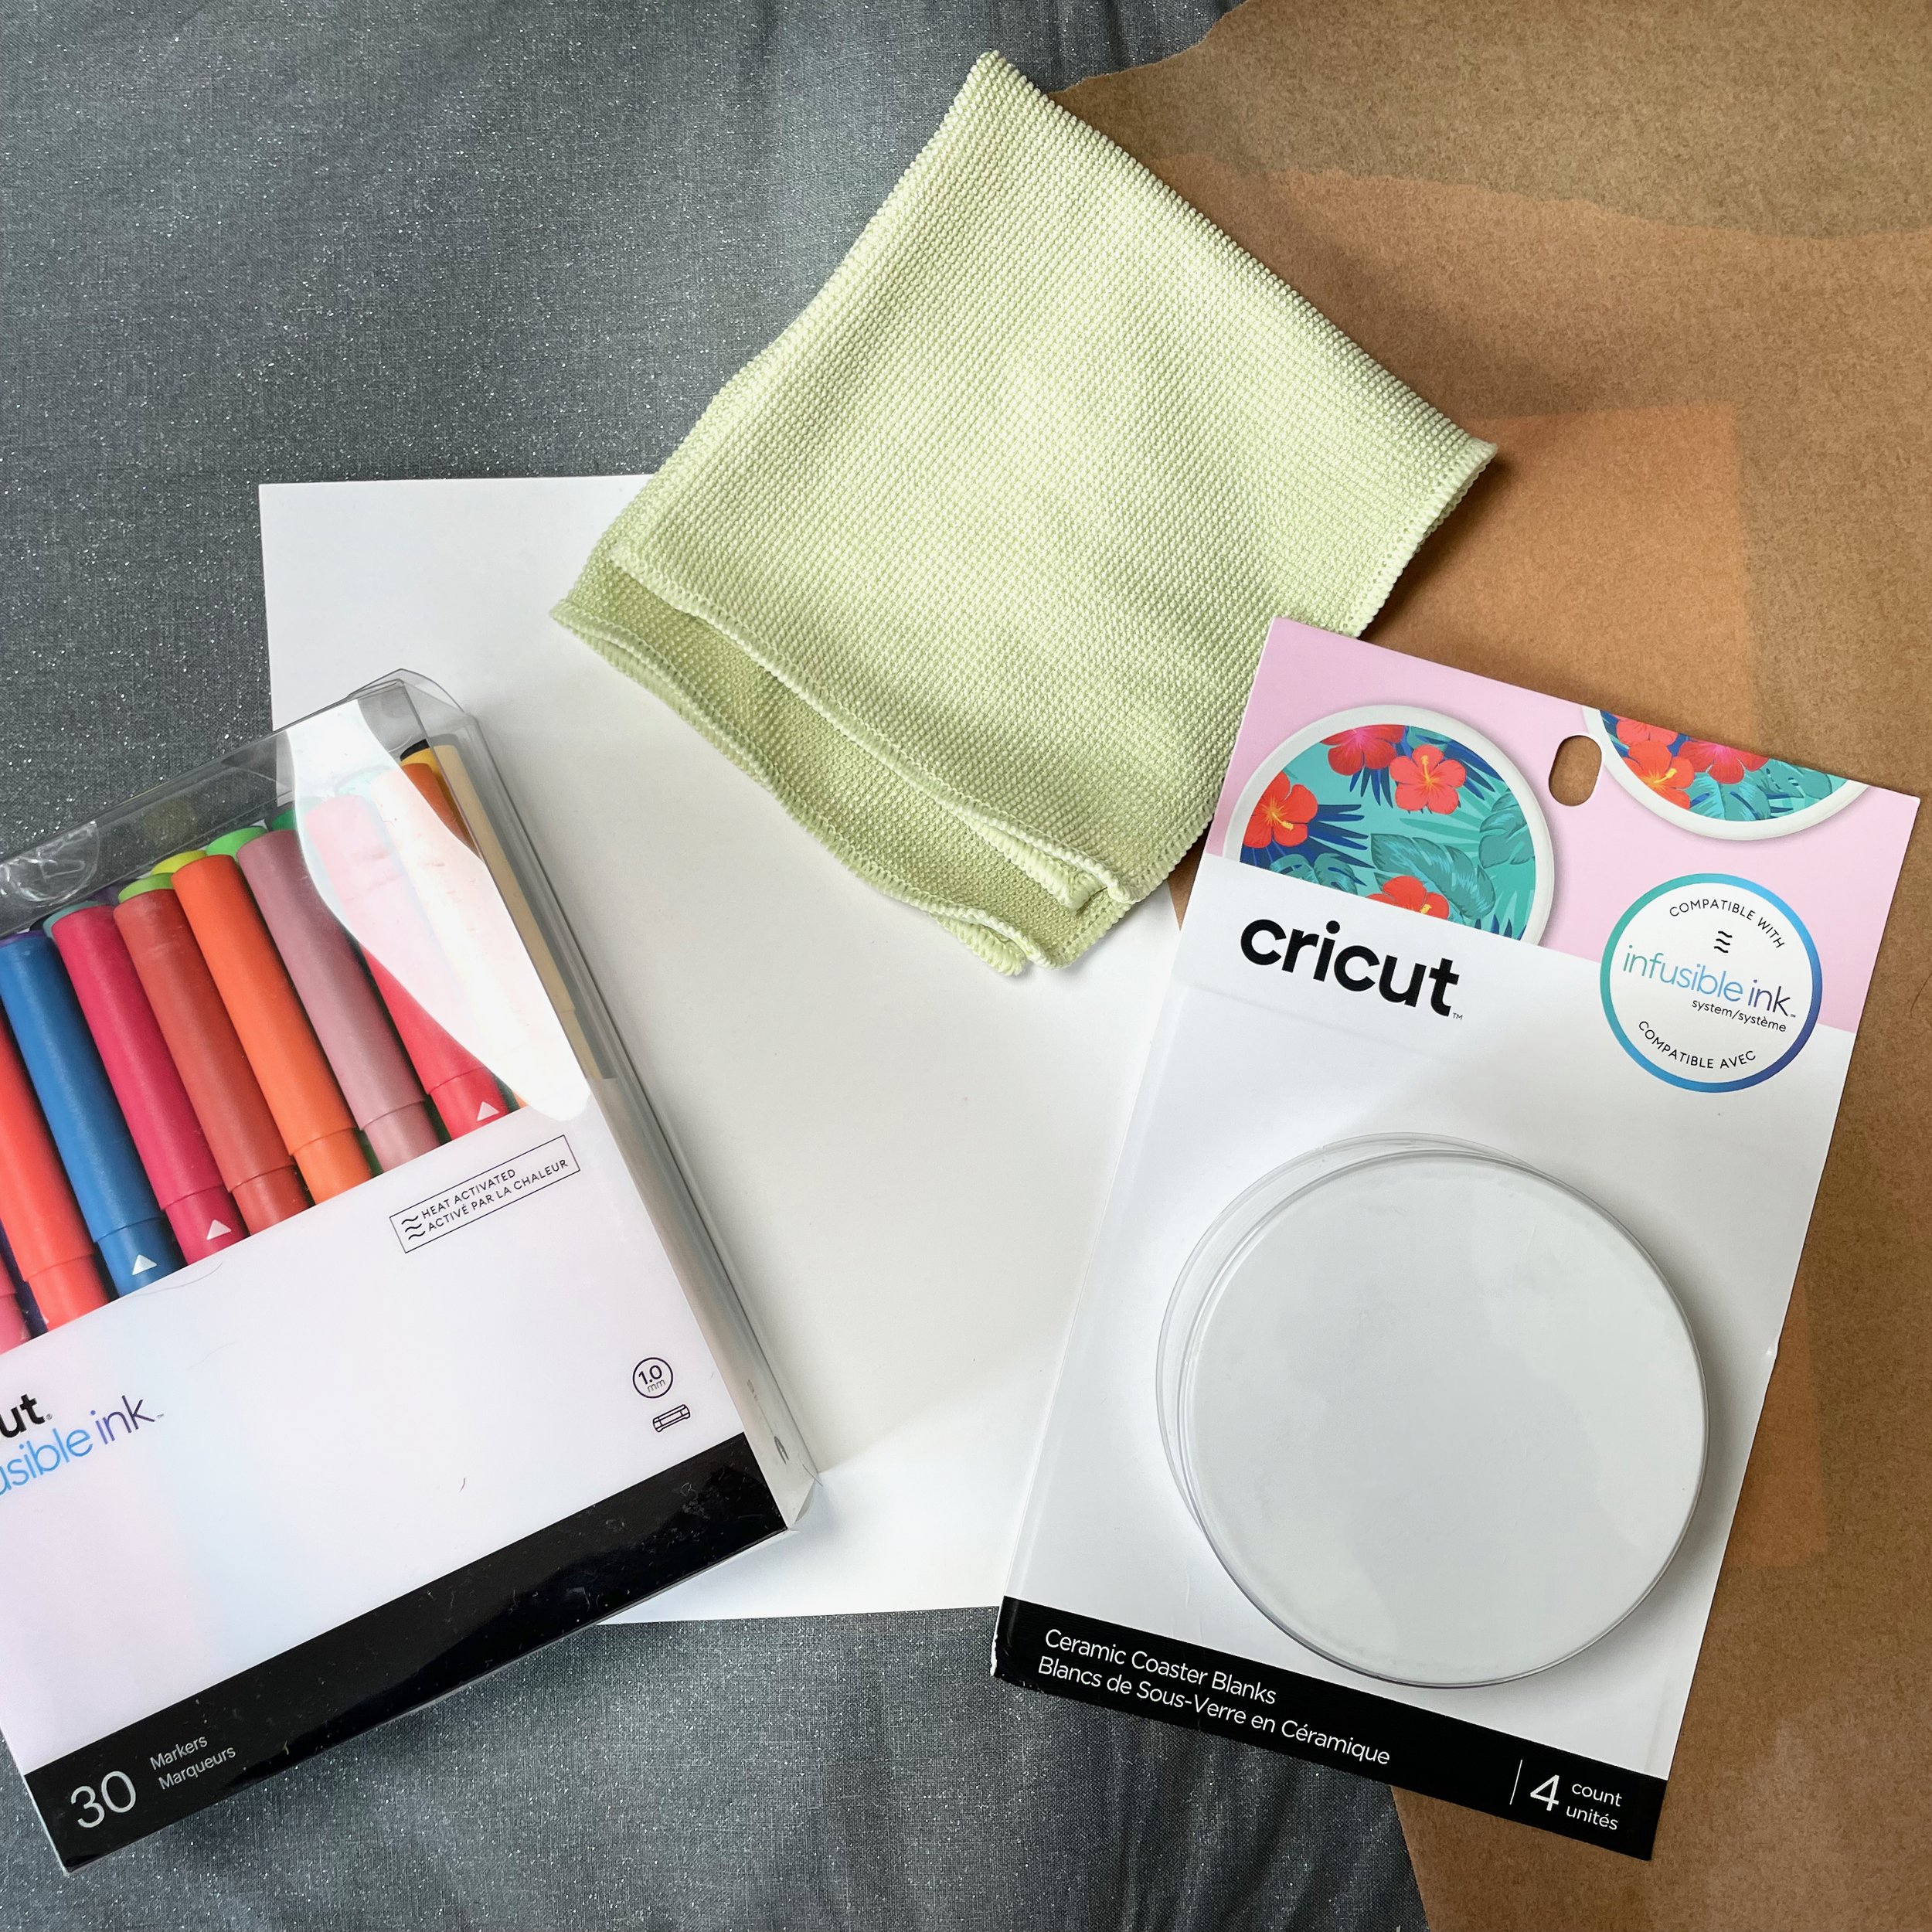
MATERIALS
A Cricut Heat Press: I have the EasyPress 2 which I love! Check to make sure your heat press will work for the sublimation process.
an EasyPress Mat: if you have a larger size, you’ll be able to do more coasters while you wait for them to cool
Laser printer paper: no other kind of paper will work for this process. I used Hammermill, because that’s what I had on hand.
Infusible Ink Markers: no other markers will work. It’s chemistry.
Infusible Ink Pens: again, critical to the process.
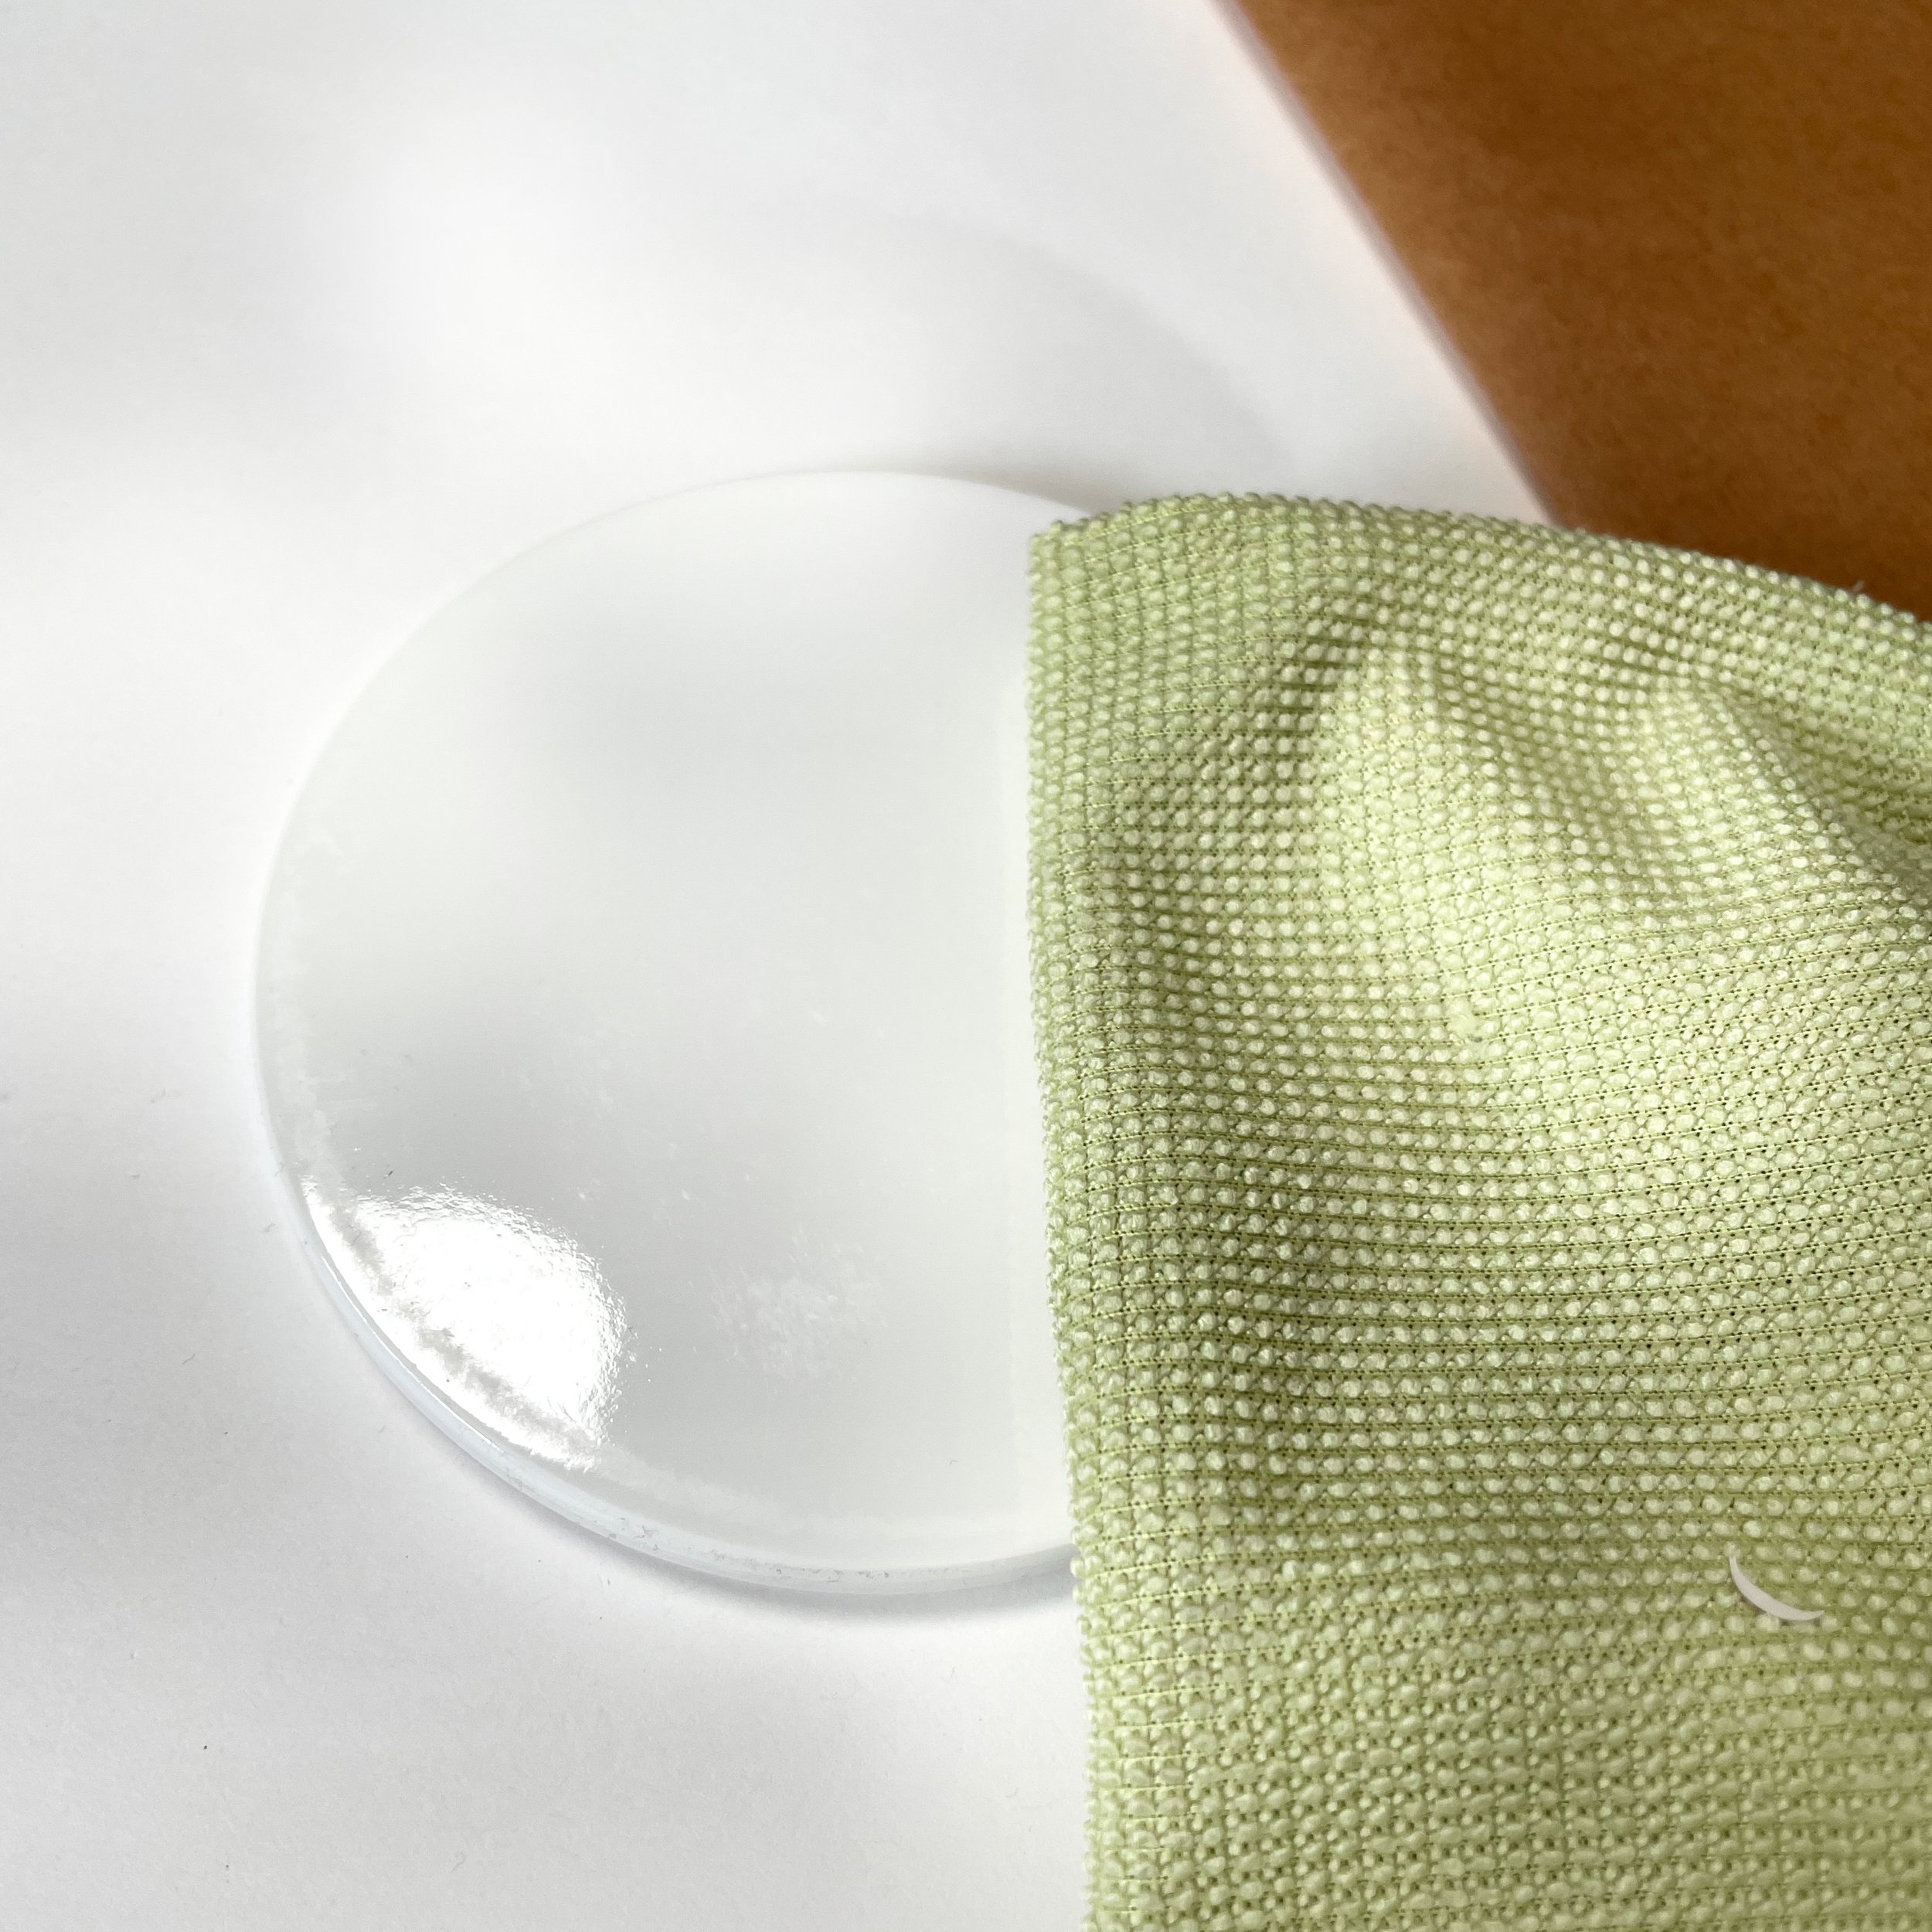
Cricut Coaster Blanks: I used the round, but they also come in squares.
Heat Tape: see my note about this below in the instructions
butcher paper or parchment paper
white cardstock
a pencil
a lint-free cloth (eg. a microfiber cloth)
an oven mitt, just in case
A Note: this process produces some pretty strong fumes. Do this project in a well-ventilated space or even outside.
How to Make Customized Coasters

Trace the Coasters
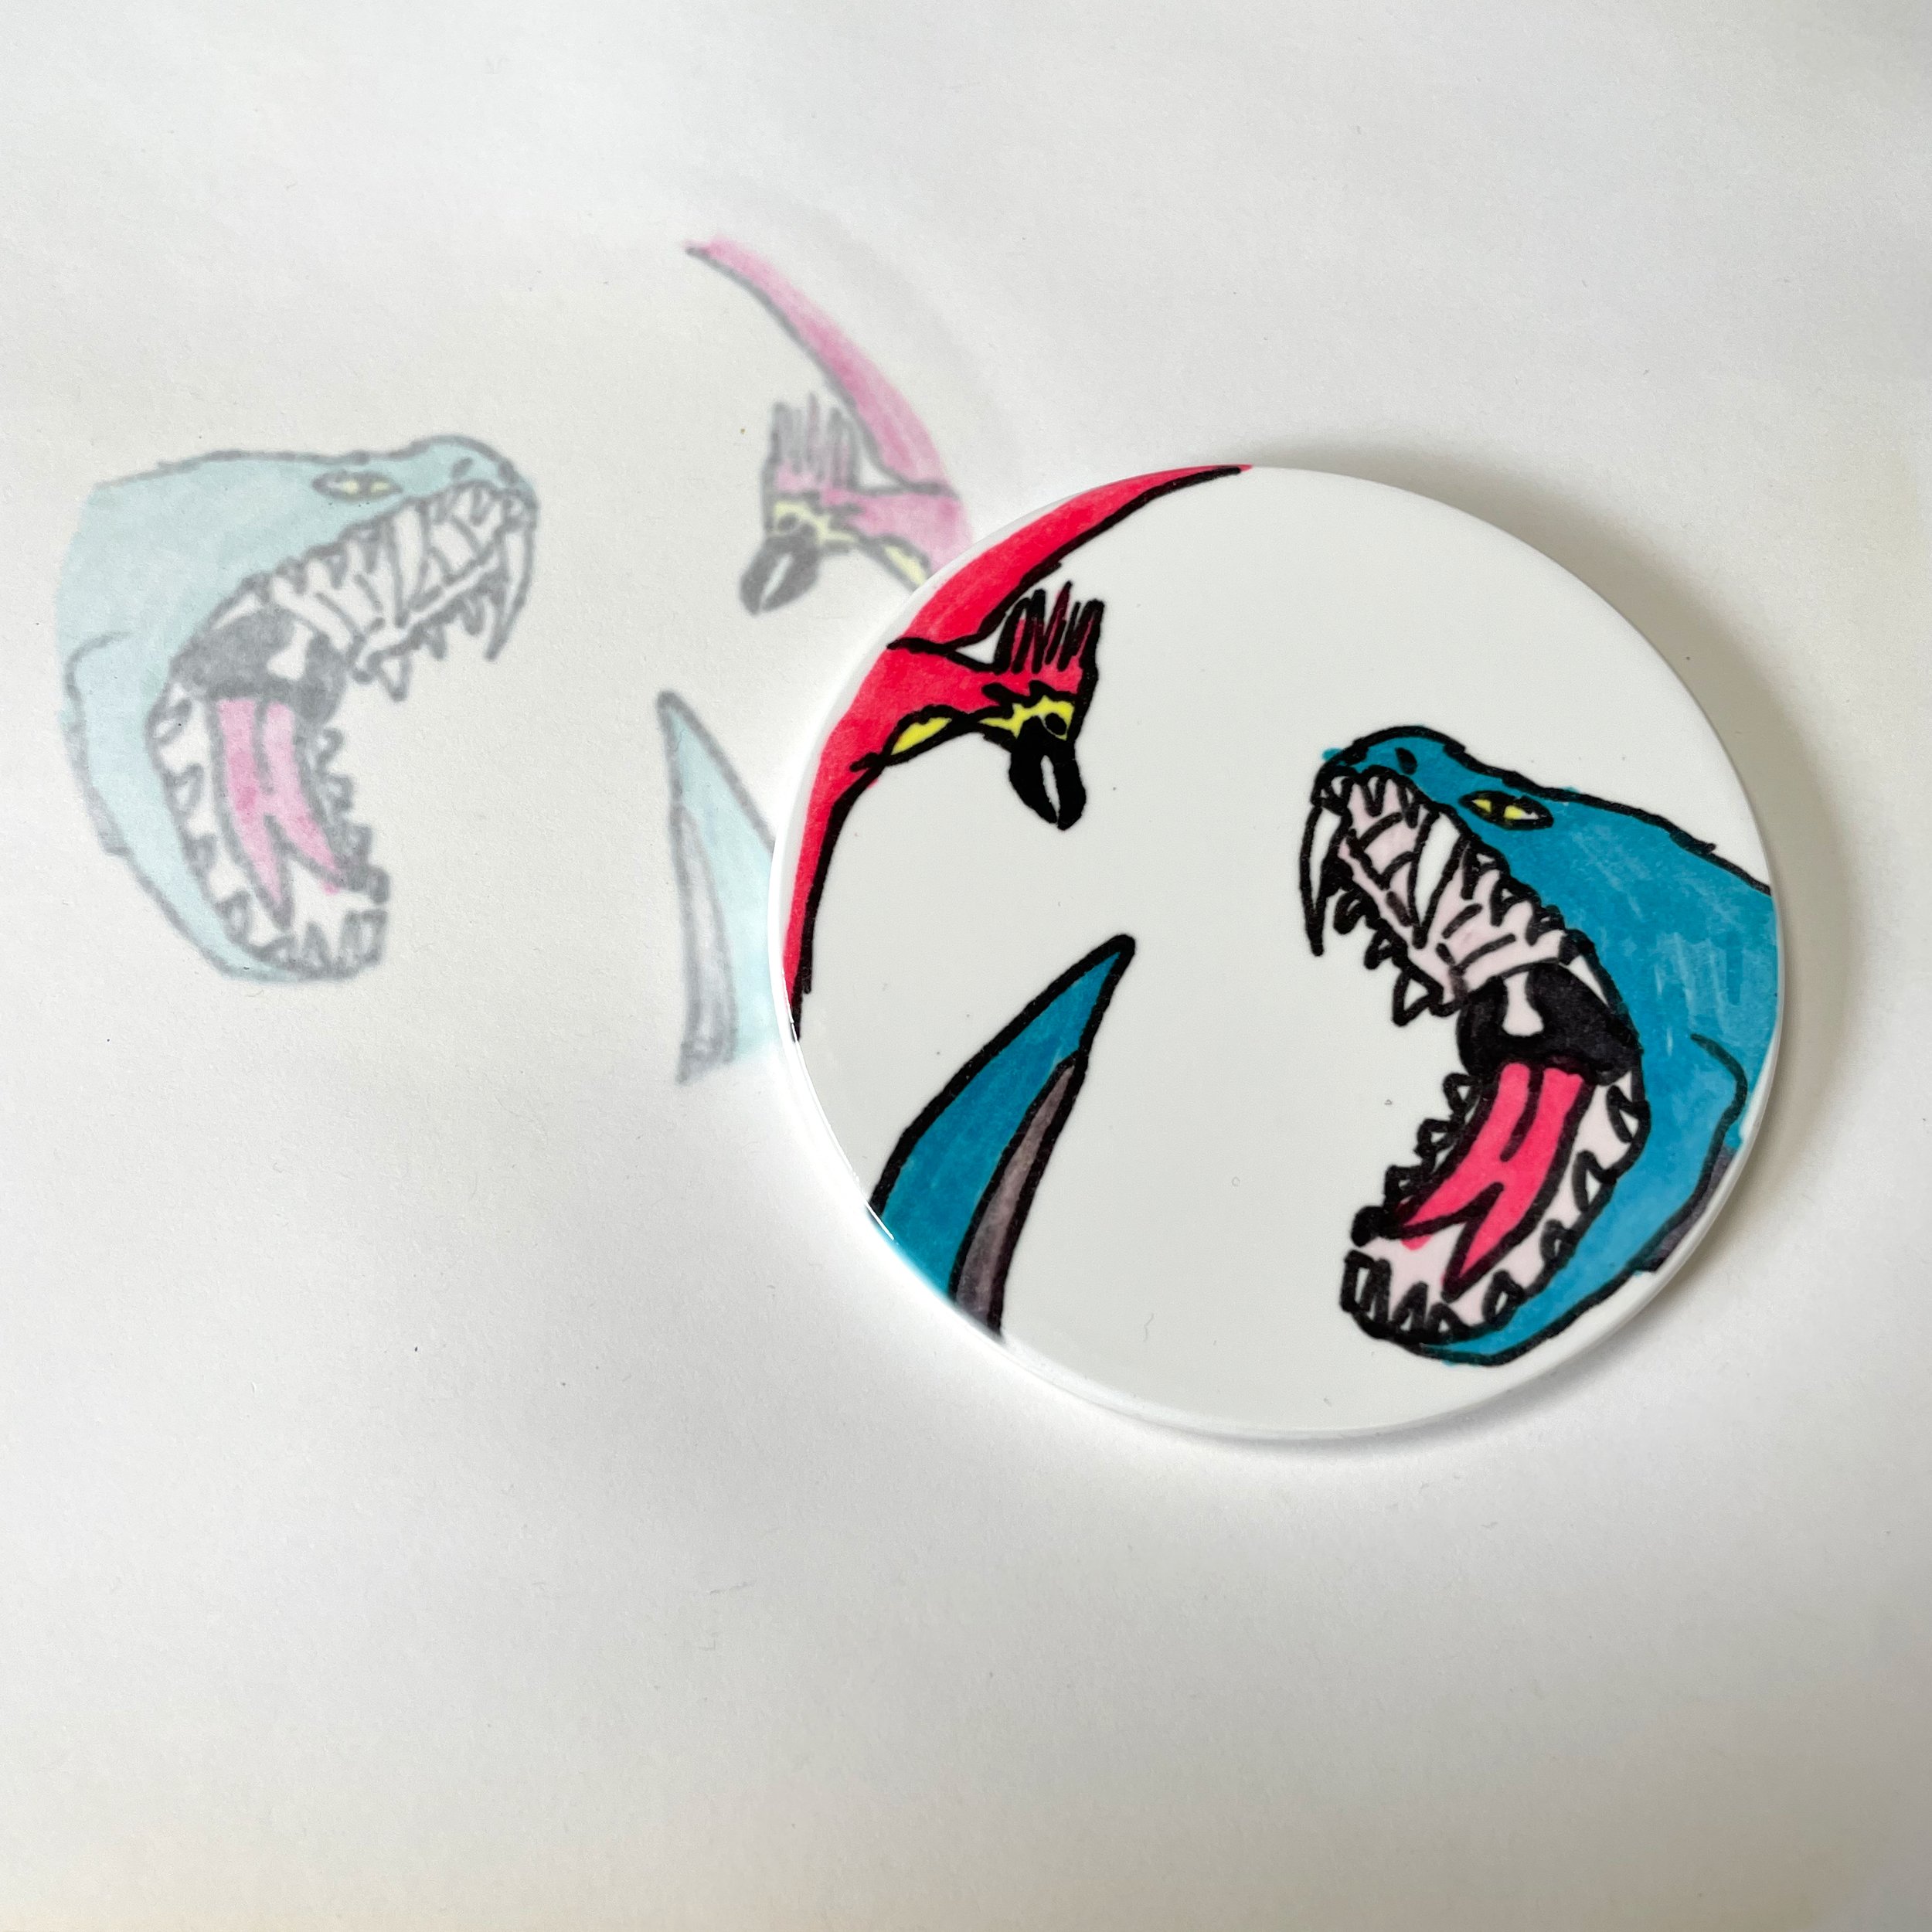
To make it easier for your child to draw something the right size, trace the coasters onto the laser printer paper with a pencil. Remind your child to stay within the shape. The pencil line will not show up in the final design. I traced some extra circles, too, which gave my child some space for designs he wasn’t happy with in the end.

2. Draw with Infusible Ink Markers & Pens
Give your child the infusible ink markers and pens, and let them get to work! A few notes for your budding artists:
Only the infusible ink markers and pens will work.
Everything will be MIRRORED when applied. So writing will appear backwards (unless your child is good at mirror writing).
The colors may not look right on the page, but the heat of the process will transform them into the right colors.
Darker colors show up better than lighter colors.
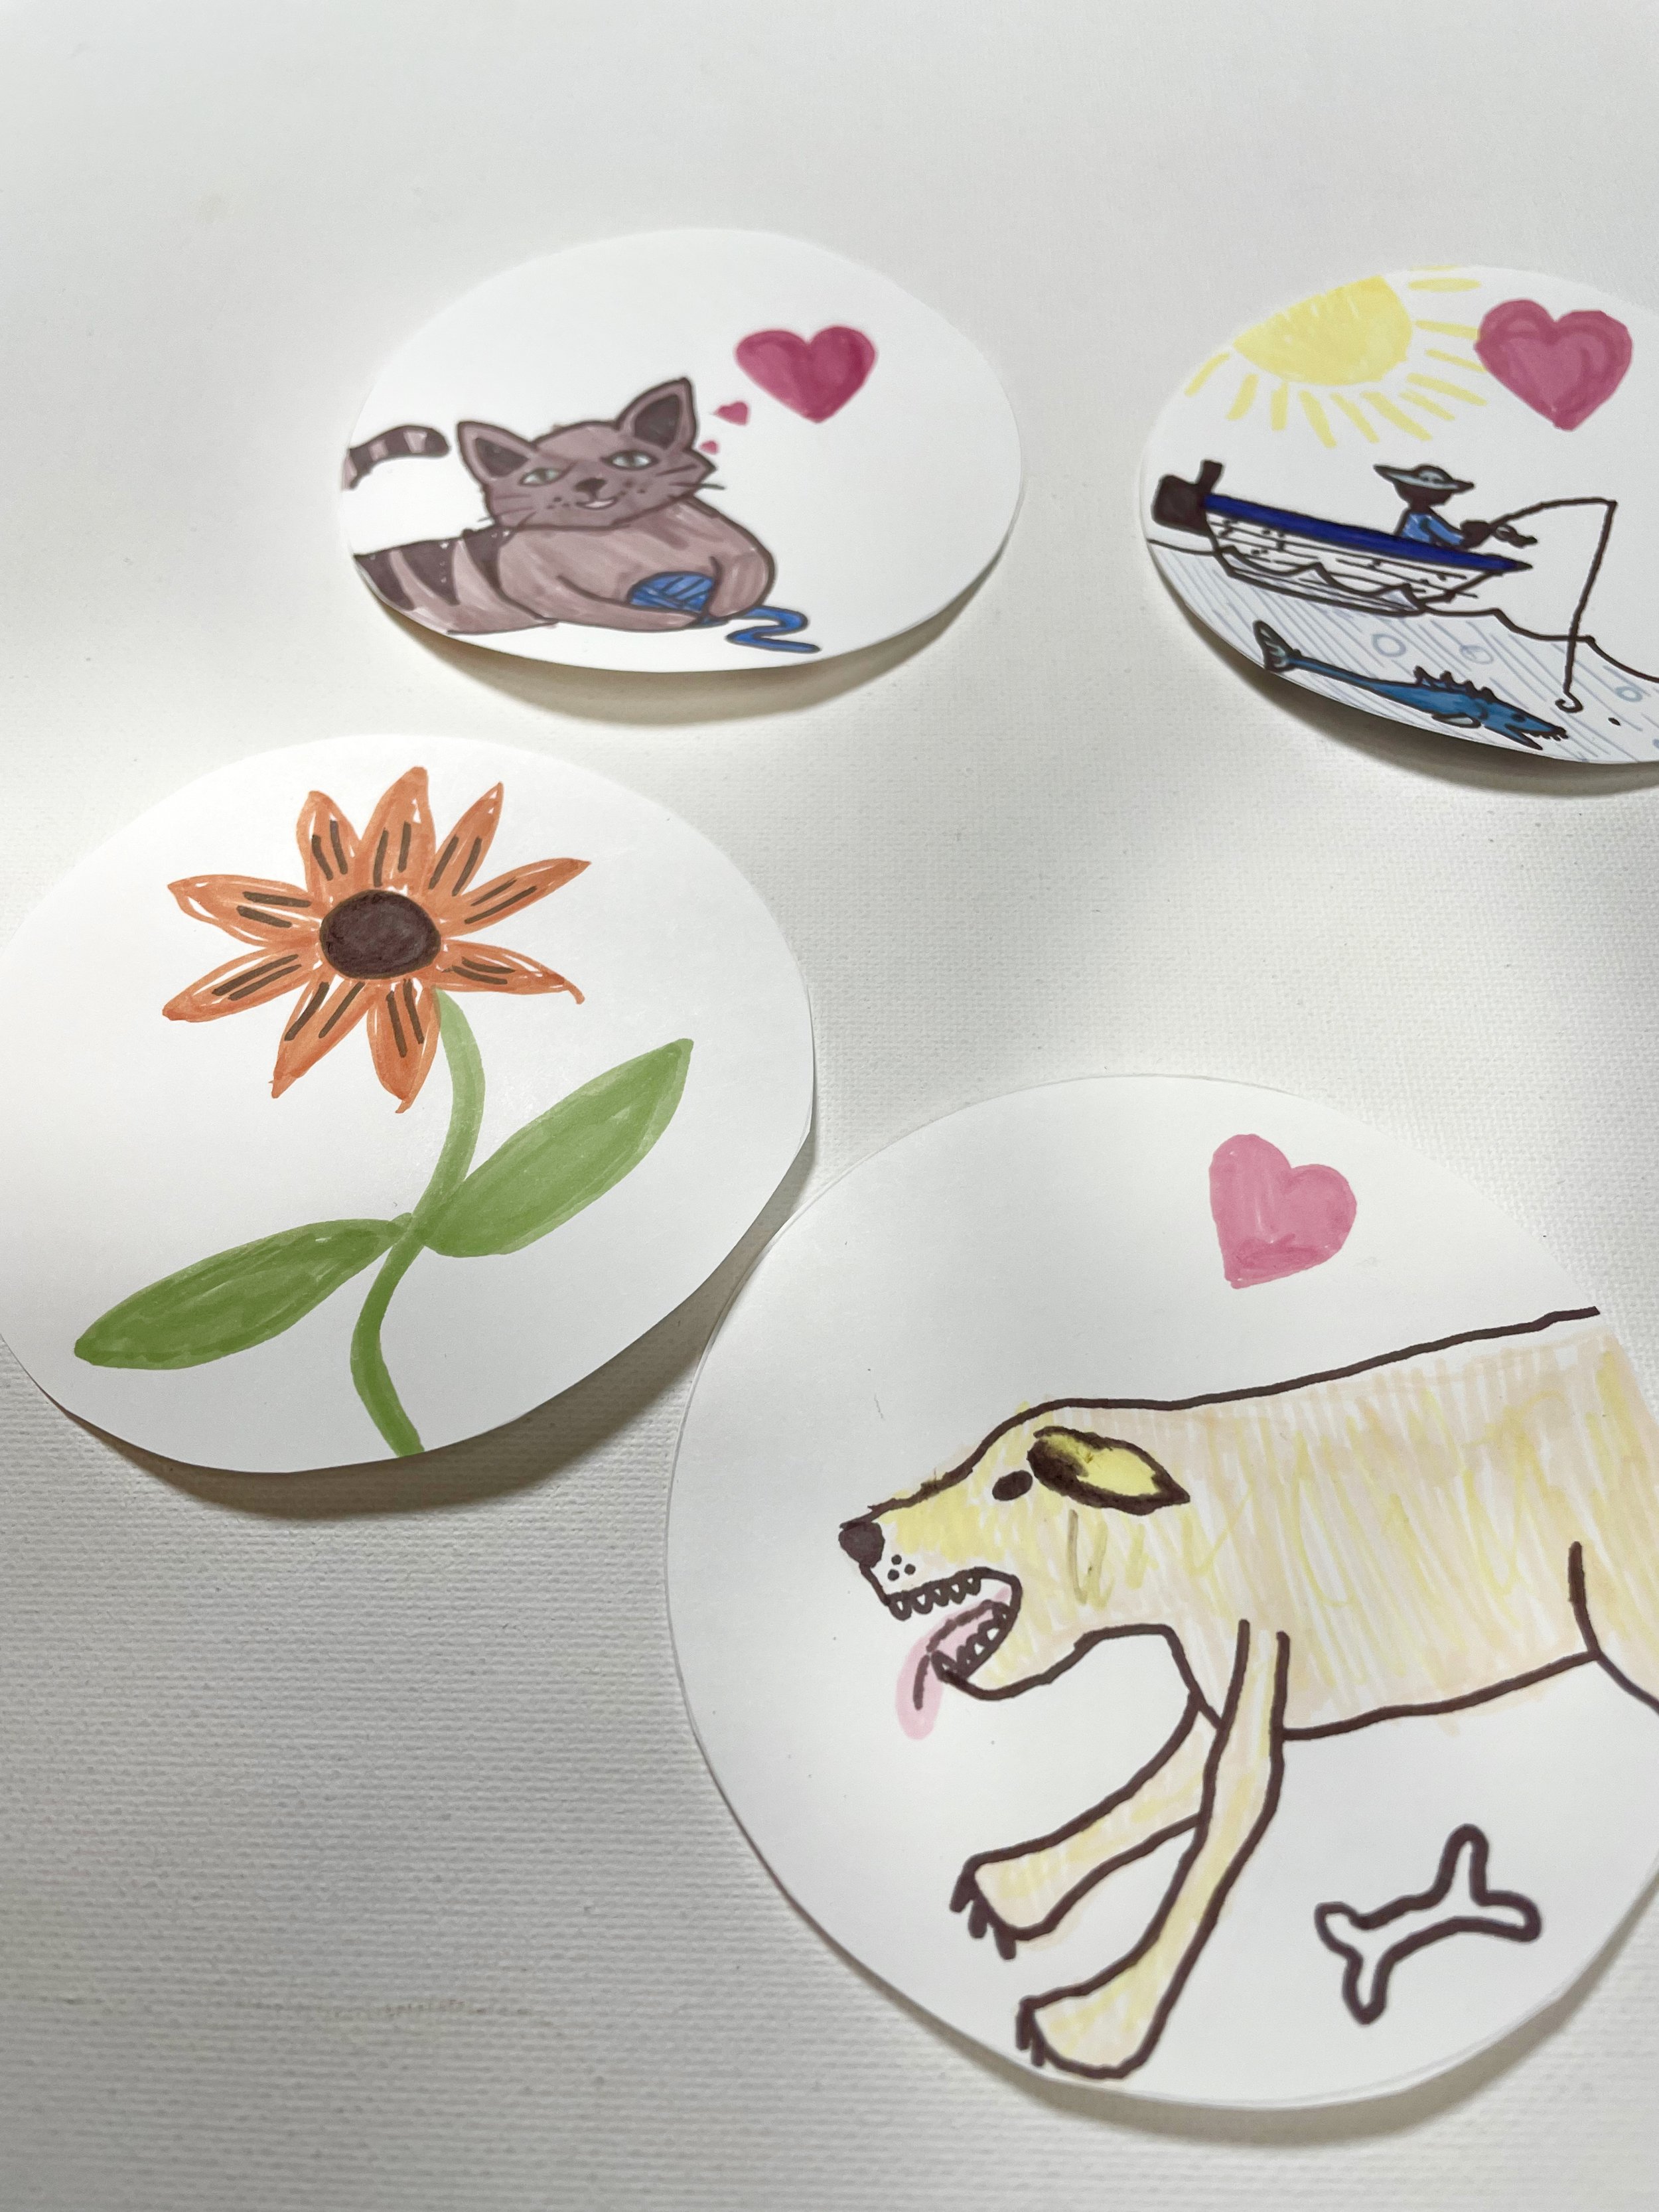
3. Cut out the Drawings
Once the artist is done, cut along the pencil lines to separate the drawings.

4. Heat up the easyPress
Using the Cricut Heat Guide, set your heat press to the correct time and temperature. This varies depending on your HeatPress model and the blanks you are using.
5. Clean the Coaster
While your heat press is warming up, clean your coasters with a lint-free cloth. Grease, lint, or even fingerprints can interefere with the sublimation process!


6. Tape the Drawings
Using heat tape, tape the drawings to a coaster. The ink side of the drawing must be on the glossy side of the coaster!
A note about heat tape: try to apply the tape where there is white paper on the drawing. It can leave slightly discolored areas (as shown in the photos above) when applied to spots where lots of marker/pen has been applied.
You can skip the heat tape and just line things up carefully before applying the heat if this is a concern. It just takes a little more patience.

7. Position everything on the Heat Mat
This part is critical! And the order in which you make this “sandwich” is important. Here’s how the layers should be assembled (from bottom layer up):
Heat Mat
Clean, white cardstock
Artwork: face up — taped to coaster
Coaster: glossy side down on the artwork
Butcher or parchment paper
Depending on the size of your heat press, you can do multiple coasters at one time.

8. Apply Heat following the recommendations
Again, using the guidelines on the Cricut Heat Guide, apply heat. Carefully place the EasyPress over the top of the parchment paper. Do not press down. And don’t touch it. If the coasters move during the heating process, the ink can smear.

9. Remove Heat & Cool
When the allotted time has passed, pick the heat press straight up — don’t let it move anything else as the ink might smear.
Allow everything to cool completely — 10 minutes or more!
The coasters will be extremely hot, and the ink can smear while it is hot, so just don’t touch it at all!
10. Flip it over!
Once it is completely cool, flip over your coaster and enjoy!

Important Note
Use clean cardstock each time. Otherwise ink which has bled into the cardstock from other projects can transfer and discolor your current design.
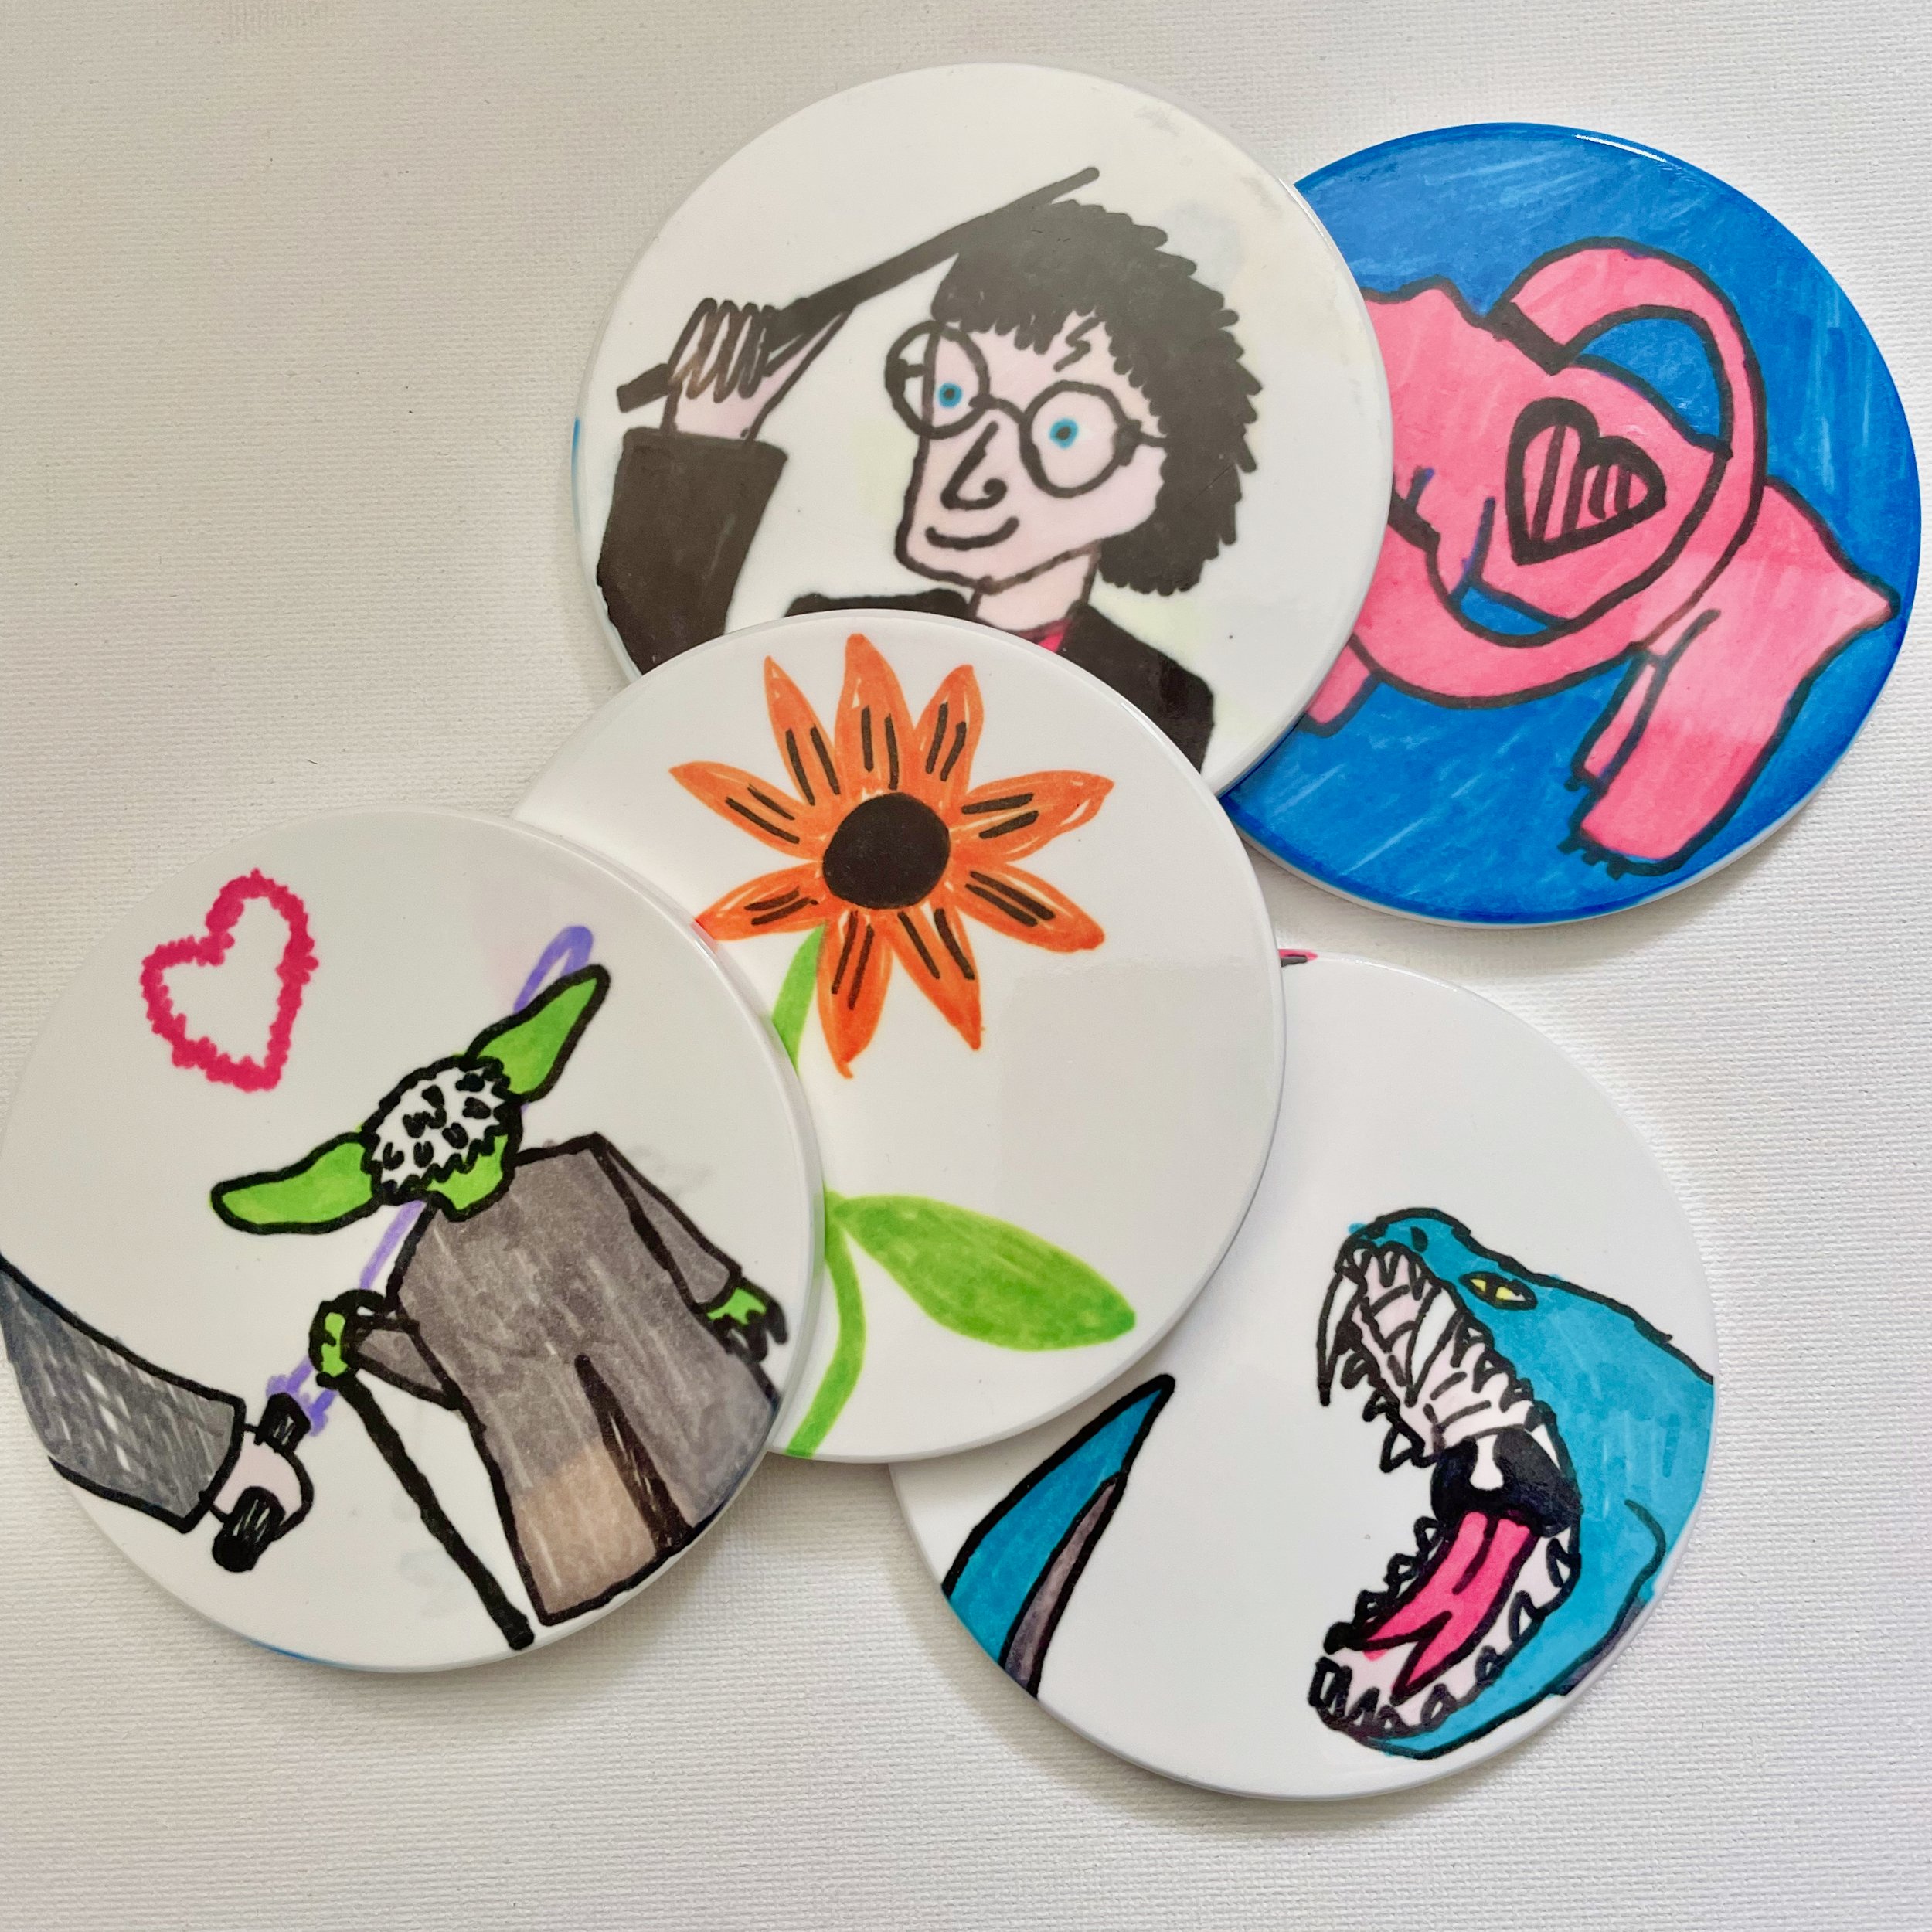
Enjoy!
Make a set as a wedding gift or a end of school teacher gift. Give them for Mother’s Day or Father’s Day. They make great gifts for Hanukkah or Christmas, too!

More Project ideas!
Click here for more great DIY gifts using your child’s artwork!
Happy making! And be sure to tag me if you post them on Instagram! I would love to see what you make!
Pin it!

Learn how to turn kids art work into a gift making custom coasters using the cricut sublimation process. Learn how to do sublimation with Cricut to make cute customized coasters for gifts. These make wonderful custom gifts for Mother's Day, Father's Day, Christmas, Valentine's Day, and more! Also: sublimation cricut, creating gifts from kids art, gifts from kids art, parent apperication art gifts