

Lining Cupboards with Wrapping Paper
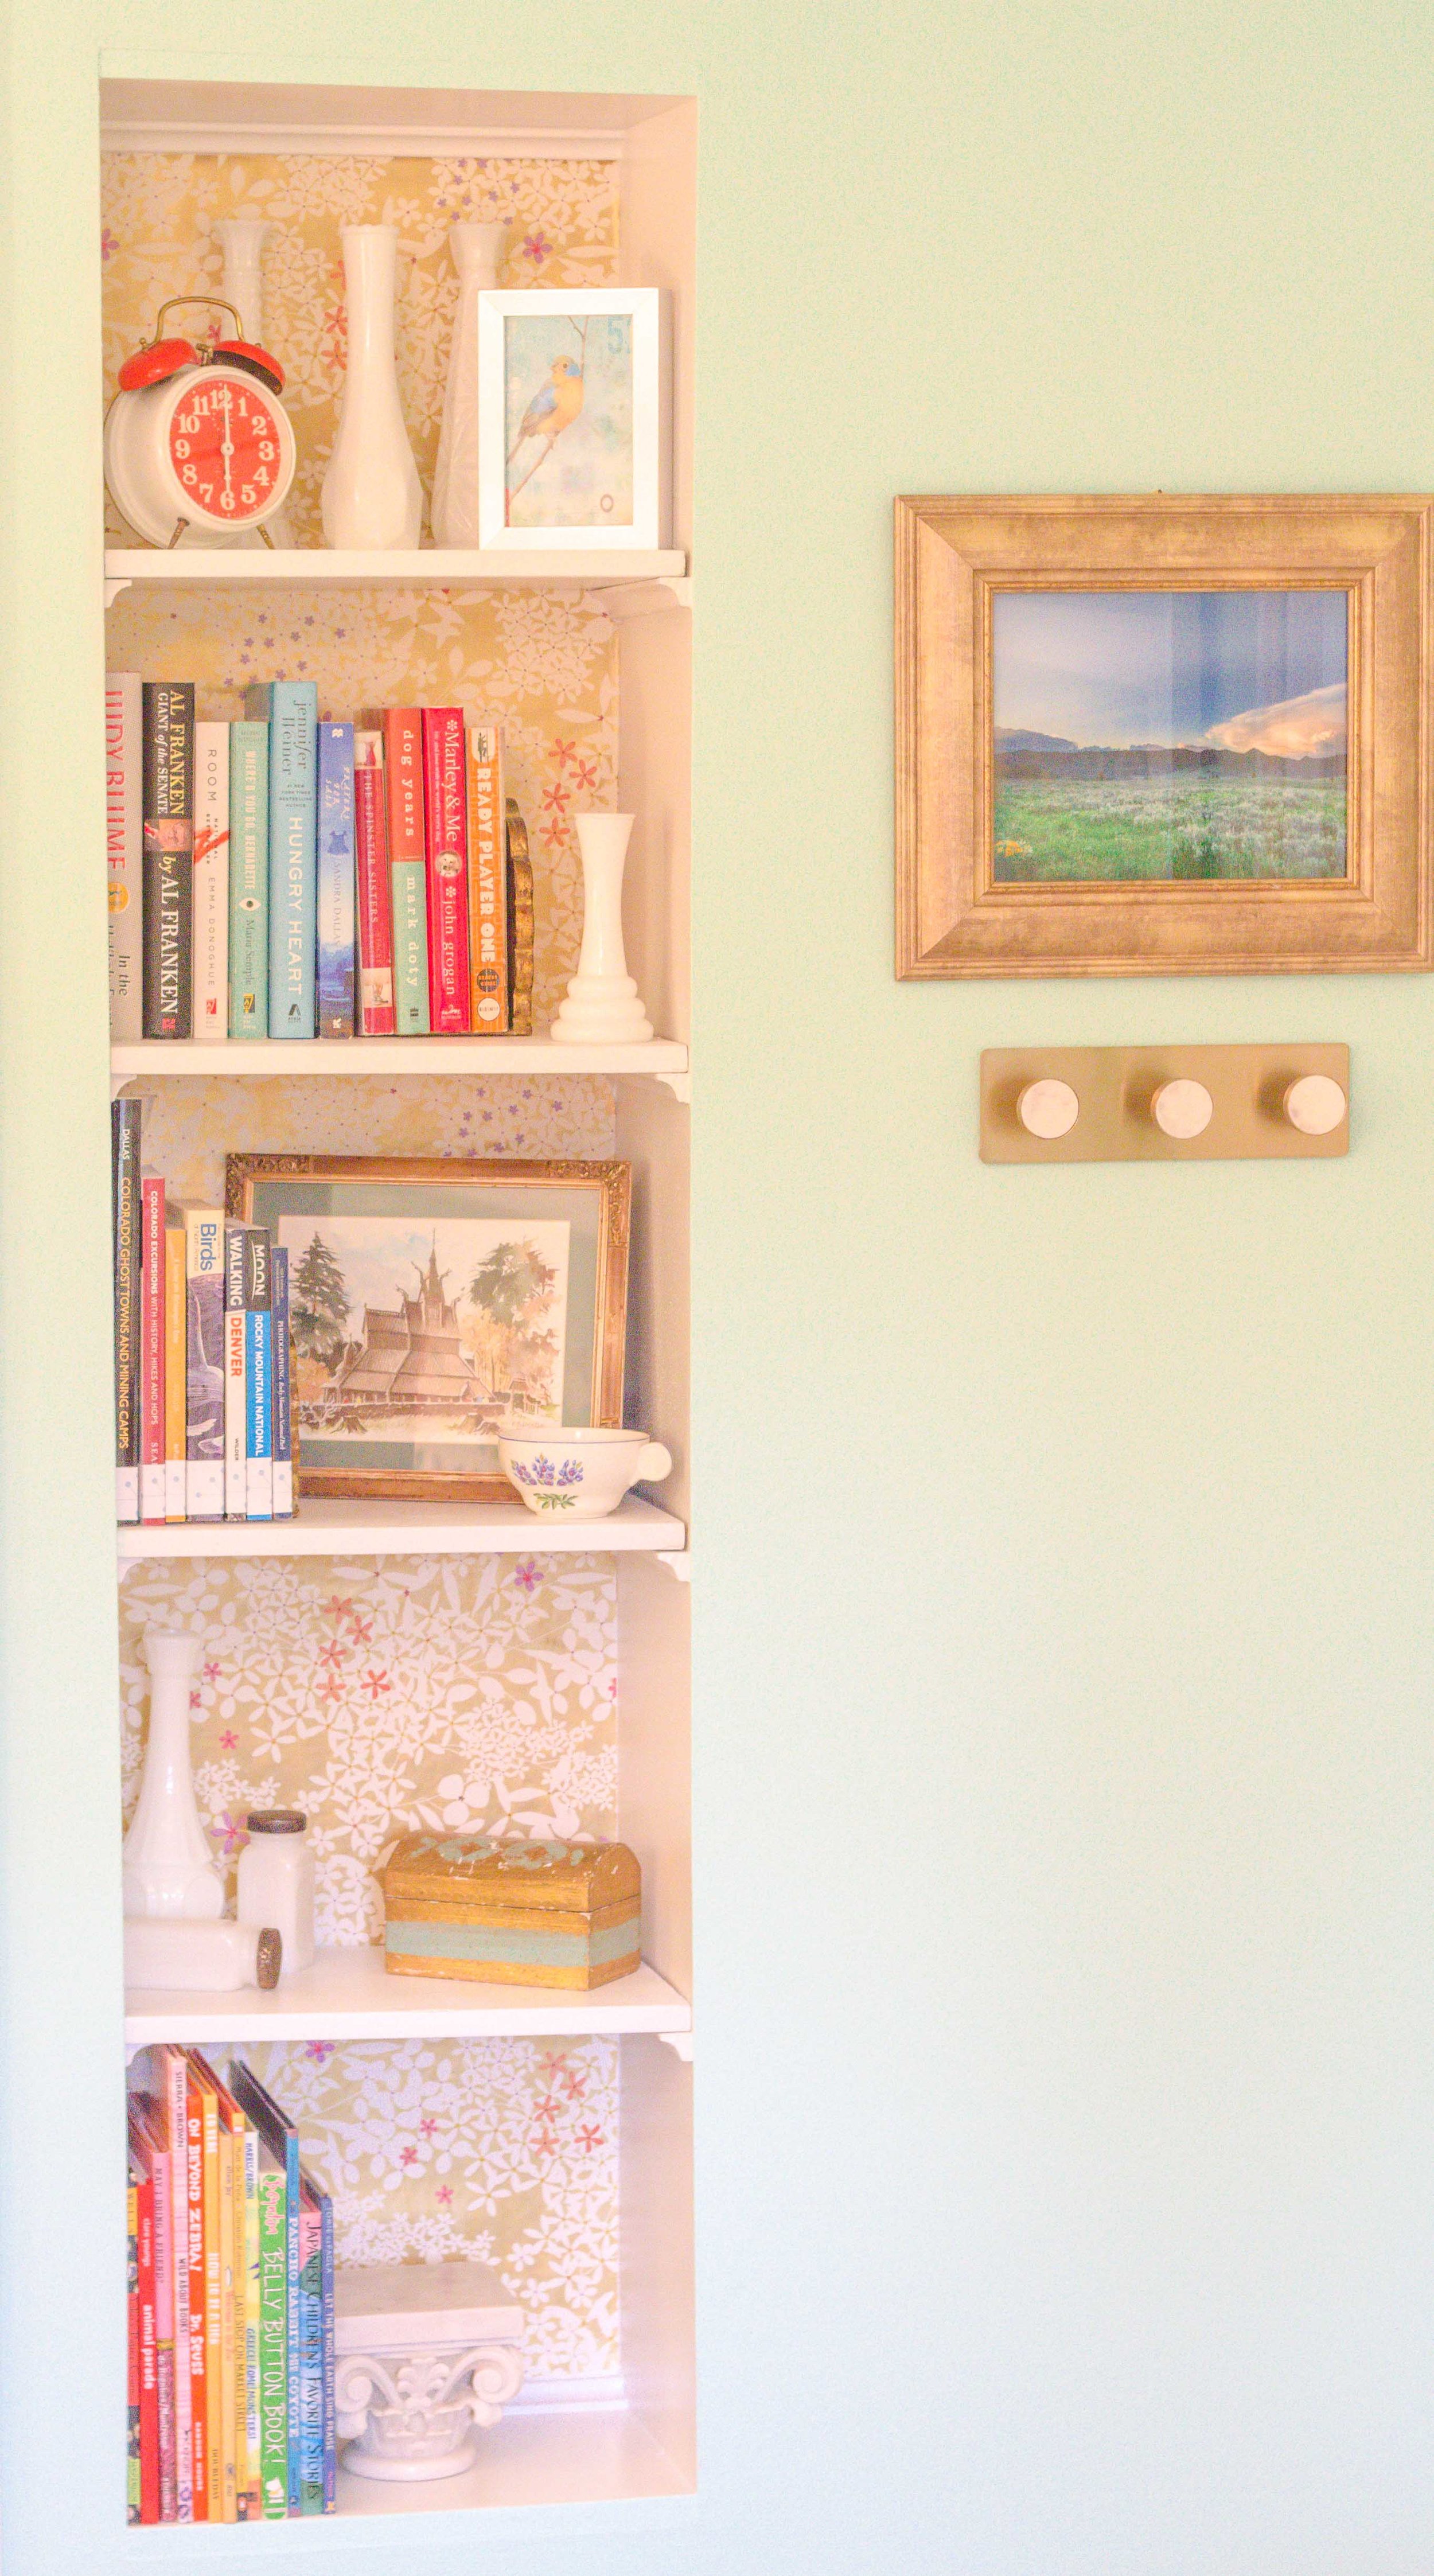
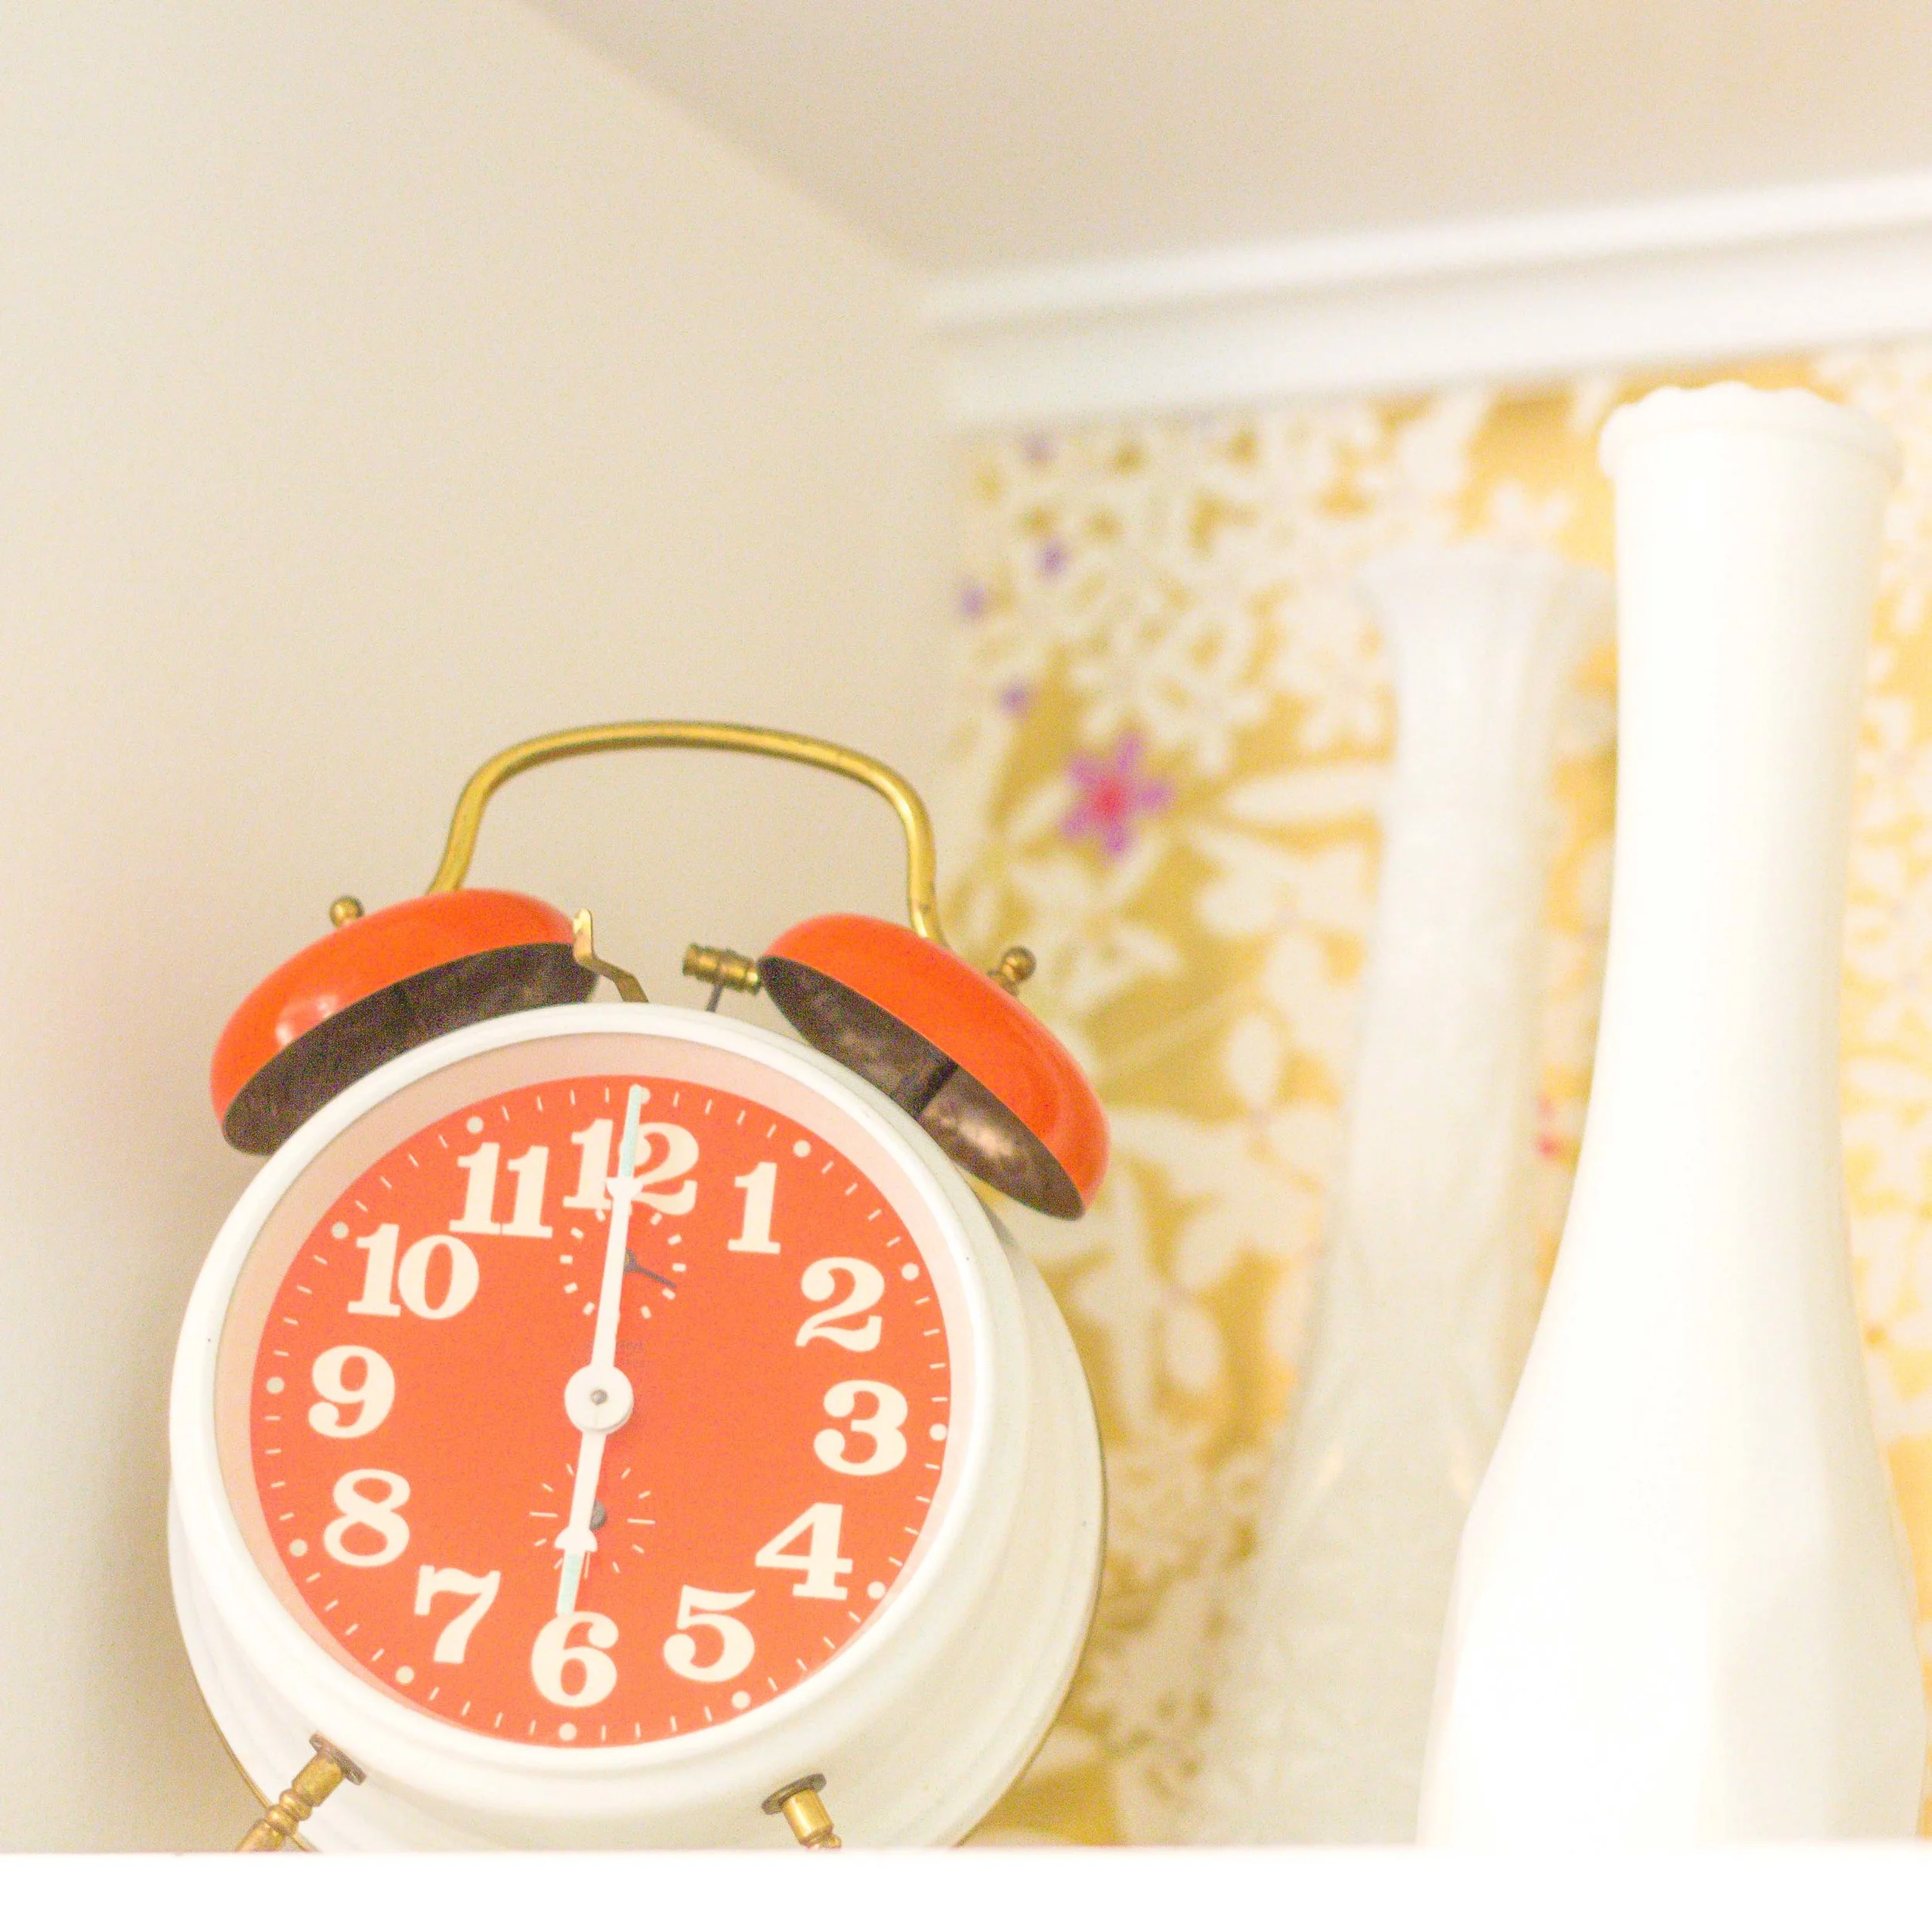
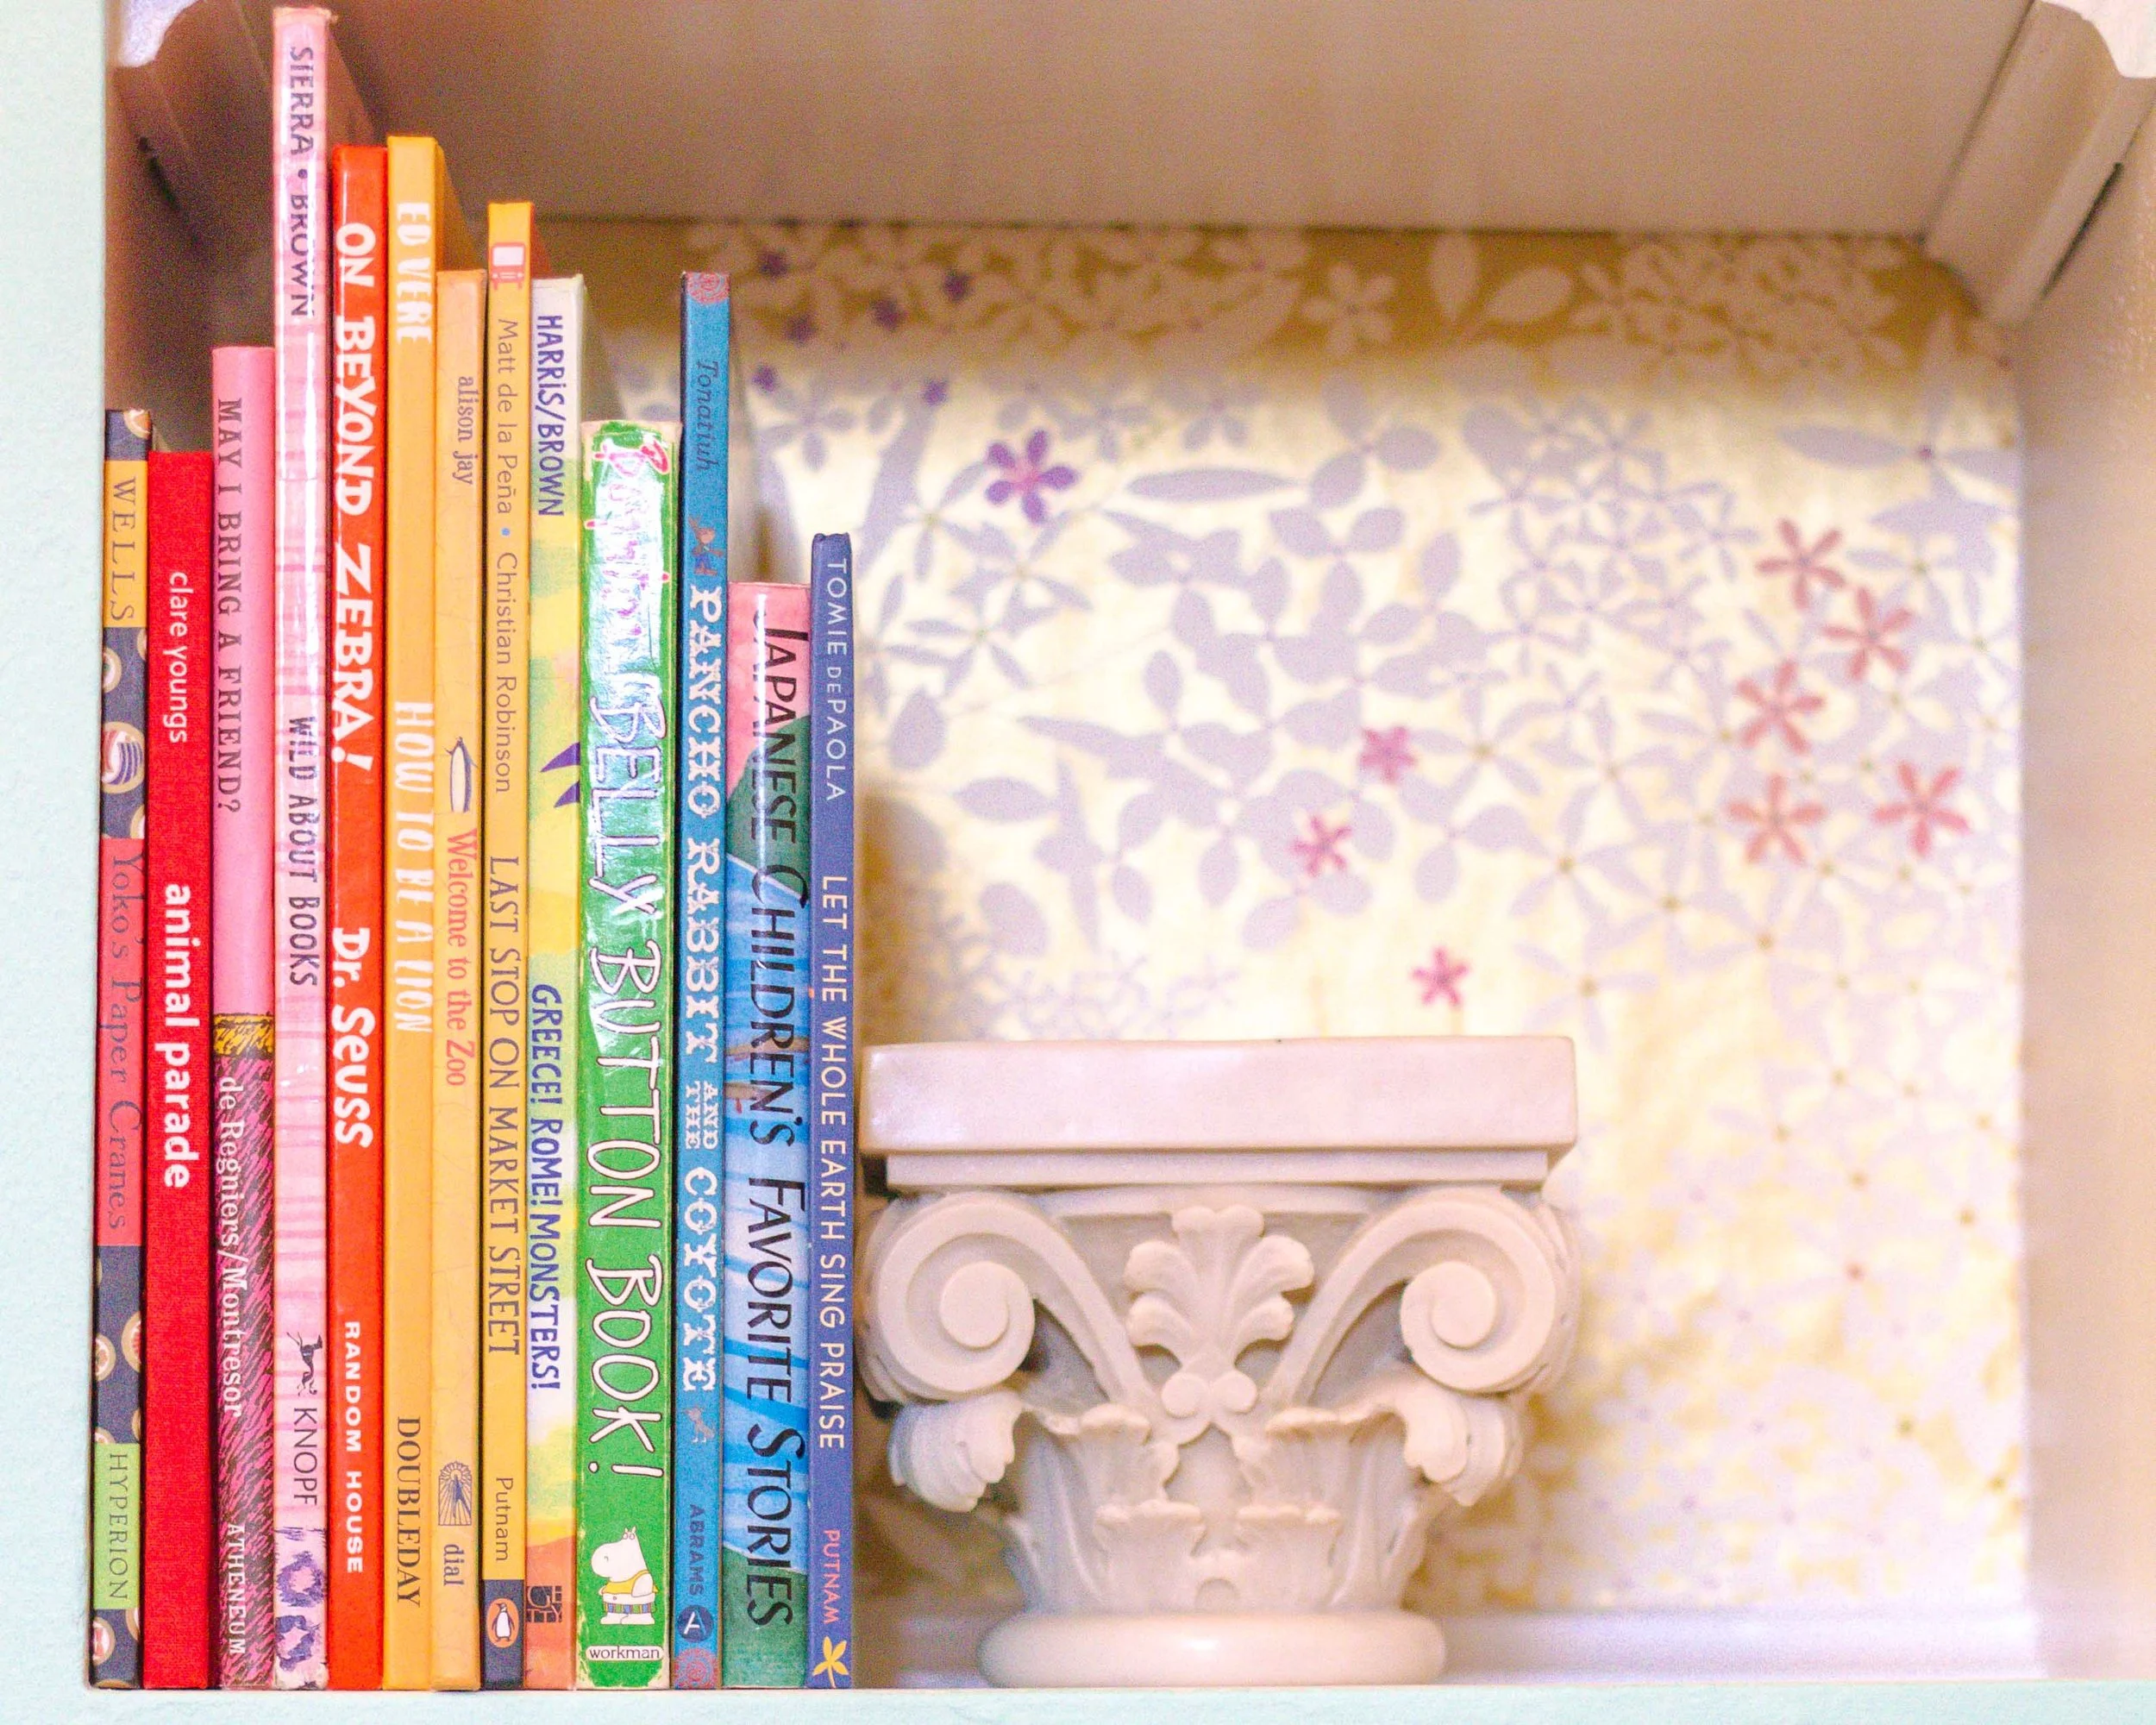
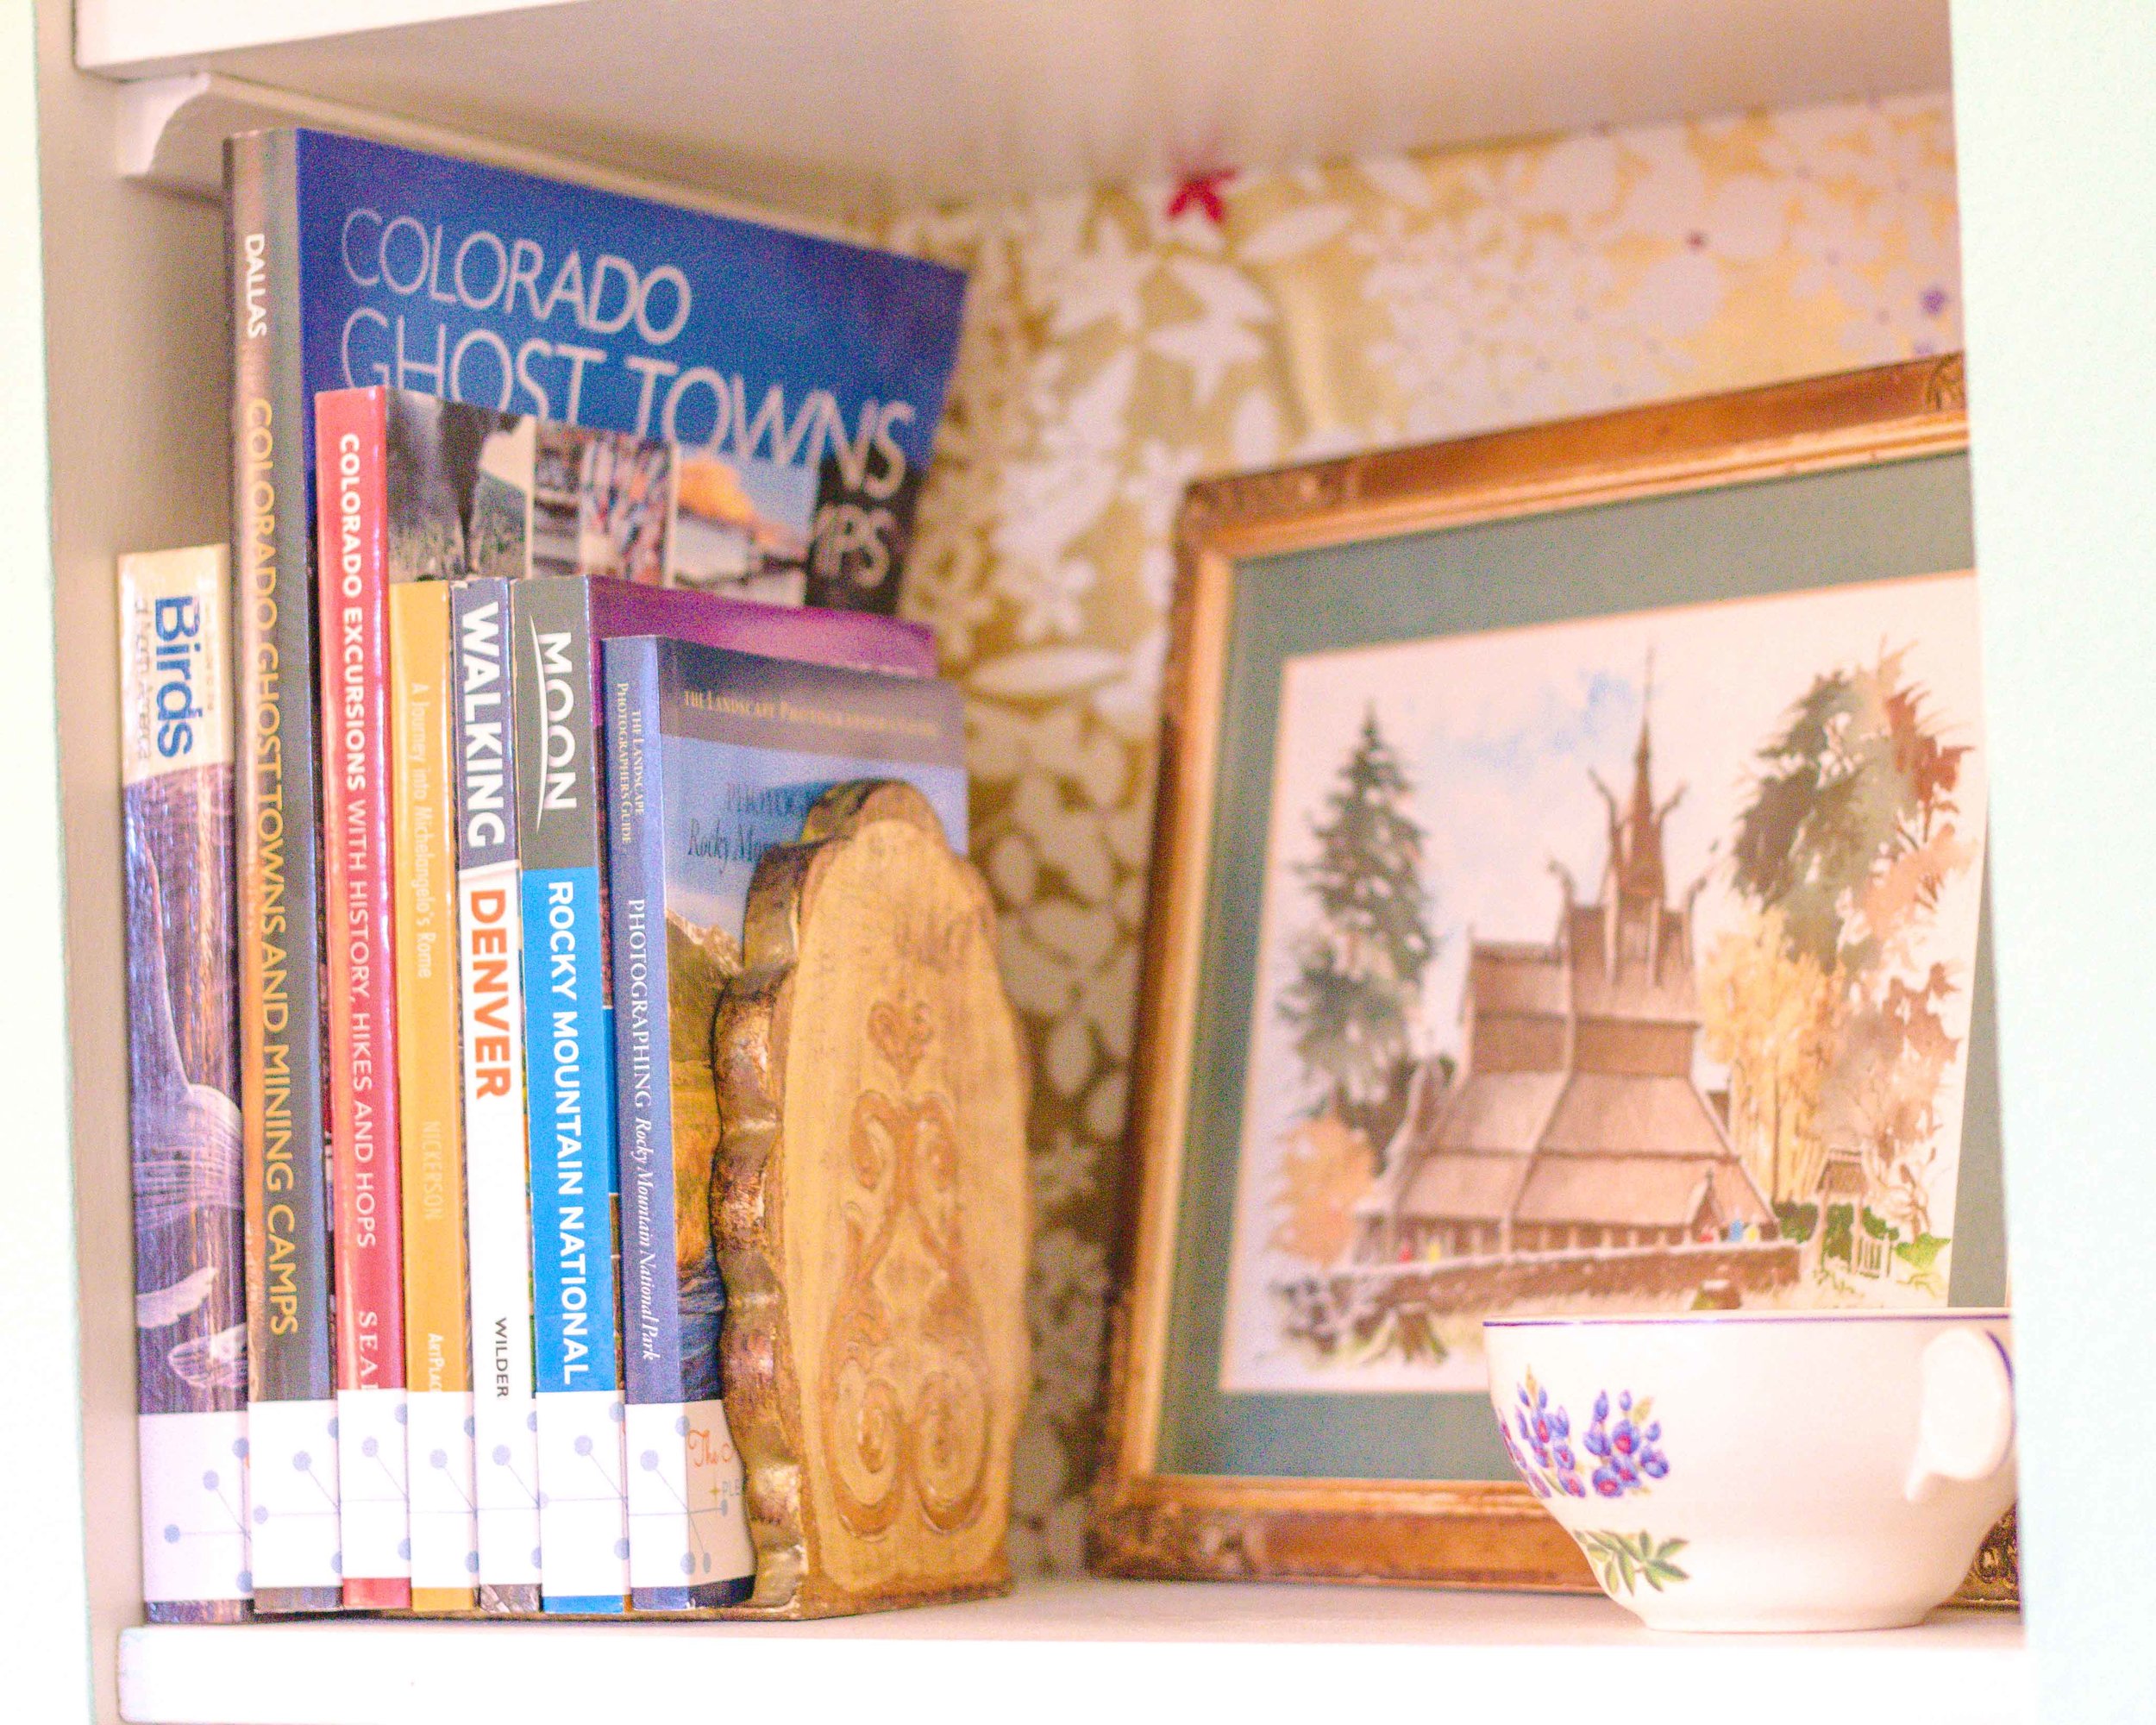
The finished alcove or, as we call it, The Hospitality Cupboard.
At some point in this home’s history, someone added several little built-in alcoves. They are inset into the wall, and make for charming decorative niches and add a little character. But like so much of our house, they were painted white and were dull when we moved in. So, for the Guest Room Refresh, I wanted to make the niche in the guest room pop with just a bit of color. I considered paint and wallpaper, but I wanted more pattern than paint would give, and the niche is only four feet tall, so buying a whole roll of wallpaper seemed like a waste of money.
My solution: wrapping paper.
This isn’t my first time to use wrapping paper like this. In my office, I lined the back of one of my cupboards with wrapping paper, and it makes that cupboard all the more cheery! And our closets in the master bedroom have a little wrapping paper magic as well.
This project is fast, easy, and great for renters, because the adhesive used can be applied in a non-permanent way.
And the best part: it cost less than $10 because all I needed was a roll of wrapping paper.
Materials:
Wrapping paper
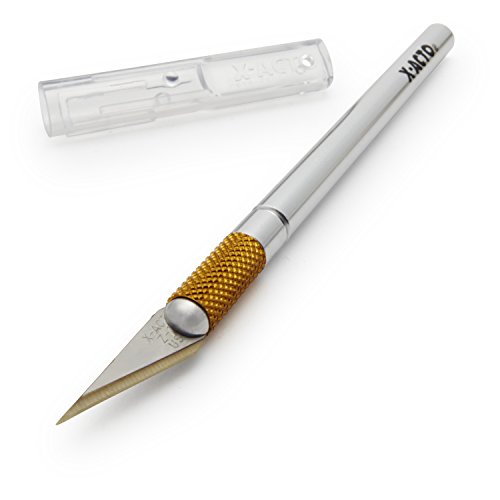
Sharp Xacto knife
Super 77 spray adhesive
Double-stick tape
Scissors
Brayer
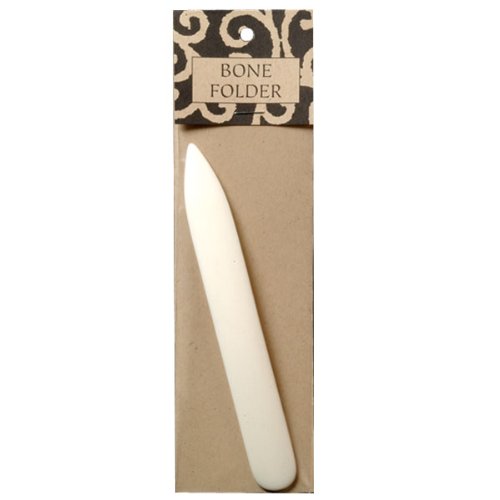
Bone folder
Notes: Choose a heavier, high-quality wrapping paper for this project. And measure to make sure the roll or pieces are long enough. The paper I chose came in two large sheets which I had to piece together, but I was able to hide the seam behind a shelf, so it worked out perfectly.
You could also use this same process with magazine pages, book pages, or any other kind of paper. And if you choose to go with wall paper or contact paper, then apply all of the same principles. You just won’t need the spray adhesive.
If you don’t have a bone folder or a brayer, you just need something that will help push bubbles out and push the paper into the alcove corners. A small rolling pin and a good, flat spatula would work, too.
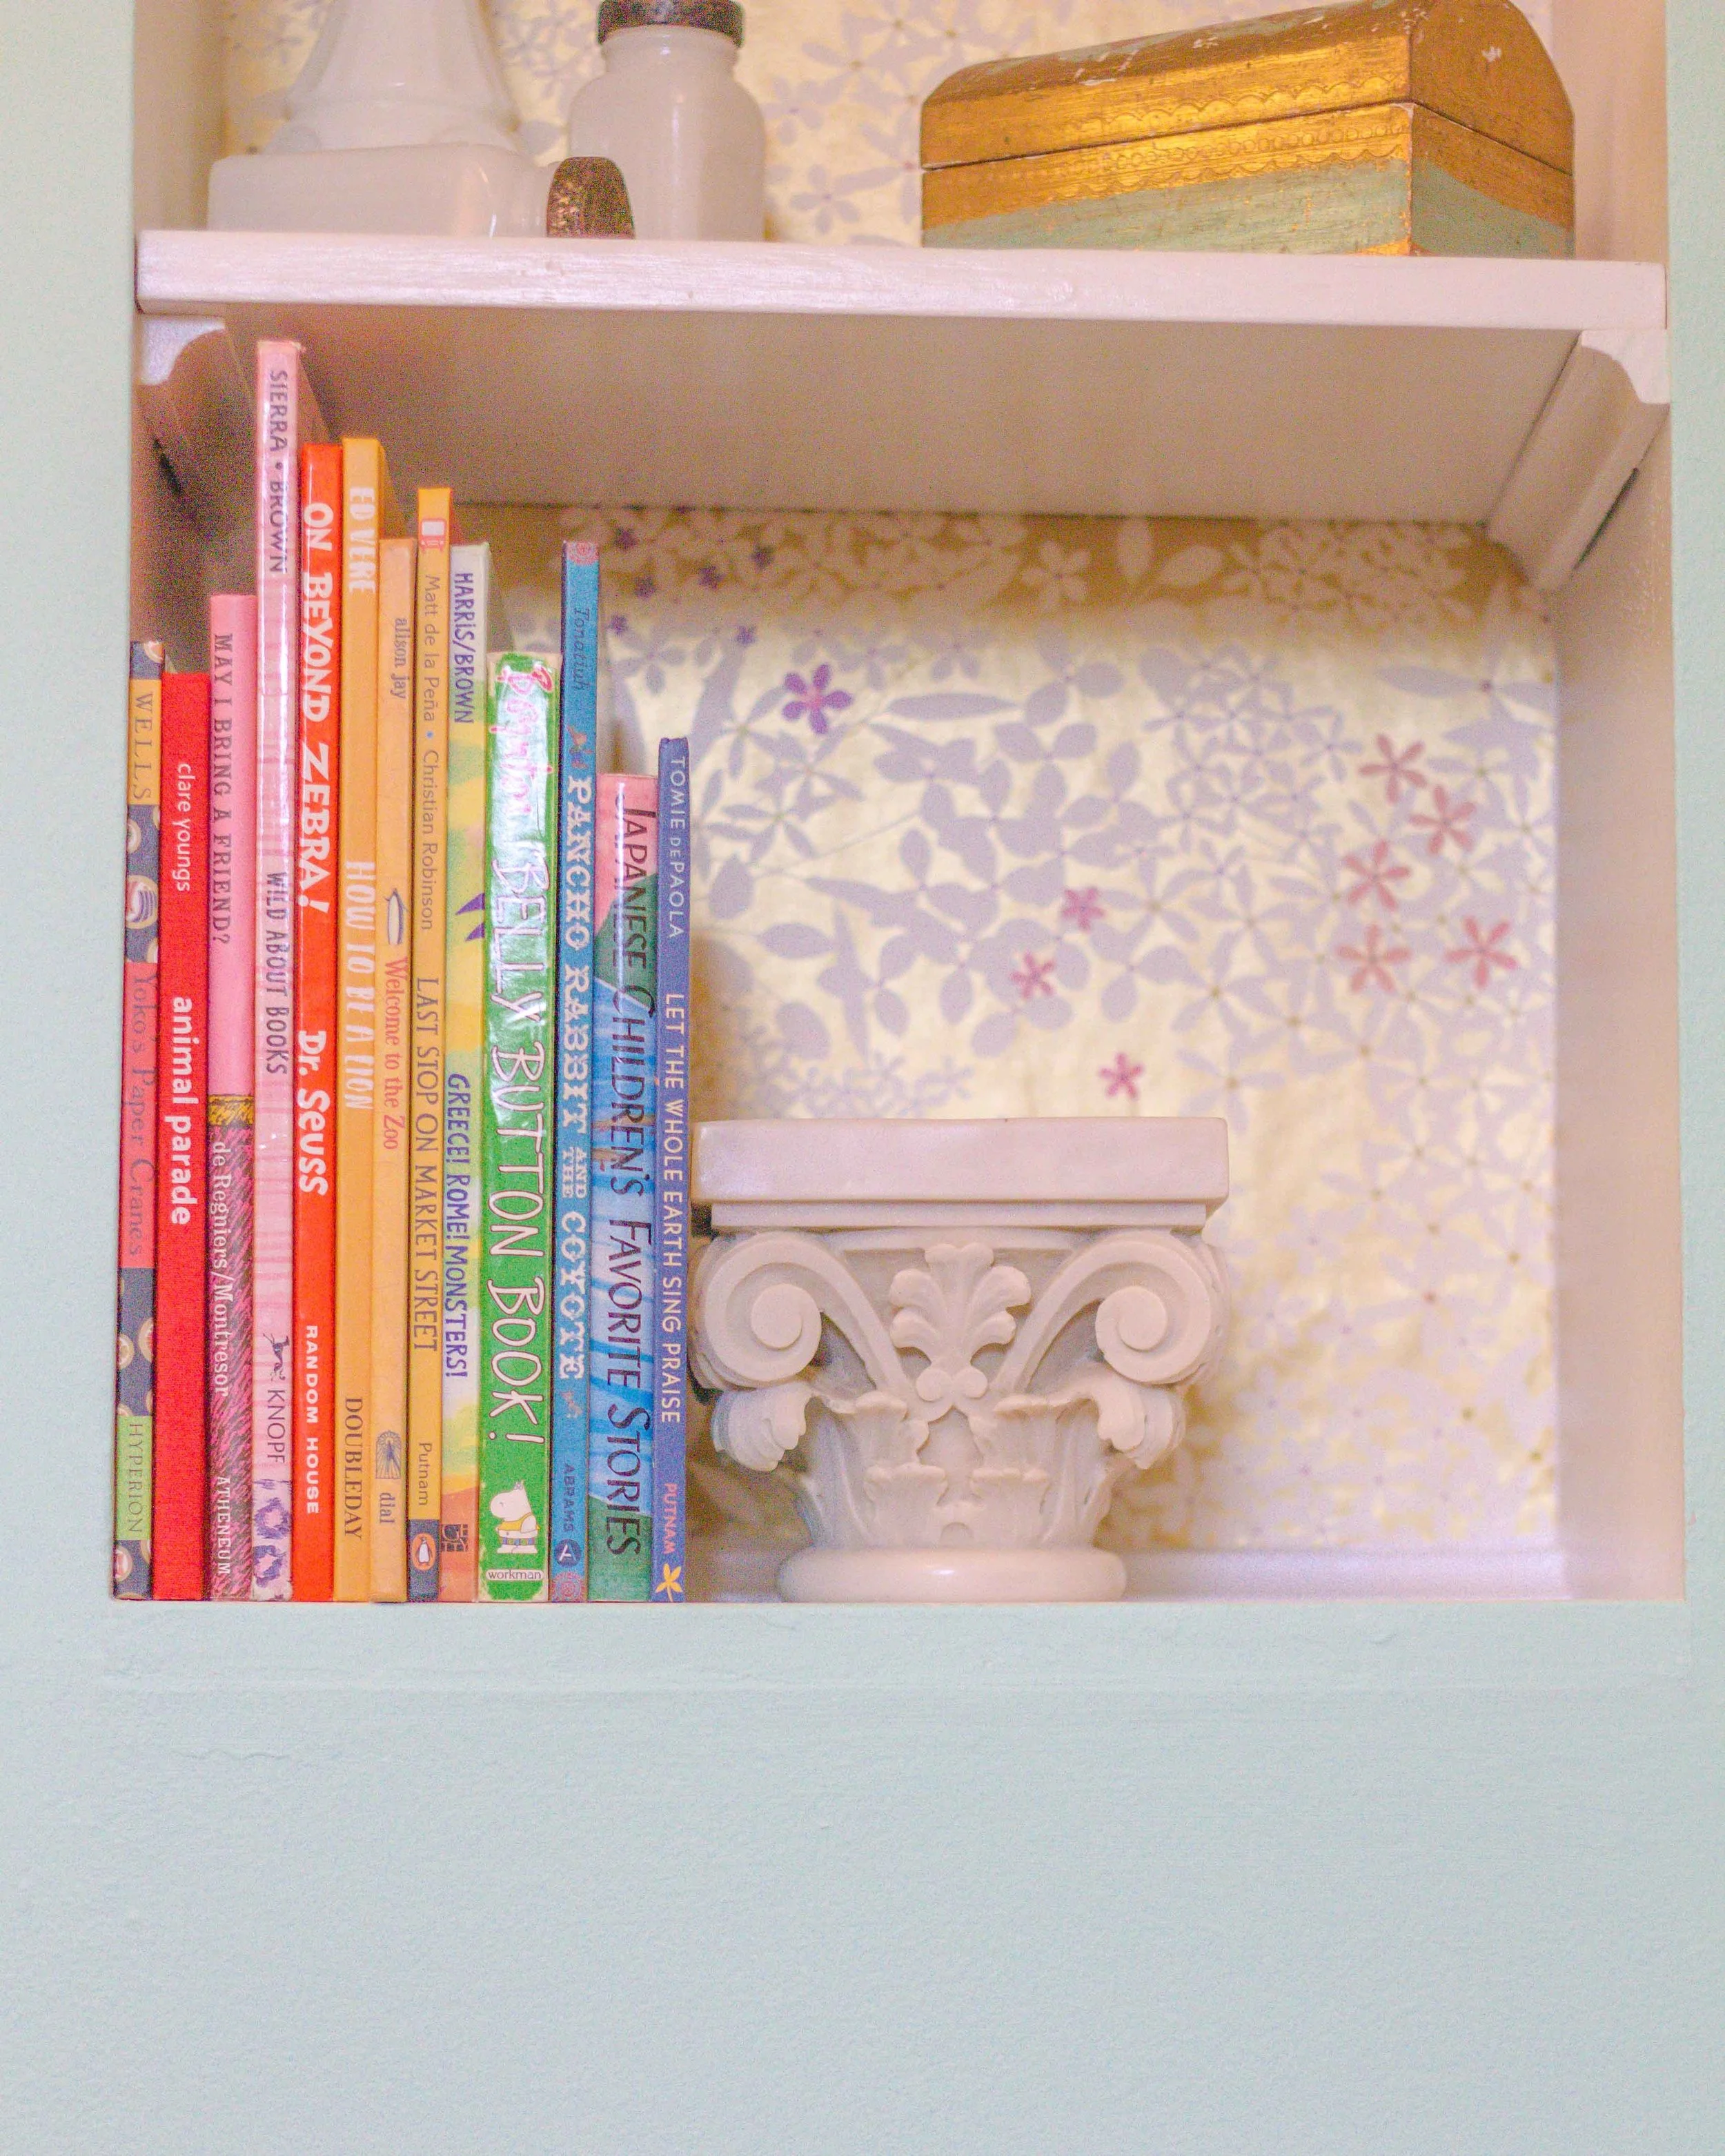
I chose Caspari’s Gold Floral Lace paper from The Container Store.


Step 1: Prepare your surface
Wipe down your surface with a wet cloth and allow it to try fully before moving forward.
If you have the time, spread your paper out on a table and place some books on top for a day or two to relax the curl in the paper. This isn’t absolutely necessary, but it makes fitting the paper a little easier.

Test fitting paper in the alcove
Step 2: Measure the Paper
If your cupboard or alcove is a rectangle or square, measure and cut the paper leaving an extra 2 inches on each side. If you have a curve or some other more challenging shape, you can test fit the paper into the space and then cut. Be sure to leave yourself several inches on each side as a buffer.
Step 3: Apply Double-Stick Tape
I found that a little double-stick tape at the top helped to get the paper in the right spot from the beginning, so apply a strip of tape along the top of the paper once it has been fitted and cut.

Step 4: Spray with Adhesive
Do this outside. Super 77 is super-stinky! And it isn’t something you want to breathe. So take your paper outside, and spray. If you are renting, or this is a temporary solution, use a lighter hand. If not, spray away! Just be sure to shake the can well before you spray.

Step 5: Smooth. Smooth. Smooth.
Line up the top of the paper with the top of your alcove. Using the brayer, smooth down the middle and then from the middle to the outer edges. Work from the center outward to get good contact between the glue and the wall as well as working air bubble out to the edges.

Step 6: Trim the Paper
With the bone folder, push the paper into the corners of the alcove. Then use the Xacto knife to trim the paper right in the corners leaving a smooth edge.

Step 7: Replace the Shelves & Accessories
If you need to piece several lengths of paper together, hide the seams behind a shelf. Just repeat the entire process one piece of paper at a time. Take your time and work carefully for a beautiful result.
Then replace your shelves and accessories, and enjoy your newly refreshed cupboard or alcove!

This post is part of a larger series: DIY Guest Room Refresh. Take a look at all of the related posts — they are full of ideas and projects to make your guest room a beacon of hospitality.

Be Our Guest
One Room Challenge

