How to Make Print then Cut Stickers
make custom stickers for Valentine’s, party favors, gifts, & more!

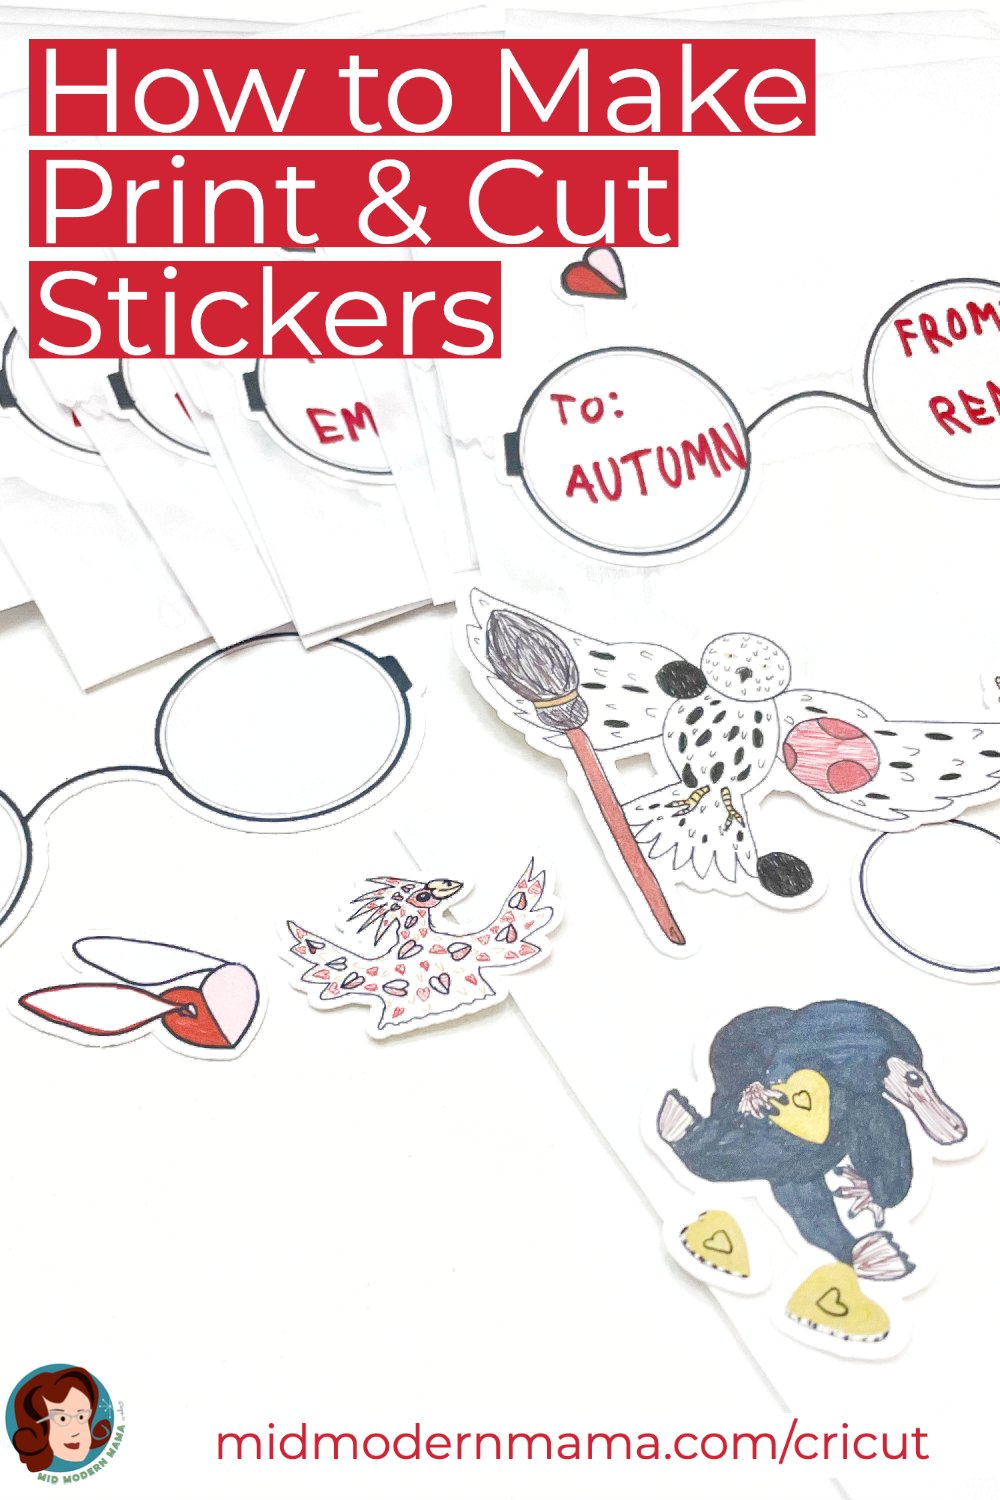
Kids love stickers — and they really love stickers that they have designed and made themselves! In our house, my child is a prolific artist, and when we need party favors, Valentines for his class, and other gifts, we make stickers. Using the Cricut print-and-cut system makes custom stickers simple, and with a child’s artwork, the process is quite easy. Of course, this is the same process you can use to make stickers with your own logos or designs. No matter what kind of artwork you are using, making print and cut stickers is simple and fun!
You May Also Like:

I created a video tutorial which walks you through the process in addition to the written tutorial steps below.
MATERIALS
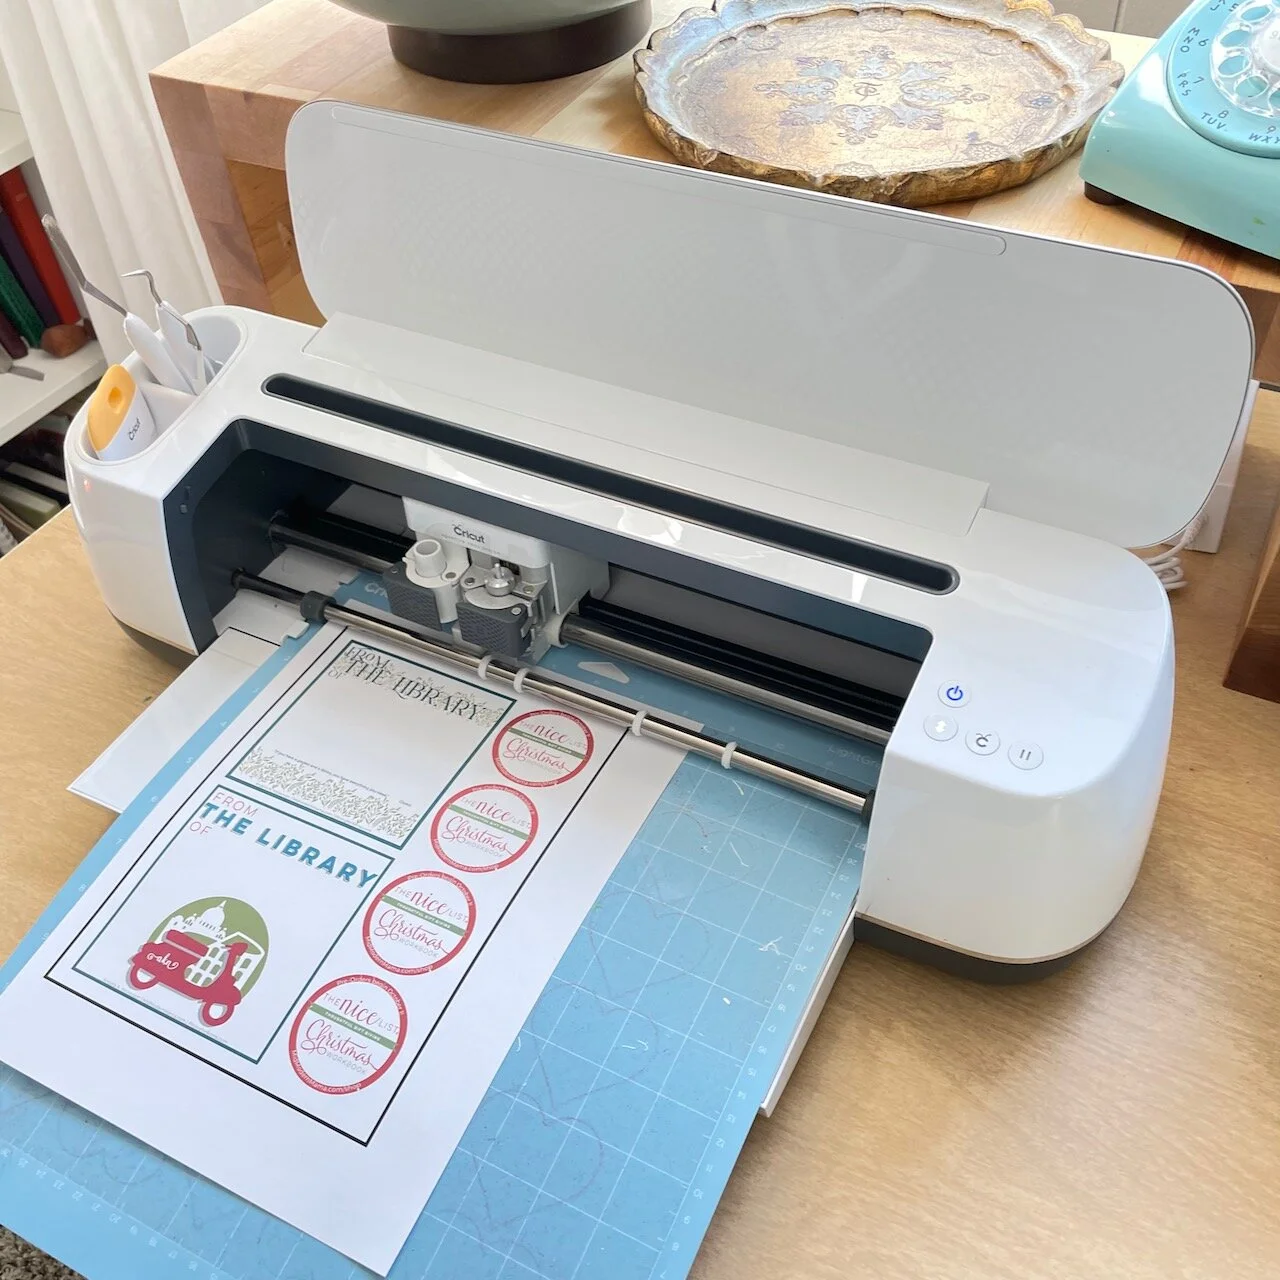
Cricut Maker or Cricut Maker 3 : I have both and love them! See my note below about machines.
a Printer: I have a Canon which I adore!
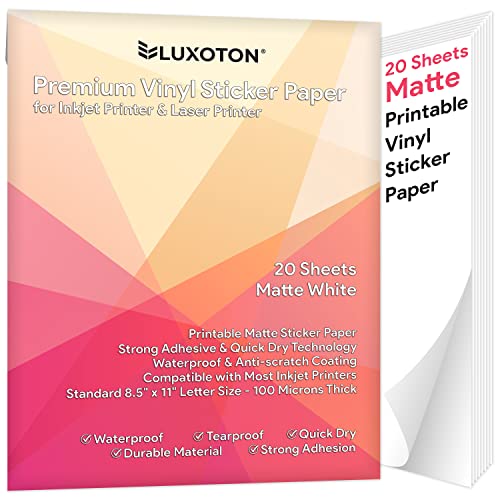
Sticker Paper. I like the following depending on what I’m making:
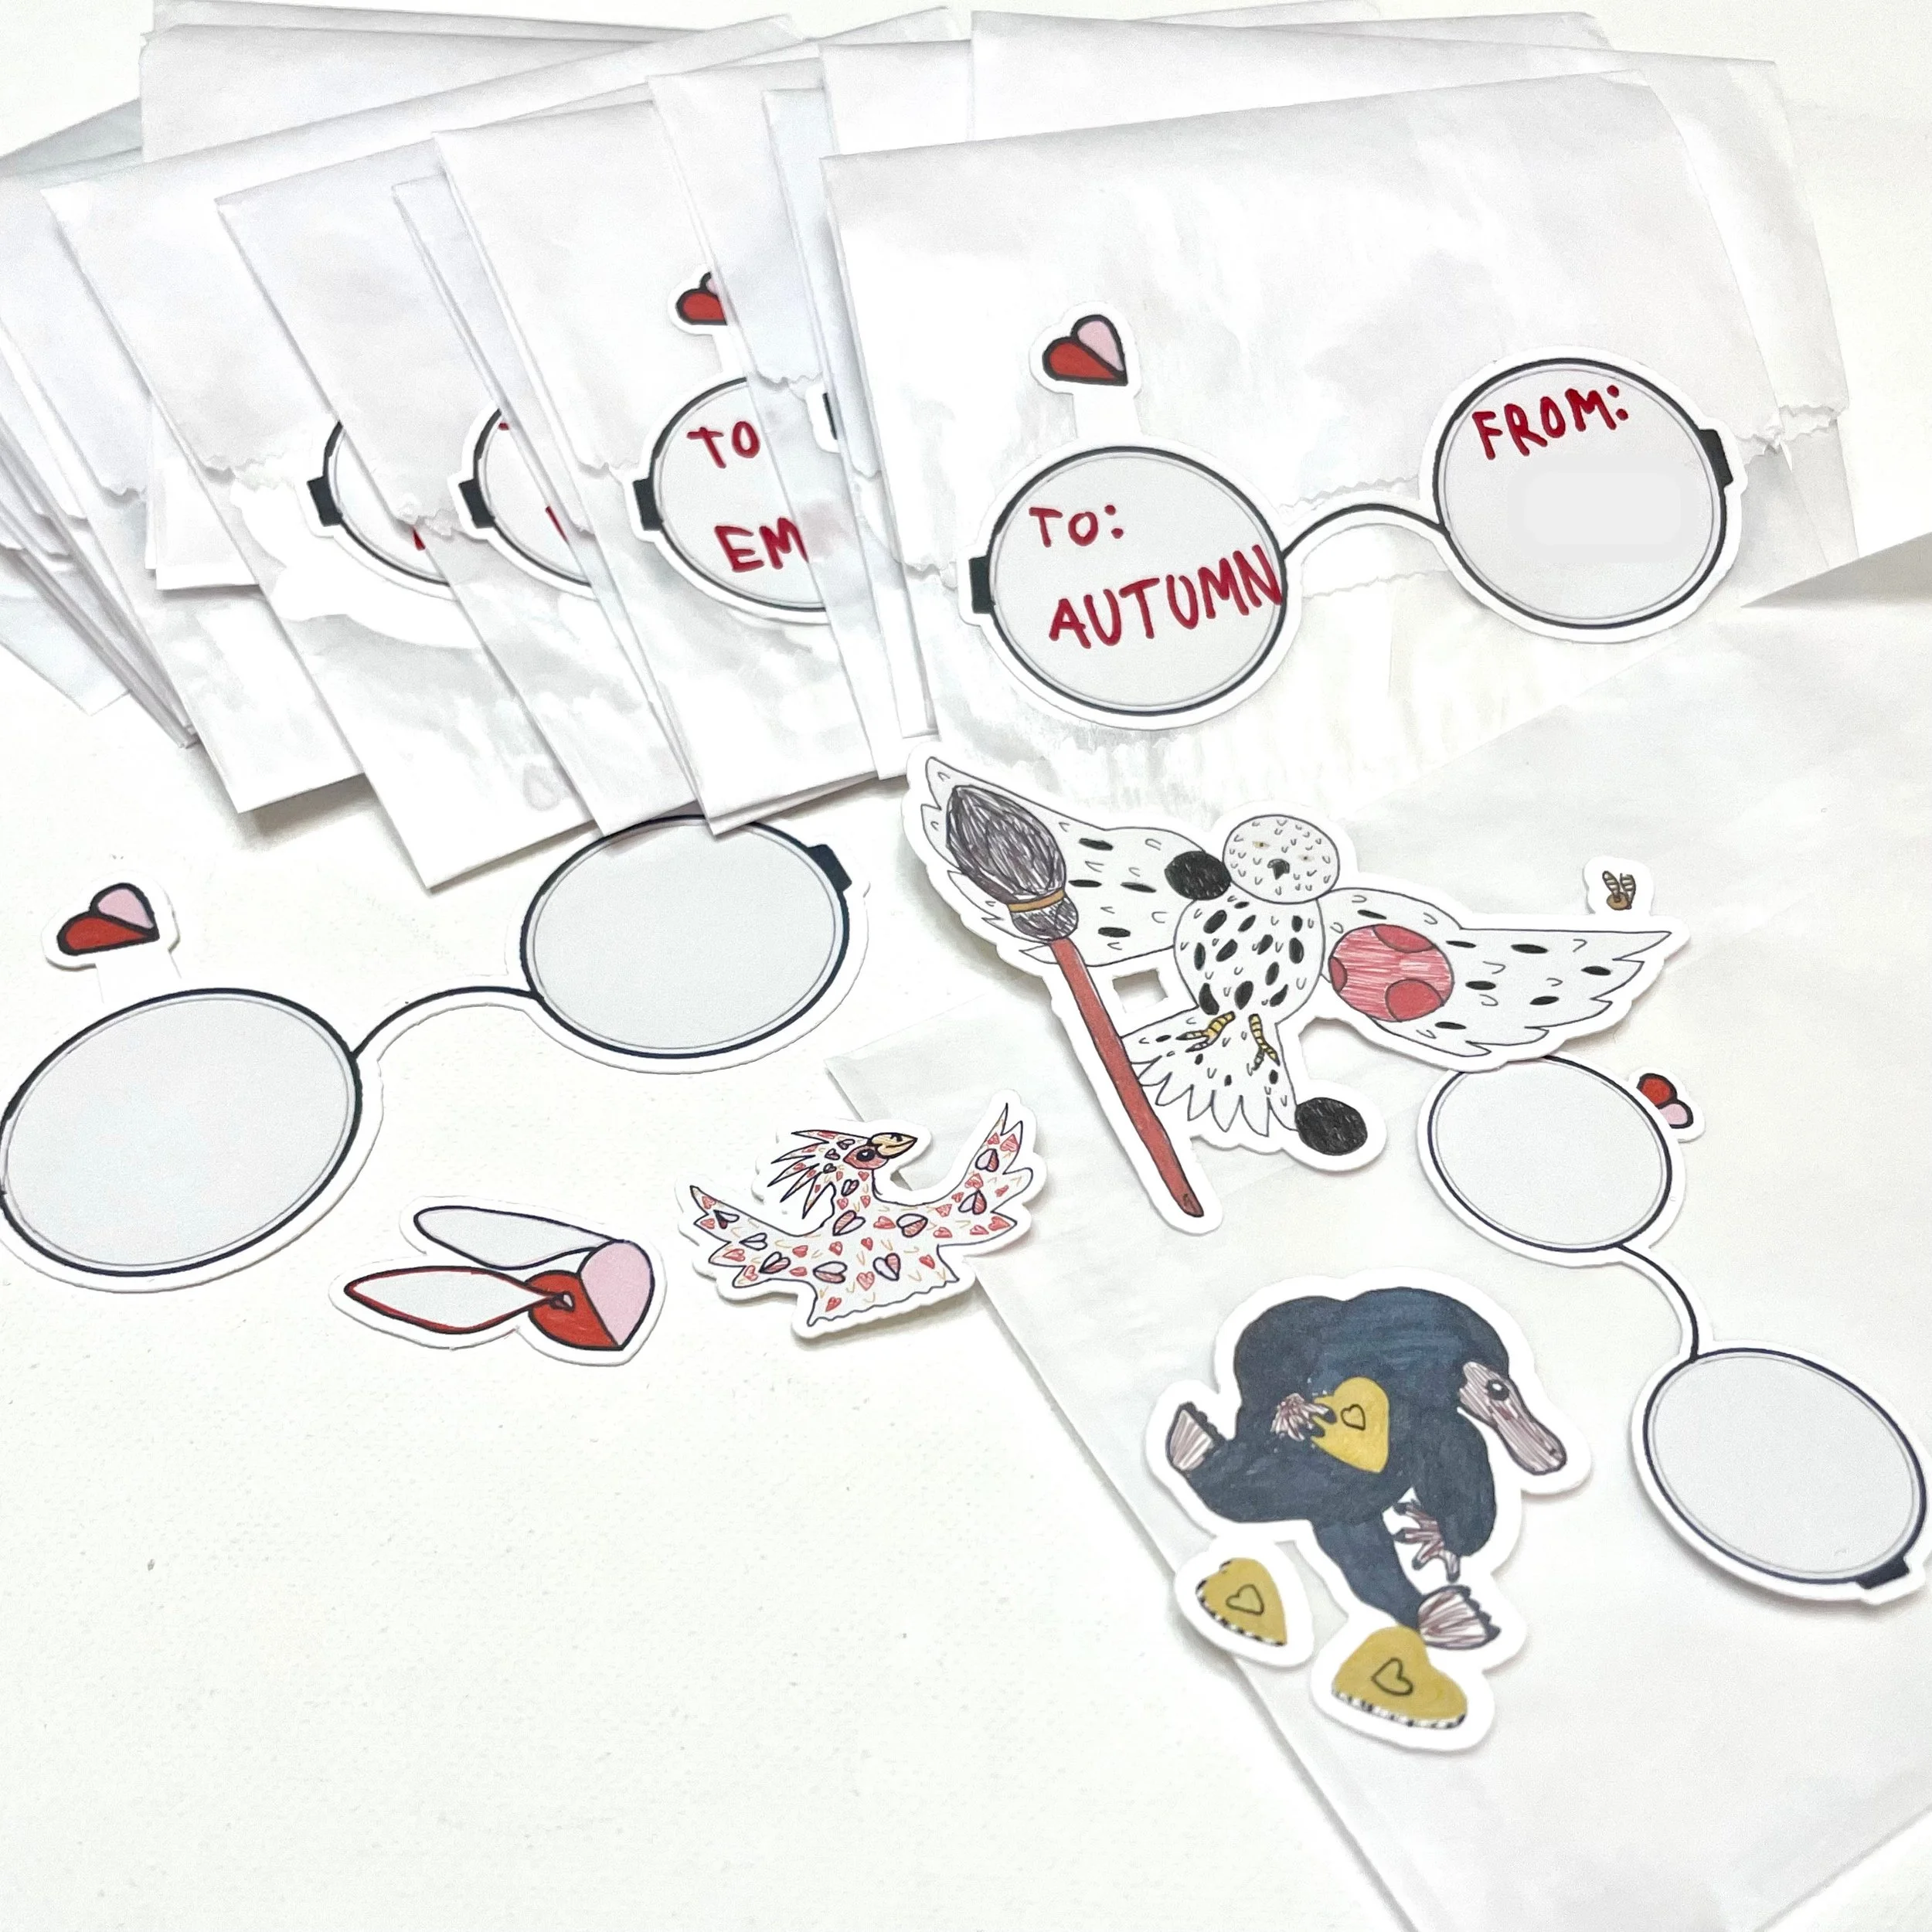
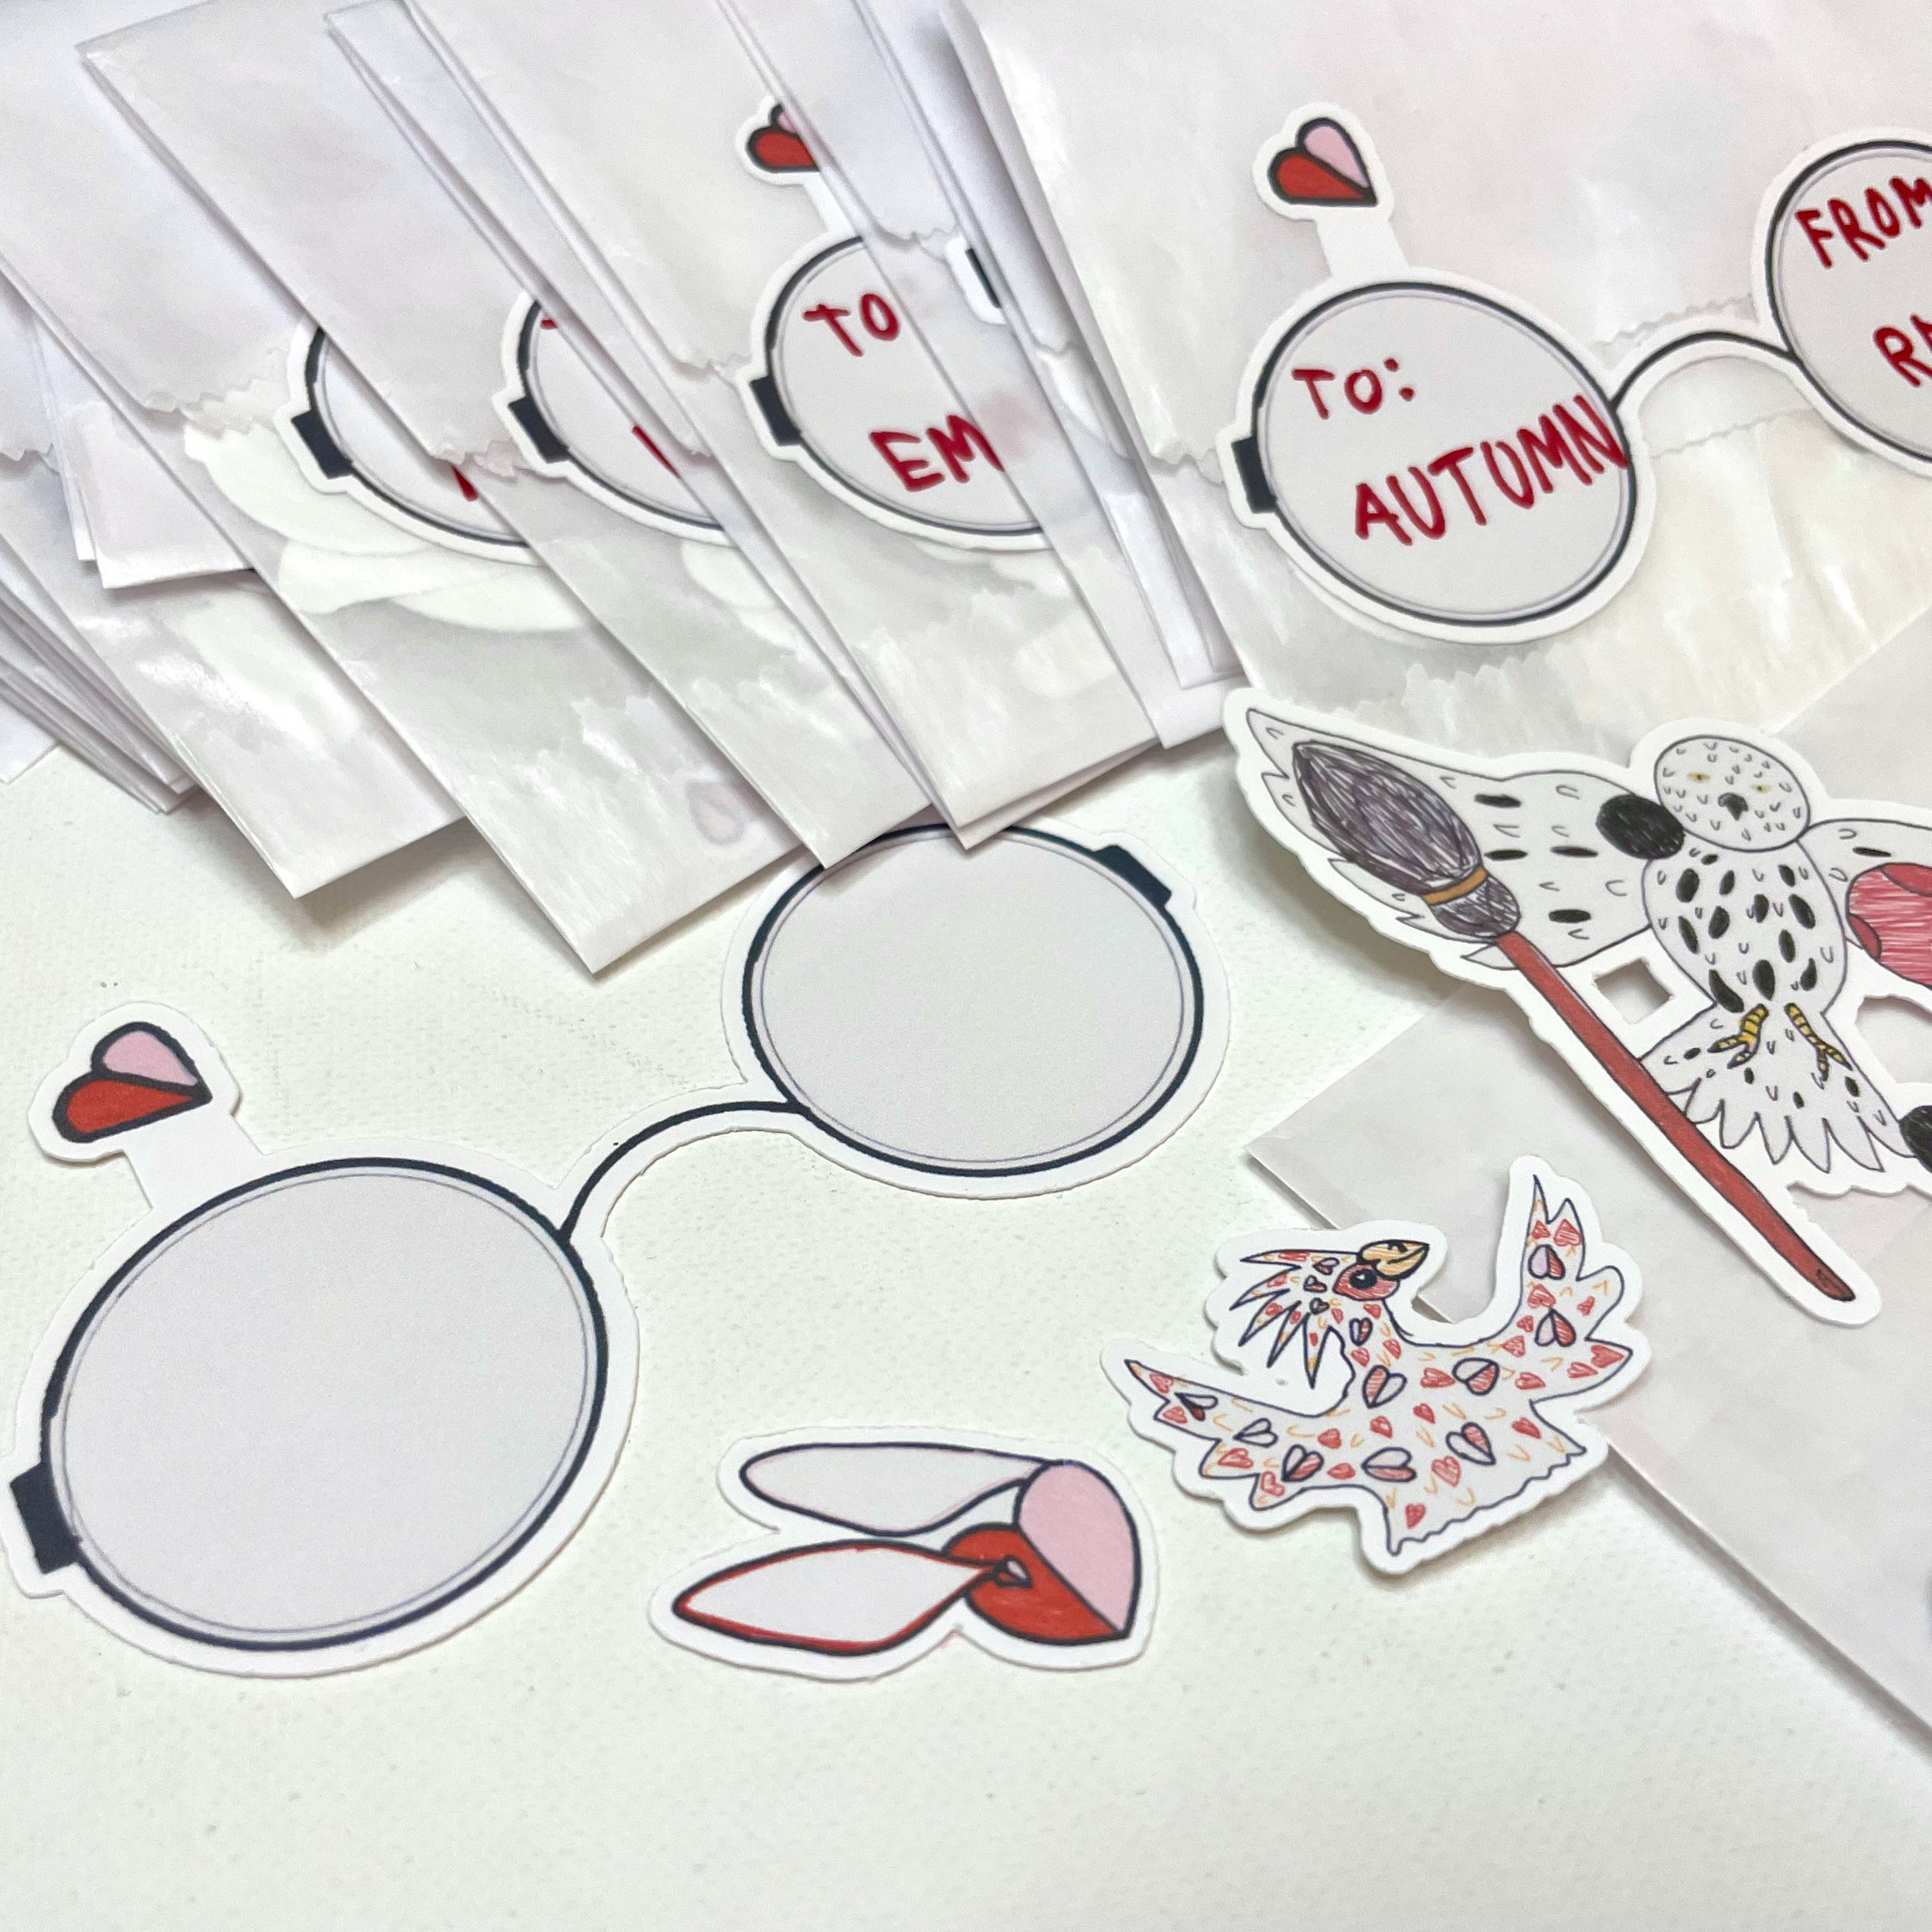
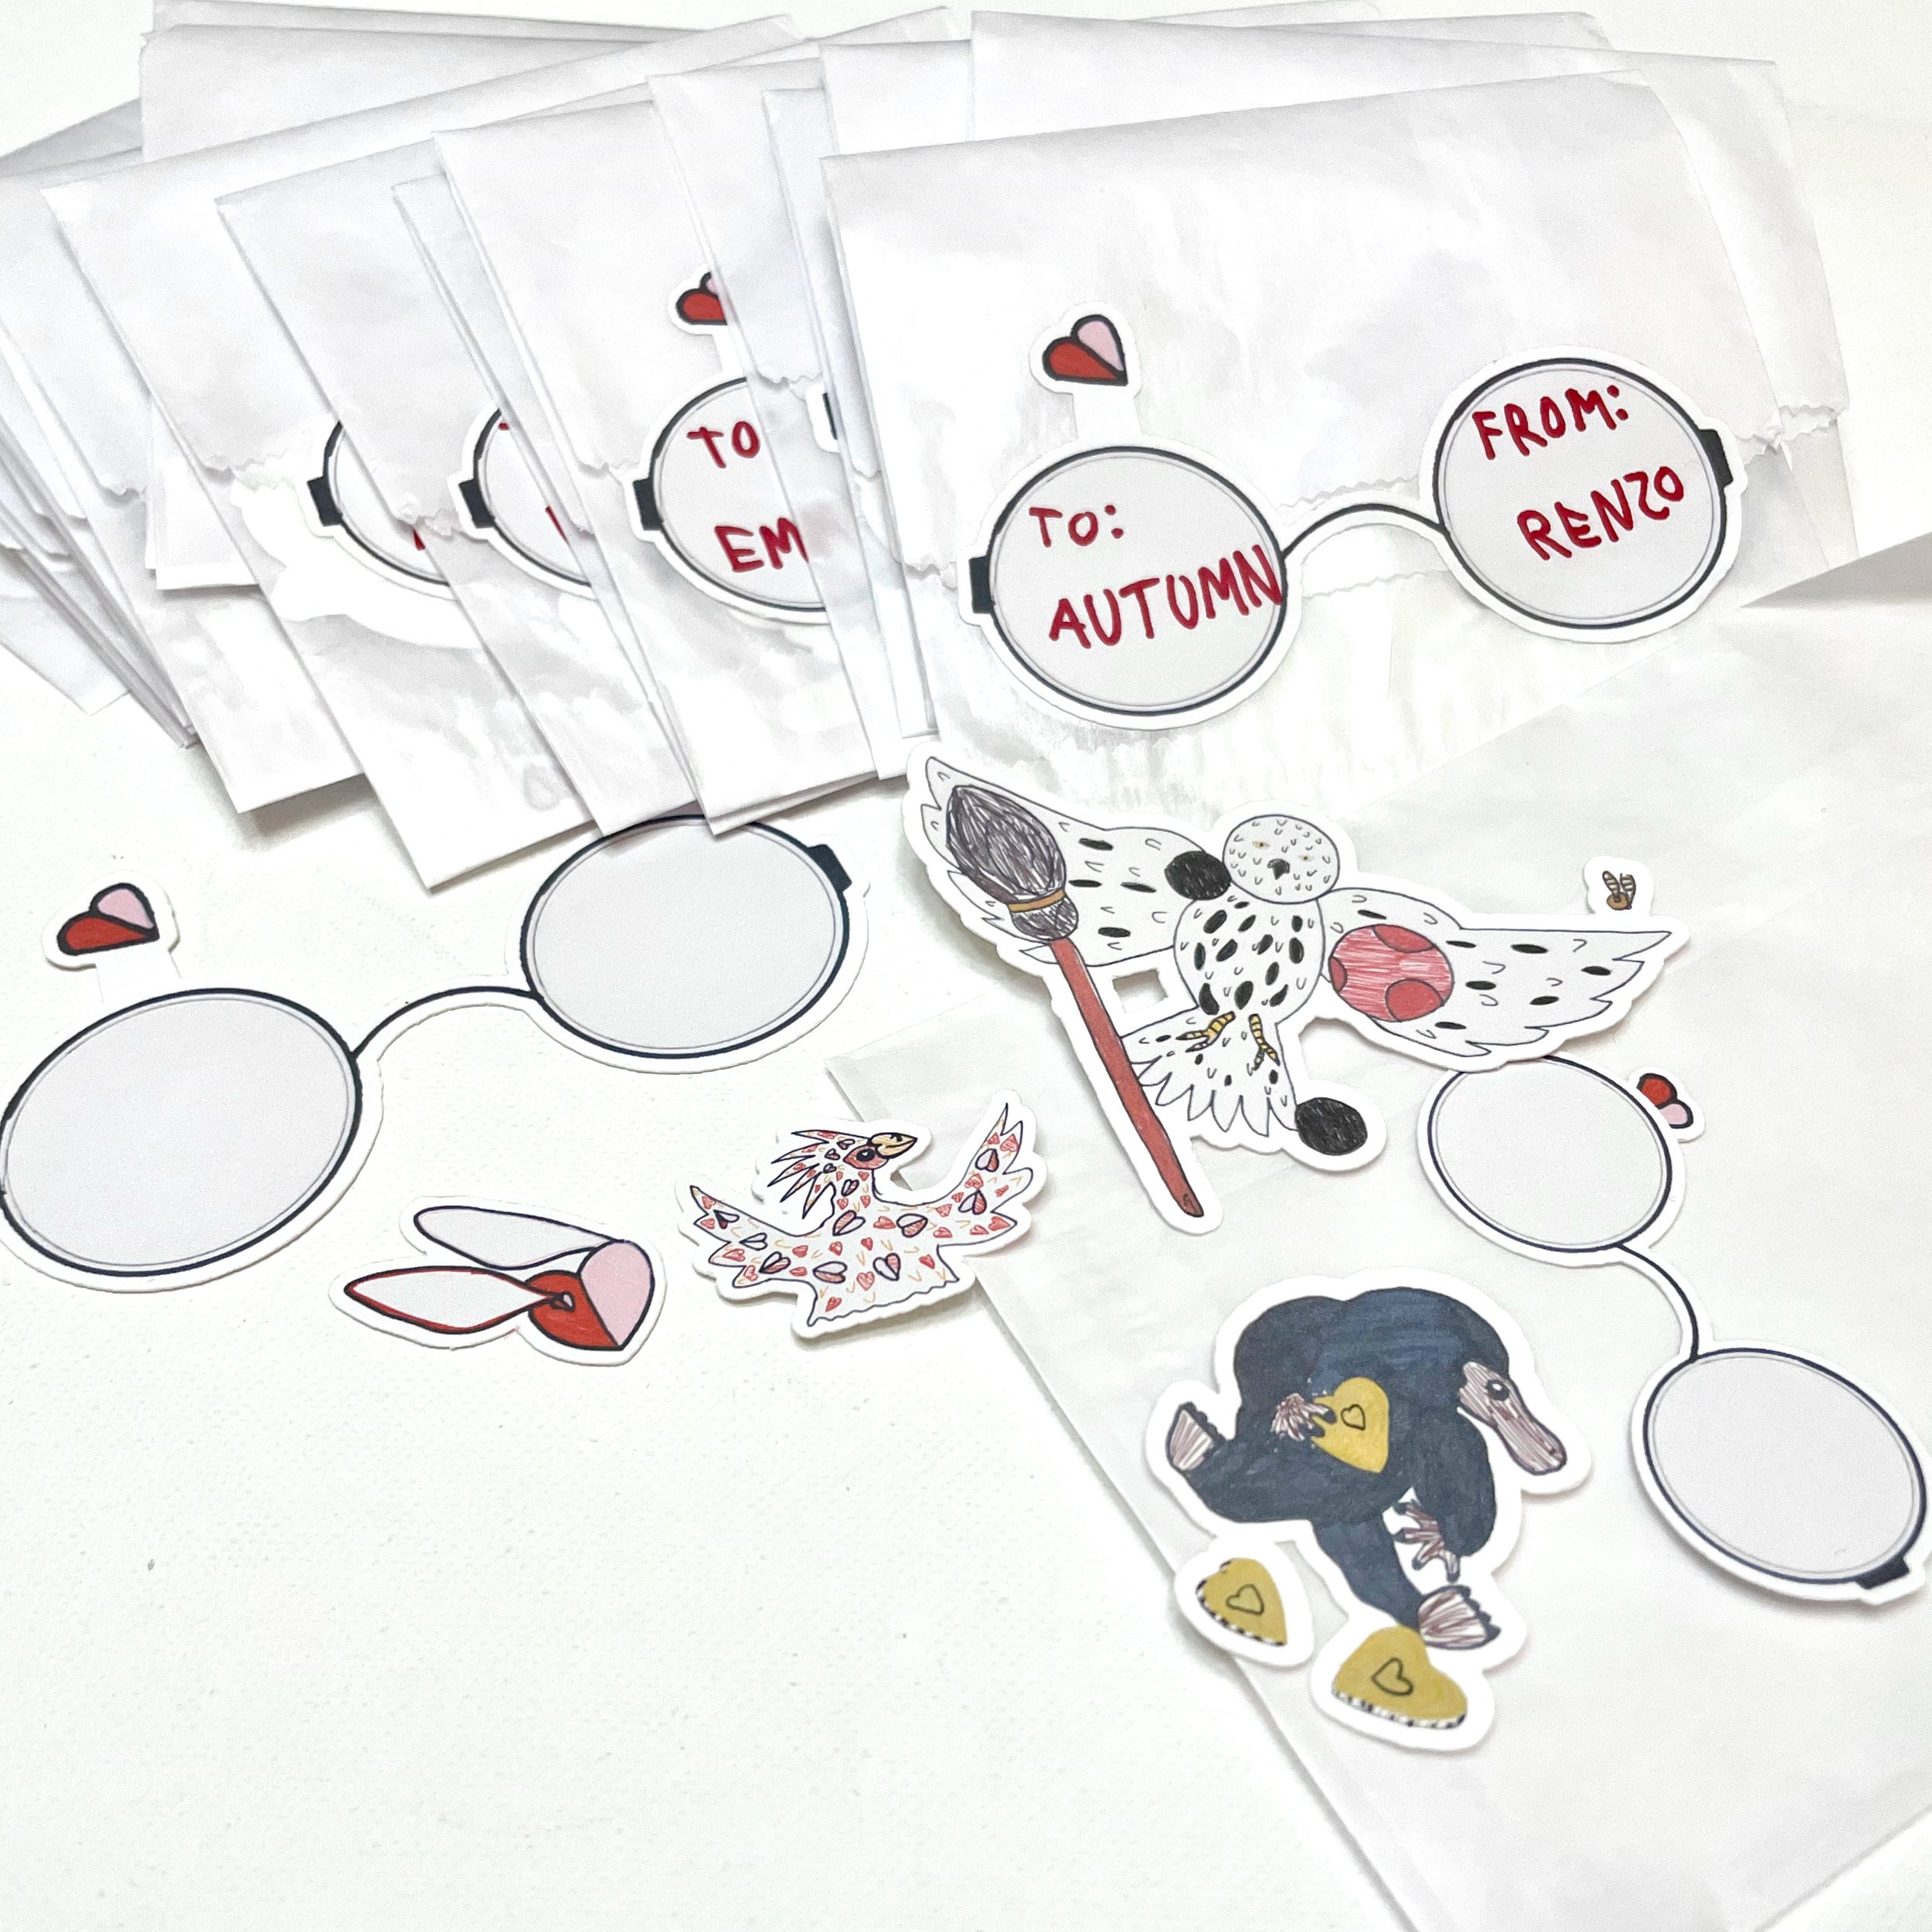
Glassine Envelopes or Bags
your child’s artwork
a scanner or a scanning app
A Note about Cricut Machines: these projects could absolutely be done on other Cricut machines. I happen to have the Maker and the Maker 3, but I know many of you out there have hardworking Joy and Explore machines, too. Use what you have! The principles are the same.
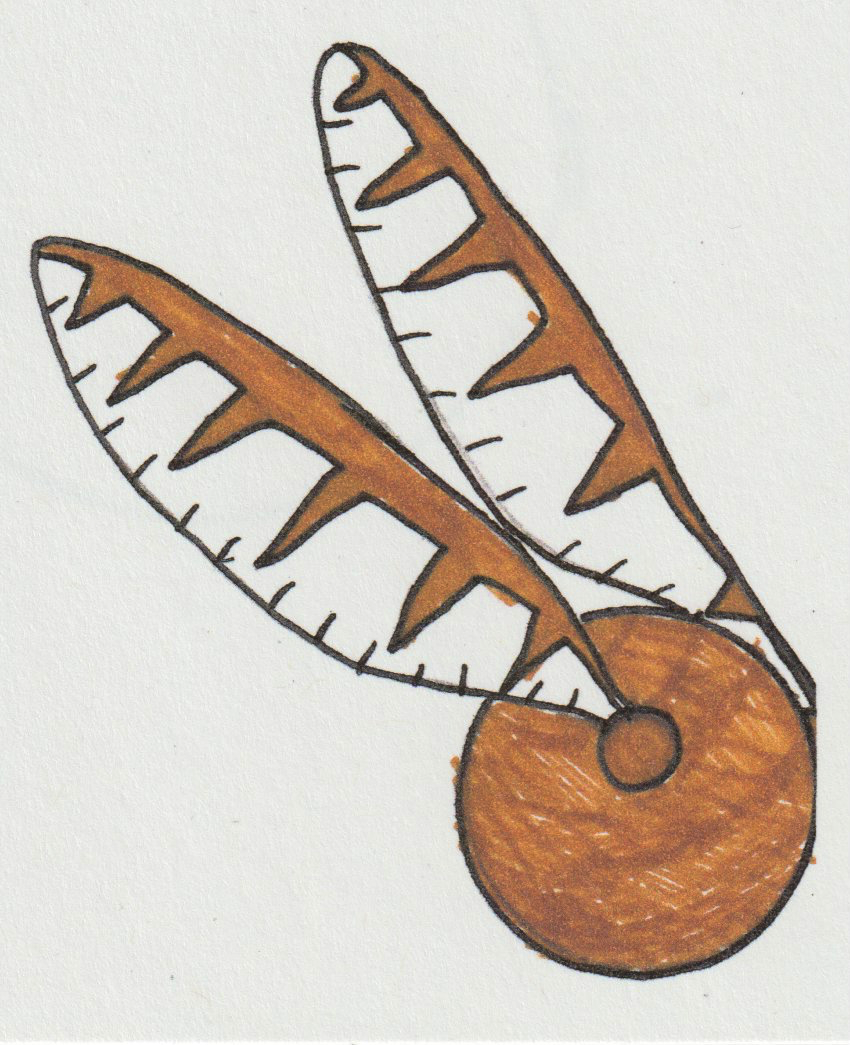
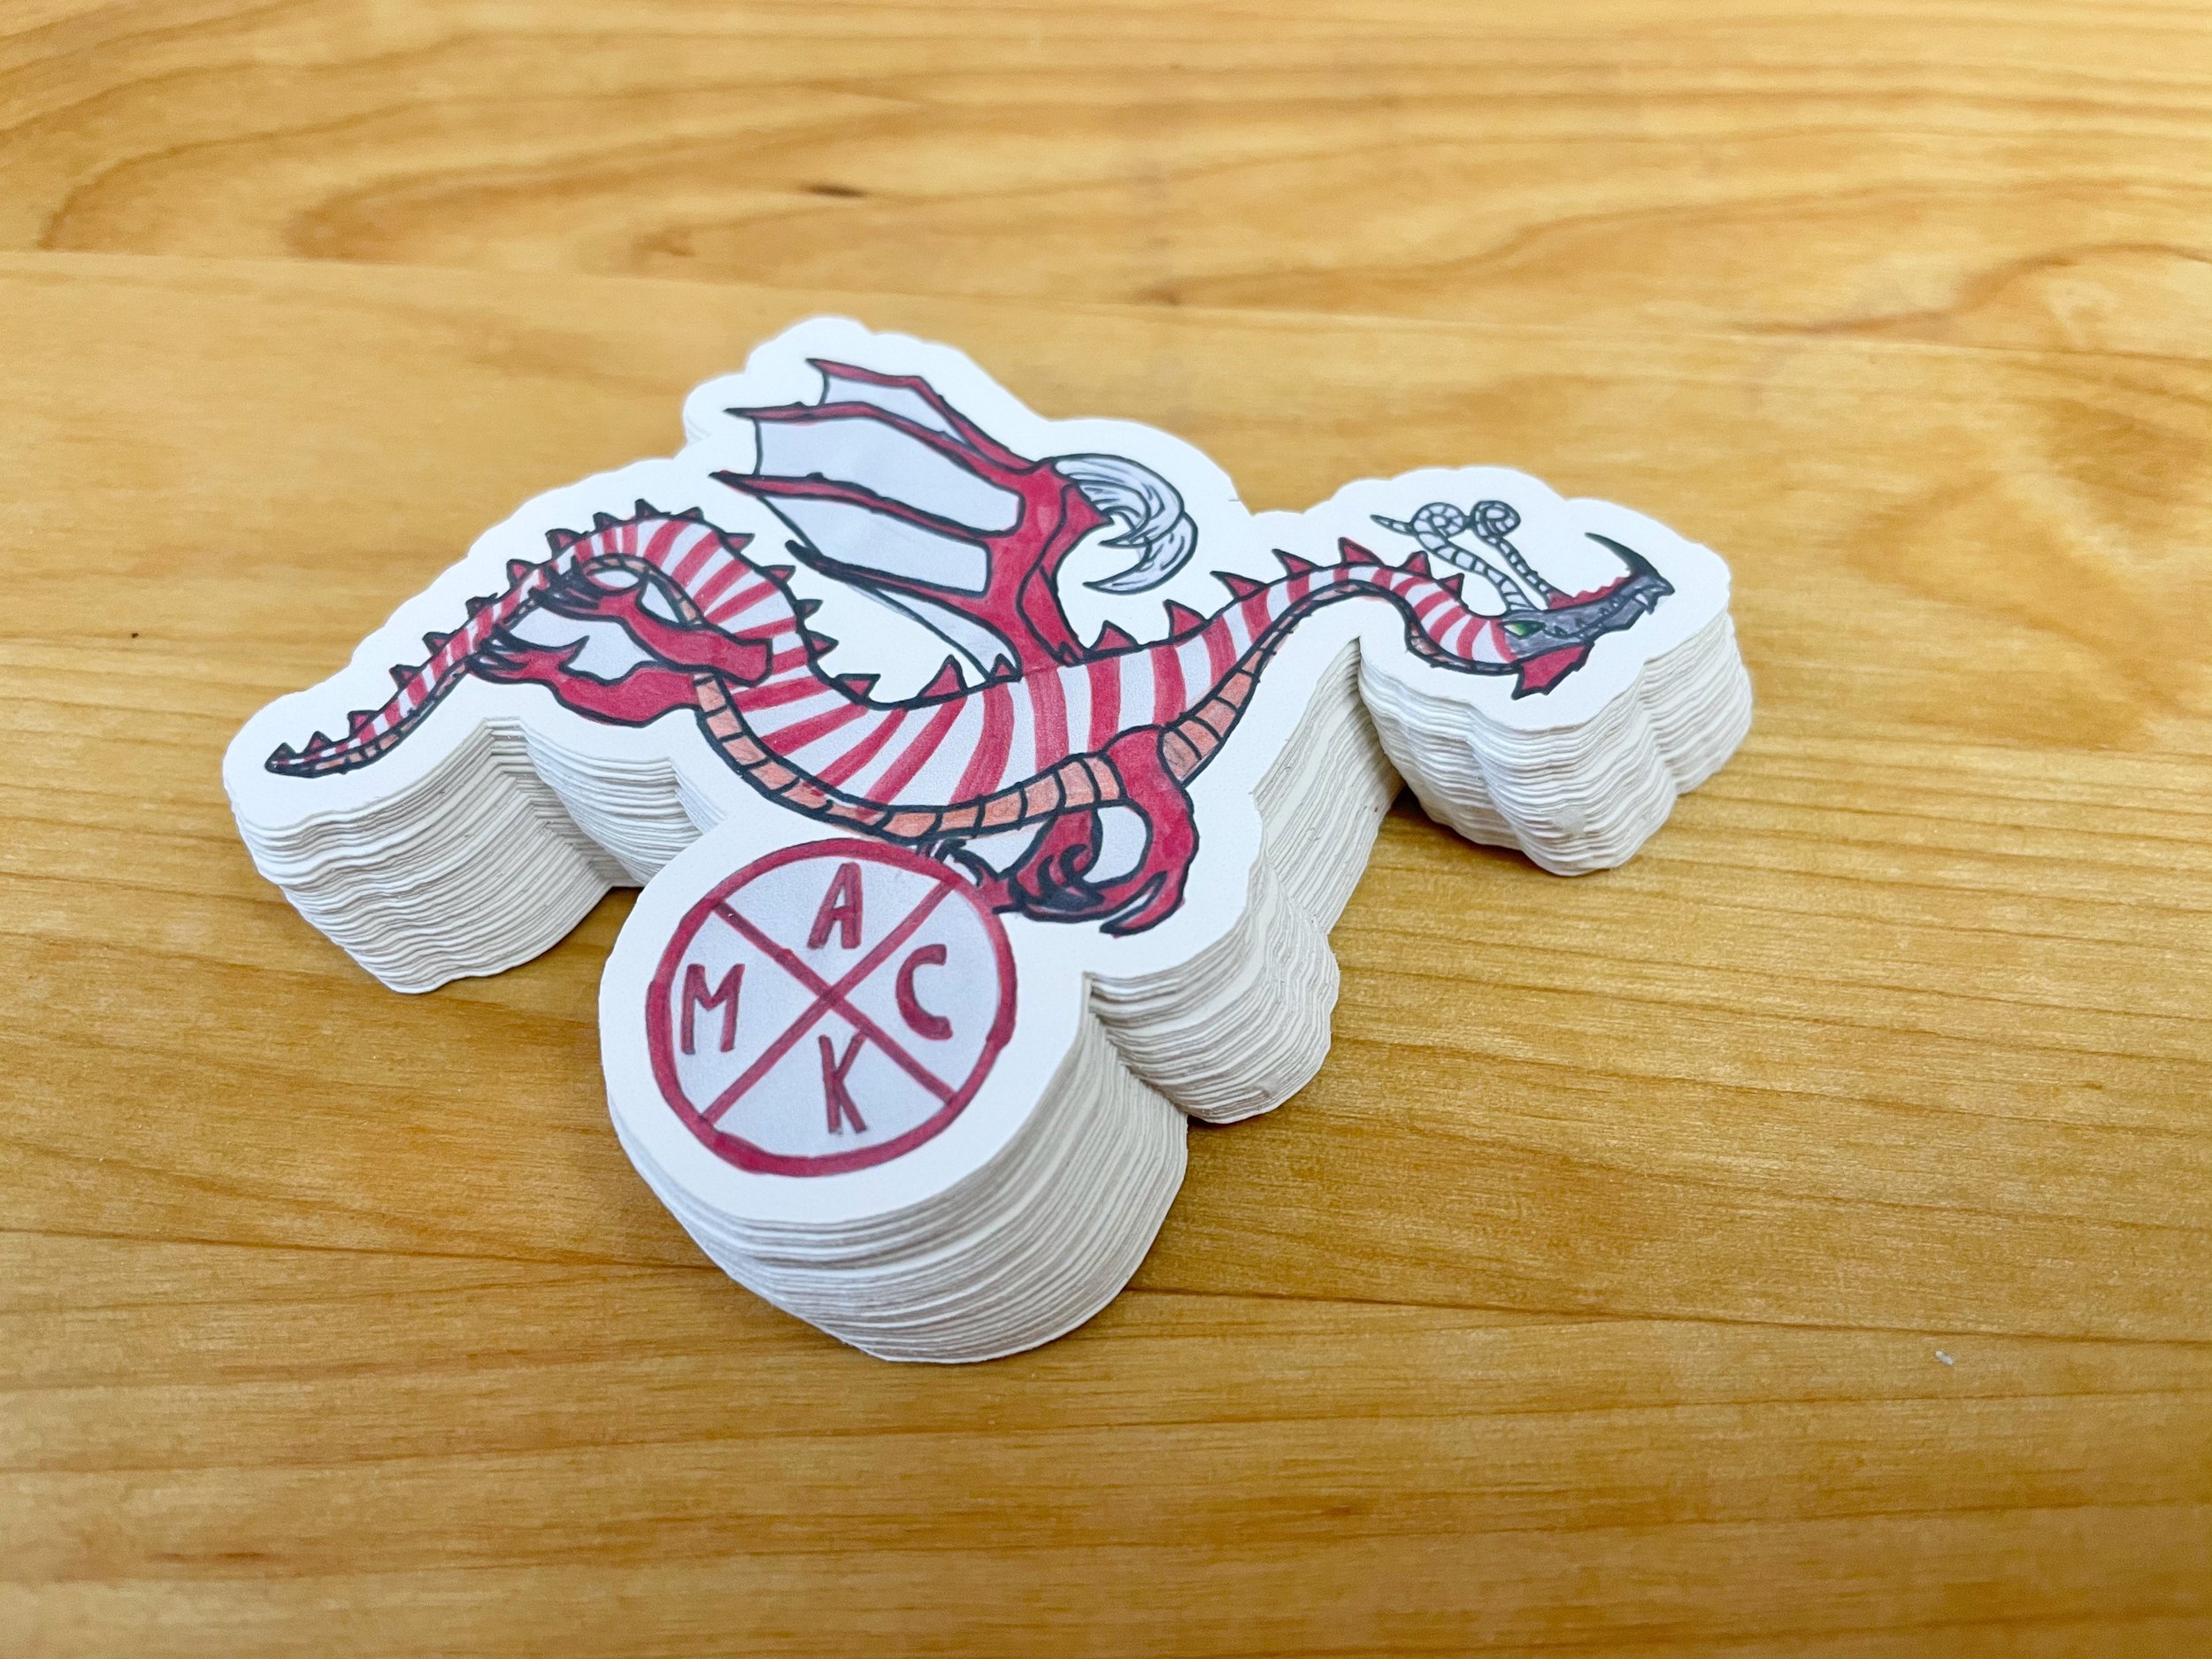
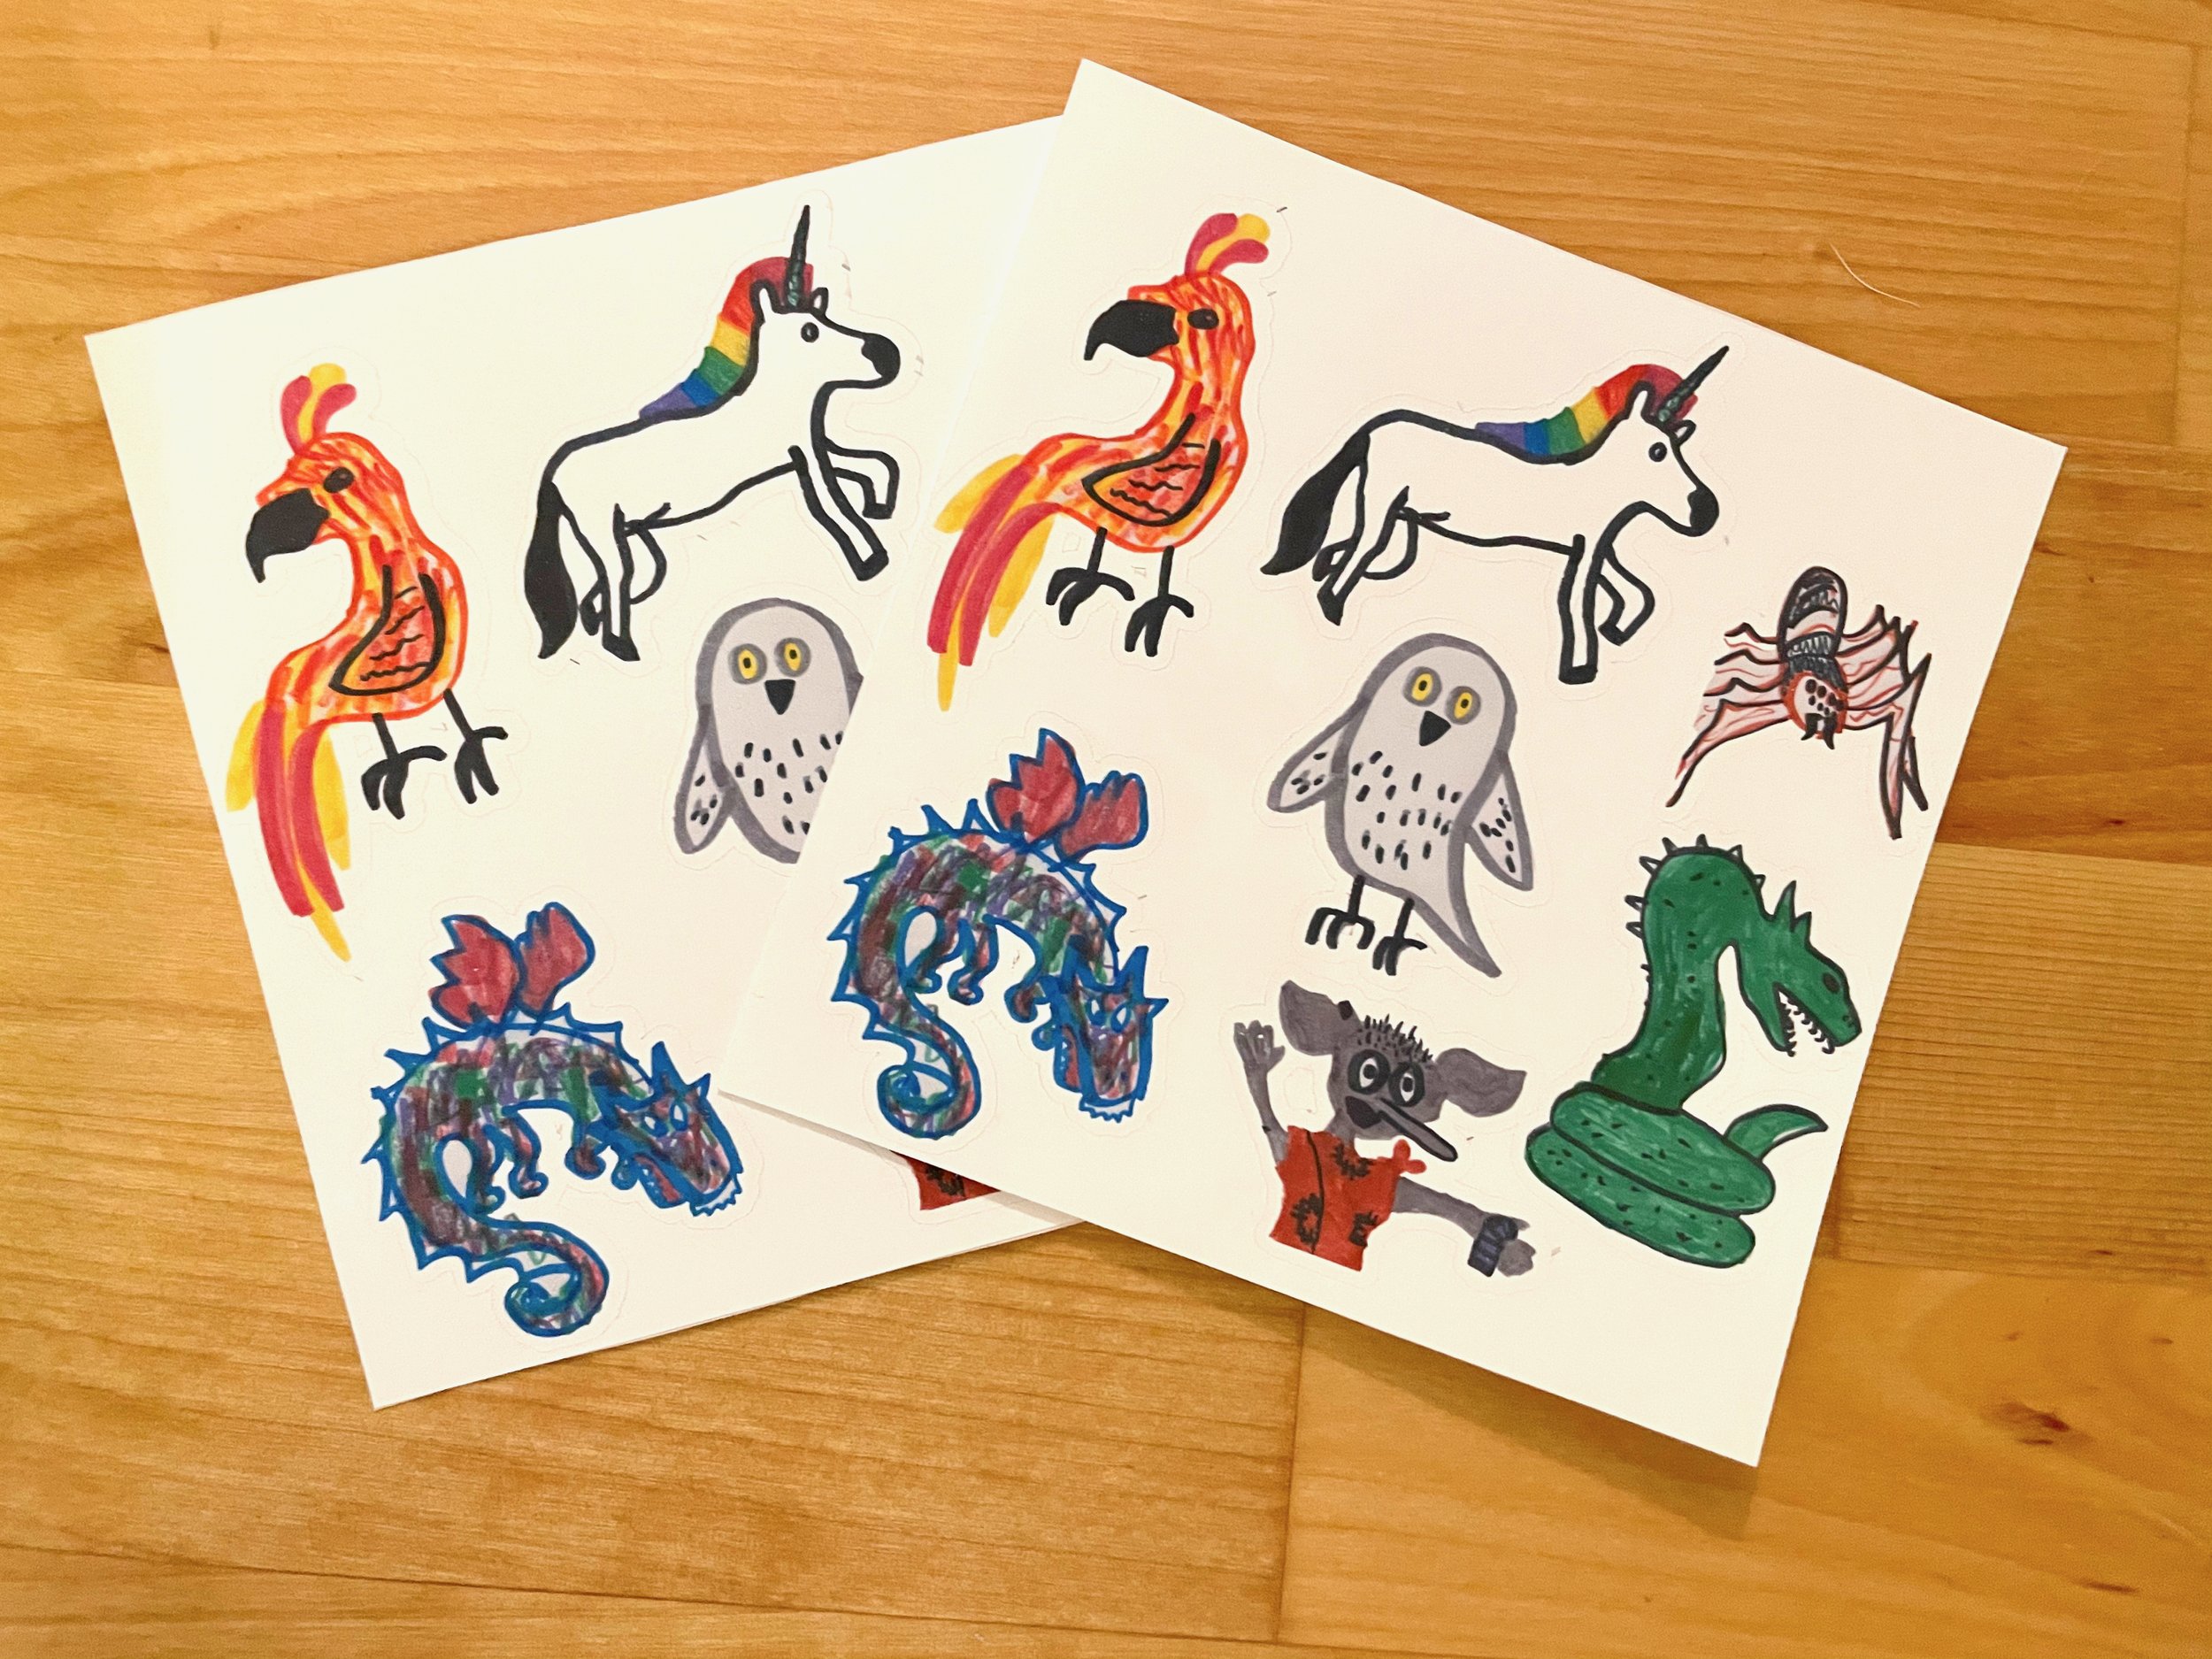
A Note about Artwork: choose your child’s artwork carefully. You want a design with a distinct shape and object — not a whole scene. The finished product will be cut out as an image, so you want something that is relatively simple, but still tells a story.

How to Make Stickers with Your Cricut
These instructions are for die-cut or flake stickers. In other words, the sticker backing will be cut in the same shape as the sticker itself. They will not be sheets of kiss-cut stickers.
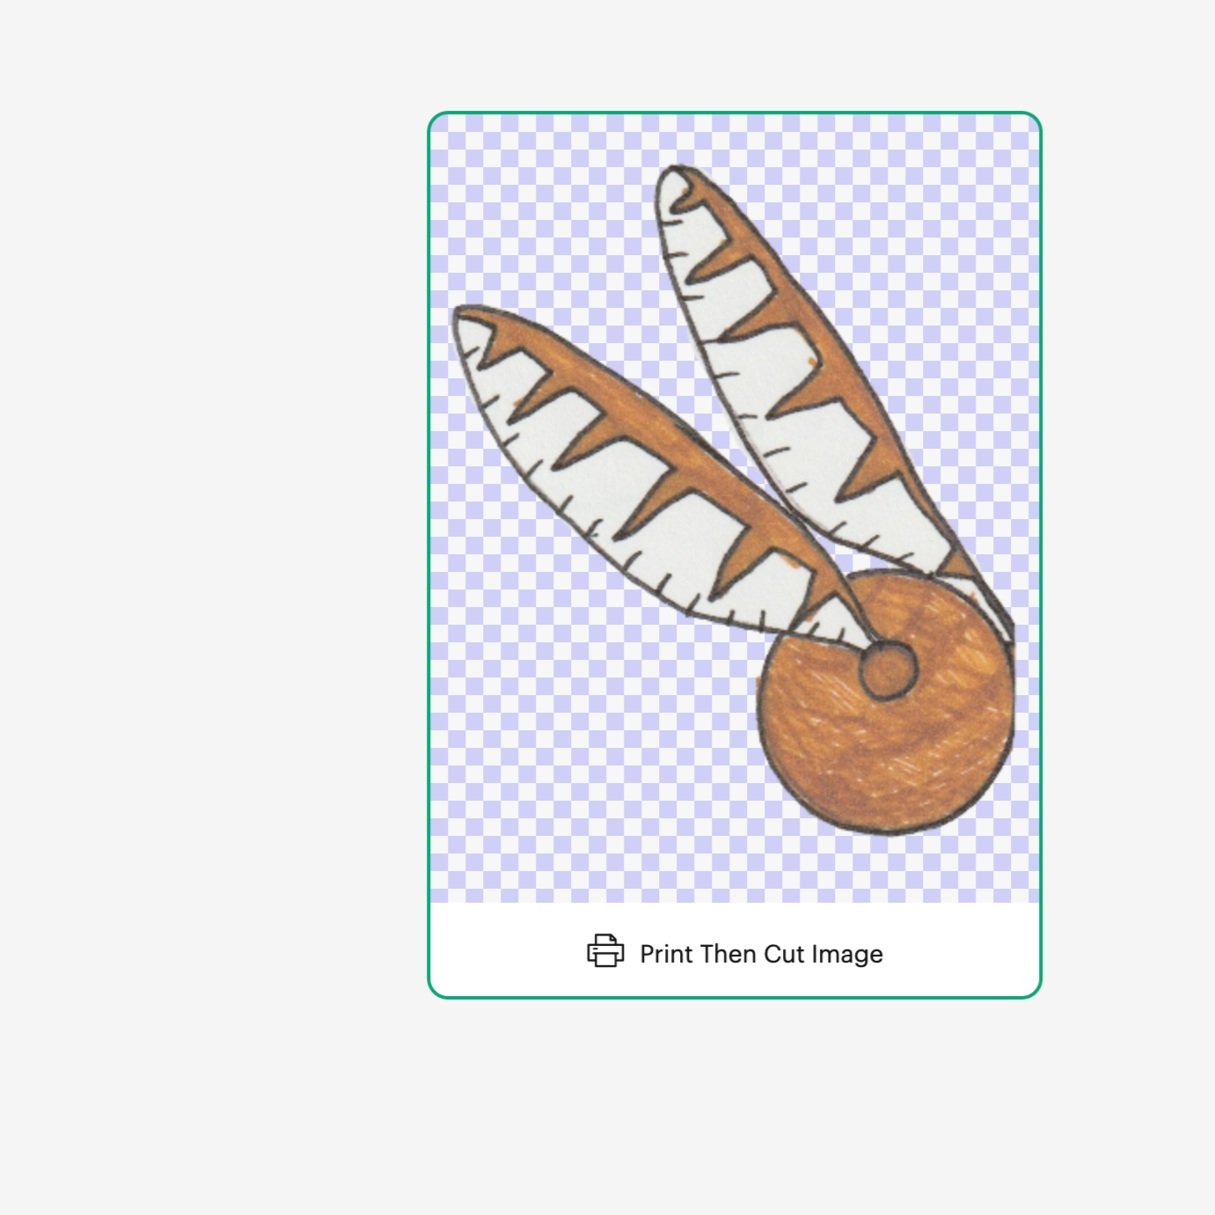
1. Scan & Save Image
Scan your child’s artwork or other image into your phone or computer. A flatbed scanner will always produce the best scan, but if you are working with a phone, be sure the image is completely flat and well-lit.
Tip: If it is an option, save the image as a PNG with transparency. This will make the next steps much easier. If not, save the image as a JPG.

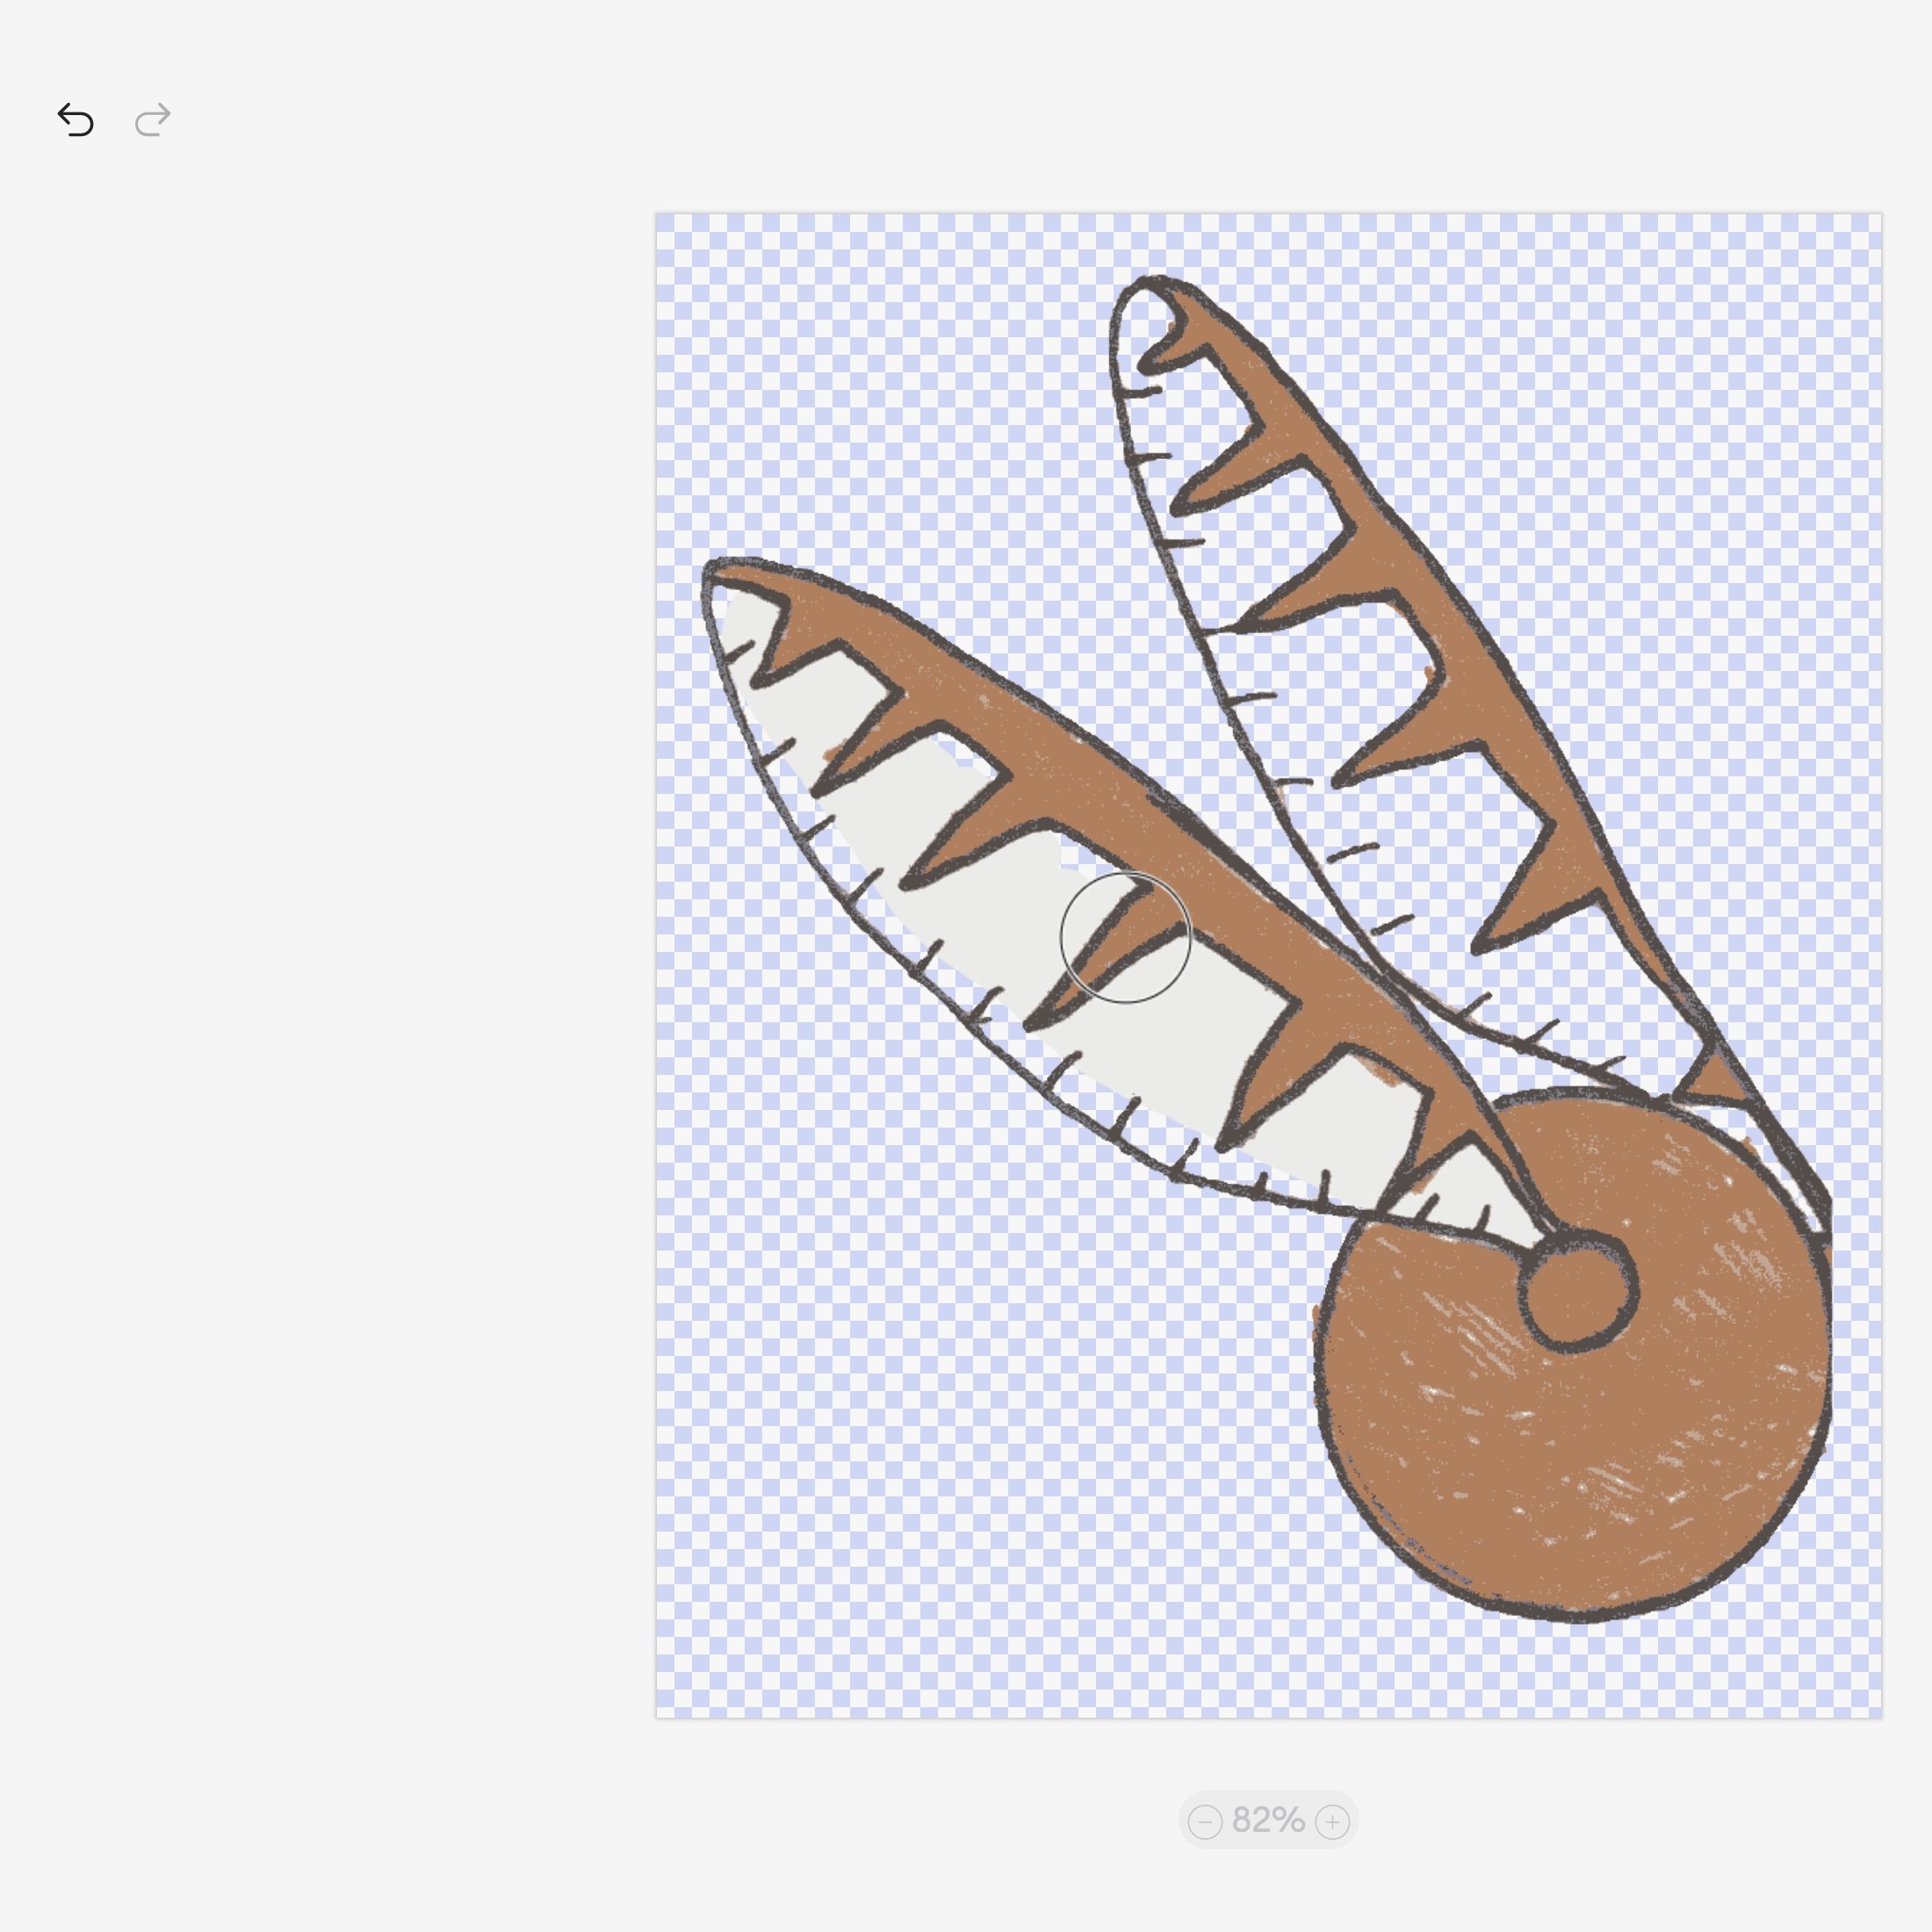
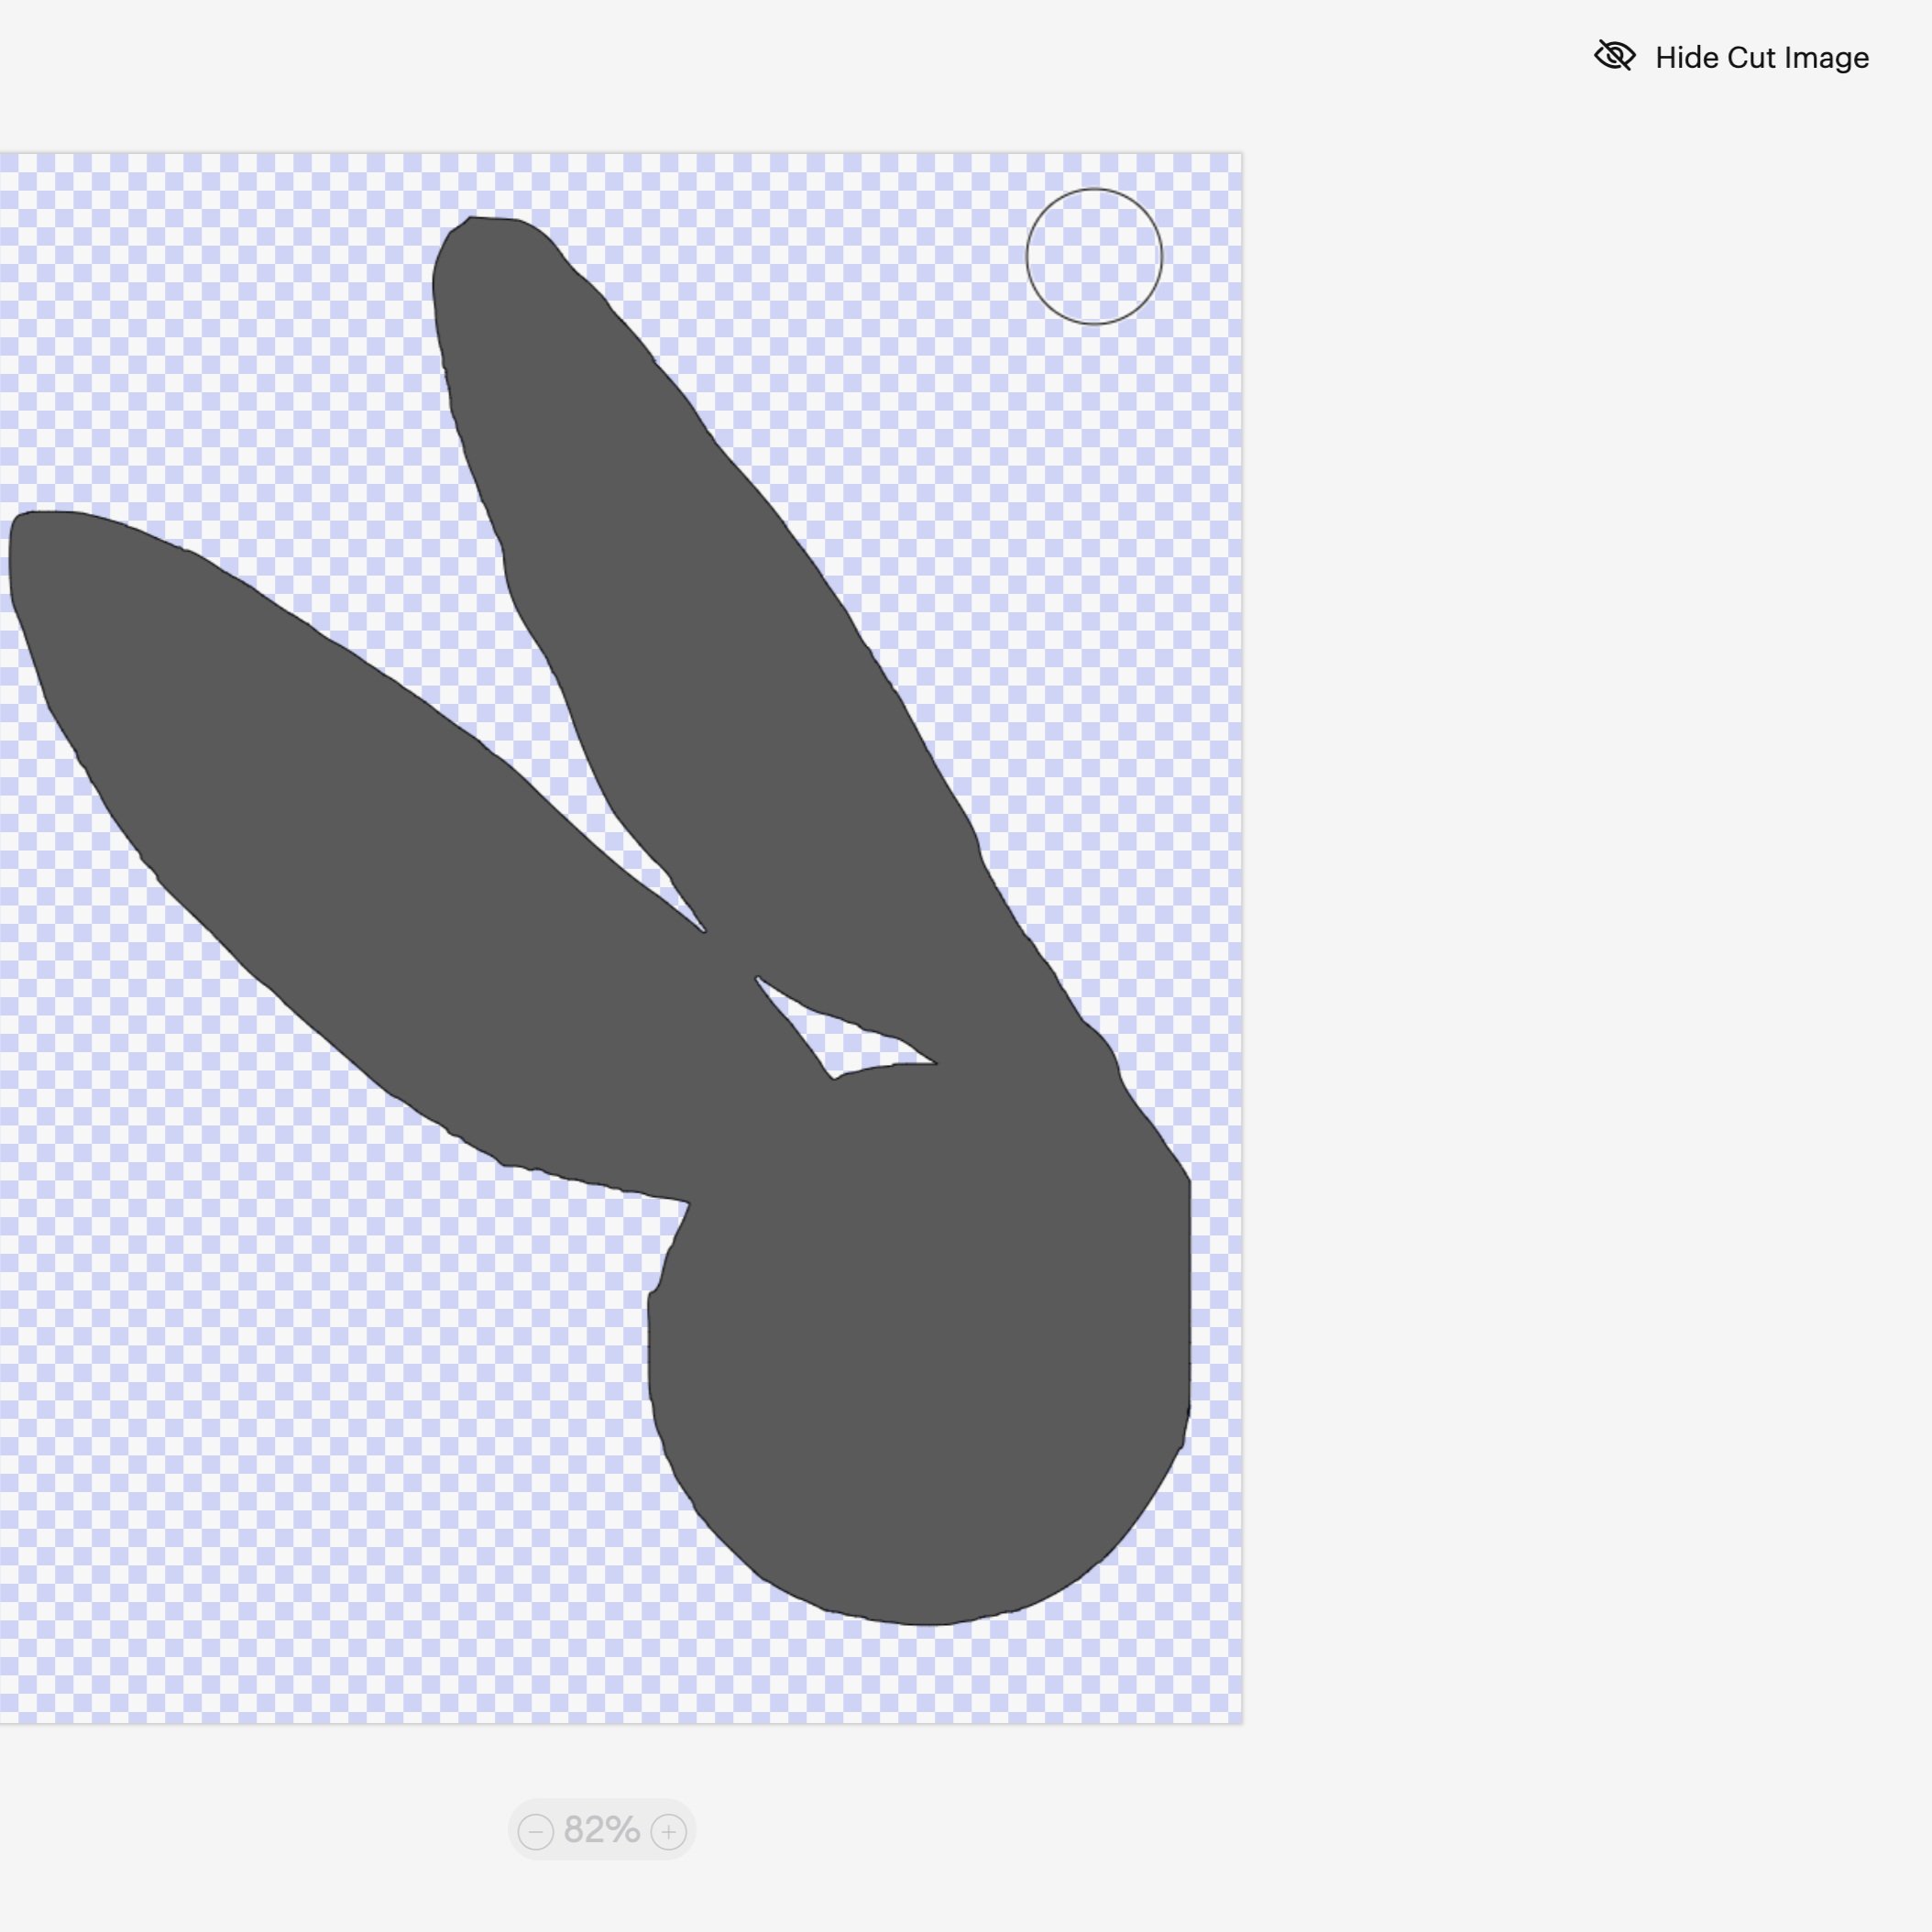
2. Remove the Background
Removing the background means removing the white of the paper which the Cricut would read as a solid color. If you were able to save the image as a PNG with transparency, you may find you have little or nothing to remove.
Regardless, with most simple images, this can be done in the Cricut Design Space. When you upload the artwork into the Design Space, you’ll be asked about removing the background. Carefully make sure that only the white of the image is removed and the lines you want to keep are preserved.
Tip: sometimes it takes a few tries to get the image uploaded and edited. For most images, choosing “Simple Image” when uploading results in the best success for this kind of project.
Tip: If you are struggling to remove the background in the Cricut Design Space, there are other apps and programs specifically designed to convert an image to a PNG with transparency. Adobe Creative Cloud Express is my go-to program both on my phone and on my desktop. They have a free version which includes background removal. However, I rarely need to use it with the improved Design Space.
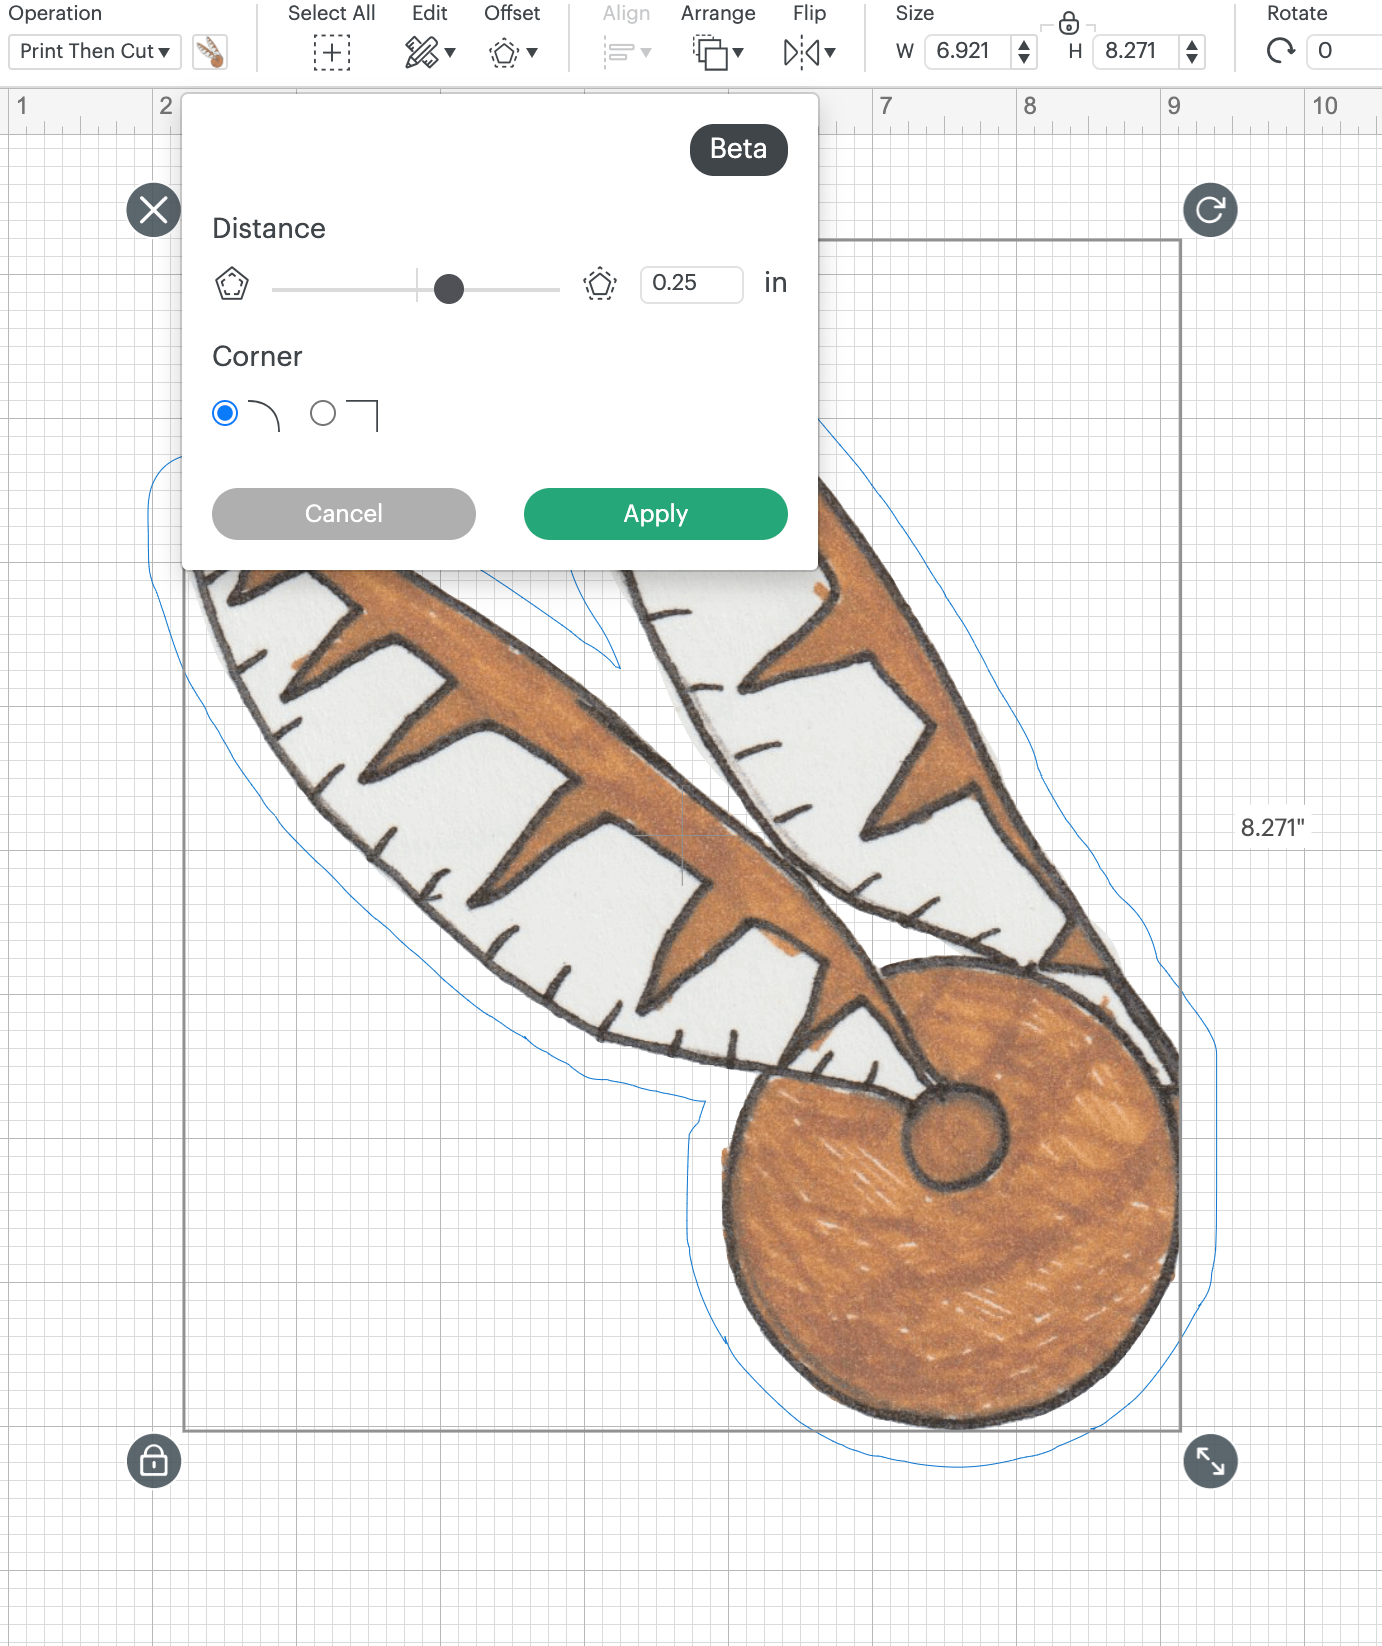
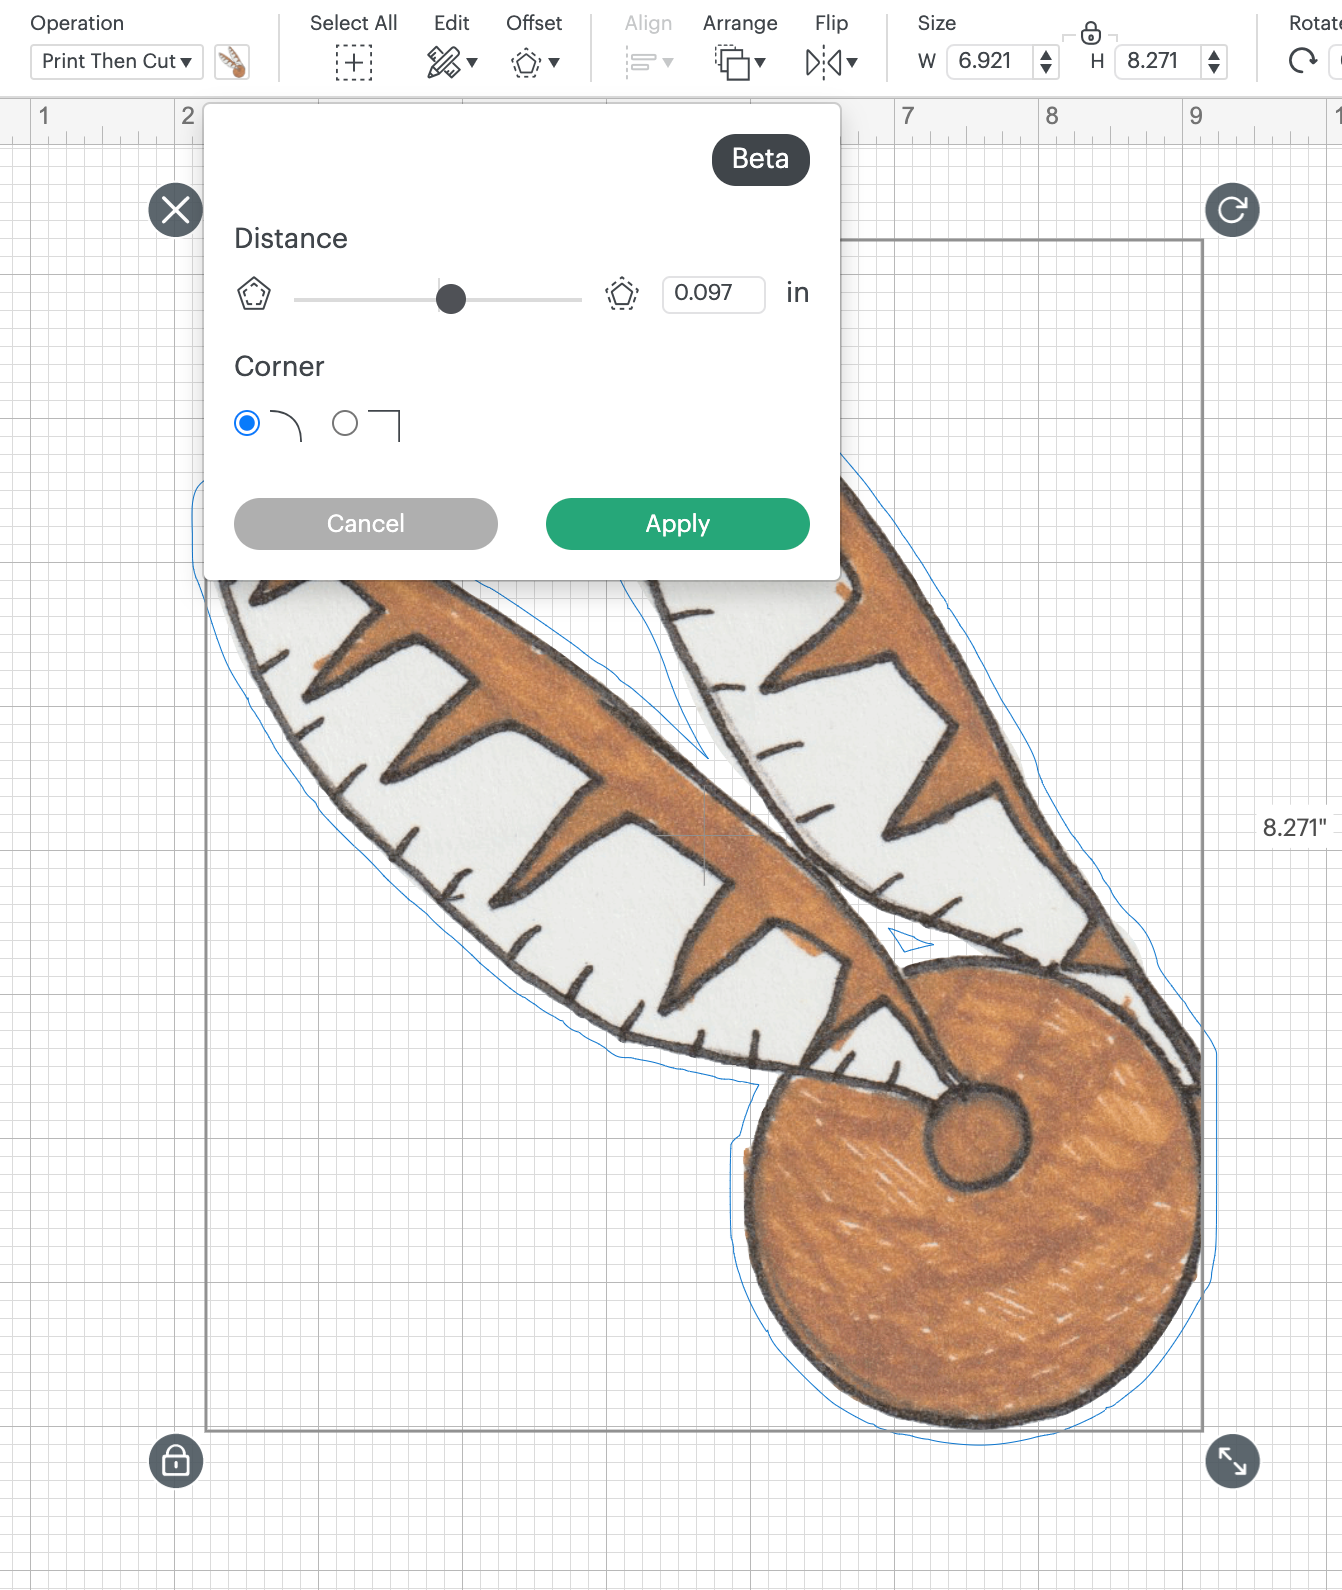
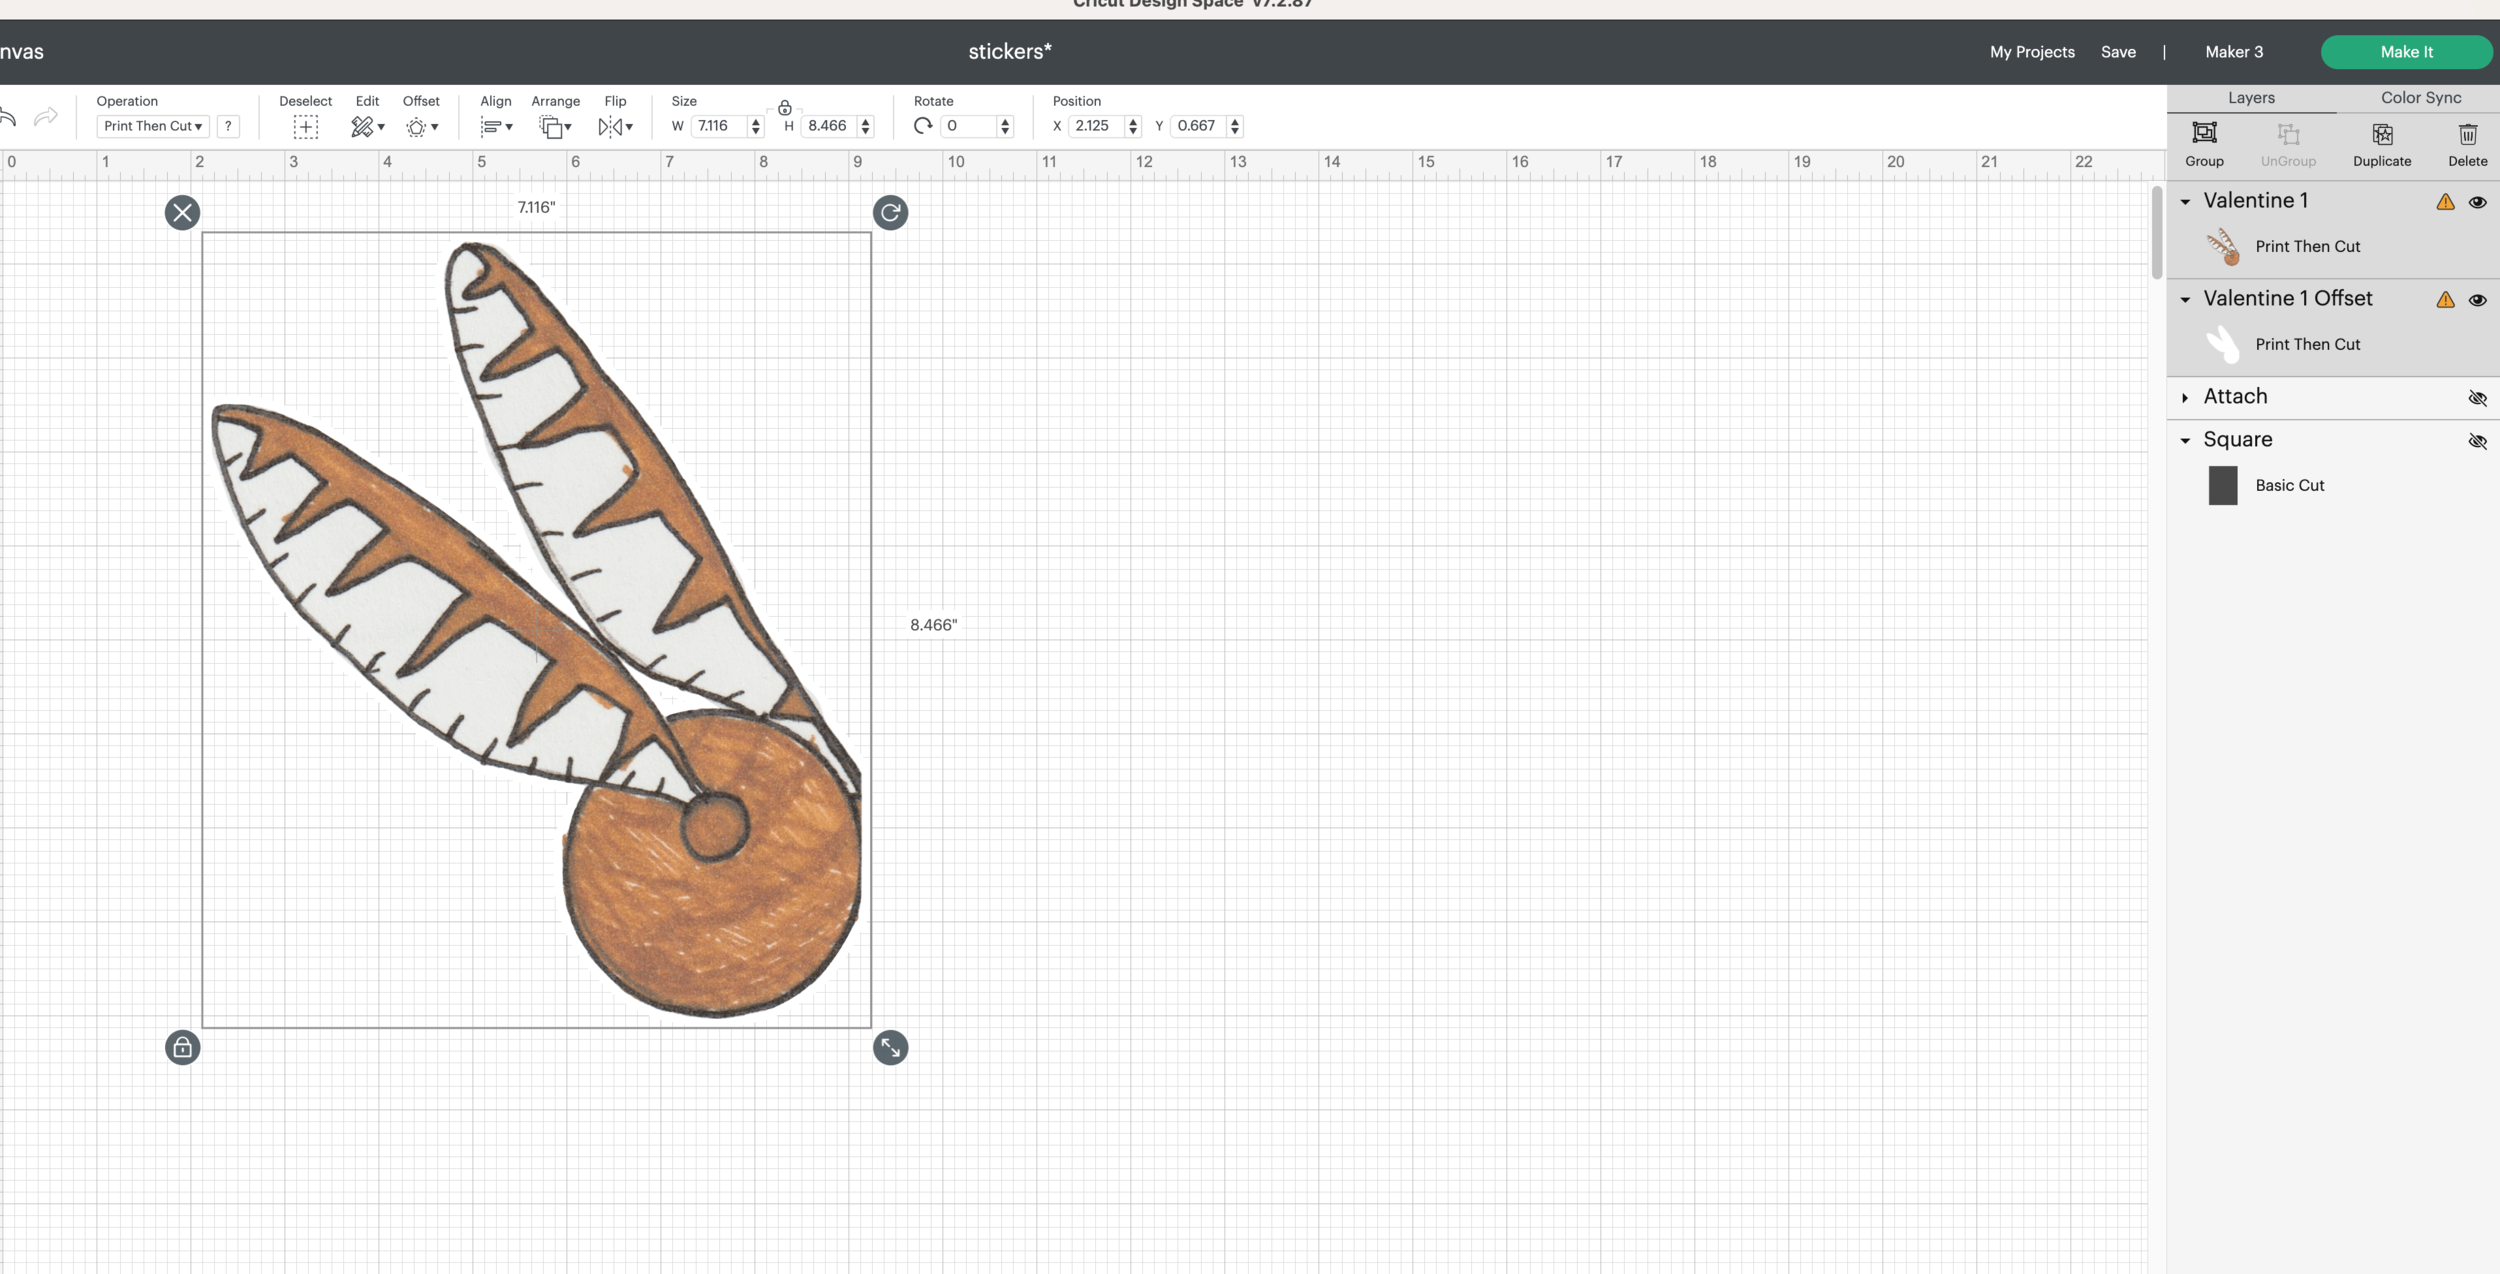

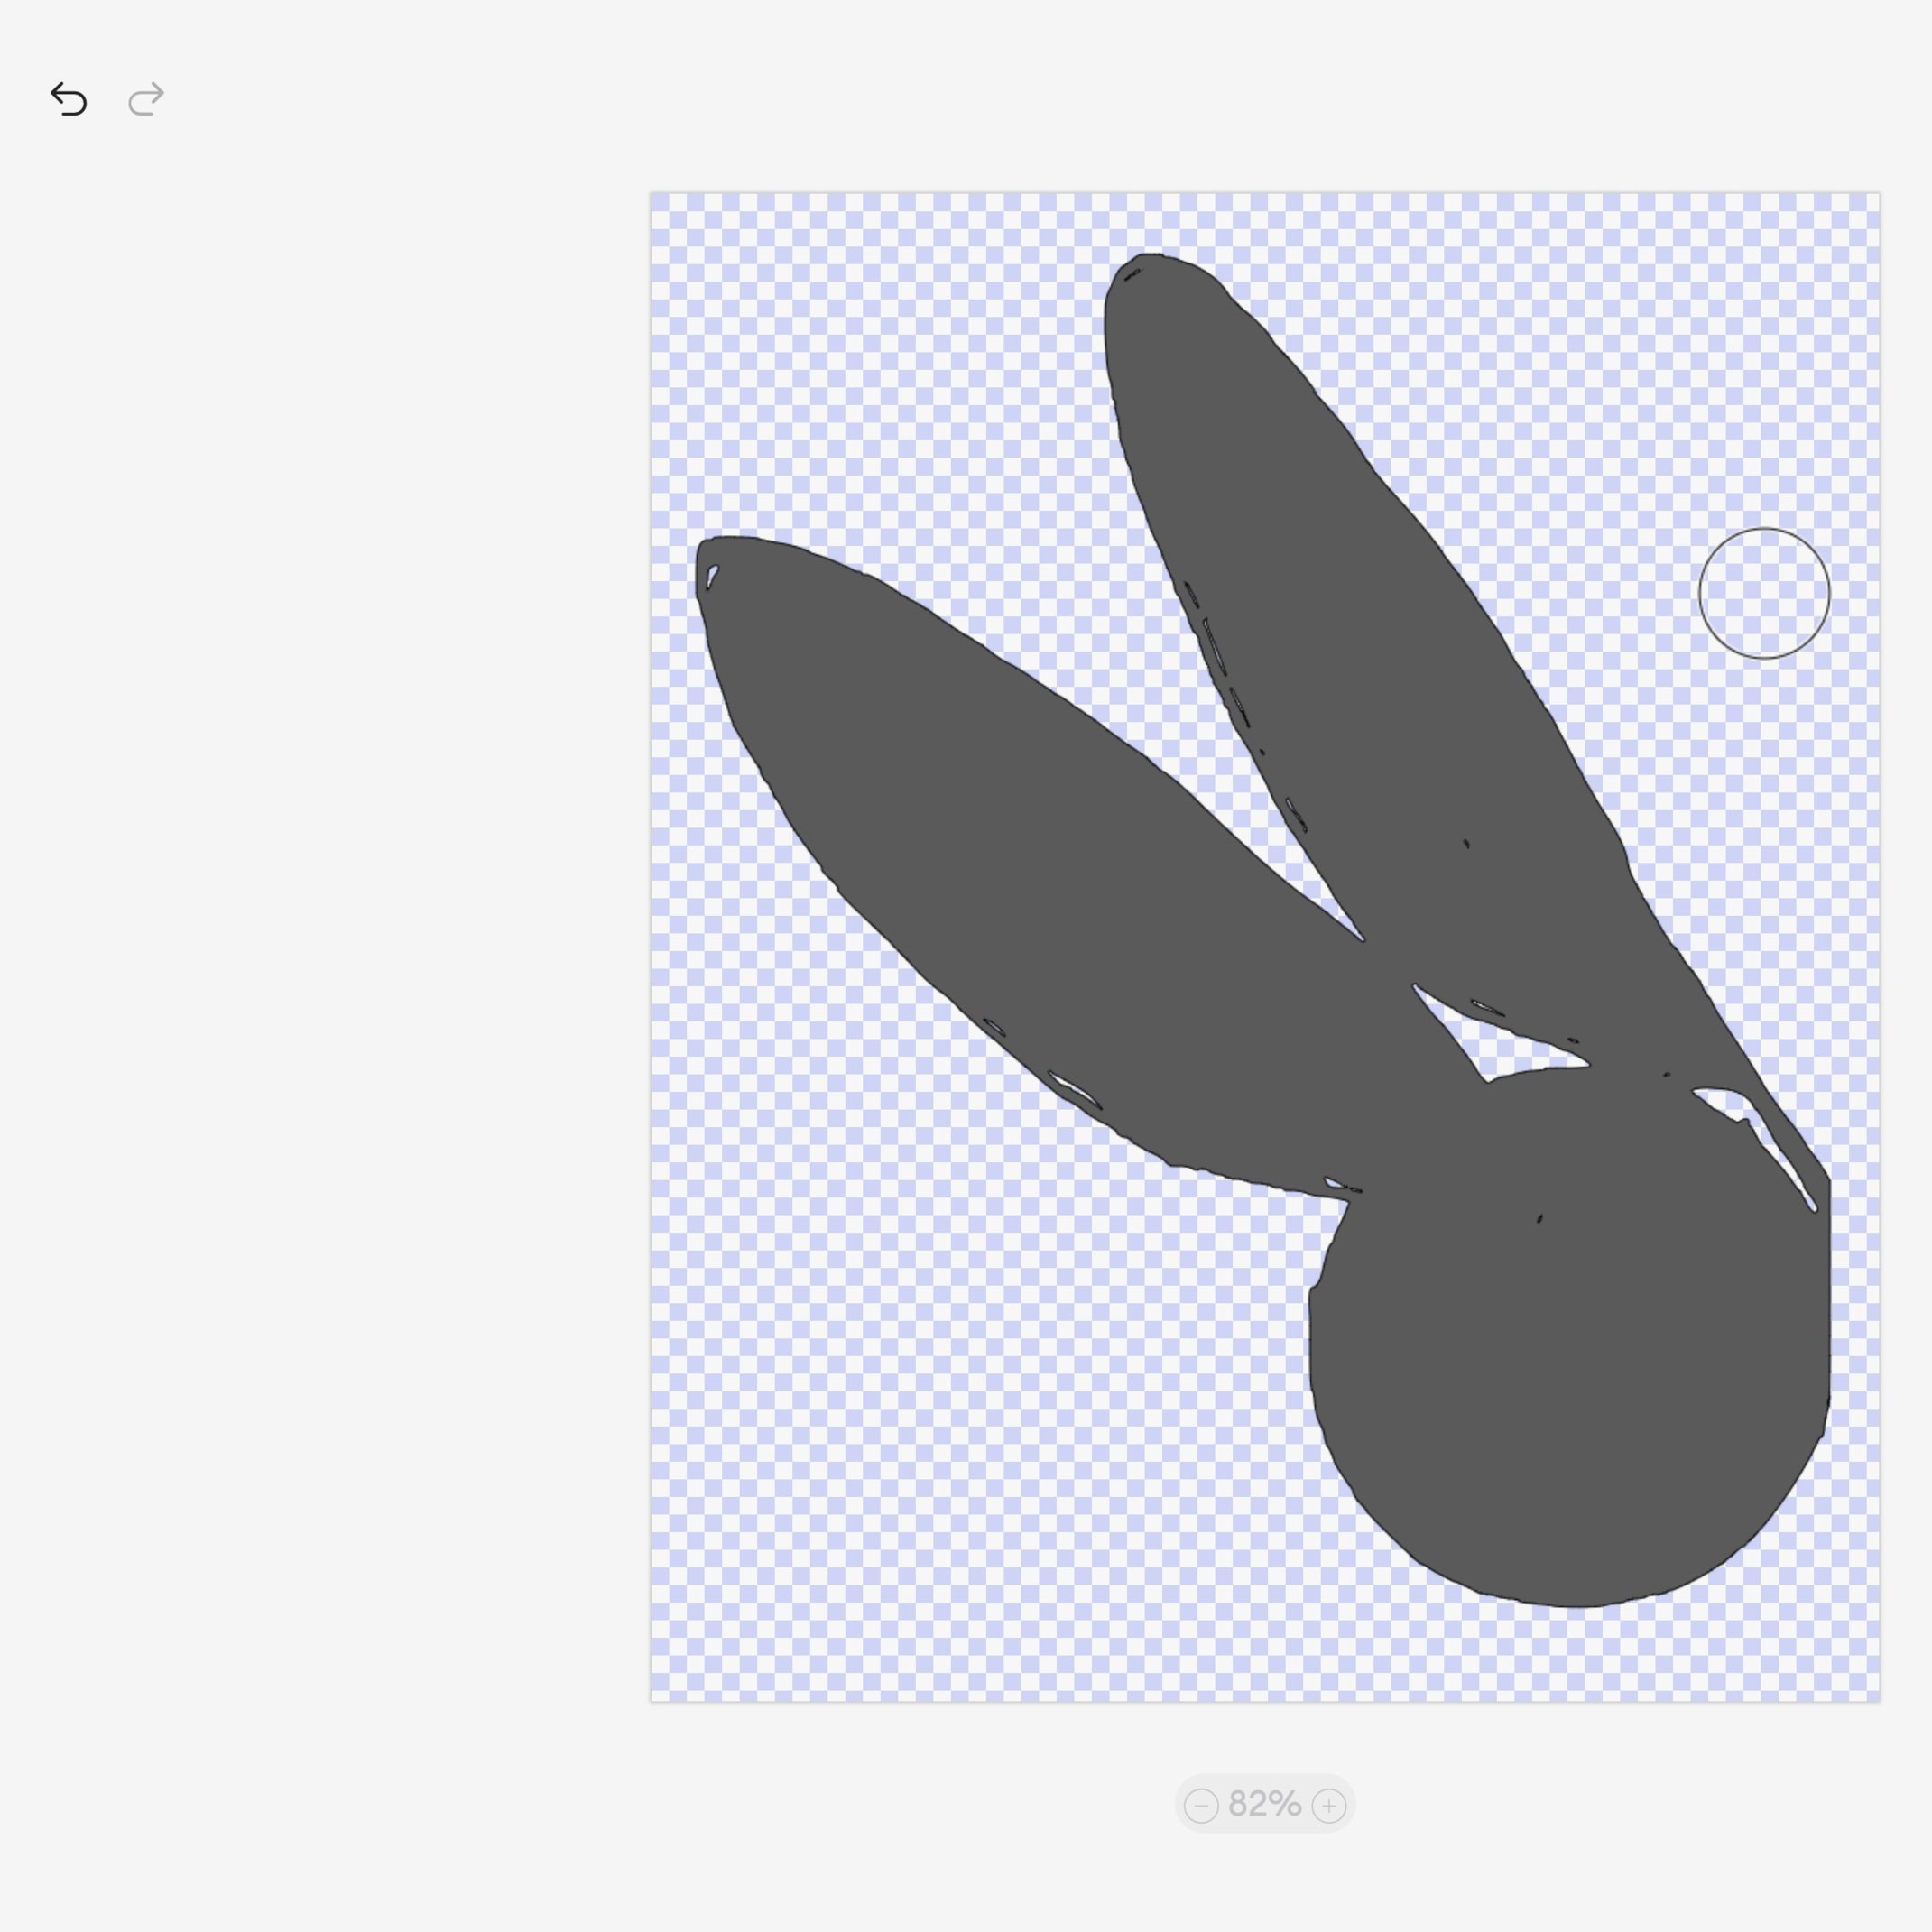
3. Add Offset
An offset is a border around the sticker which helps with cutting accuracy. Now there is an offset option in the Cricut Design Space which makes creating stickers even easier. Choose offset in the top menu bar and set the desired width of the offset. I usually apply a 0.097 in. offset. That seems to be about right for my stickers, but you have lots of choice.
The offset setting creates another object in black — the same shape as your sticker but a percentage larger.
Once you have created the offset:
Select the offset and change the color to your desired color. I generally choose white.
Then select both the offset and the sticker.
With both selected, click FLATTEN. Flatten turns the two separate images into one single print-and-cut image.
4. Repeat Steps 1-3
For each sticker design desired, repeat steps 1-3 until all stickers are imported into the Design Space, edited, and have an offset applied.
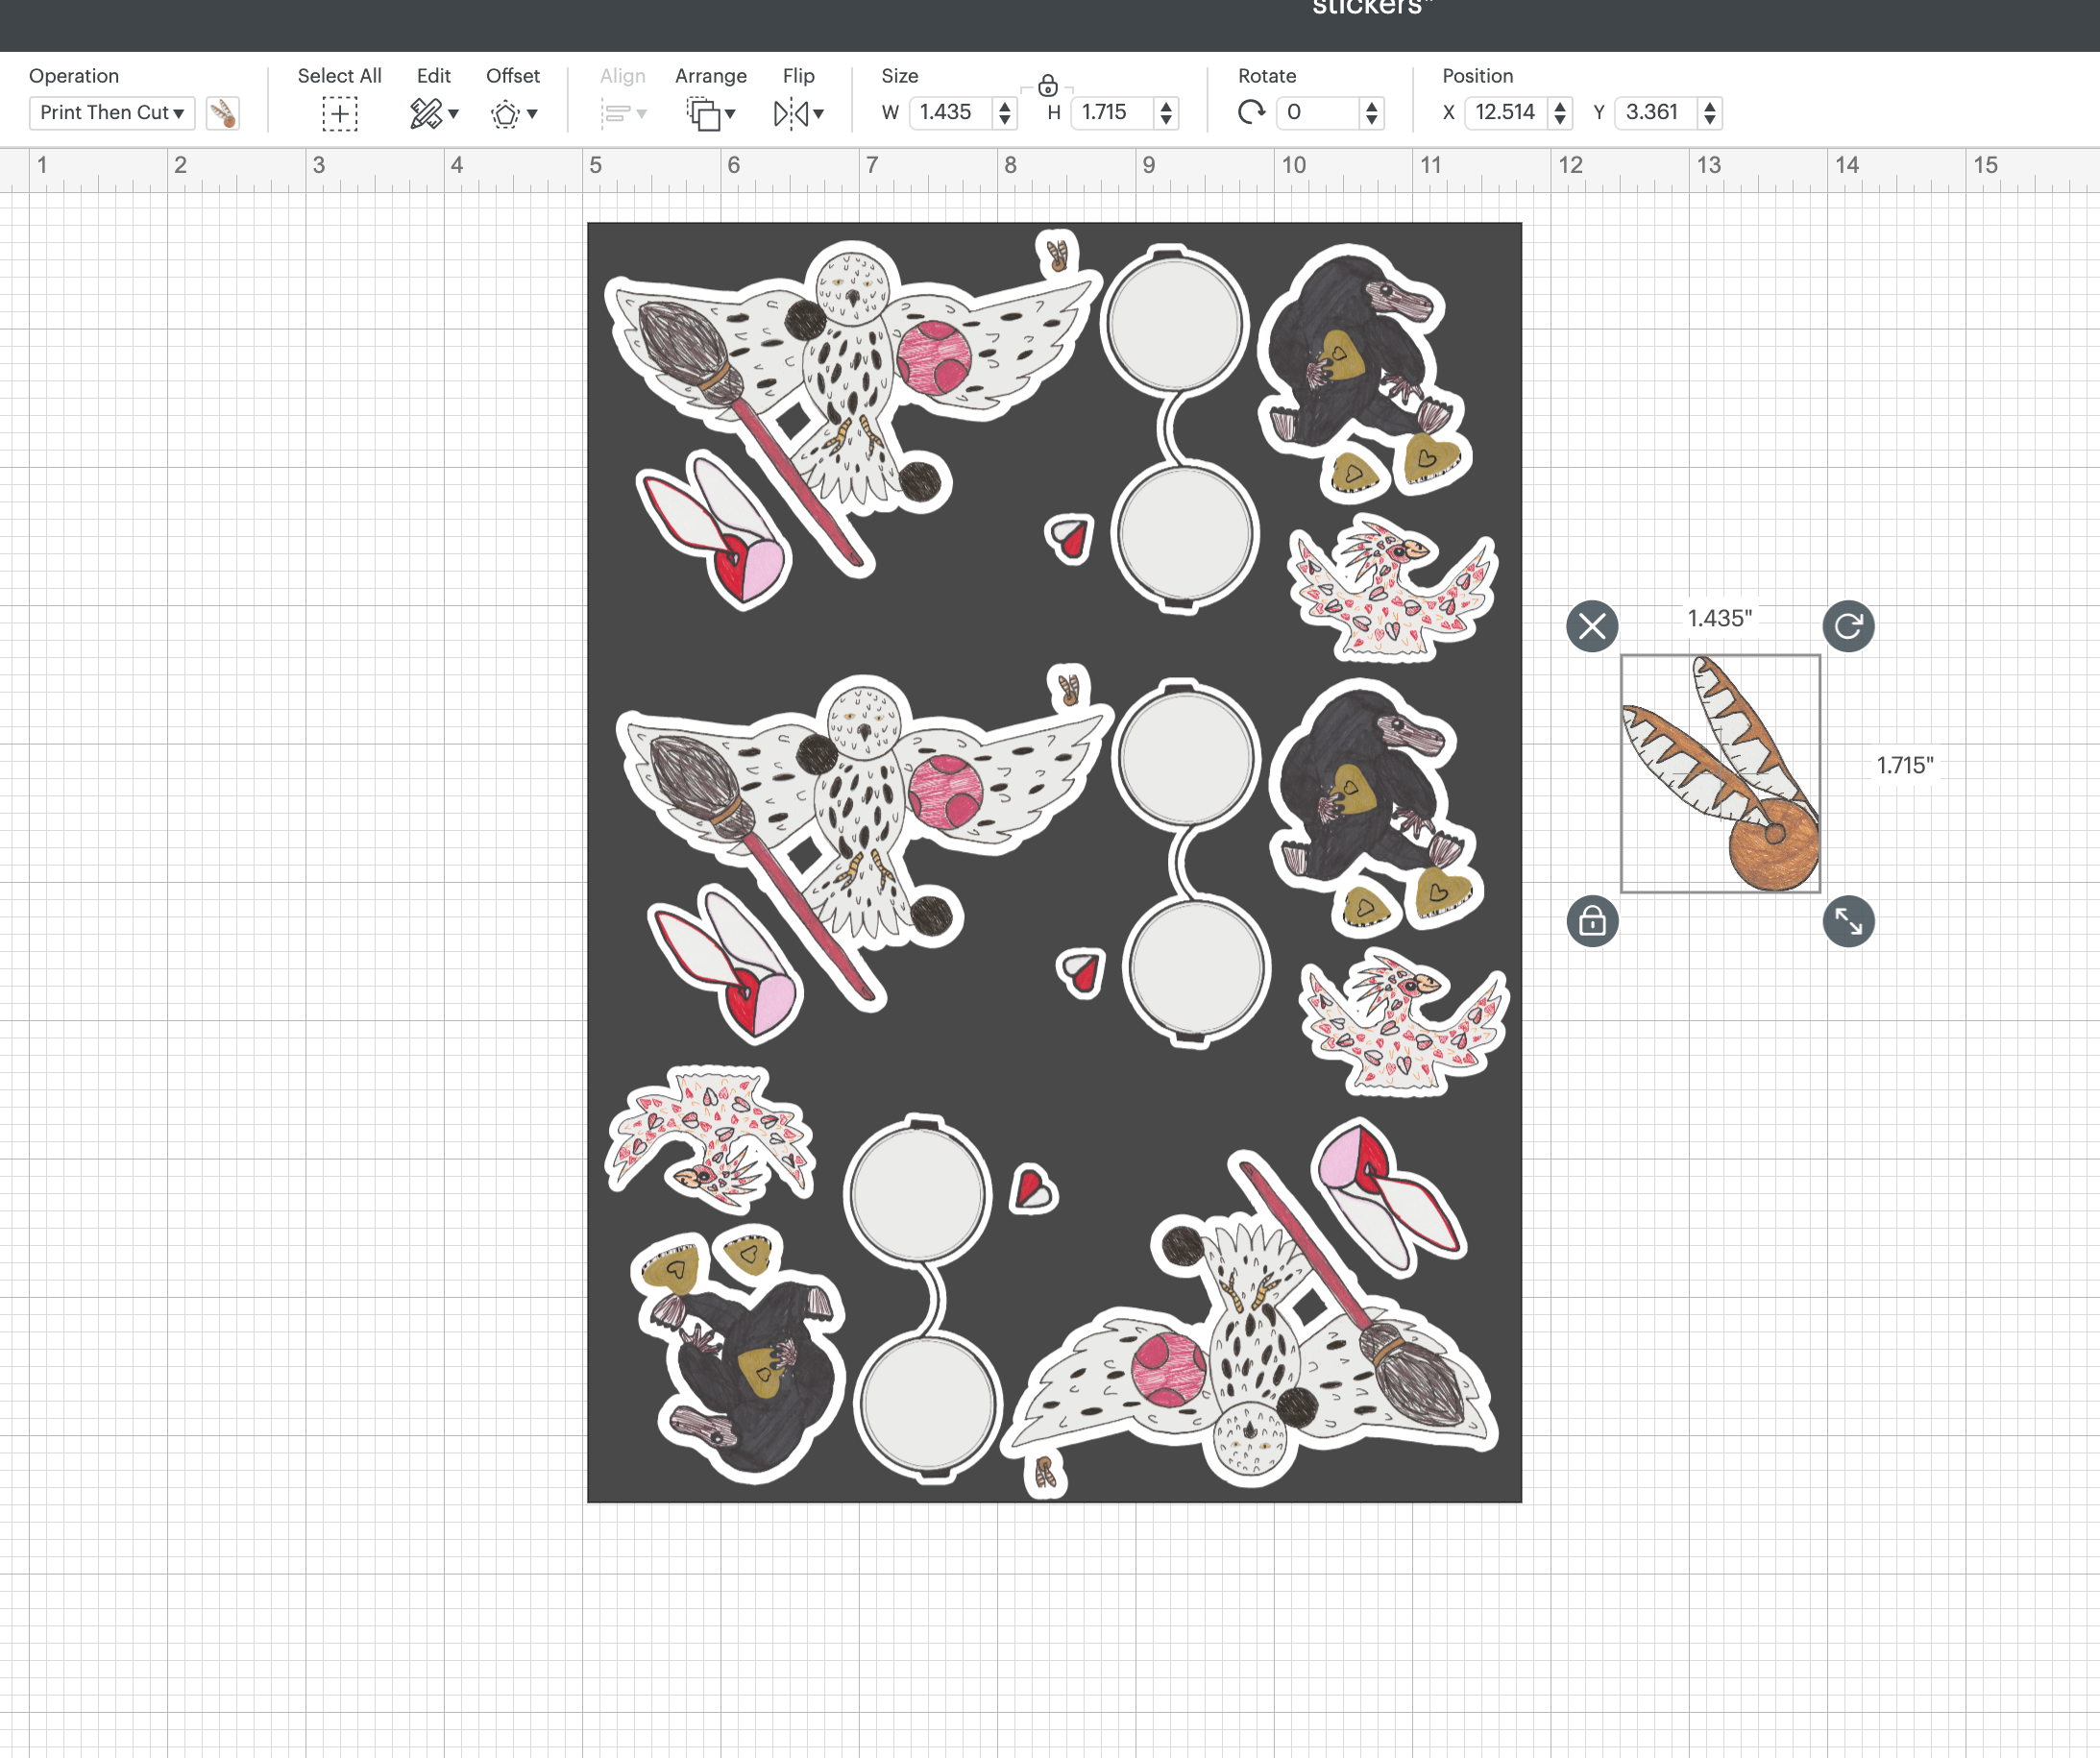
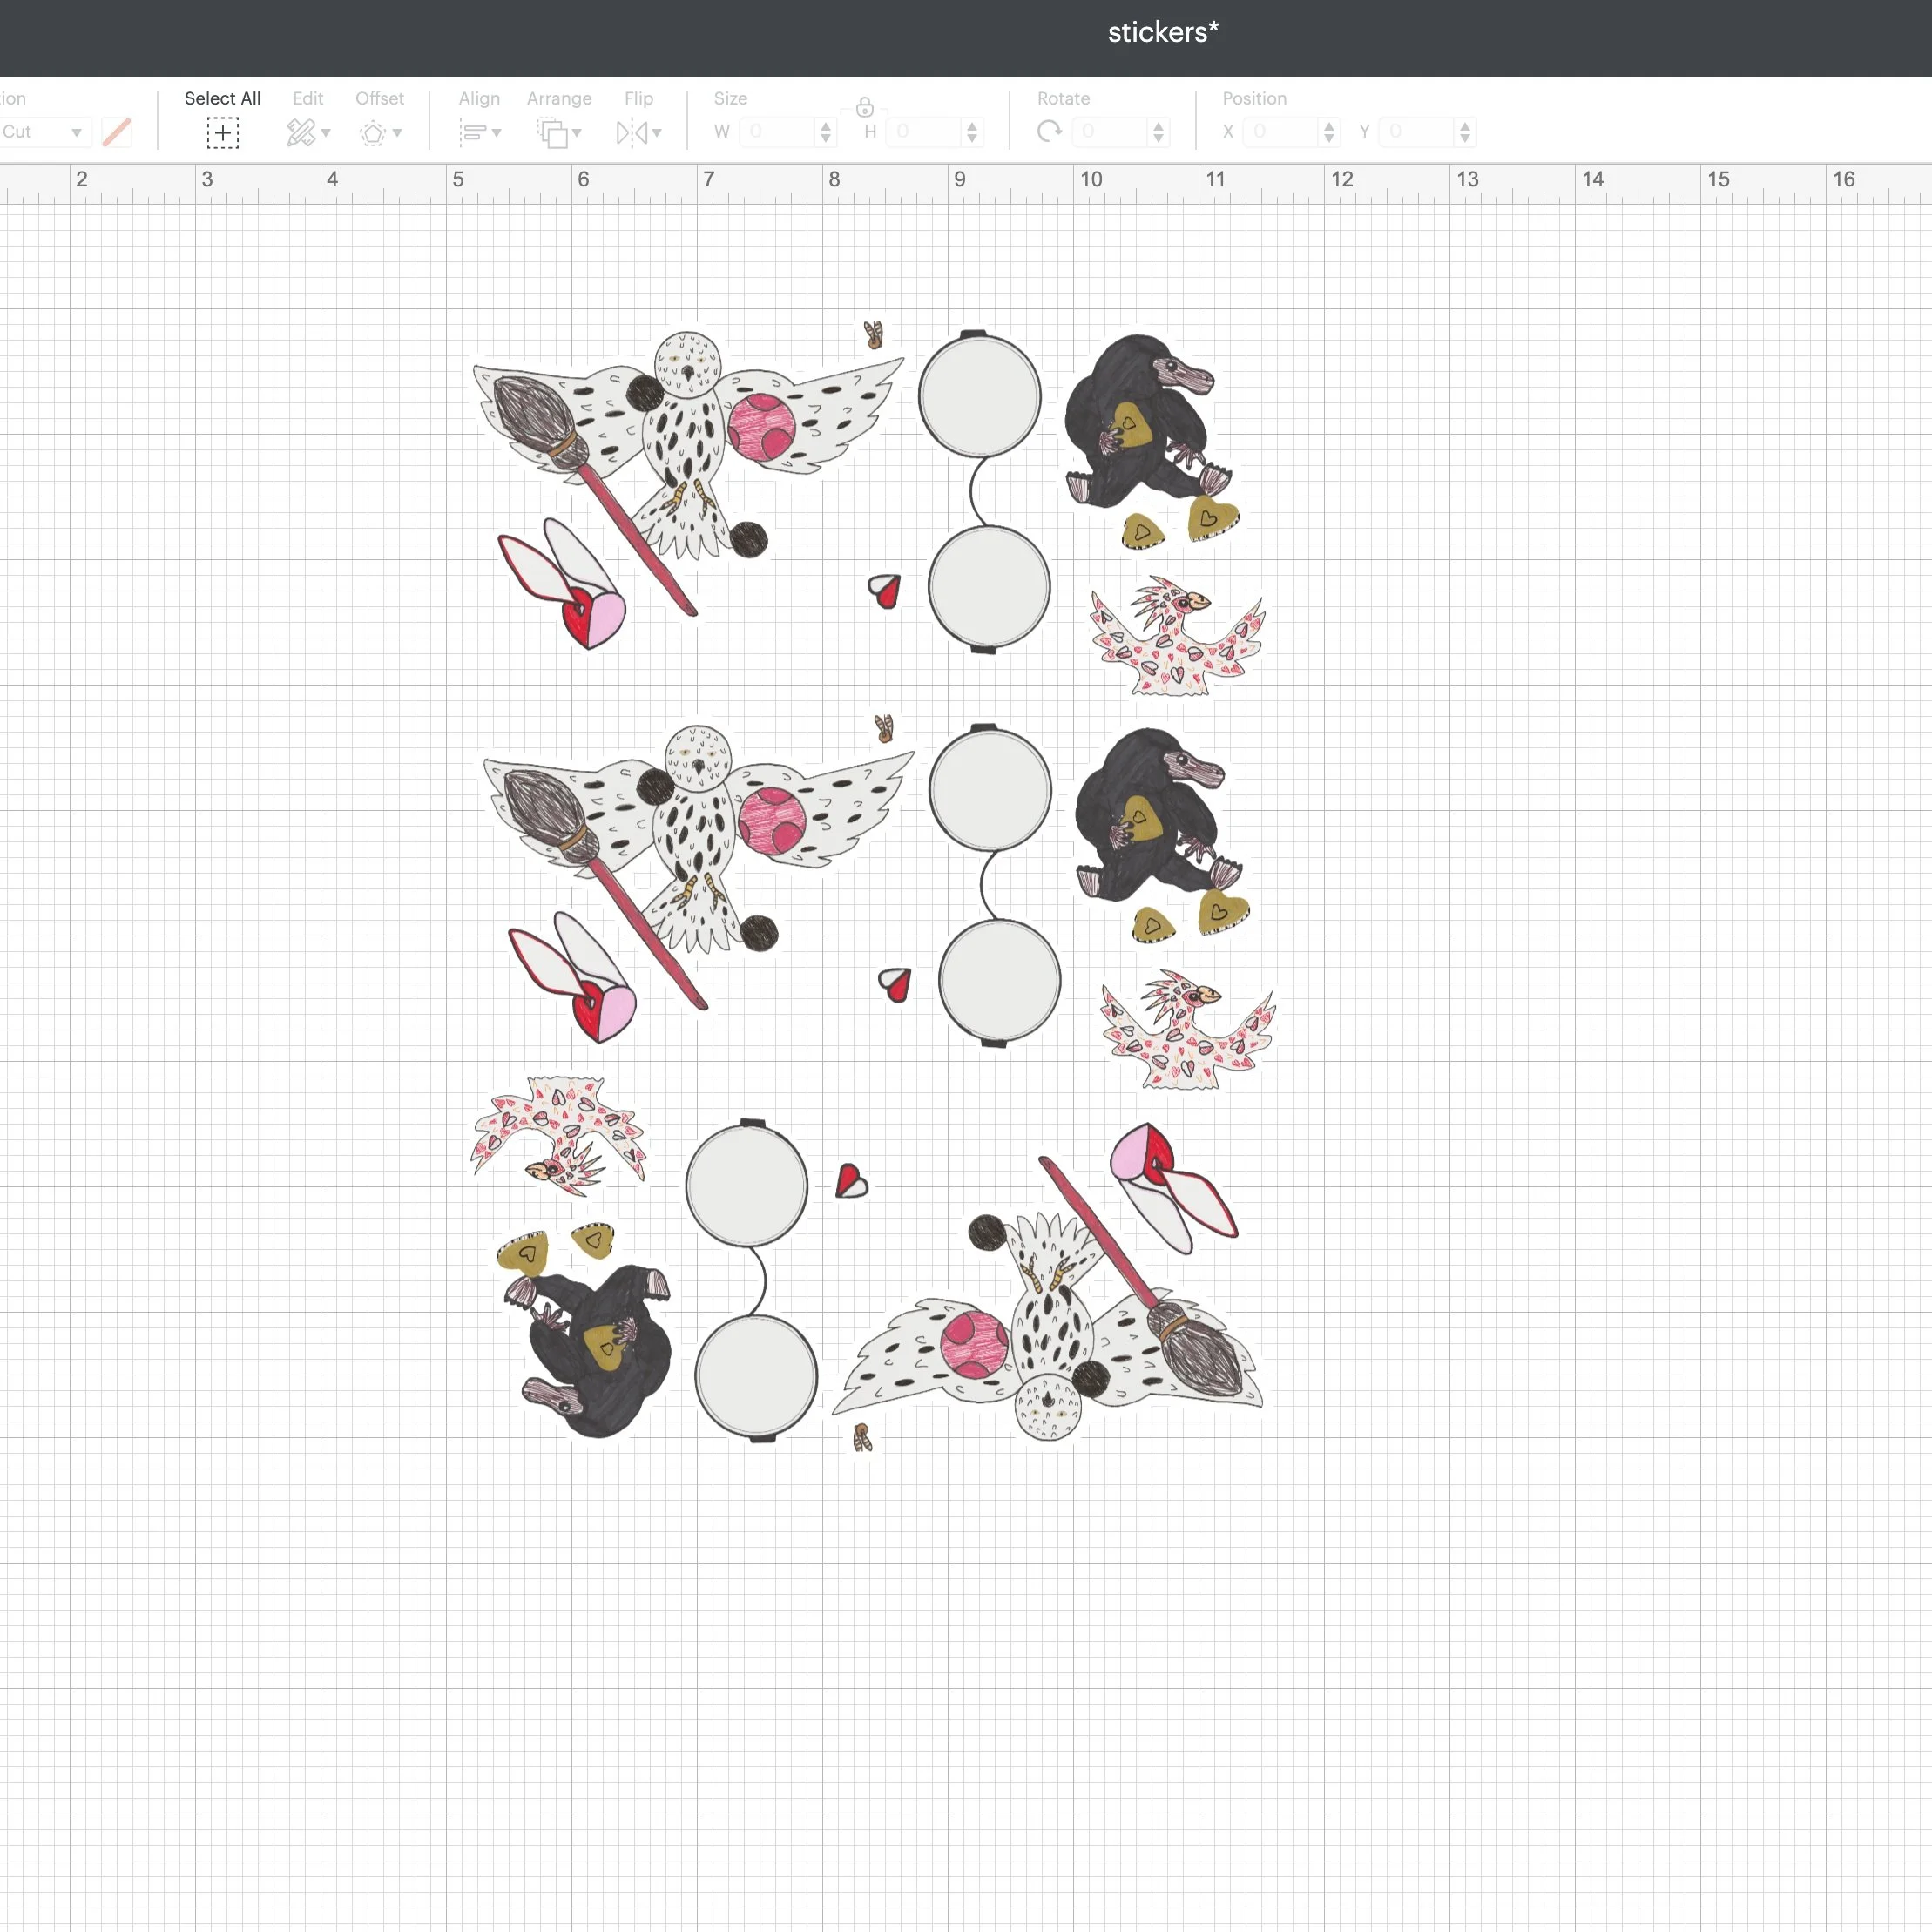
5. Lay out Stickers
The maximum size for a Cricut print-and-cut sheet is: 9.25” x 6.75”. To best layout a sheet of stickers and maximize this space:
Create a rectangle that is exactly 6.75” x 9.25”. Make it a contrasting color and send it to the back.
Resize your stickers and lay them out on the rectangle. This will ensure that you keep them all on one print-and-cut sheet.
Fill in blank space with smaller stickers — even resize larger stickers into small sizes to reduce waste.
Once you have filled the space, select ALL of the stickers — but NOT the rectangle. Click ATTACH.
Hide the rectangle so it doesn’t get printed/cut.
Note: I generally size my stickers so that I can get 3-4 sets of stickers on a single sheet of sticker paper. Depending on how many stickers there are in a single set, the largest sticker I print for a set is roughly 3” square.

6. Make It
Click Make It! Connect your machine and follow the instructions for printing and cutting your stickers.

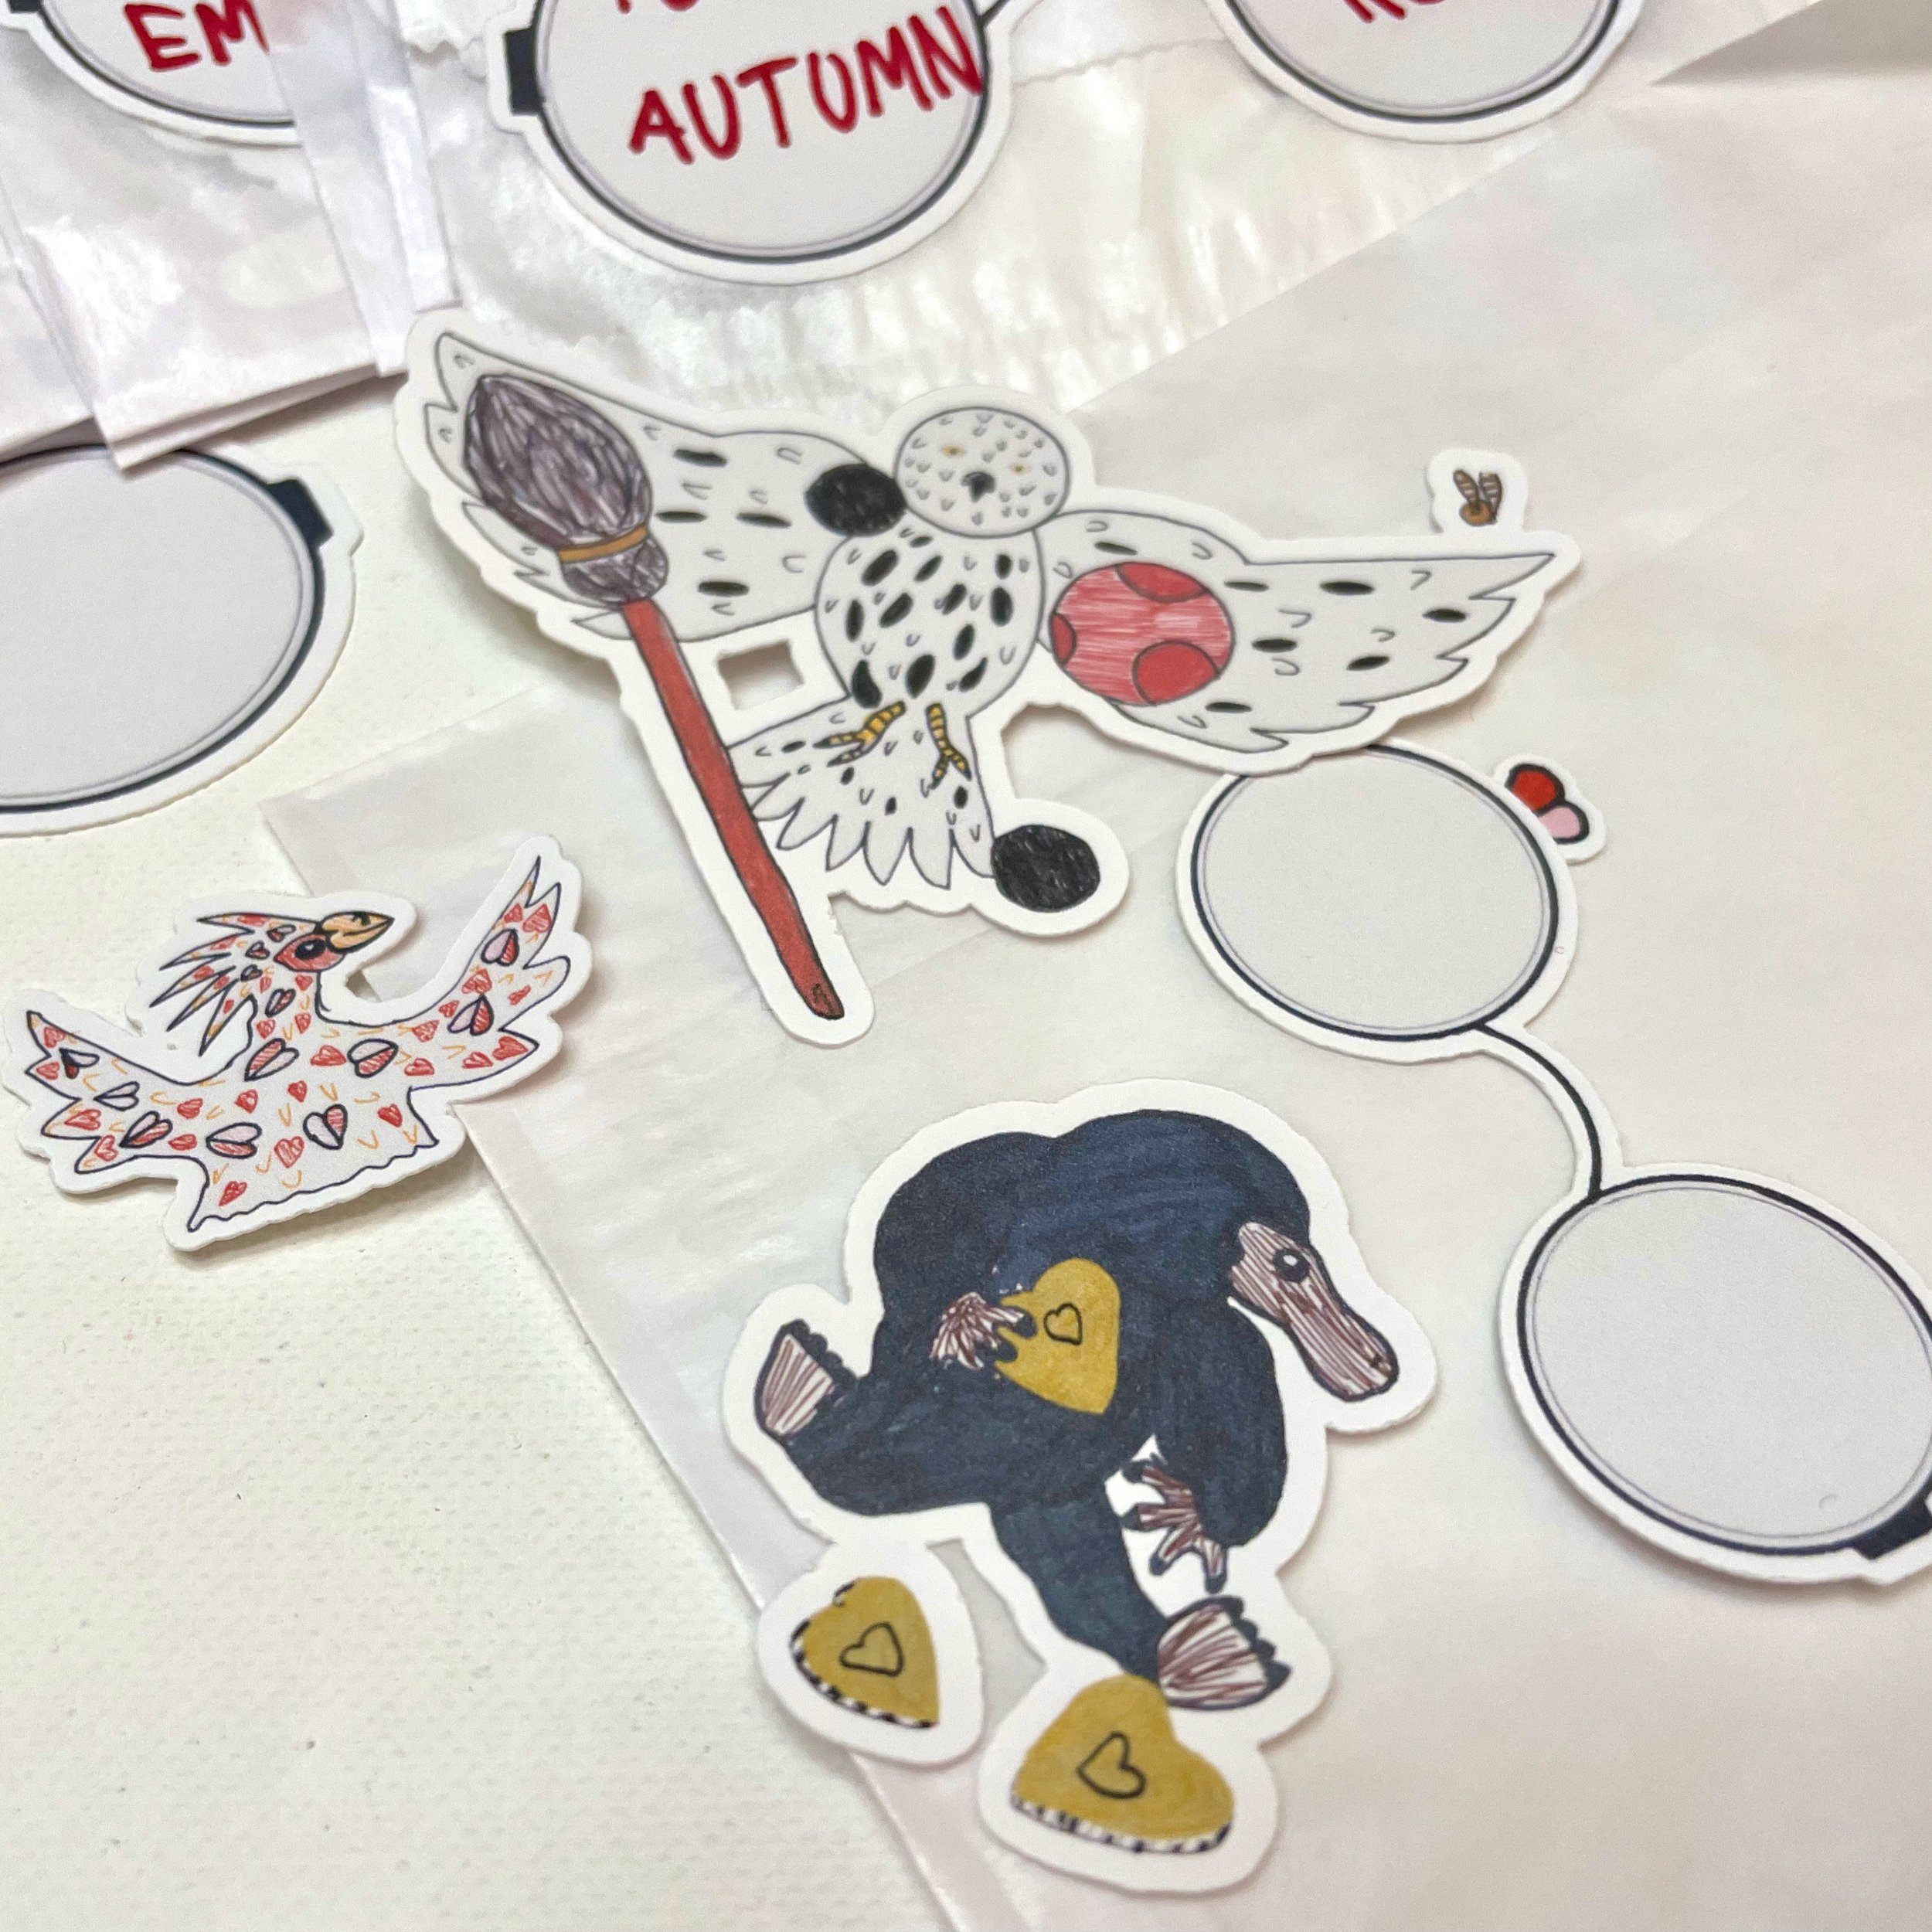
7. Package Sets
Once your stickers are cut, package them up. I use glassine envelopes or bags which are an eco-friendly and inexpensive packaging material. I generally seal them with another sticker — make sure you include one to seal the package in your layout.
Enjoy!
Custom-made sticker sets make a great Halloween treat instead of candy. They are also fantastic for cute class Valentines, party favors, or other small gifts.
If you make stickers using your child’s artwork, tag me, @midmodernmama, on Instagram. I would love to see them!