
How to Make Leaf Mould
The Best Free Soil Amendment for your Garden
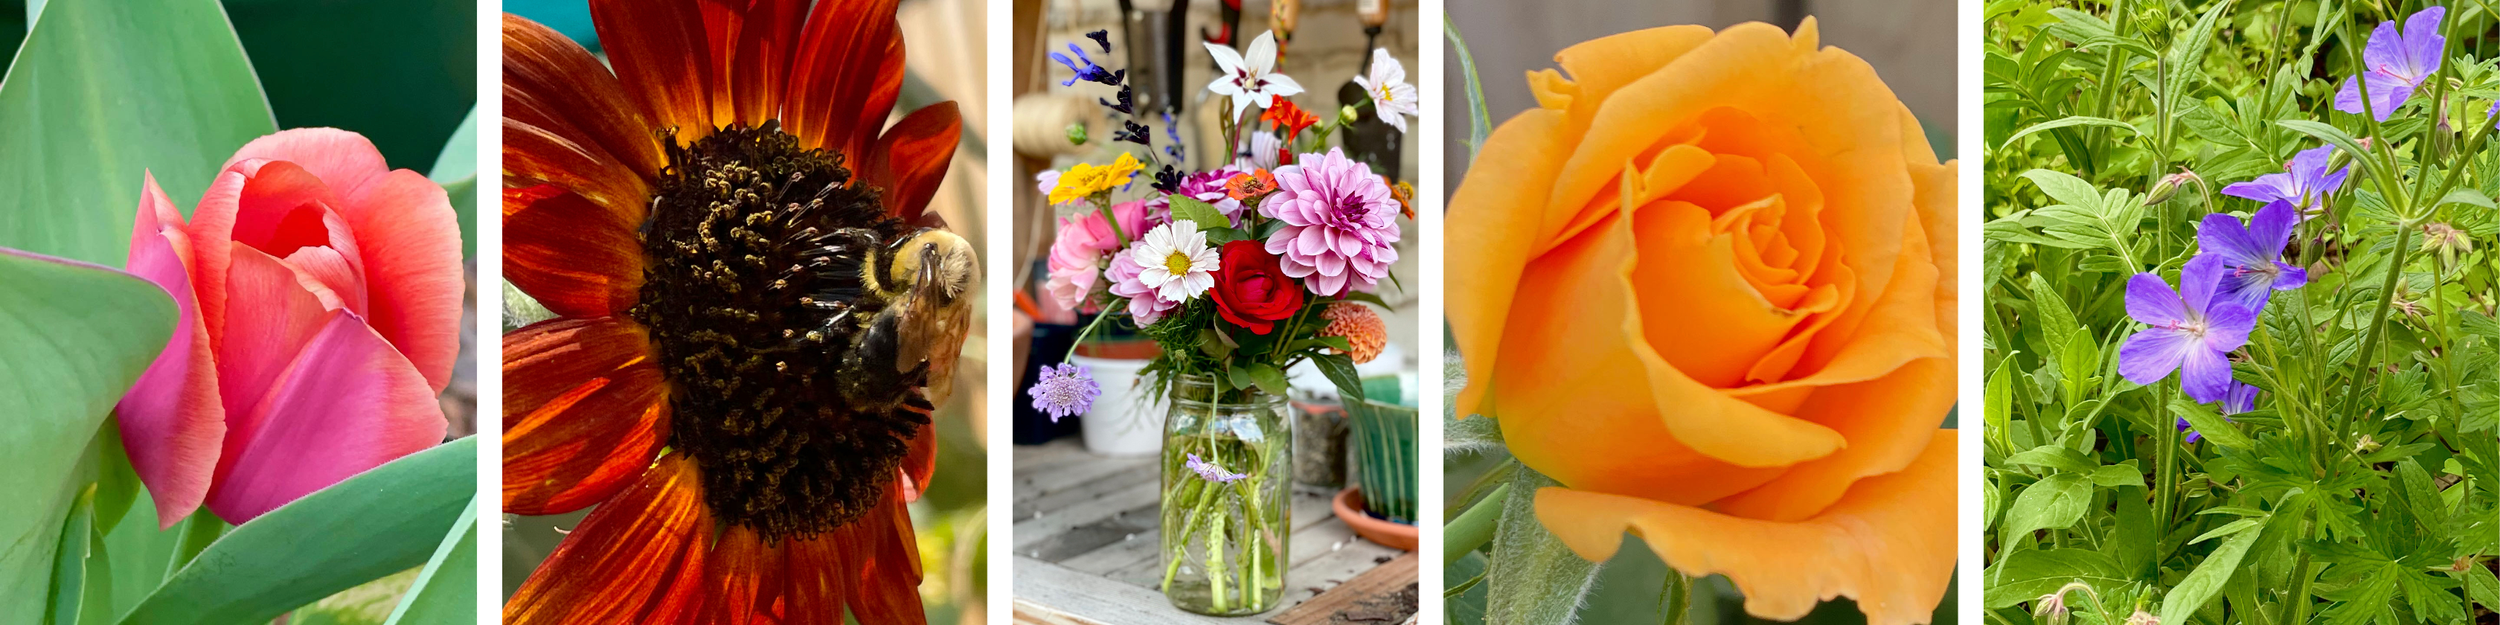
For decades many gardeners in the US have been bagging and throwing away (or hopefully composting) an incredible gardening resource: fallen leaves. If you have a large tree in your yard (or a neighbor's leaves that fall on your yard), you have a wonderful amendment and a critical resource in creating your own potting mixes with very little work on your part. Just put those leaves aside, and in a year or so, you will have leaf mold. This process happens naturally on the forest floor in a deciduous forest or woodland. Harnessing this magic can be transformational in your garden.
What is leaf mold?
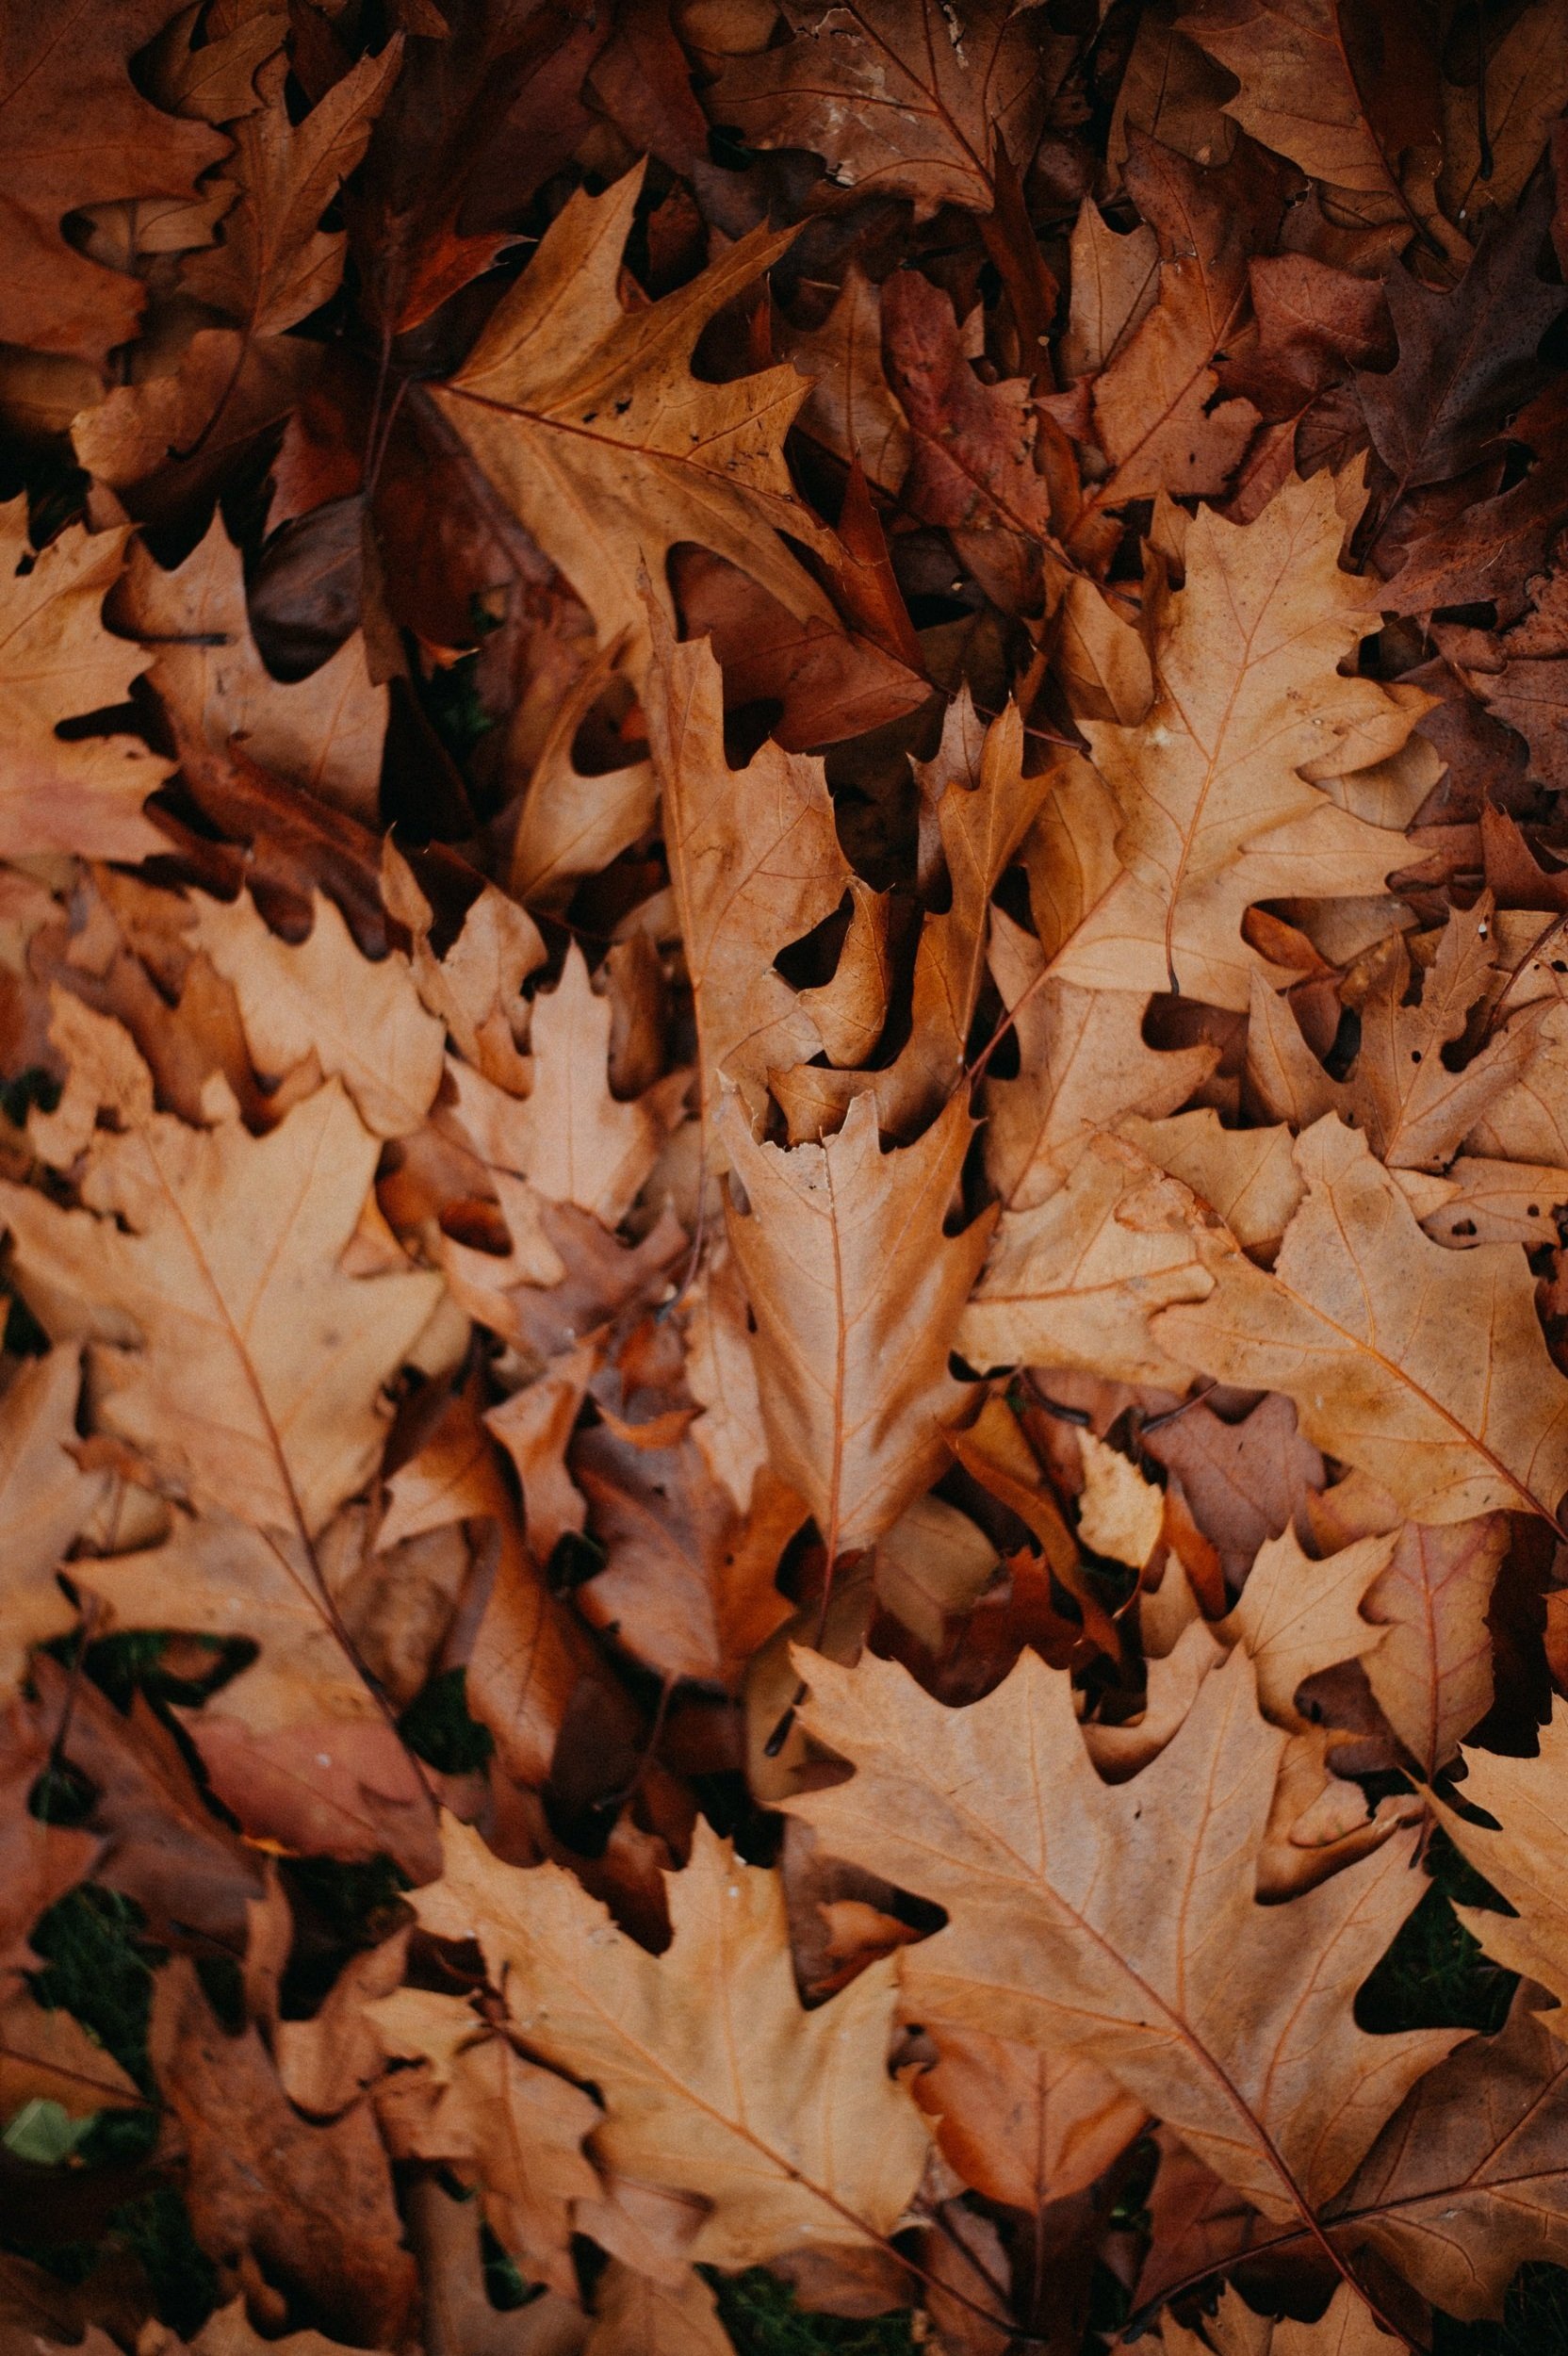
Leaf mold is a dark, crumbly mixture that results when the leaves of deciduous trees are composted alone. Rather than adding them to a compost bin with other ingredients, if they are composted separately, the largely-anaerobic process breaks them down into a wonderful amendment for soils.
IS IT LEAF MOLD OR MOULD?
Either! Both! Mould is the British spelling of the word, but both mean the same thing. I suspect that US writers — like me — use mould so their readers don’t get grossed out by the idea of moldy leaves. Molds are certainly part of the process, but not in the moldy-strawberries-in-the-fridge kind of way.
How do you use leaf mold?
When it is finished, leaf mold can be used in potting mixes to create light, loamy mixes with plenty of air pockets for fine plant roots. It can be worked into soils – or layered on top as a compost layer. It also adds a minimal amount of nutrition. And it can be mixed with compost and other ingredients to make a new soil medium for raised beds or to be layered in no-dig gardens.
You can't buy leaf mold, but it is a good gardeners' treasure. Personally, I use leaf mold when making my peat-free potting mix, as a mulch, and I layer it on top of my raised garden beds each spring before planting.
How do you make leaf mold?
Rake your leaves. Remove any larger sticks.
Place your leaves in a container or a bag.
Wait.
Seriously. That's fundamentally all there is to it.
What kind of container do you use?
There are several different approaches to making leaf mold which can be effective depending on how much space you have.


Trash Can Method
This is what I do.
Drill holes in the bottom and sides of a large garbage can. I actually have several going at once.
Fill the trash can with leaves in the fall.
Place the can in an inconspicuous location. This process doesn't smell, and it won't attract animals. So location is a matter of aesthetics more than anything.
When it is really hot and dry, add water every few weeks.
The leaves will compress and the volume decreases over time. When that happens, I combine two or three cans into one.
When it is all dark, crumbly, and loose, then the leaf mold is ready to use.

Trash Bag Method
This can be the fastest method in some climates.
Bag your leaves in black plastic trash bags. I know. Who does this? But it works.
Poke holes in the trash bags.
Leave them in an inconspicuous place in your yard. Sun is good. The more heat that builds up in those bags, the faster the process will go.
Water the bags if it is very hot/dry.
When it is all dark, crumbly, and loose, then the leaf mold is ready to use.

Buried Pile Method
If you have room!
Rake all of your leaves into a pile.
Cover the pile with a few inches of soil. This keeps them from blowing away and moves the process along. It also holds the moisture in.
Water the pile if it is really hot and dry.
When it is all dark, crumbly, and loose, then the leaf mold is ready to use.

Leaf Mold Bin
Using a dedicated composting bin if you have room for it
Build a bin with somewhat open sides. It could be made from pallets or a frame covered in chicken wire. You could even make a ring of chicken wire and then stake it to the ground. You just want it to hold up in wind and have some air and water movement.
Fill your bin with leaves.
Water them when it is hot and dry.
When it is all dark, crumbly, and loose, then the leaf mold is ready to use.

How long does it take?
It depends. It takes a year or even two depending on how moist the pile is, what microbes are present, and what your weather is like. In my climate, realistically I count on it taking two years to get to completion. By the end, I can combine 4-5 full trash cans into 1 trashcan full of leaf mold.
Do you use all of your leaves in leaf mold?
No. I rake my leaves largely to keep them from blowing away in our stiff winter winds. I only rake up the leaves on our paths and in the front grassy area. First I put a layer of leaves over my perennial beds as a mulch. Then anything that is left, goes into my leaf mold bins. Fallen leaves are full of insect eggs and over-wintering larvae as well as microbes which I want to keep in my garden, so I find a use for all of my leaves in one way or another.
Do you chop up your leaves to make leaf mold?
No. Chopping leaves using a lawn mower or a leaf shredder can make the decomposition process faster, but it also can kill any overwintering insect eggs and larvae which I want to preserve. So I don't chop them up.
Here's to a free resource for the garden – and not sending our leaves off to the landfill!
Happy Gardening!

I always use dry leaves as mulch over my raised beds for winter. Covering them with a layer of burlap keeps the leaves from blowing away.


Pin it!

This easy, free garden fertilizer is good for wildlife, good for the planet, and good for the garden. Leaf mold is a soil amendment made from decomposing leaves in your yard. It is really easy to make, and it's a free mulch for your garden beds. Gardeners should learn how to make leave mould. Also: leaf mould bin, leaf mould compost, leaf mold vs. peat moss, how to use leaf mold, what is leaf mold