Simple Rustic Table Runner
Make a DIY Table Runner from Grocery Bags

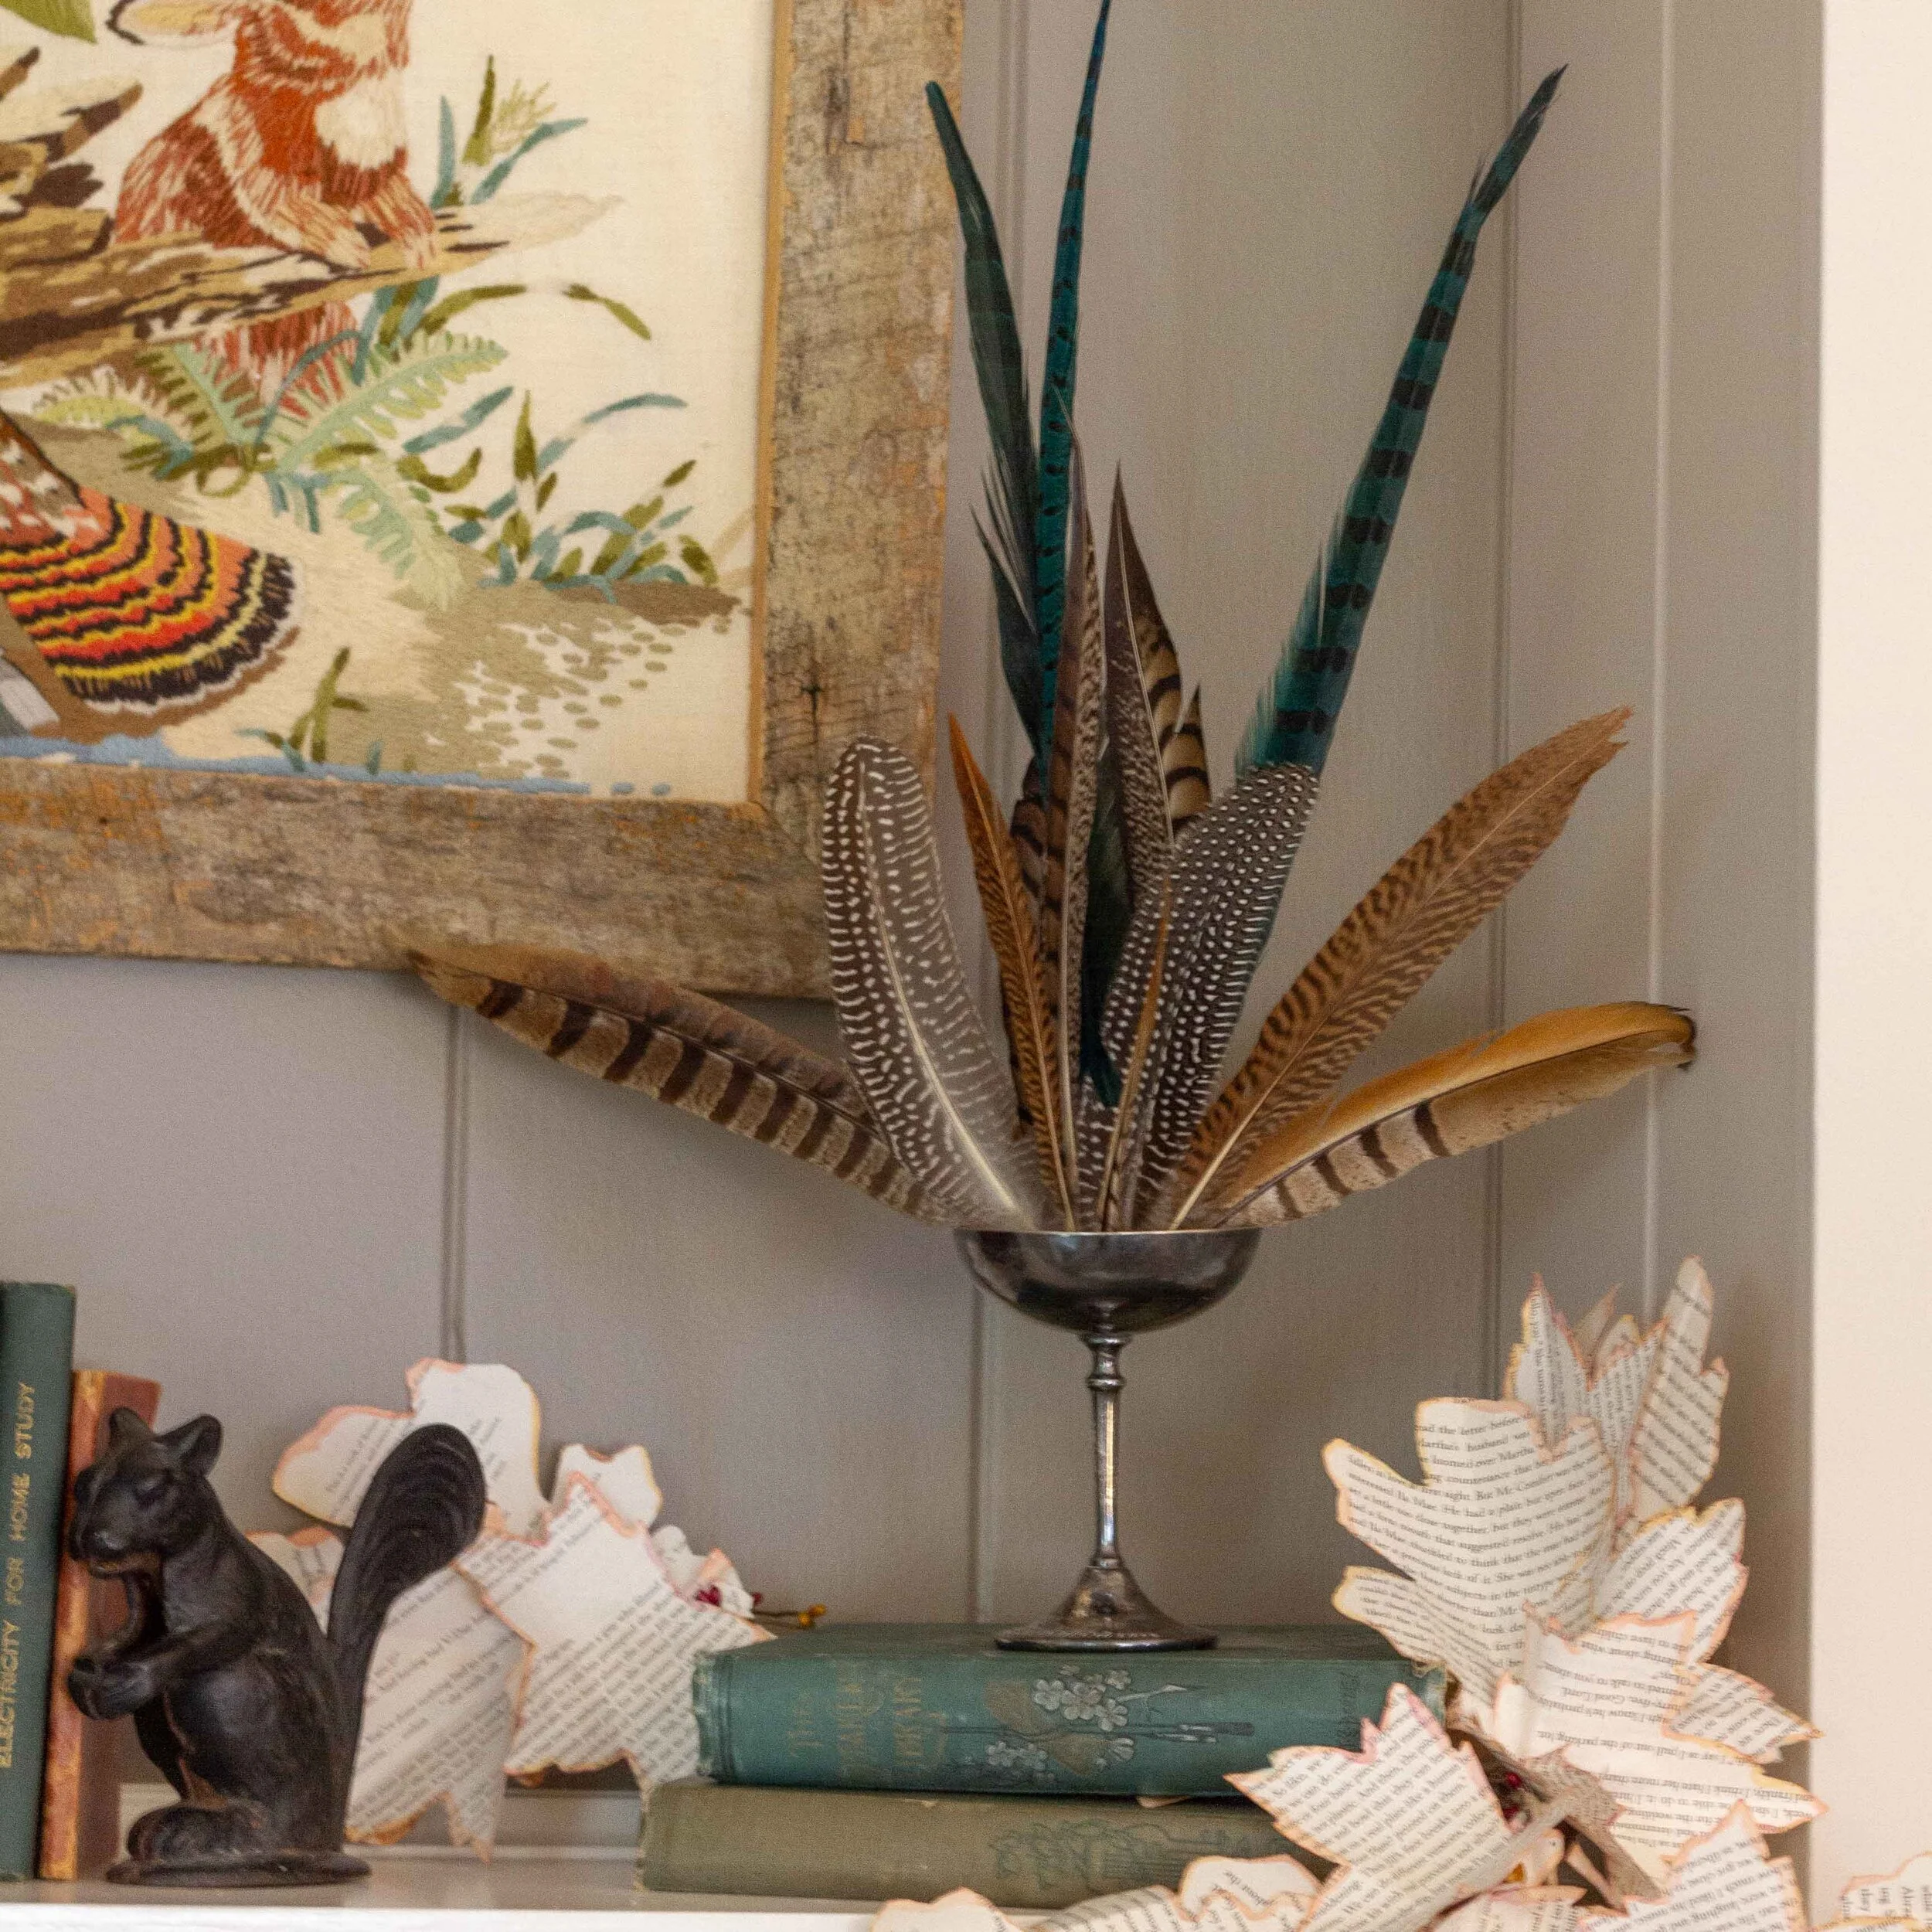
While I like to mix things up in our home from season to season, I don’t buy new decorations every time the weather changes. In fact, I rarely buy anything new at all. I have collected beautiful, meaningful pieces in my travels over the years. And we work very hard to reduce our carbon footprint as a family, so my approach is always to use what I have in new and interesting ways. As I was thinking about creating a cozy fall tablescape I looked toward items I already had — vintage books, some vintage silver, feathers.
But I needed a pretty runner to tie it all together.
Nothing in my fabric bin really worked, but I had plenty of paper grocery bags, so I used a few grocery bags to make a simple, rustic, and almost free table runner.

Materials:
3 paper grocery bags (or more if you want a longer runner)
Spray adhesive (Super 77 is my fave) or another kind of glue
Scissors
Ruler
Dressmaker’s chalk (or some other chalk)
Sewing machine and contrasting thread
Optional: yarn and hole punch, paint, beads, or other embellishments
Note
While I sewed my runner, there is no reason to do that other than to embellish it. You could punch holes around the edges and lace it together. You could paint it, draw, use kids’ handprints — there are all kinds of ways to make this basic runner look fabulous! And this same technique could be used to make a wall hanging or decoration for your door. Use this basic idea, and let your imagination run wild!


Assembling the Runner

Cut the Bags
Cut the bottoms out of all three bags. Then cut up ONE fold of each bag so you have three flat rectangles.
CRINKLE & SMOOTH
Crinkle two of the bags. A lot. Just wrinkle them and wad them up. You can even sprinkle water on them to make this a little easier if you like. But give them a good beating. This will take some work, but it gives them some texture and makes them look a bit like leather.
The third bag will be the middle layer, so don’t wrinkle that one up.
Smooth the bags out after you wrinkle them.

GLUE TOGETHER
I like spray glue for this, but use what you have. glue one wrinkled bag to each side of the unwrinkled bag creating three layers.
Smooth and press each layer to get good contact with the glue. Allow the glue to dry.
Sewing the Runner

Draw Your Guidelines
Using a straight edge and dressmaker’s chalk, draw out your sewing lines. I drew two lines 2” apart along each edge using my ruler which is 2” wide as a measure. This created almost a plaid design.

Choose A Stitch & Colors
I chose to use only one color: red. And I used a fancy X stitch. I practiced a bit on a scrap of glued paper before deciding on my final design.
I also used an old, somewhat dull needle which I threw away after finishing as it had a bit of glue residue by the end of the project.

Follow the Lines & Sew
Using your chalk lines as your guide, follow along and sew. Sewing paper is very similar to sewing fabric. And if you make a mistake, just keep going. This is folk art — it doesn’t need to be perfect. There is beauty in the handmade nature of your finished product!
EMBELLISHING THE RUNNER
I used this runner as an opportunity to try out one of the fancy stitches on my sewing machine. But if you don’t sew, or you are interested in trying something new, there are lots of other ways you can trim and decorate your runner.
You could:
punch holes along the edge and lace with yarn
add a child’s handprints with paint in festive colors
decoupage colored leaves — real or cut from paper — in a pretty pattern around the edges. I even have templates in my Library!
write words about fall or the words of a poem around the edges. Do this BEFORE wrinkling and gluing for a better result.
just trim the edges neatly and use it as it — nothing wrong with that!
use hot glue to add ribbon as a border along the edges
No matter how you decide to embellish your runner, I suggest waiting until it is done and then trimming the edges so they are even.

Other Ideas
This same technique could be used in a variety of ways.
Longer Runner: to make a longer runner, simply use more bags. Stagger the bags so that they overlap slightly, and offset the top and bottom layers by a few inches to create stronger seams.
Placemats: cut the paper bags shorter to make placemats. I would recommend rubbing each with beeswax to make them more durable. Then wipe clean after use.
Door Decoration or Wall Hanging: use the same technique but then use ribbon or twine to hang from a door or on the wall. You could even add lettering, but do it before you wrinkle.

I used my runner on the dining room table with some feather centerpieces I also made as well as vintage books and dried pomegranates.
I love a good free DIY project! I hope yours turns out well, too!