
DIY Traveler’s Notebook Cover
make an Easy Traveler’s Notebook-style Cover
This project is sized for an A5 Traveler’s Notebook cover, but it can easily be adapted to any size.
I have been using a Traveler’s Notebook-style system for several years. They are great — easy to use and interchangable, and, of course, The Nice List and all of my other journals and planners published by Owl and Ember are designed so that they can be used in a Traveler’s Notebook cover. So when Cricut asked me to design a DIY TN cover, I was thrilled. In fact, I’ve been making them using my Cricut for years. And now with a few simple materials, you can, too.
Disclosure: This post is sponsored by Cricut, but all ideas and opinions are my own. AKN
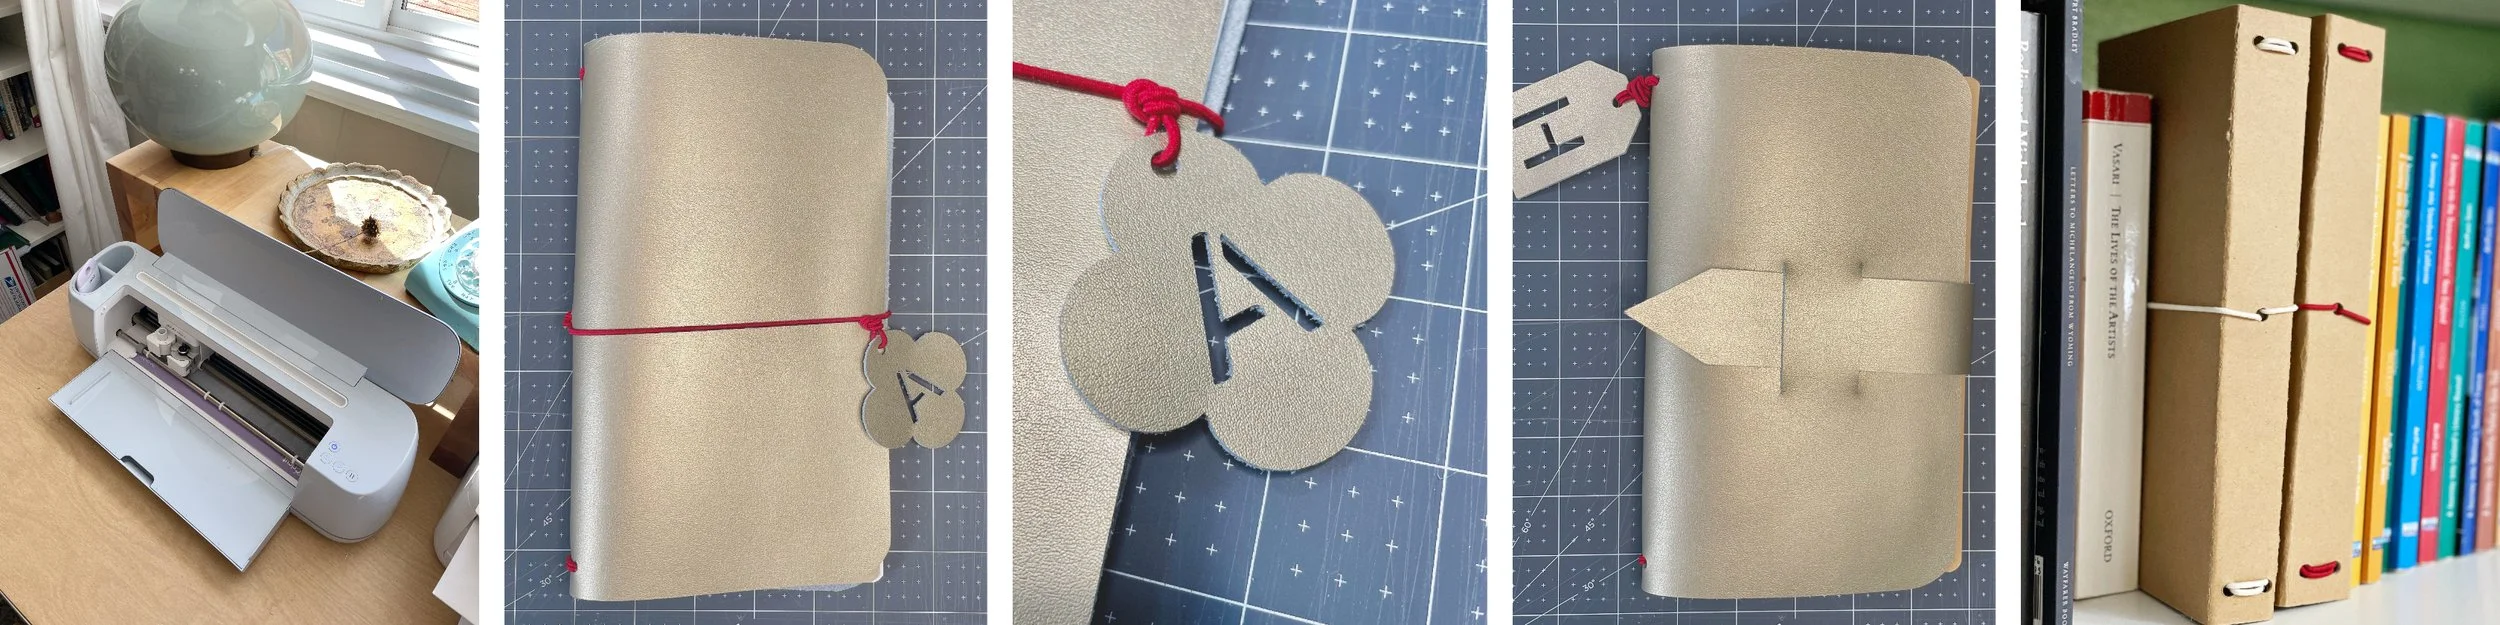
Take some time to think about HOW you will use your TN cover. For every day use, I created a cover using Cricut’s Metallic Leather in gold. It’s soft, supple, and perfect for this project. I also created several using Cricut’s 1.5 mm Chipboard which I intend to use to archive past years’ notebooks. I also made a few out of felt which has a soft texture and opens up all kinds of sewing options, too. I’ve even made them out of upcycled cardboard before and filled them with painted papers and photographs.
With all of these materials, I used the same basic pattern which you’ll find in the Cricut Design Space.
Size Note: the patterns in the Cricut Design Space are sized for the Owl and Ember Wide/Standard notebooks (approx. 127 mm x 210 mm or 4.25 in x 8.25 in | an A5). This includes The Nice List, Garden Notes, and Project Notes as well as all of our other notebooks.
This size will also fit a Traveler’s Notebook A5. If you use a different size notebook, you can resize the project to suit your needs in the Design Space. I like to make my patterns 1/4” larger than the notebook on each side.
Three Traveler’s Notebook Cover Designs

TN Covers made using 1.5 mm chipboard are great for creating an archive of past notebooks.

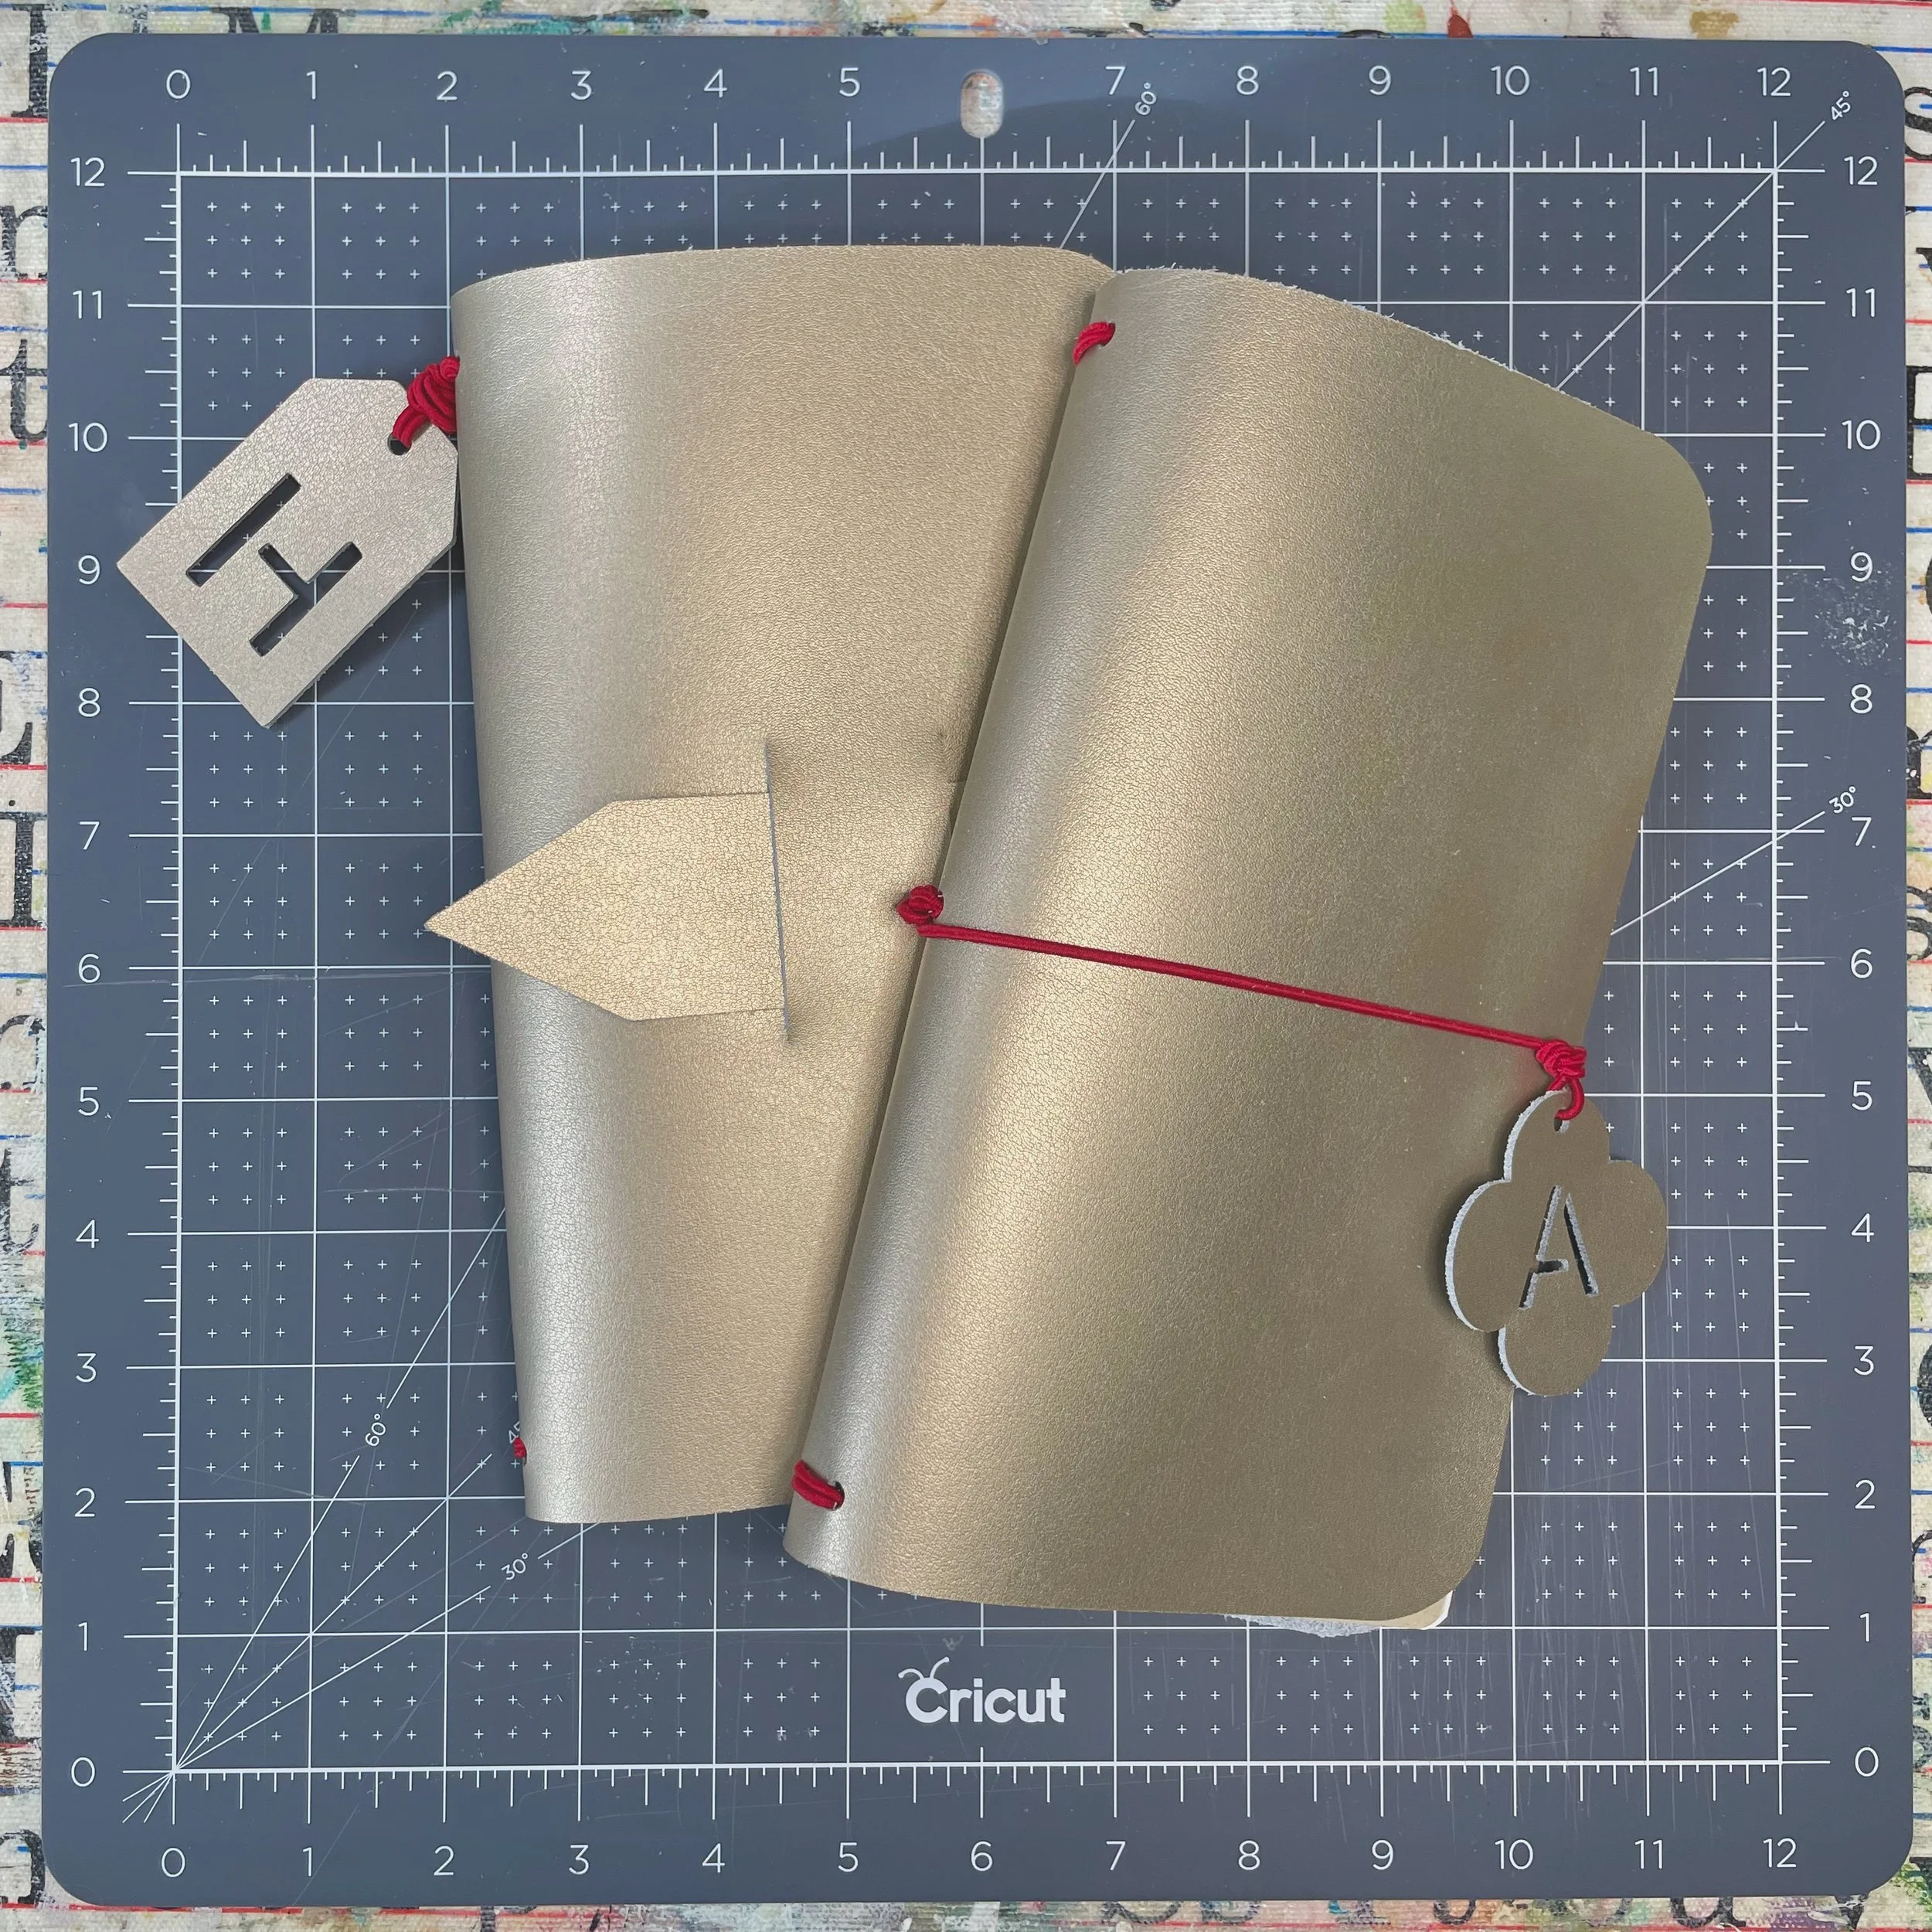
A simple DIY leather TN cover with an elastic band closure
A leather strap makes a simple closure on this DIY TN cover
In the Cricut Design Space there are two sets of files: Traveler’s Notebook Cover | 2 Designs and Traveler’s Notebook Cover | Chipboard. The Chipboard file is for use with materials that are smaller than 12” x 12” (like Cricut Chipboard). The 2 Designs file, however, is for any material at least 12” x 12” wide. Both can be adapted for your needs.
For the 2 Designs file, I’ve included two different designs. Both are basically the same with the exception of how they close: one uses an elastic strap and the other includes a slotted tab closure.
Cricut Design Space Links:
Materials:
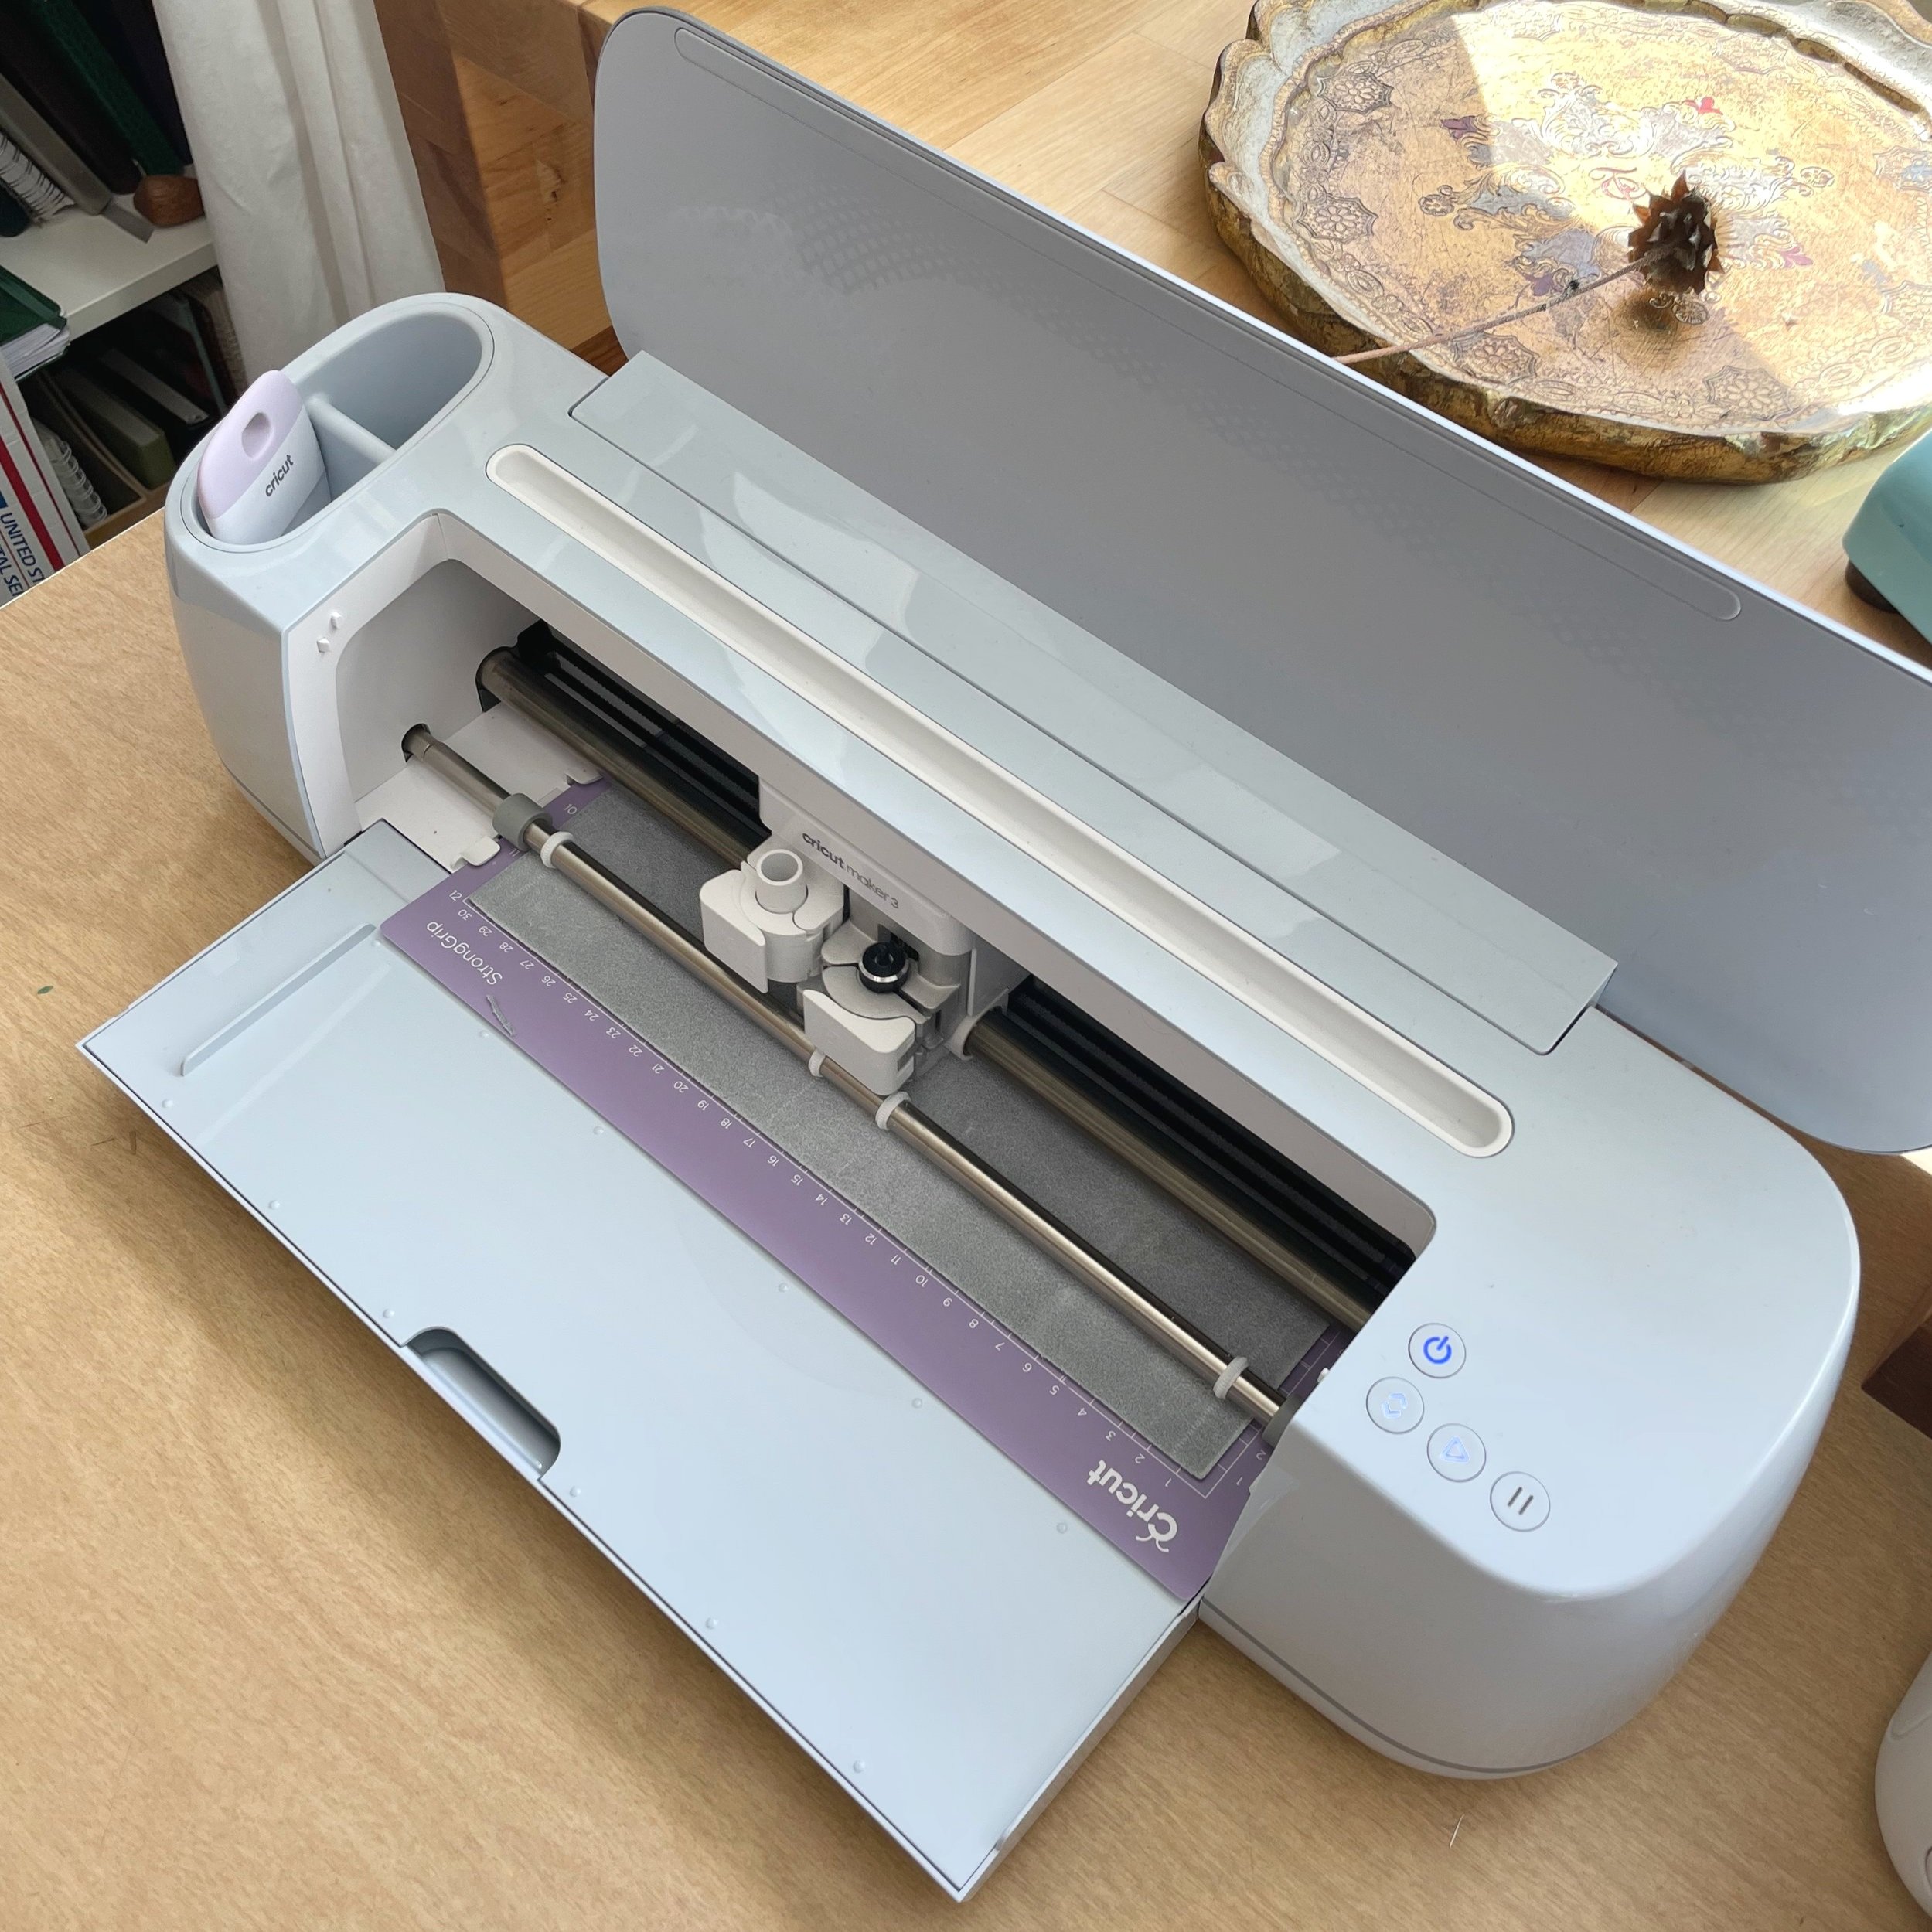
a Cricut machine: I have the Cricut Maker 3 and love it, but you can do this project on almost any Cricut machine.
Cricut Soft Metallic Leather (1 12”x12” piece per cover)
Cricut Faux Leather (12 inches per cover)
Cricut Faux Suede (1 12”x12” piece per cover)
Cricut Chipboard (1.5 mm)
the appropriate cutting tools
Leather: Deep-Point Blade + Housing
Chipboard: Knife Blade + Drive Housing, Single Scoring Wheel
48” of 2 mm elastic cording (or more depending on your project)
scissors
fine grit sandpaper: helpful to sand down small imperfections in the leather after cutting
a ruler
a pencil

I have the Cricut Maker 3 which I absolutely love!
For the Tab Closure Option:
You’ll need a method for attaching the tab strap to the cover. There are three basic options available: grommets, sewing, or gluing. Materials needed:
Grommets: a grommet punch, set, and grommets (this kit contains all three)
Sewing: a sewing machine and leather-working needles or a leather punch and needle and thread.
Glue: Tandy Leather Eco-Flo Leather Weld Adhesive should do the job


How to Make a DIY Traveler’s Notebook Cover
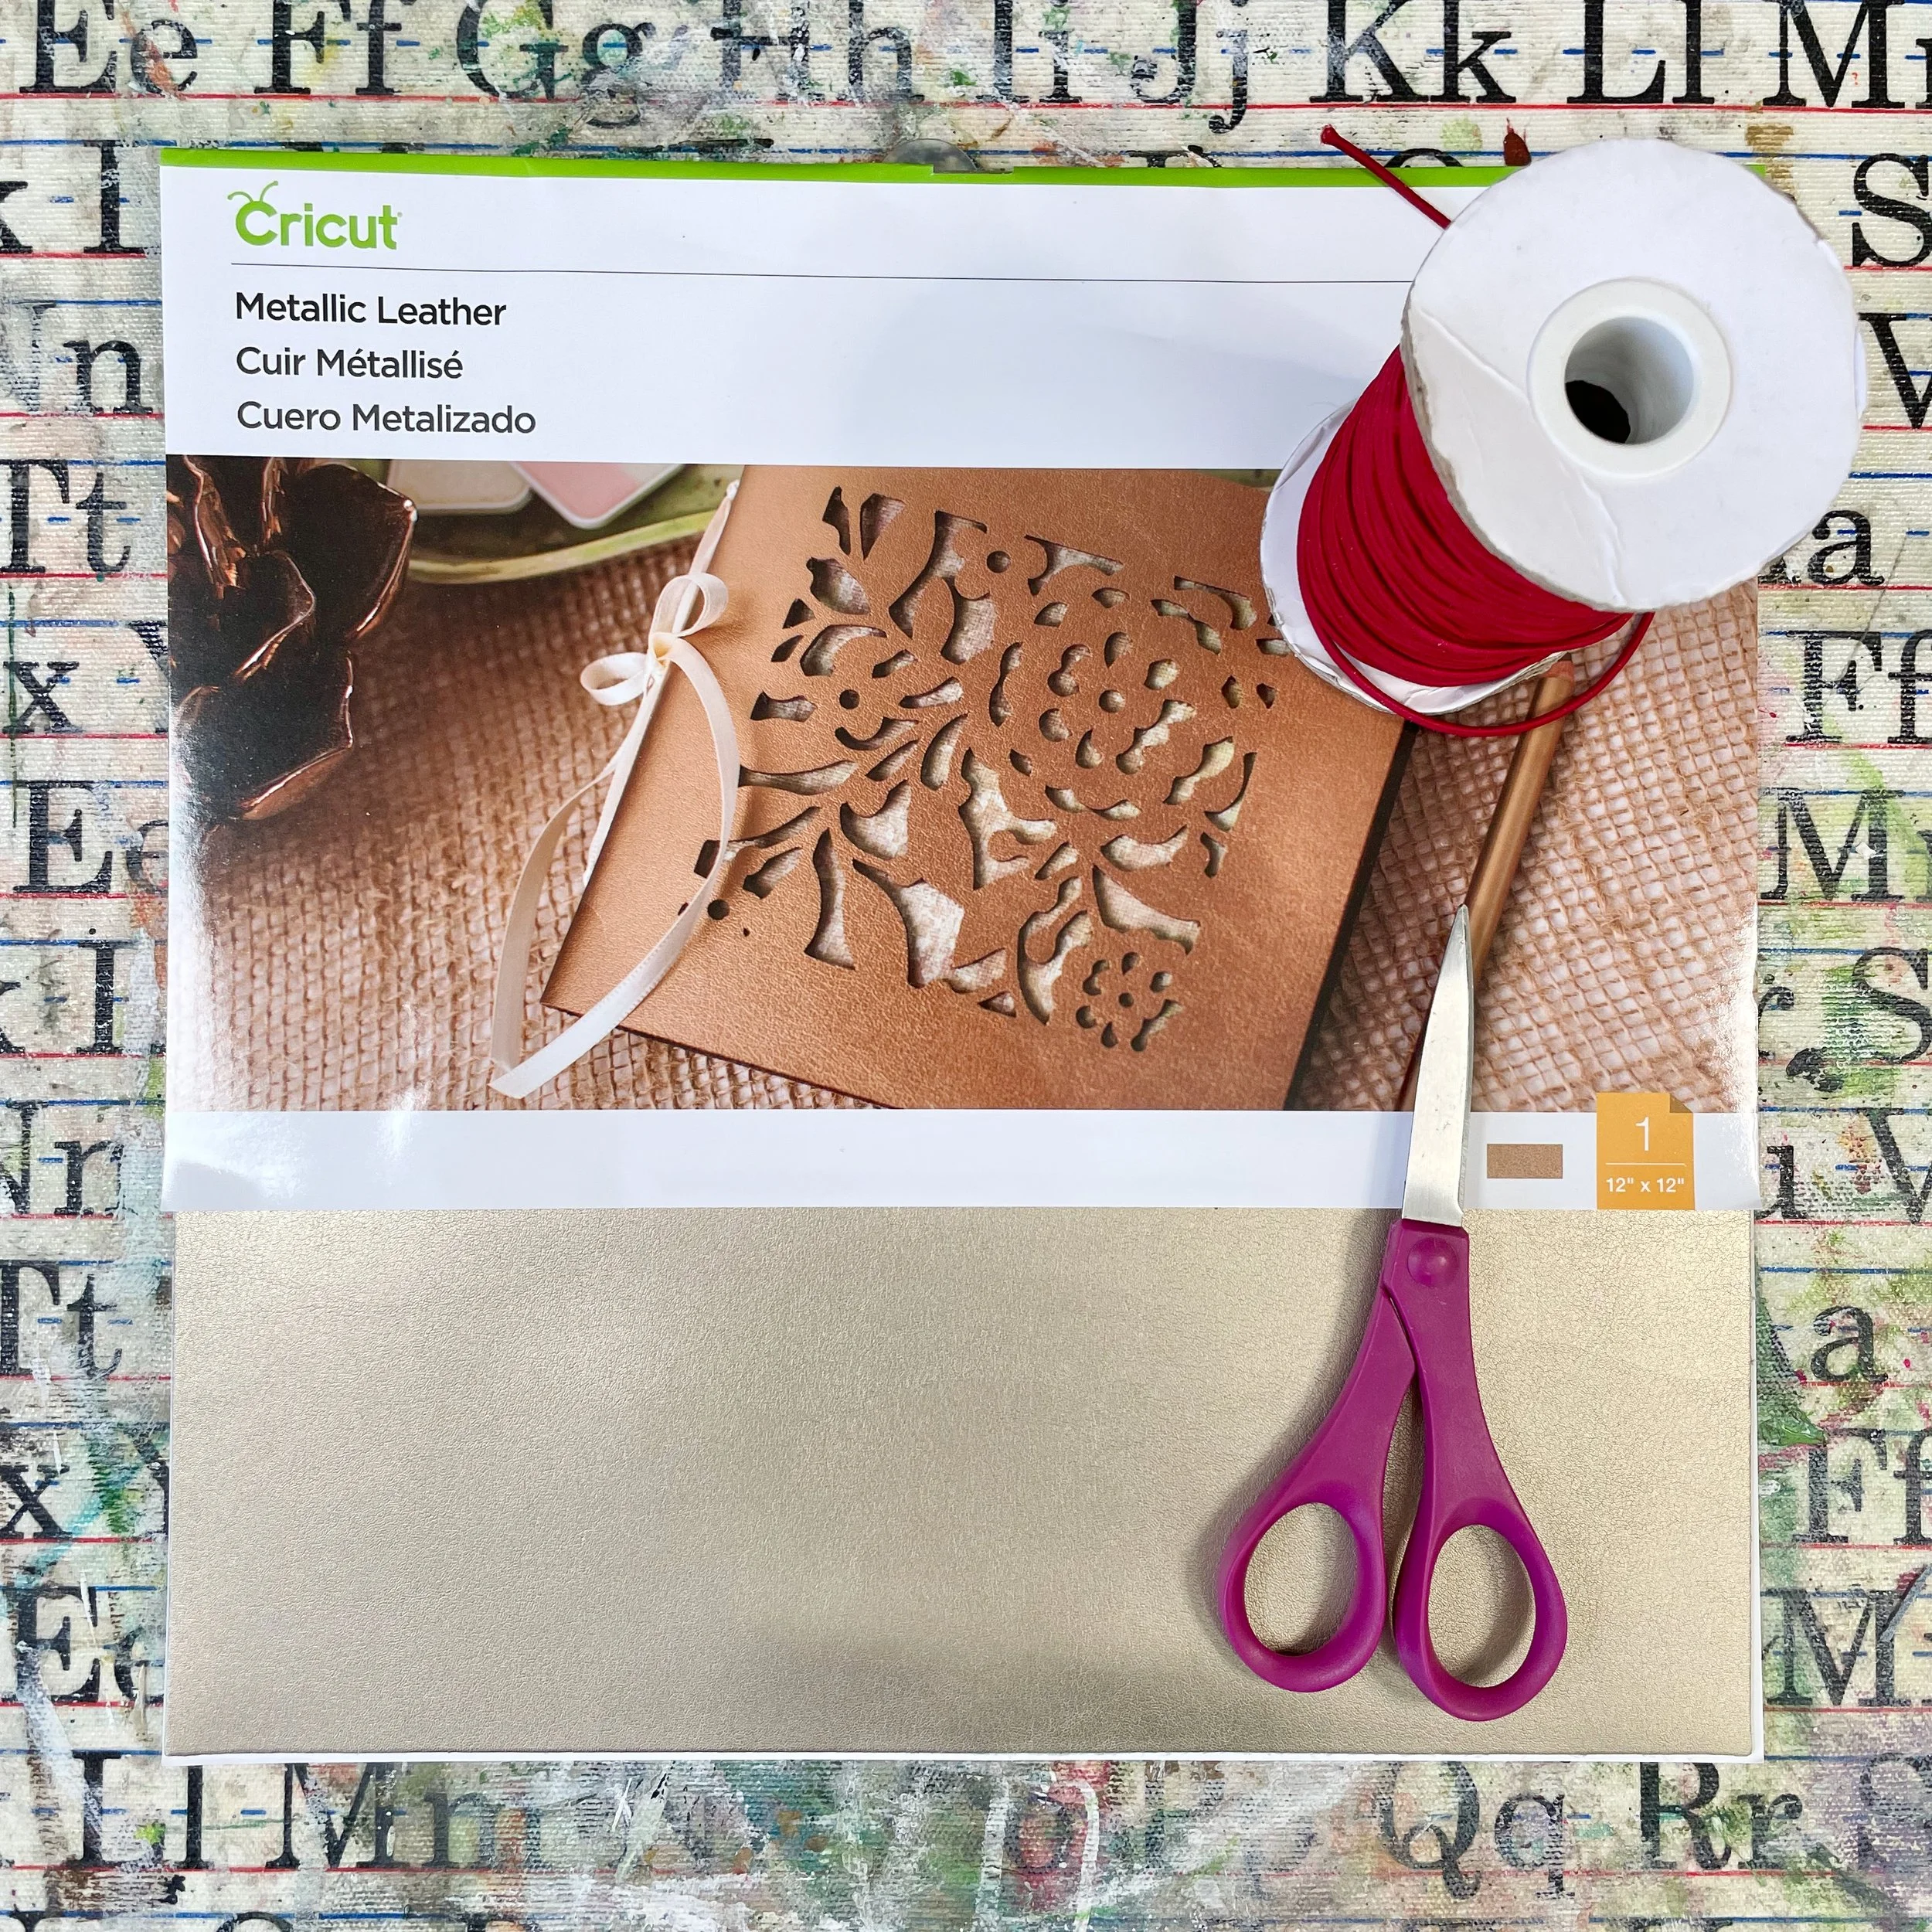
Gather Your materials
All of the instructions following are for making the covers using leather, but they are adaptable depending on what kind of materials you’ll be using. Just follow the instructions in the Cricut Design Space.

Create Your Project in Cricut Design Space
Open the files and get creative! Choose which design you want to make from the files, and customize to your heart’s content. You can change the size, add your initials, change the font (just be sure to use a Stencil font), and more.
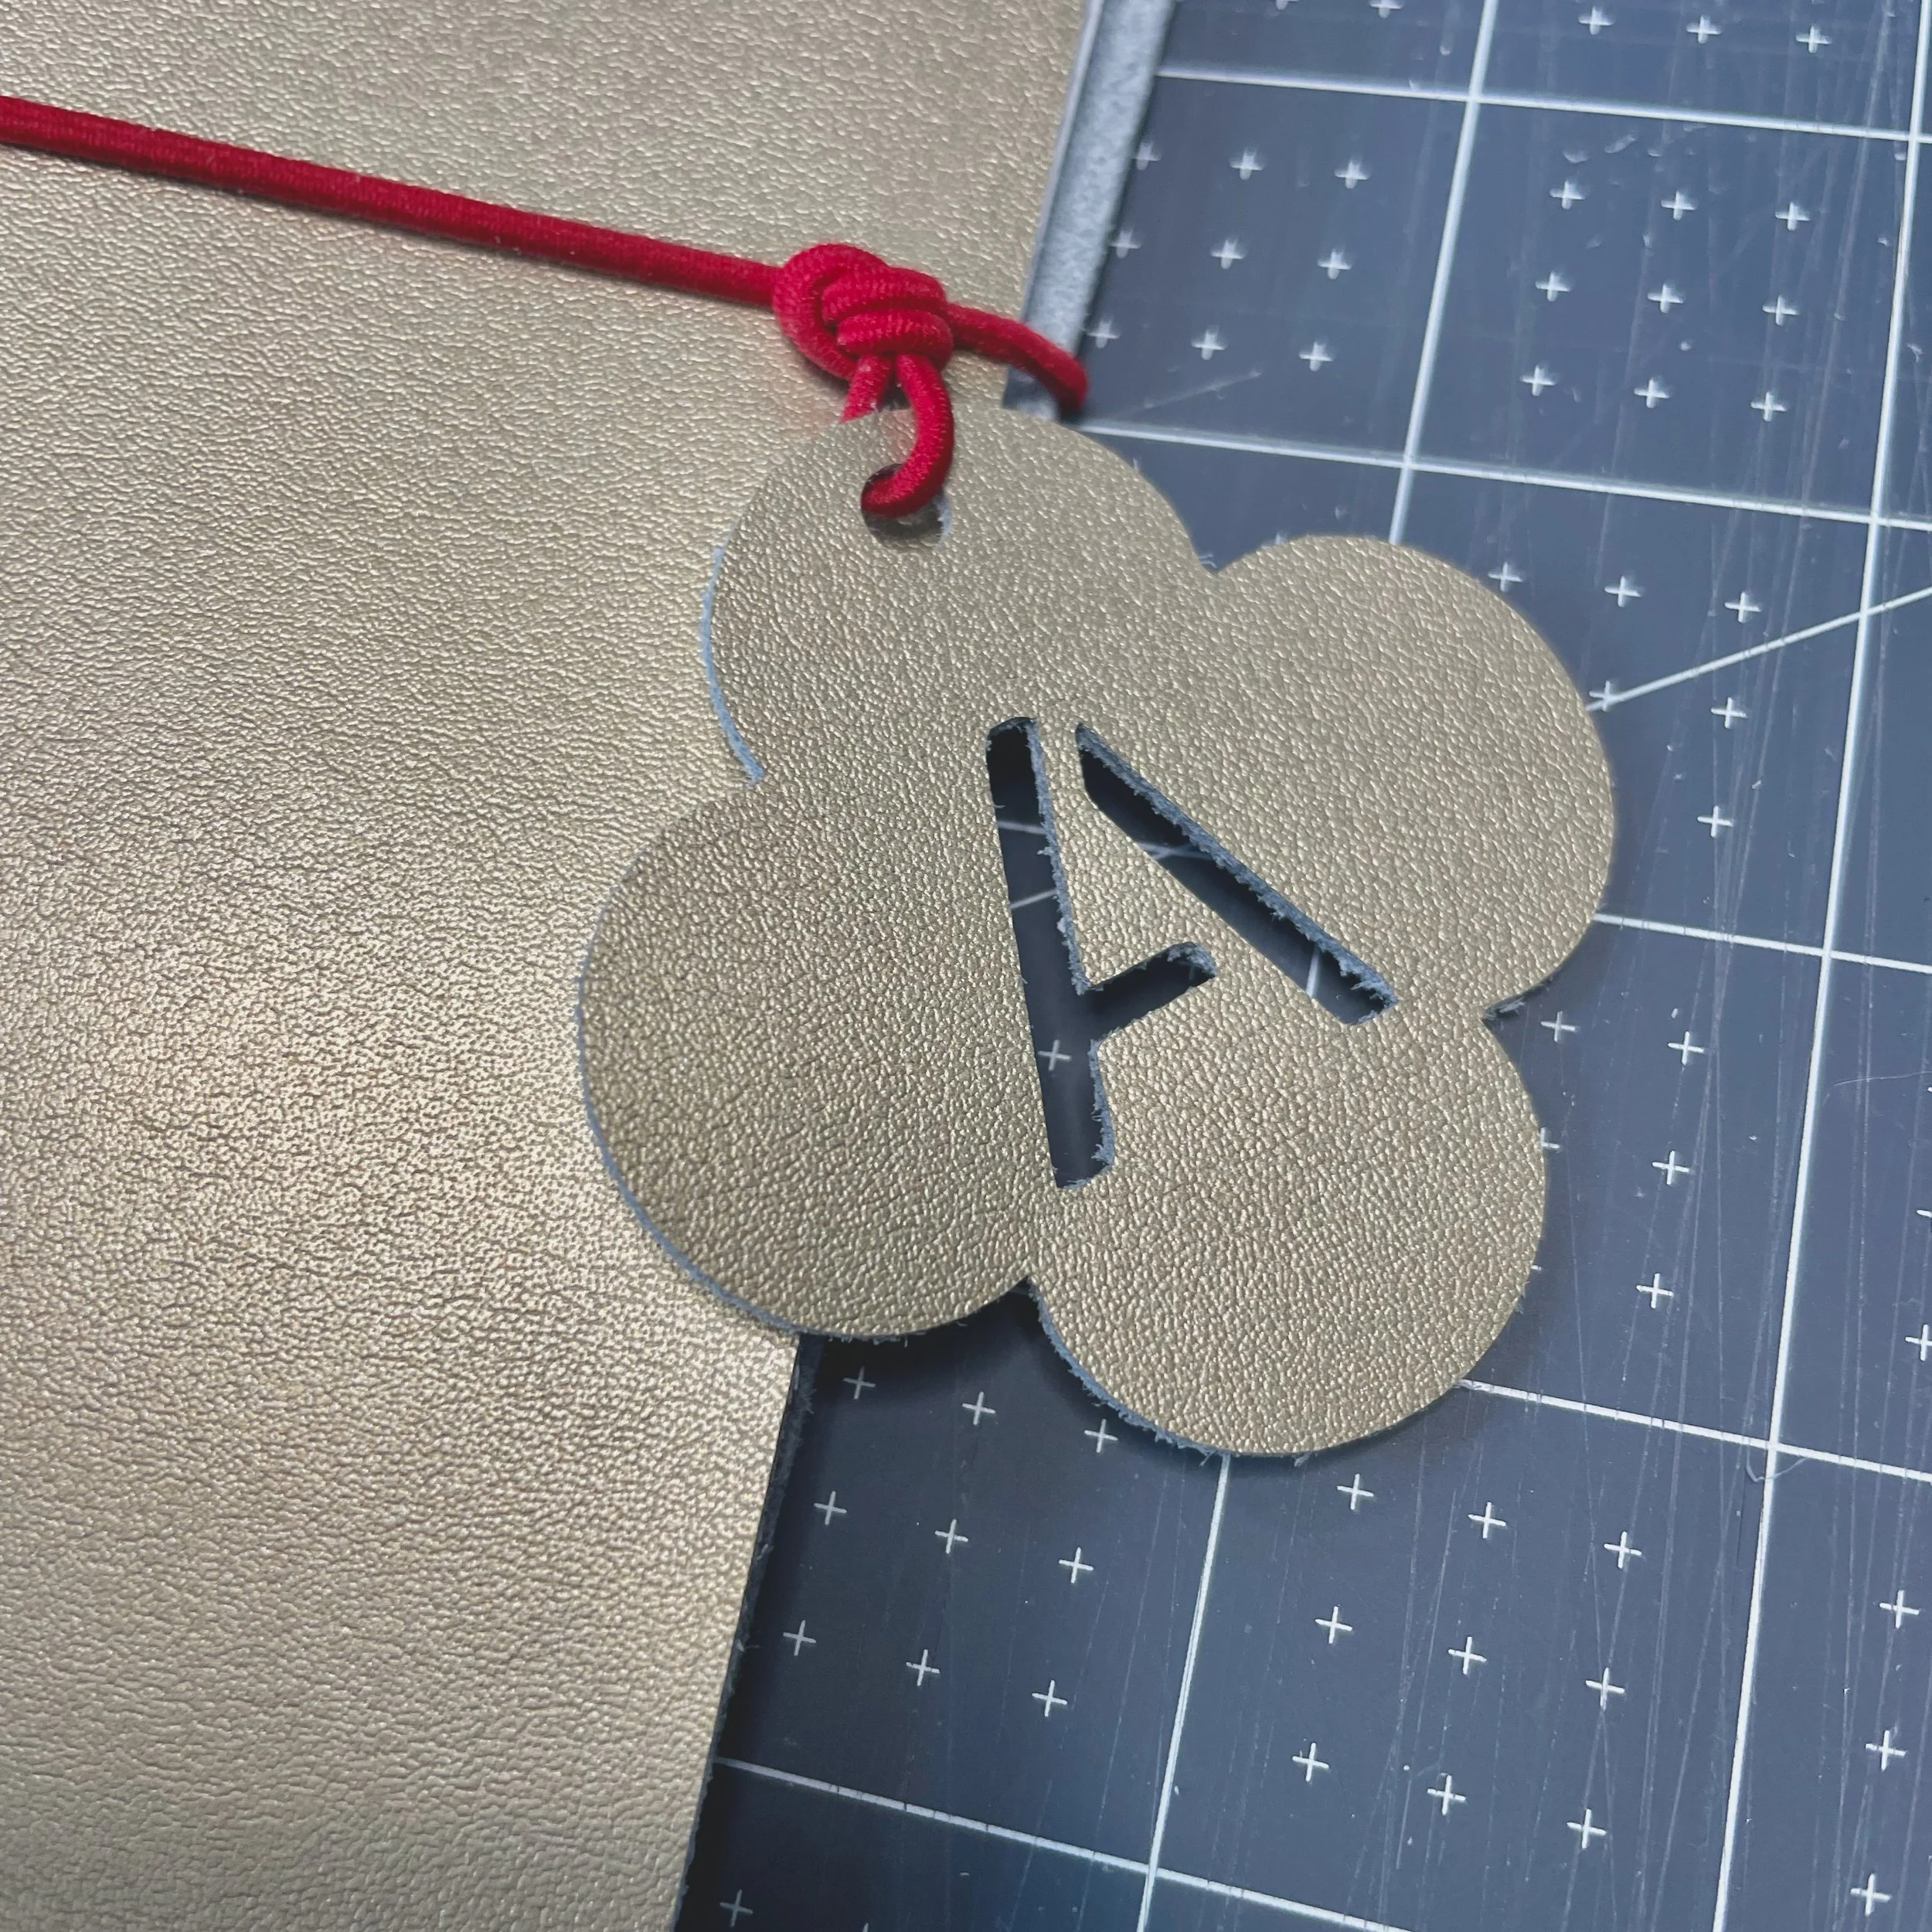
Choose & Customize tag
The design files include several tag options. Choose which tag you want to add to your cover and change the lettering to your initials. You can change the font, too — just be sure to choose a Stencil font! And if you are using leather or any other material that is cut face down, be sure you mirror your text!

Other Customizations
Depending on the materials you choose, you could also add vinyl lettering or even engrave the leather with your Cricut! You can lay it all out in the Design Space before you cut.
Here’s a great tutorial on engraving leather using your Cricut. And the process for applying vinyl for this project is the same as found in this one: DIY Wood Sign. Follow the same steps — be sure to do a quick test on a scrap of leather before you commit to the finished project!


Cut Your Cover
Once you have decided on all of your customizations, send the project to your Cricut to cut! Be sure you are using a fresh blade for this project — you’ll get the sharpest, cleanest cuts if you do.
A few tips:
Use a brayer to smooth down your material and get good contact on the cutting mat.
Leather: when working with leather, put it on a Strong Grip mat smooth side down. And mirror any text.
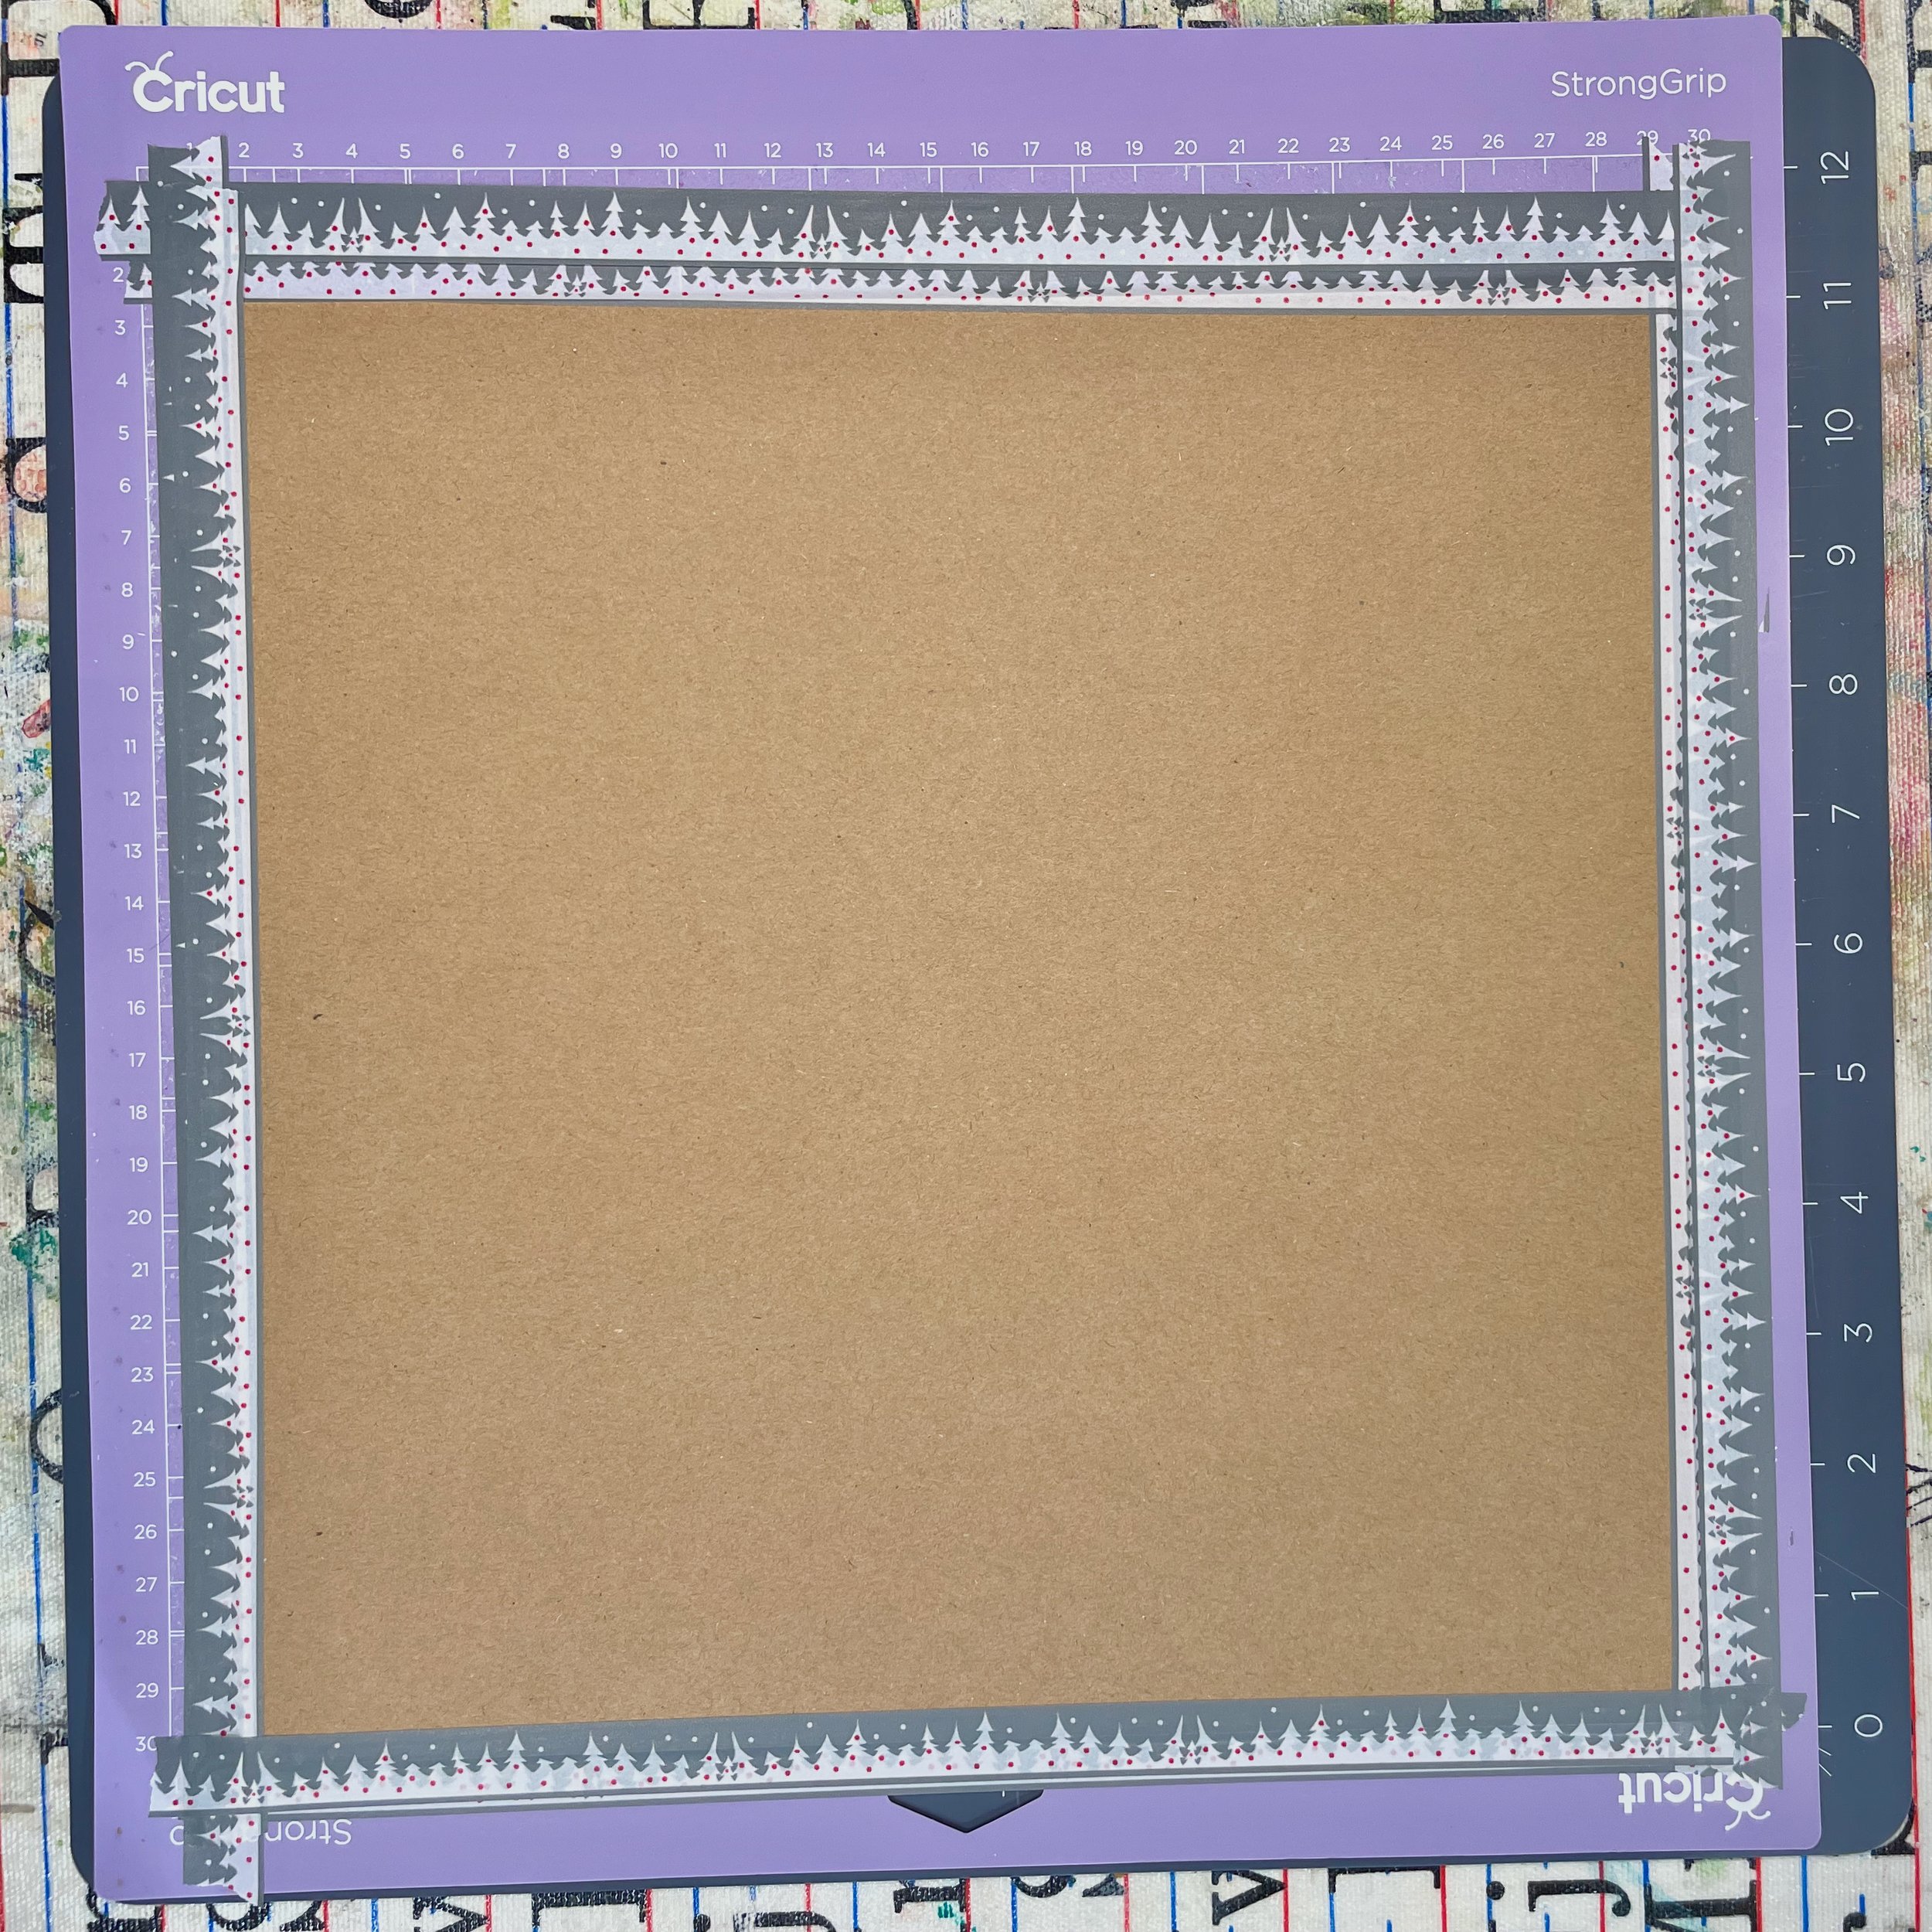
Chipboard: use a Strong Grip mat and tape the chipboard down with masking tape.
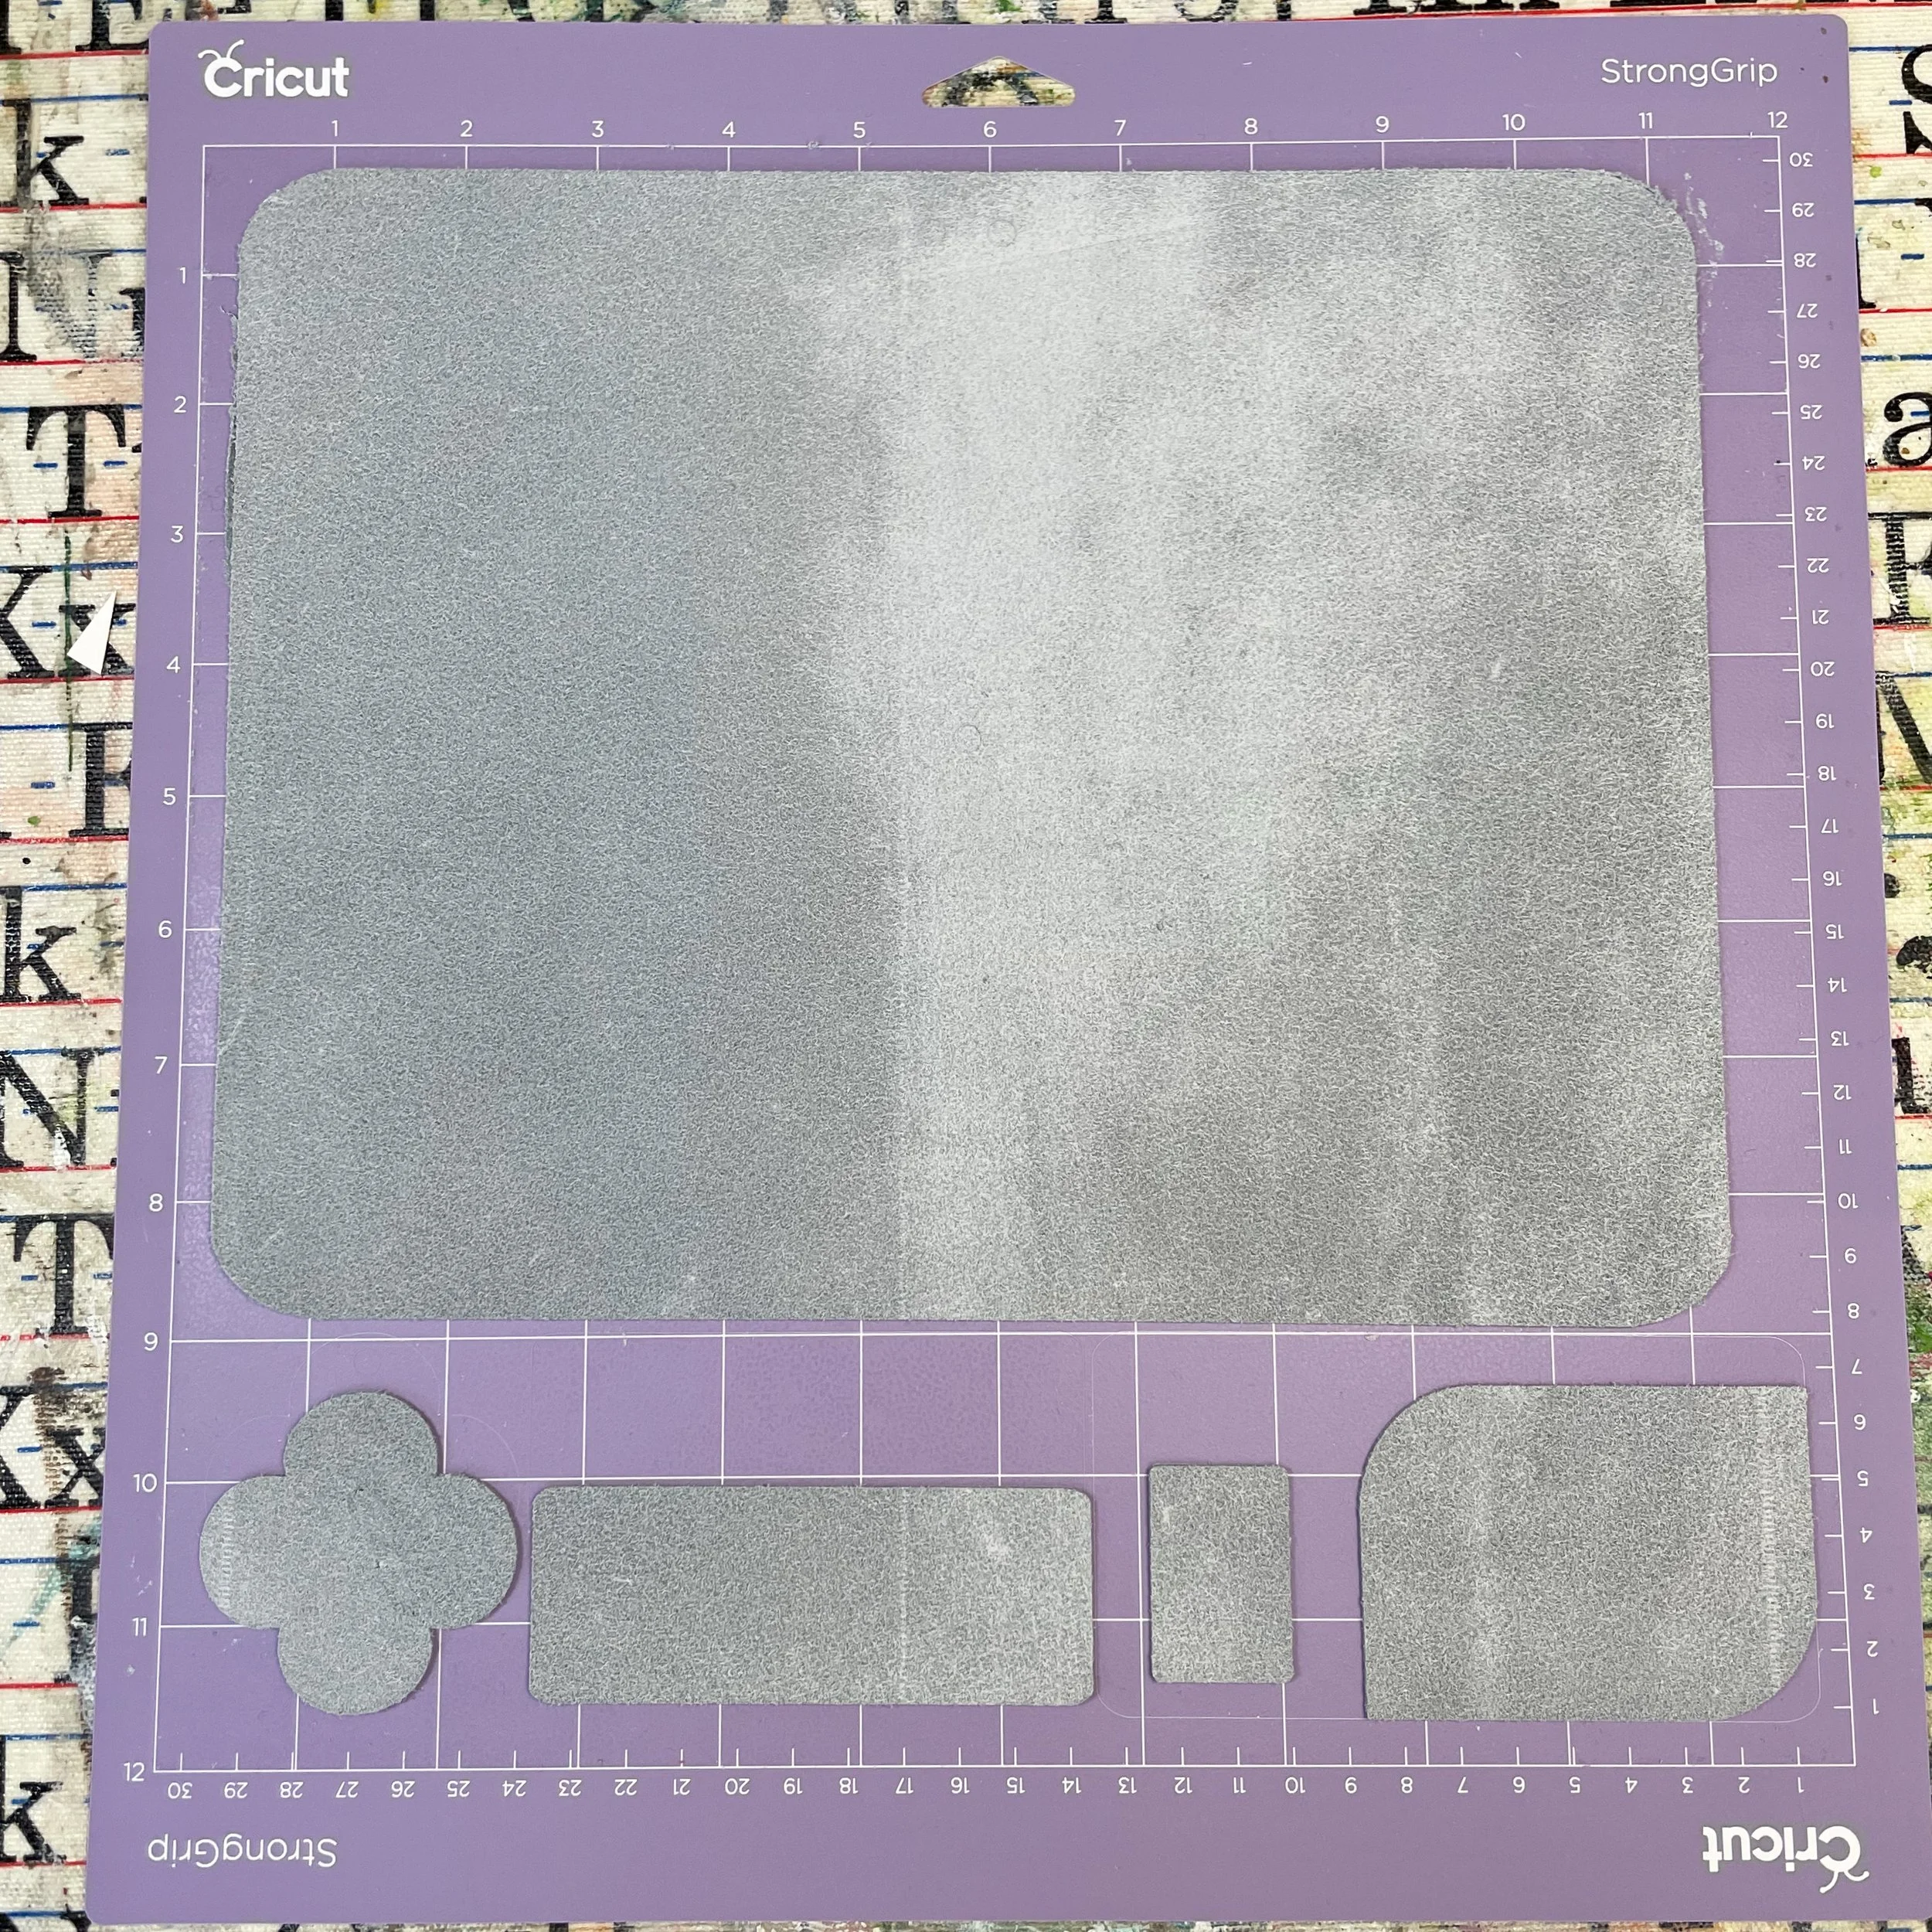
Weed your Project
When everything has been cut, you’ll need to remove the pieces from the cutting mat and weed out the small cuts for holes, letters, etc. Save your scraps — you’d be surprised how often you can create a small project using scraps of materials.
A note: I was thrilled with how cleanly my Cricut cut through the leather. This was my first leather project — and it won’t be my last. However, I used a new knife blade. And if you find any rough spots on the cut edges, just take a piece of fine grit sandpaper, and smooth them out. Easy!
Stringing the Elastic
Don’t cut the elastic until you get it fully strung. That way you won’t come up short! I like my covers with 4 strings which gives me lots of options and can hold as many as 4 books at a time. You can also just do two strings if desired.
Using the two top and two bottom holes, string the elastic cording on the inside of the cover as illustrated in the video above. Knot the strings to prevent fraying.
Assembly: Elastic Closure
Once you have strung the long cords, add the elastic closure band. Be sure to add your personalized tag before you tie it off!
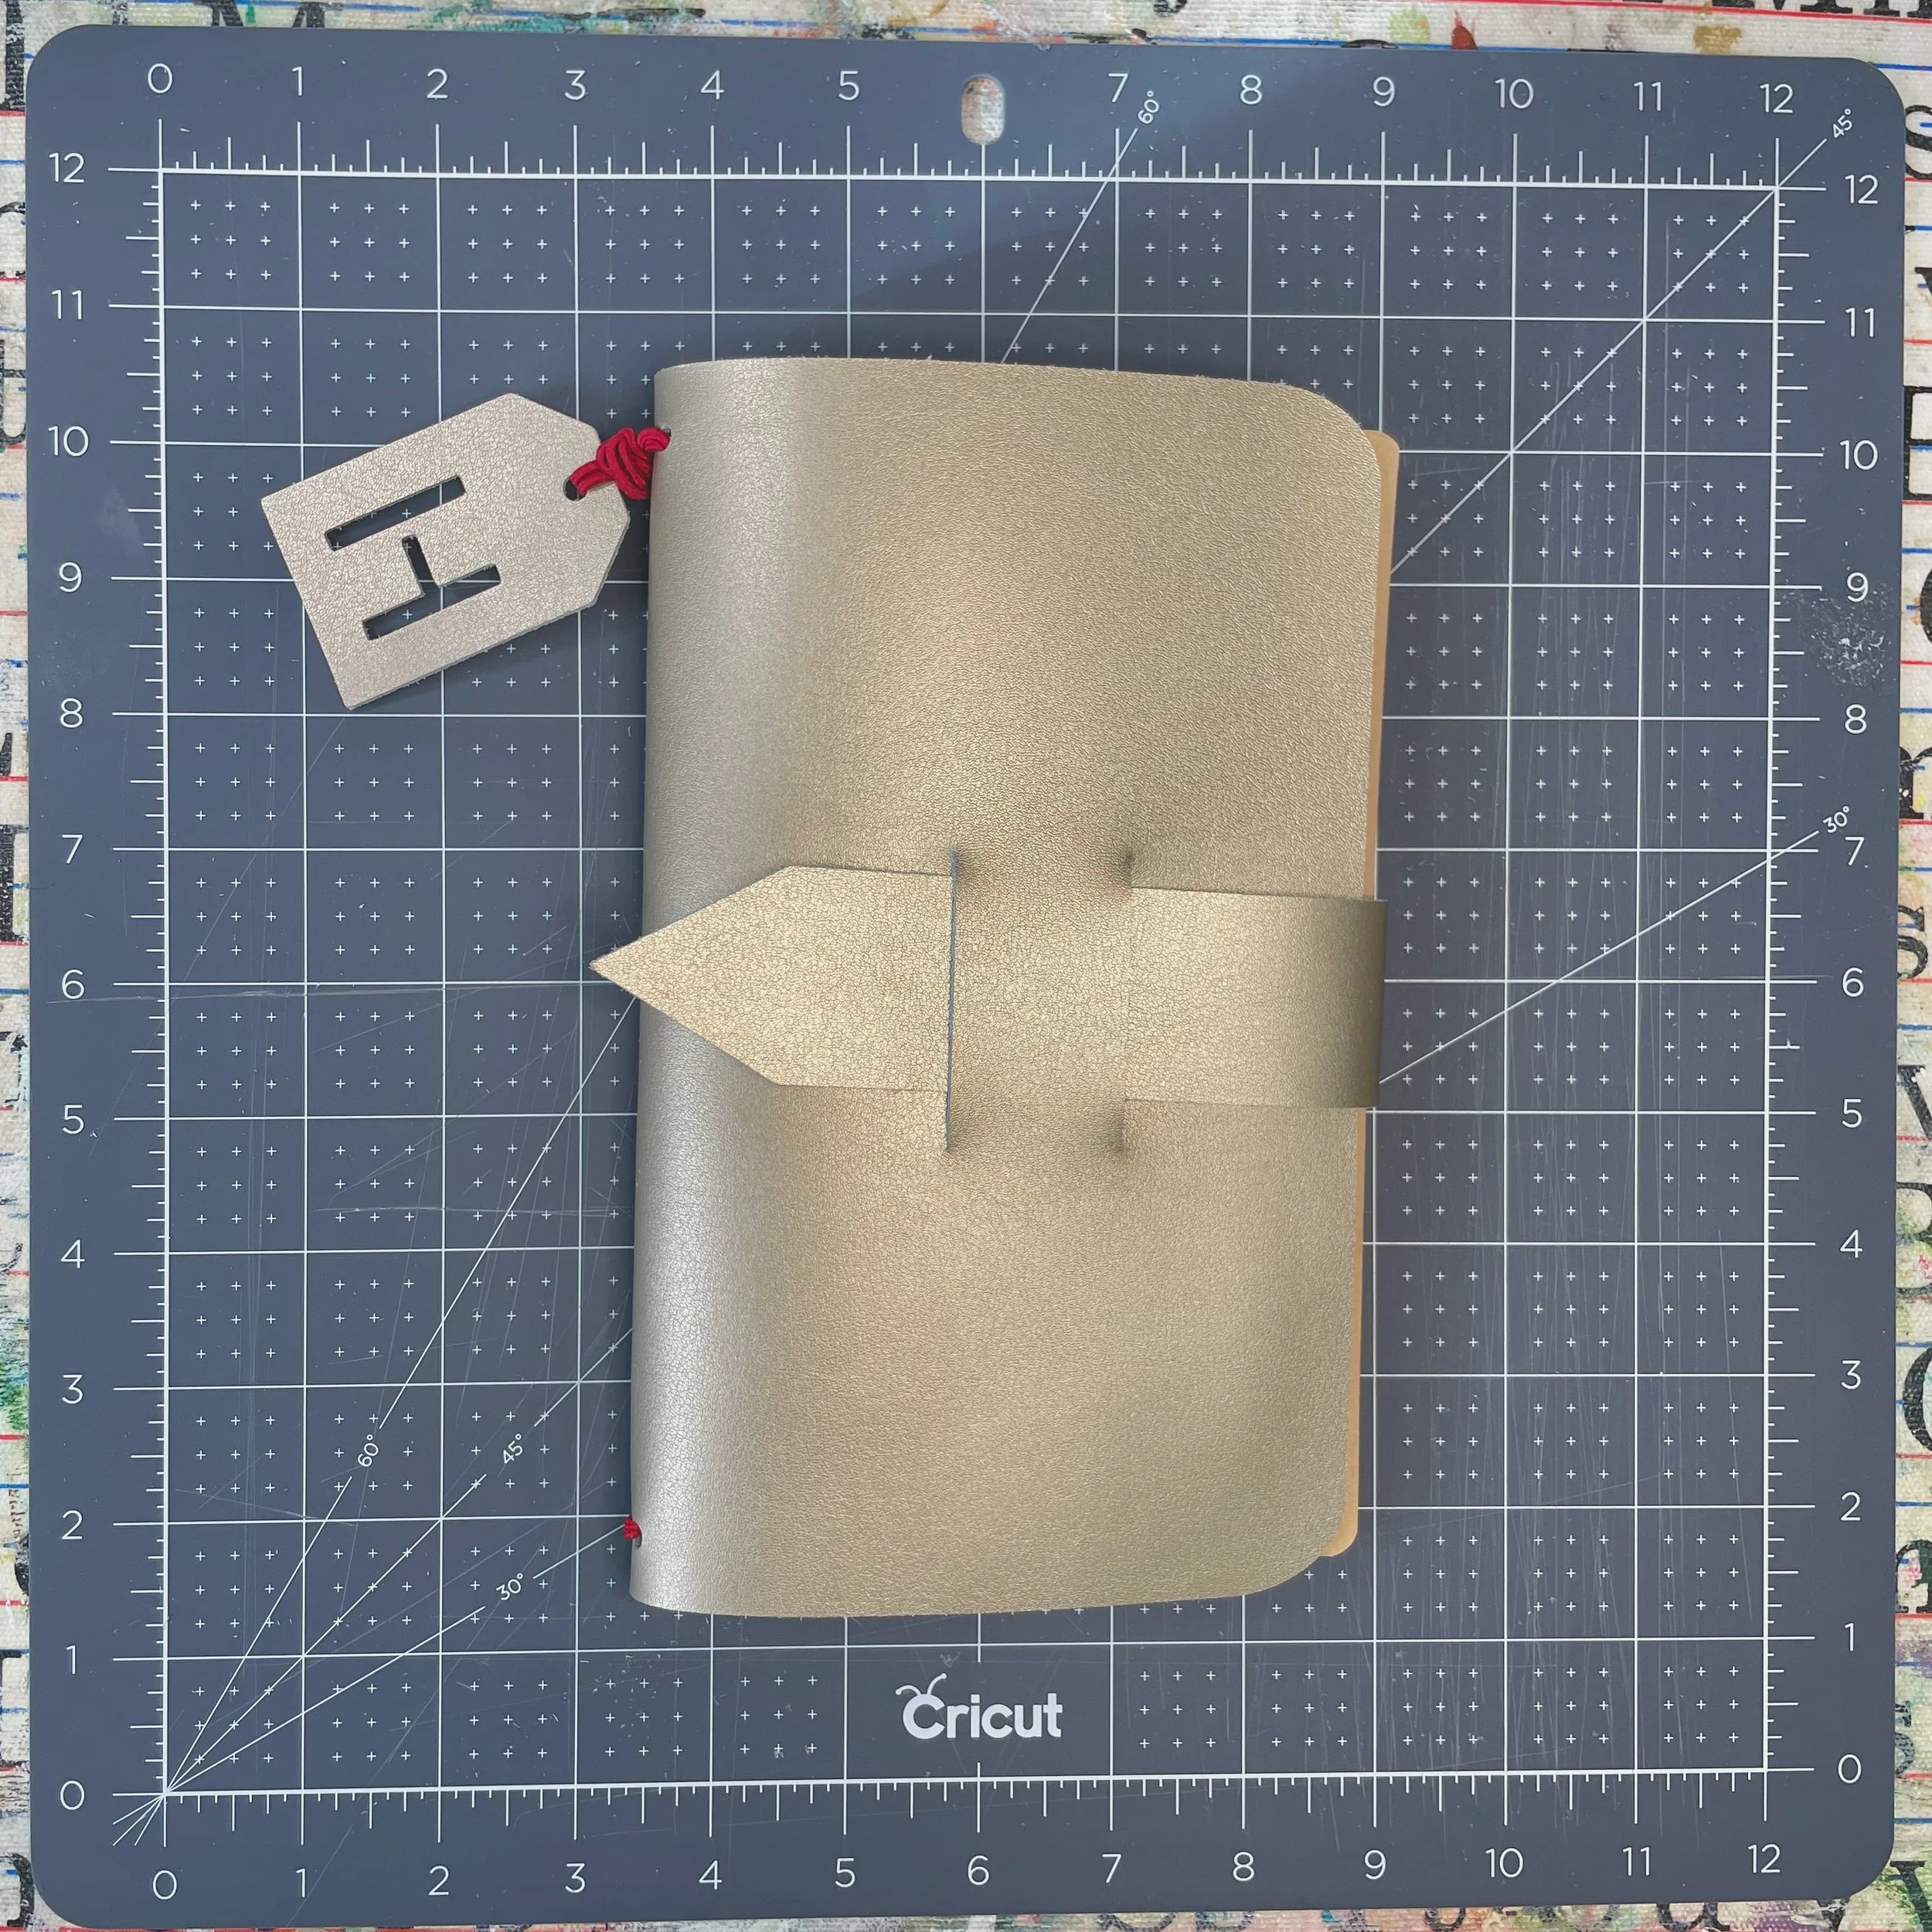
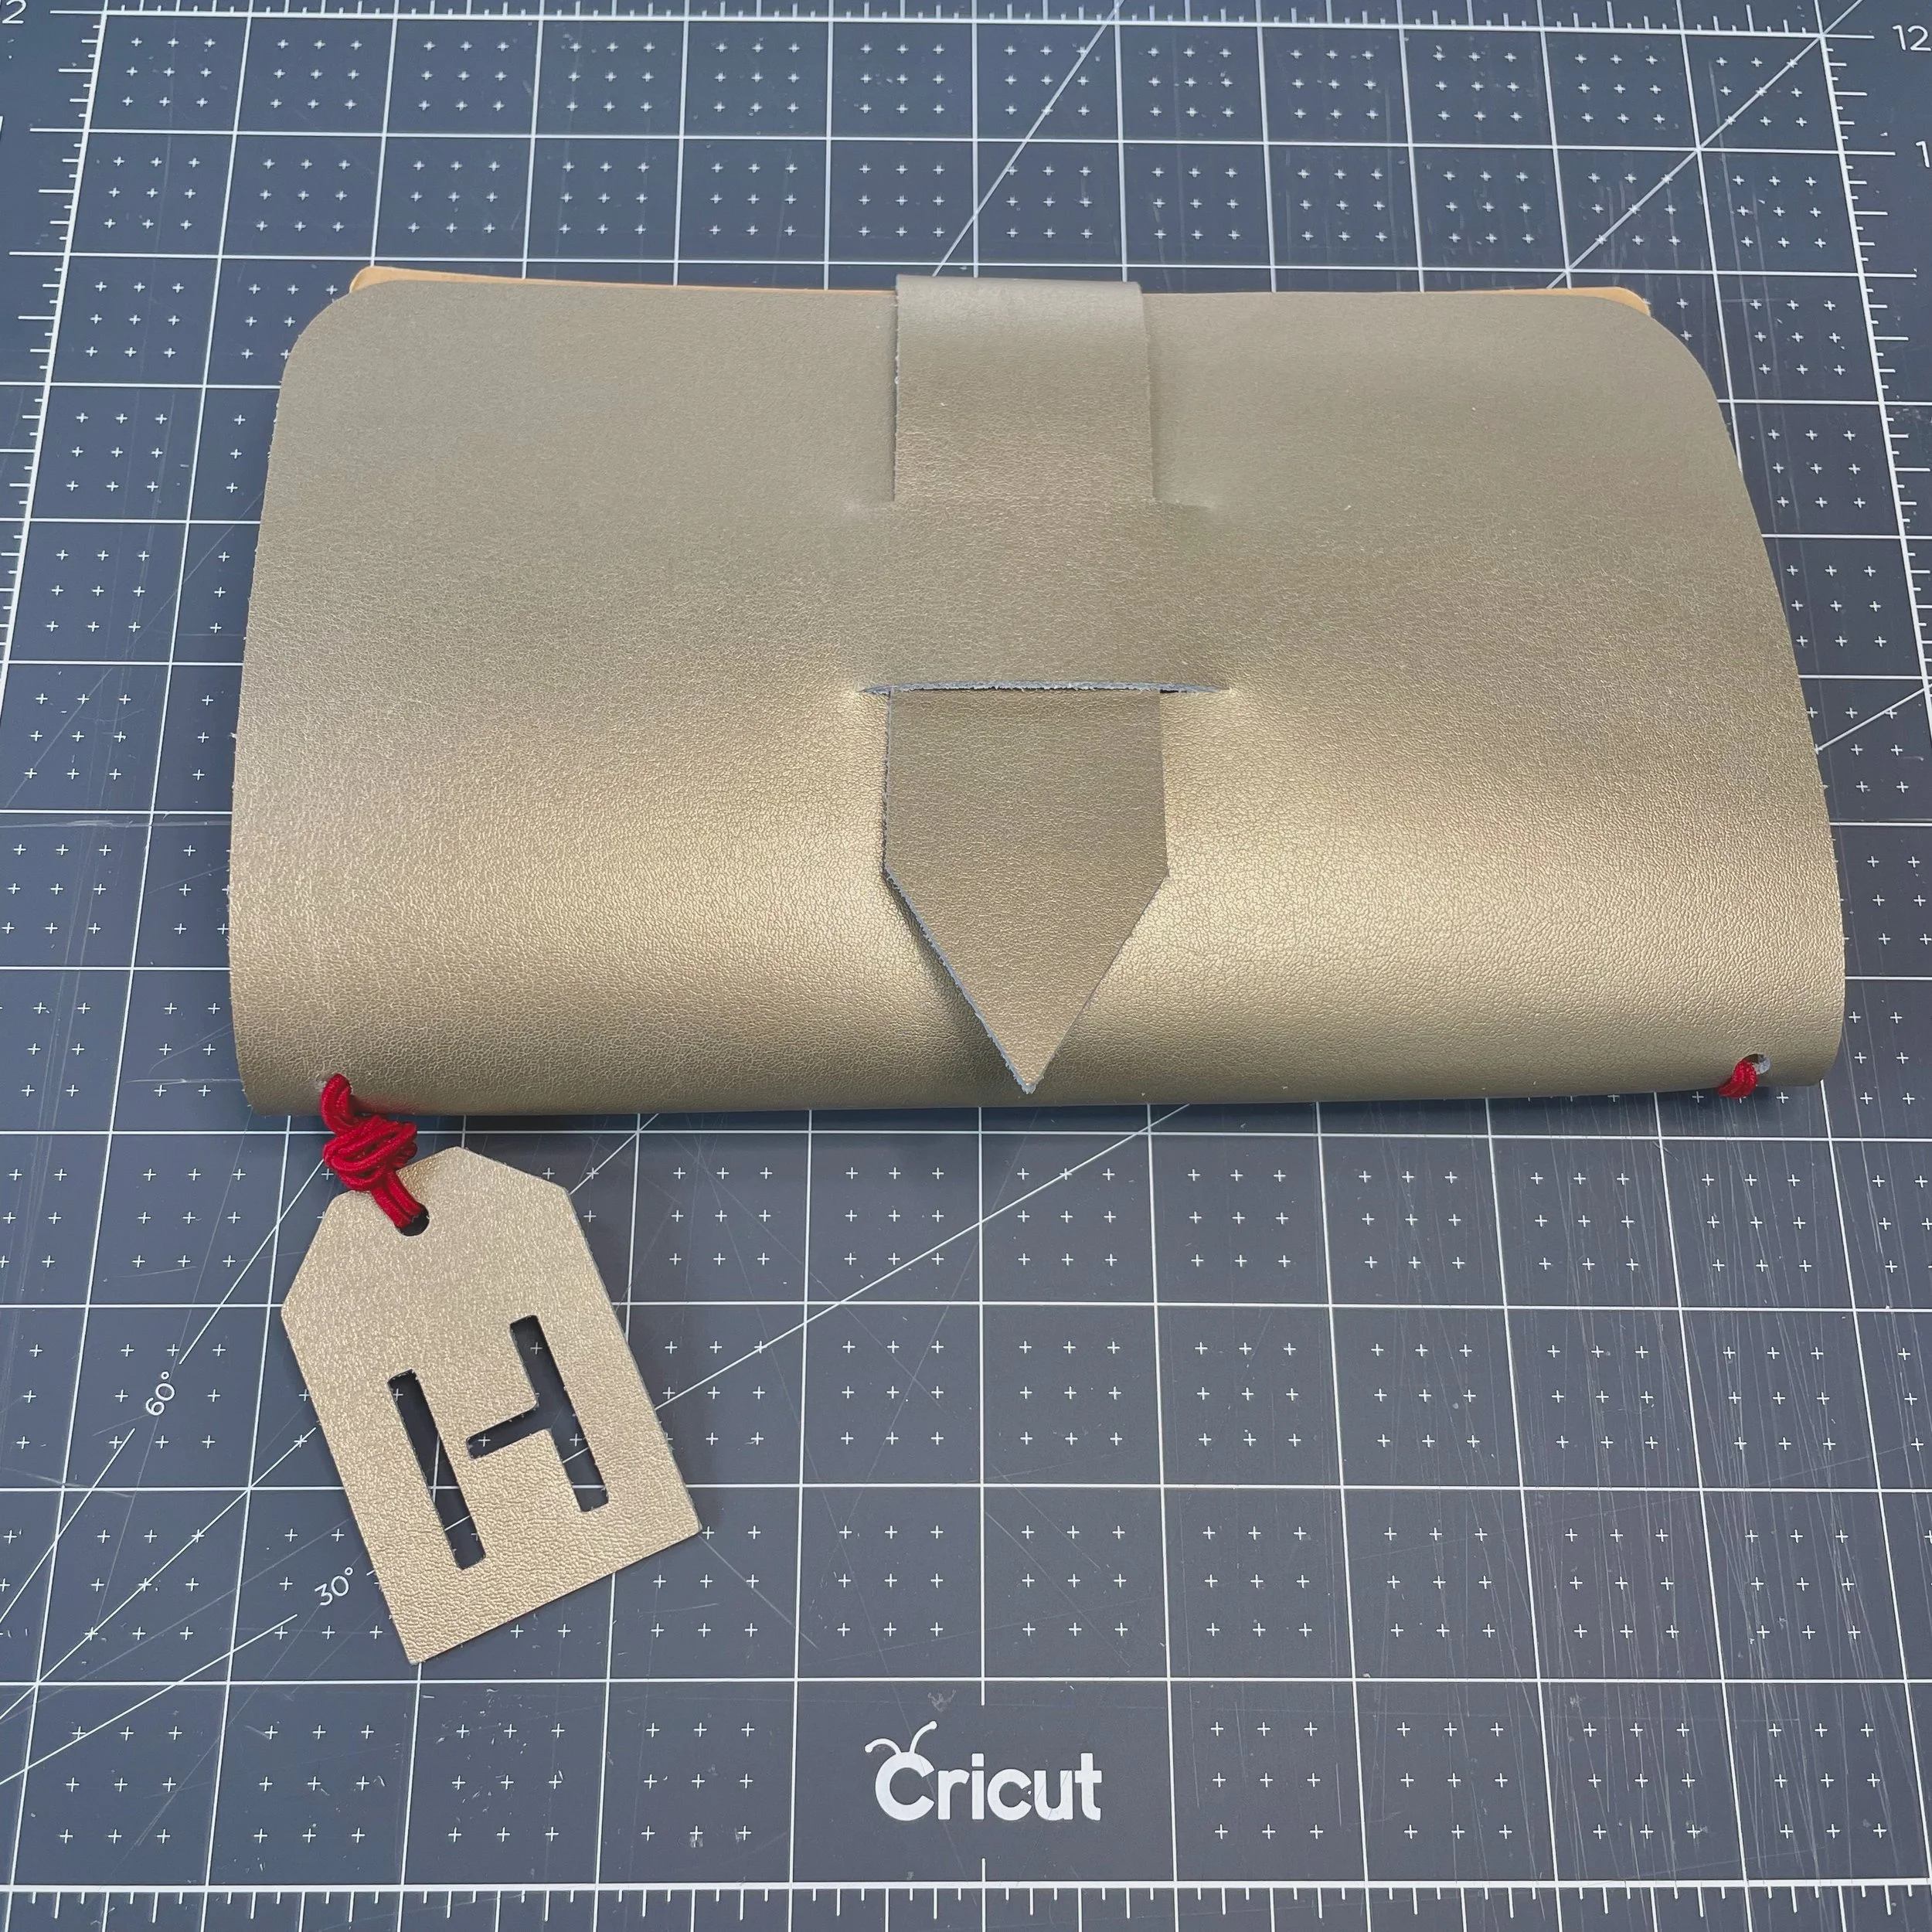
Assembly: Tab CLosure
If you’ve chosen the tab closure, you’ll need to attach it to the back of your cover.
Insert your books into the cover.
Measure how long you want your tab to be — stretching from the back cover to the front.With a pencil mark the edge and position for the tab.
Attach the tab by using glue, grommets, or by sewing.

Chipboard Option
Once you have cut your cover out of chipboard, use a straight-edge to fold on the score lines. Because this process will slightly tear the surface of one side of the chipboard, do this before stringing the elastic cord.
Once you have bent your cover into shape, string the elastic cording per the instructions above and apply the elastic closure as well.
Enjoy!
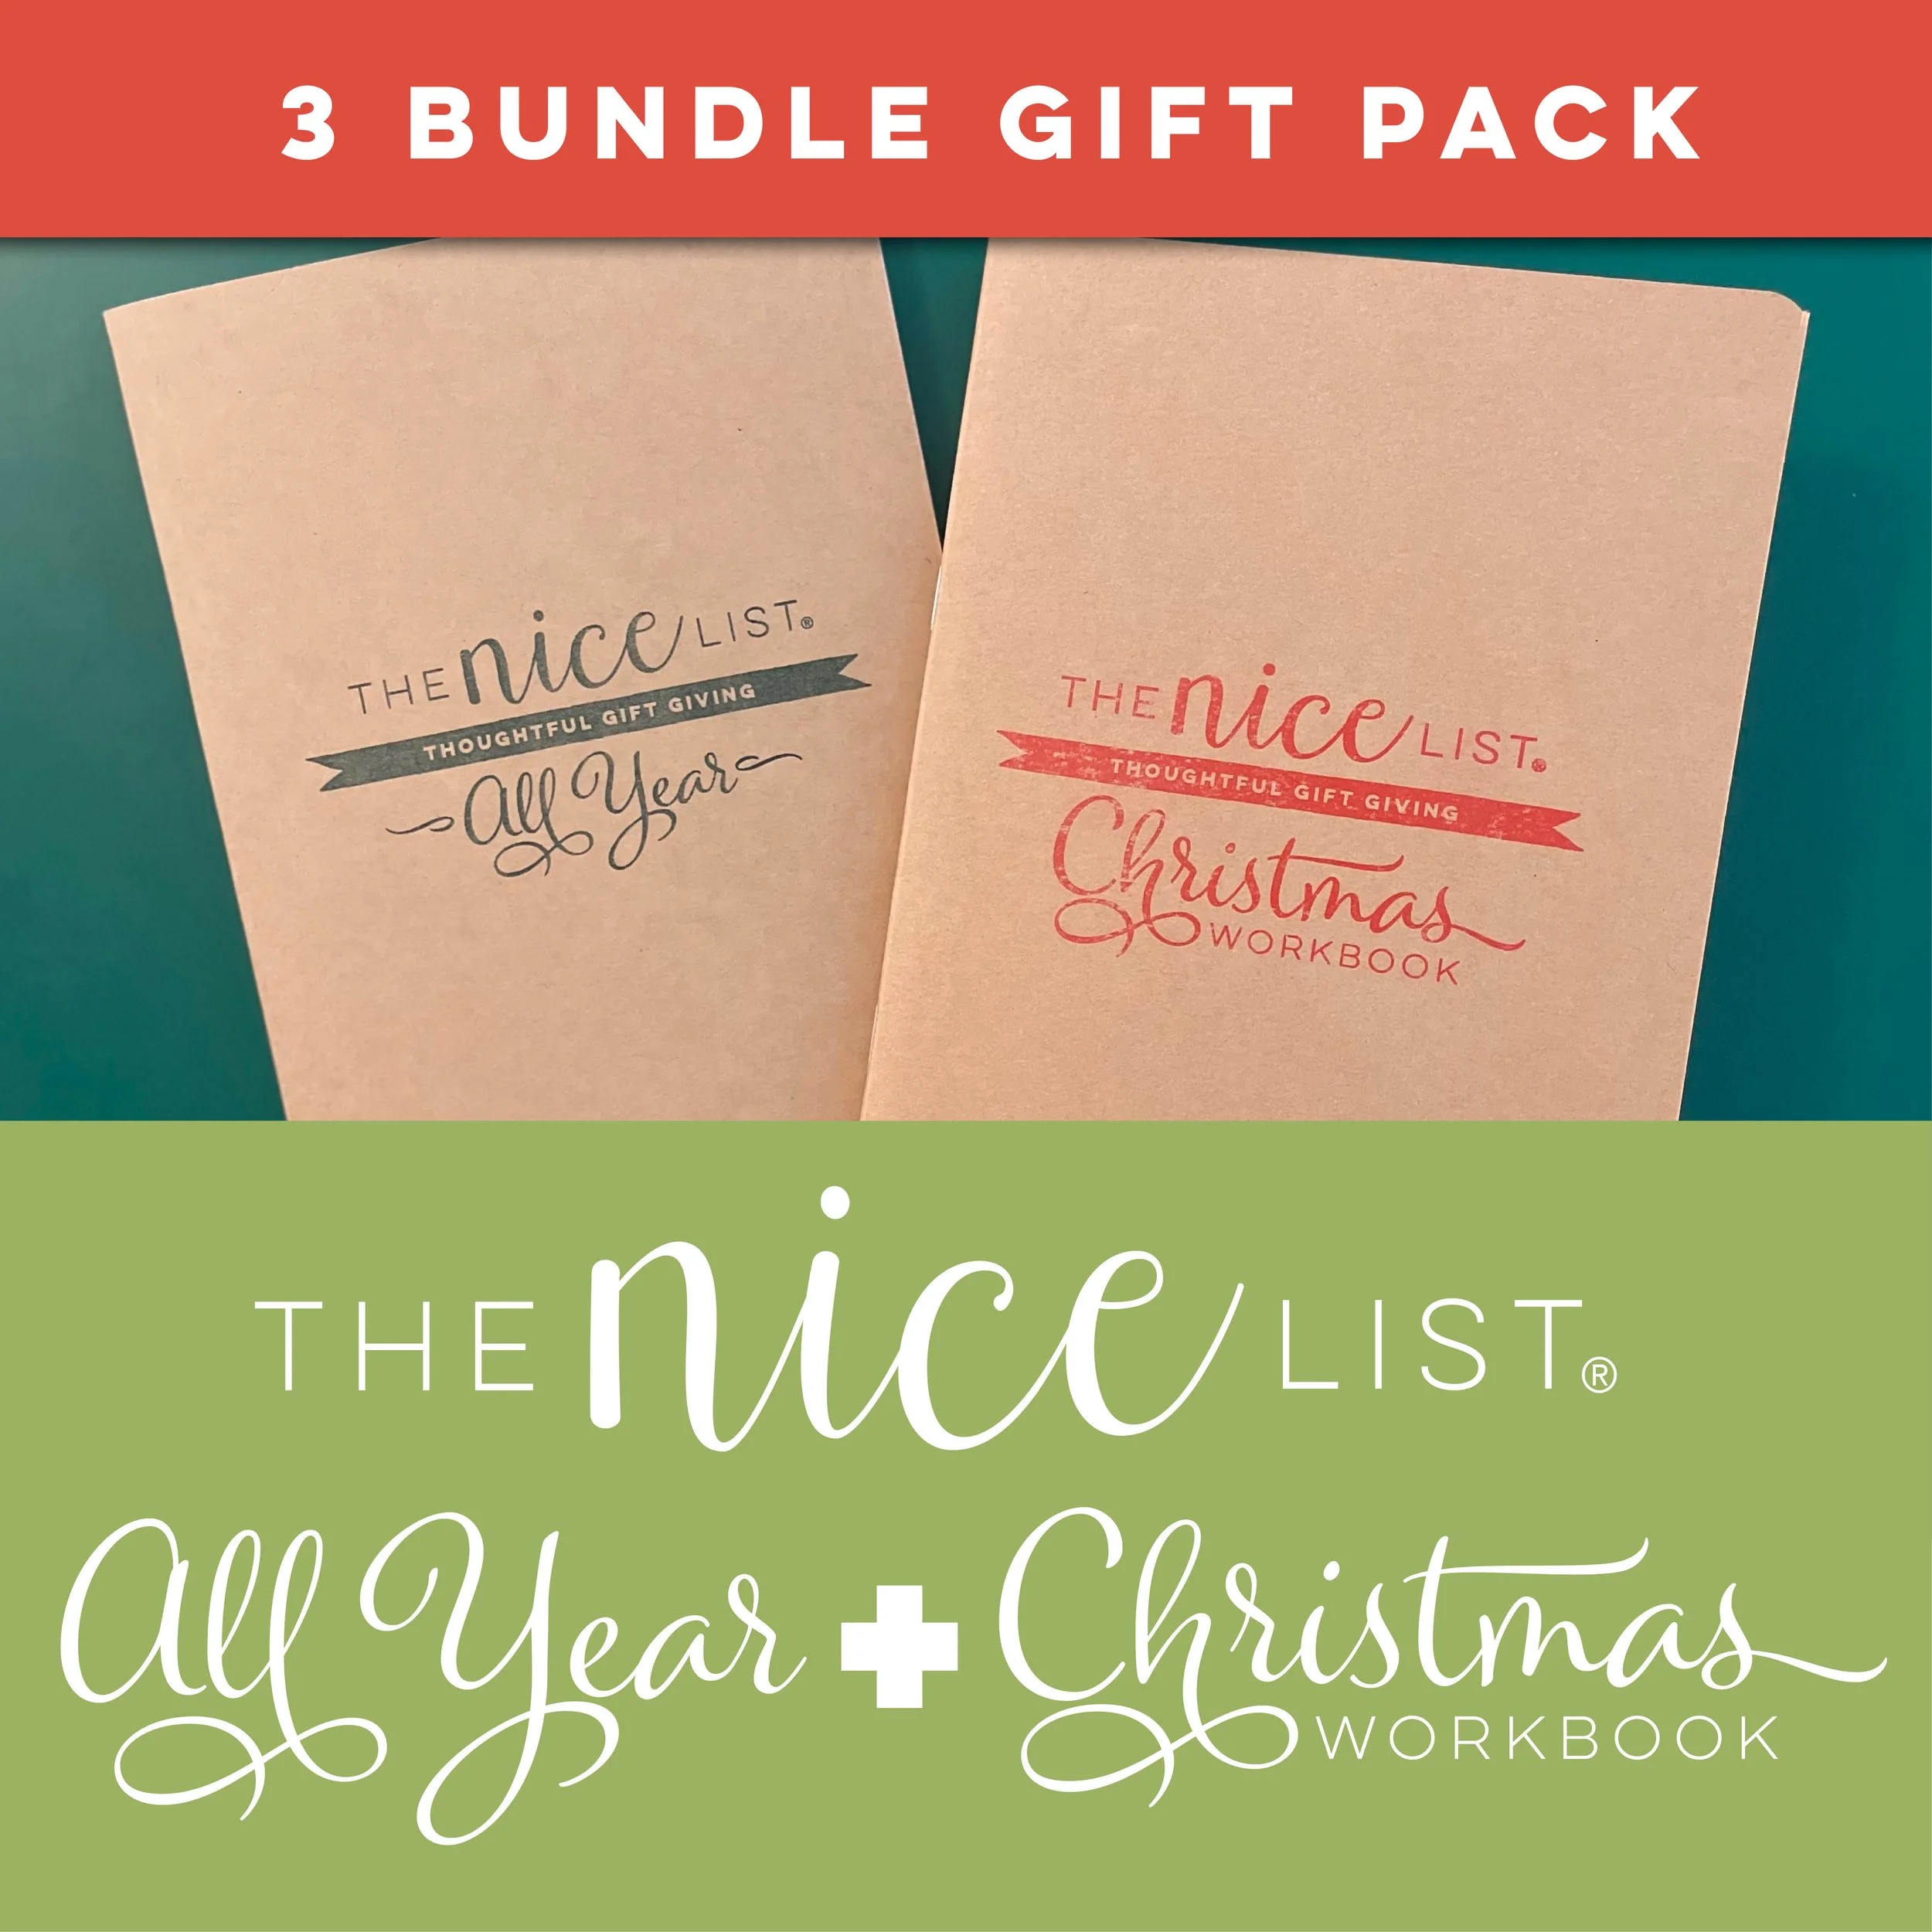
This method can be used in so many ways! And the traveler’s notebook isn’t just for travelers! All of my journals and planners are available in this form, and I have created covers for each of them.
Check out all of my journals and planners in my shop!


Pin it!

Wondering how to make your own traveler's notebook cover? I have a tutorial for you! This project makes an A5 Traveler's Notebook Cover, but it can be resized for any other TN size, too. Using your Cricut machine, make a leather travelers notebook. No more need to wonder how to make your own traveler's notebook cover! Also: Midori notebook, what do you use for a traveler's notebook cover, A6 cover