
Galentine’s Day Cards
Use your Cricut to make cards for friends

I love Galentine’s Day! It’s the best made-up holiday ever, and thanks to Leslie Knope (aka Amy Pohler), we now have a holiday dedicated to celebrating the deep friendship between women — Galentine’s Day on February 13!
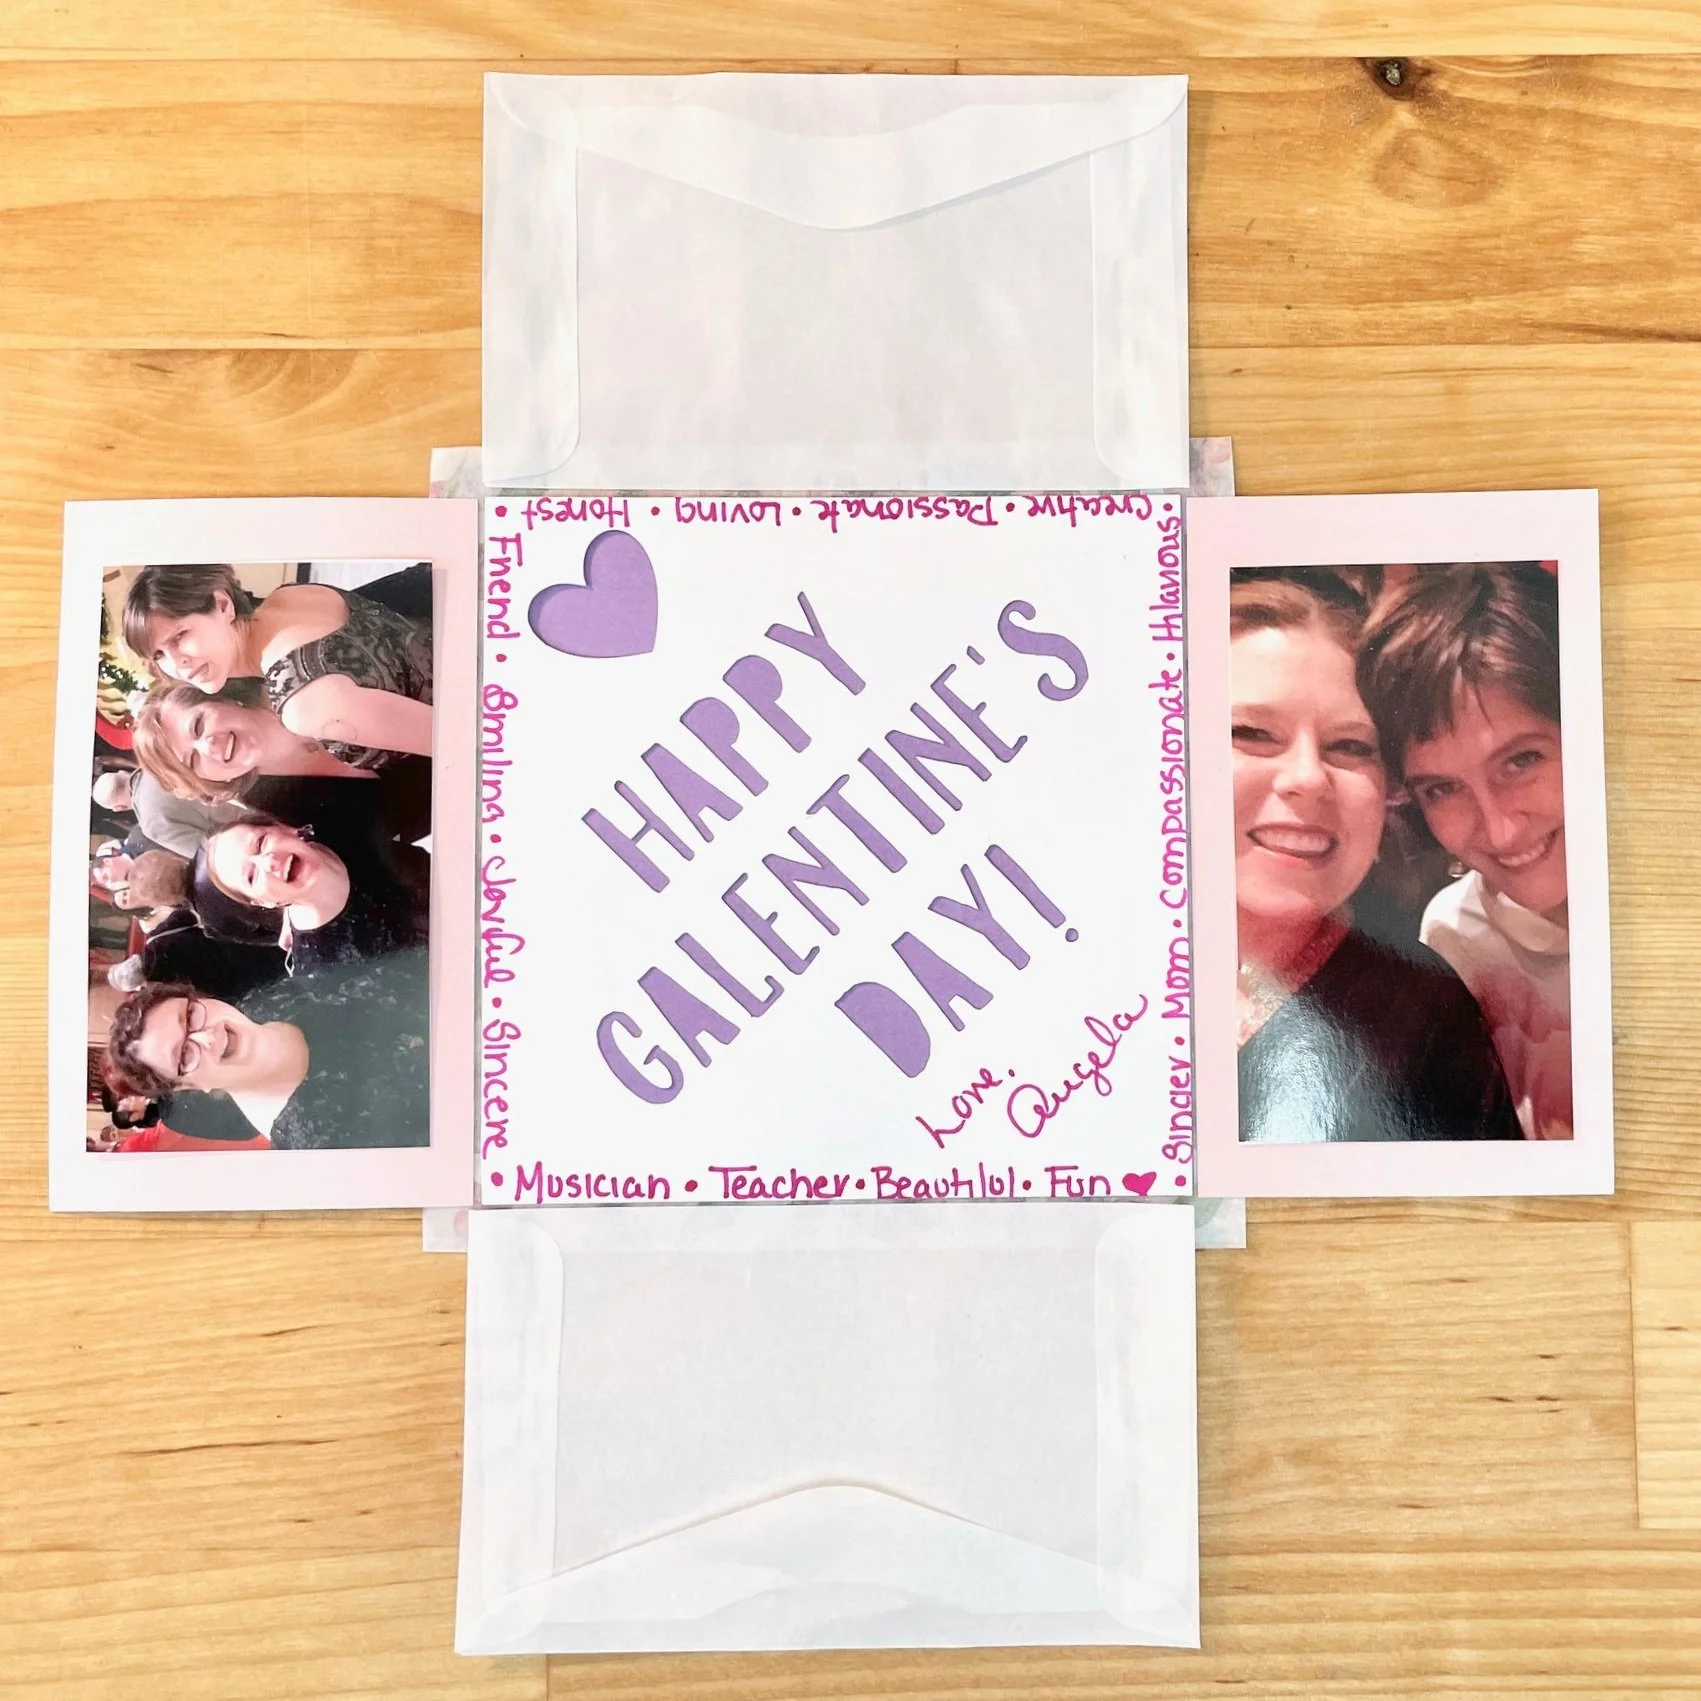
My favorite Galentines are spread all over the country, so I created these cards — sized perfectly for a special bar of chocolate — to show them just how much I love my besties. And I thought I would share them with you! So grab your Cricut and a few other choice supplies, and make your besties some creative cards.
Below you will find a Materials list and a video tutorial followed by step-by-step instructions.
The Cricut projects are saved in the Cricut Design Space. There are two versions: Galentine’s Day and Valentine’s Day. The instructions to make each is the same. Click the links below to access the files.
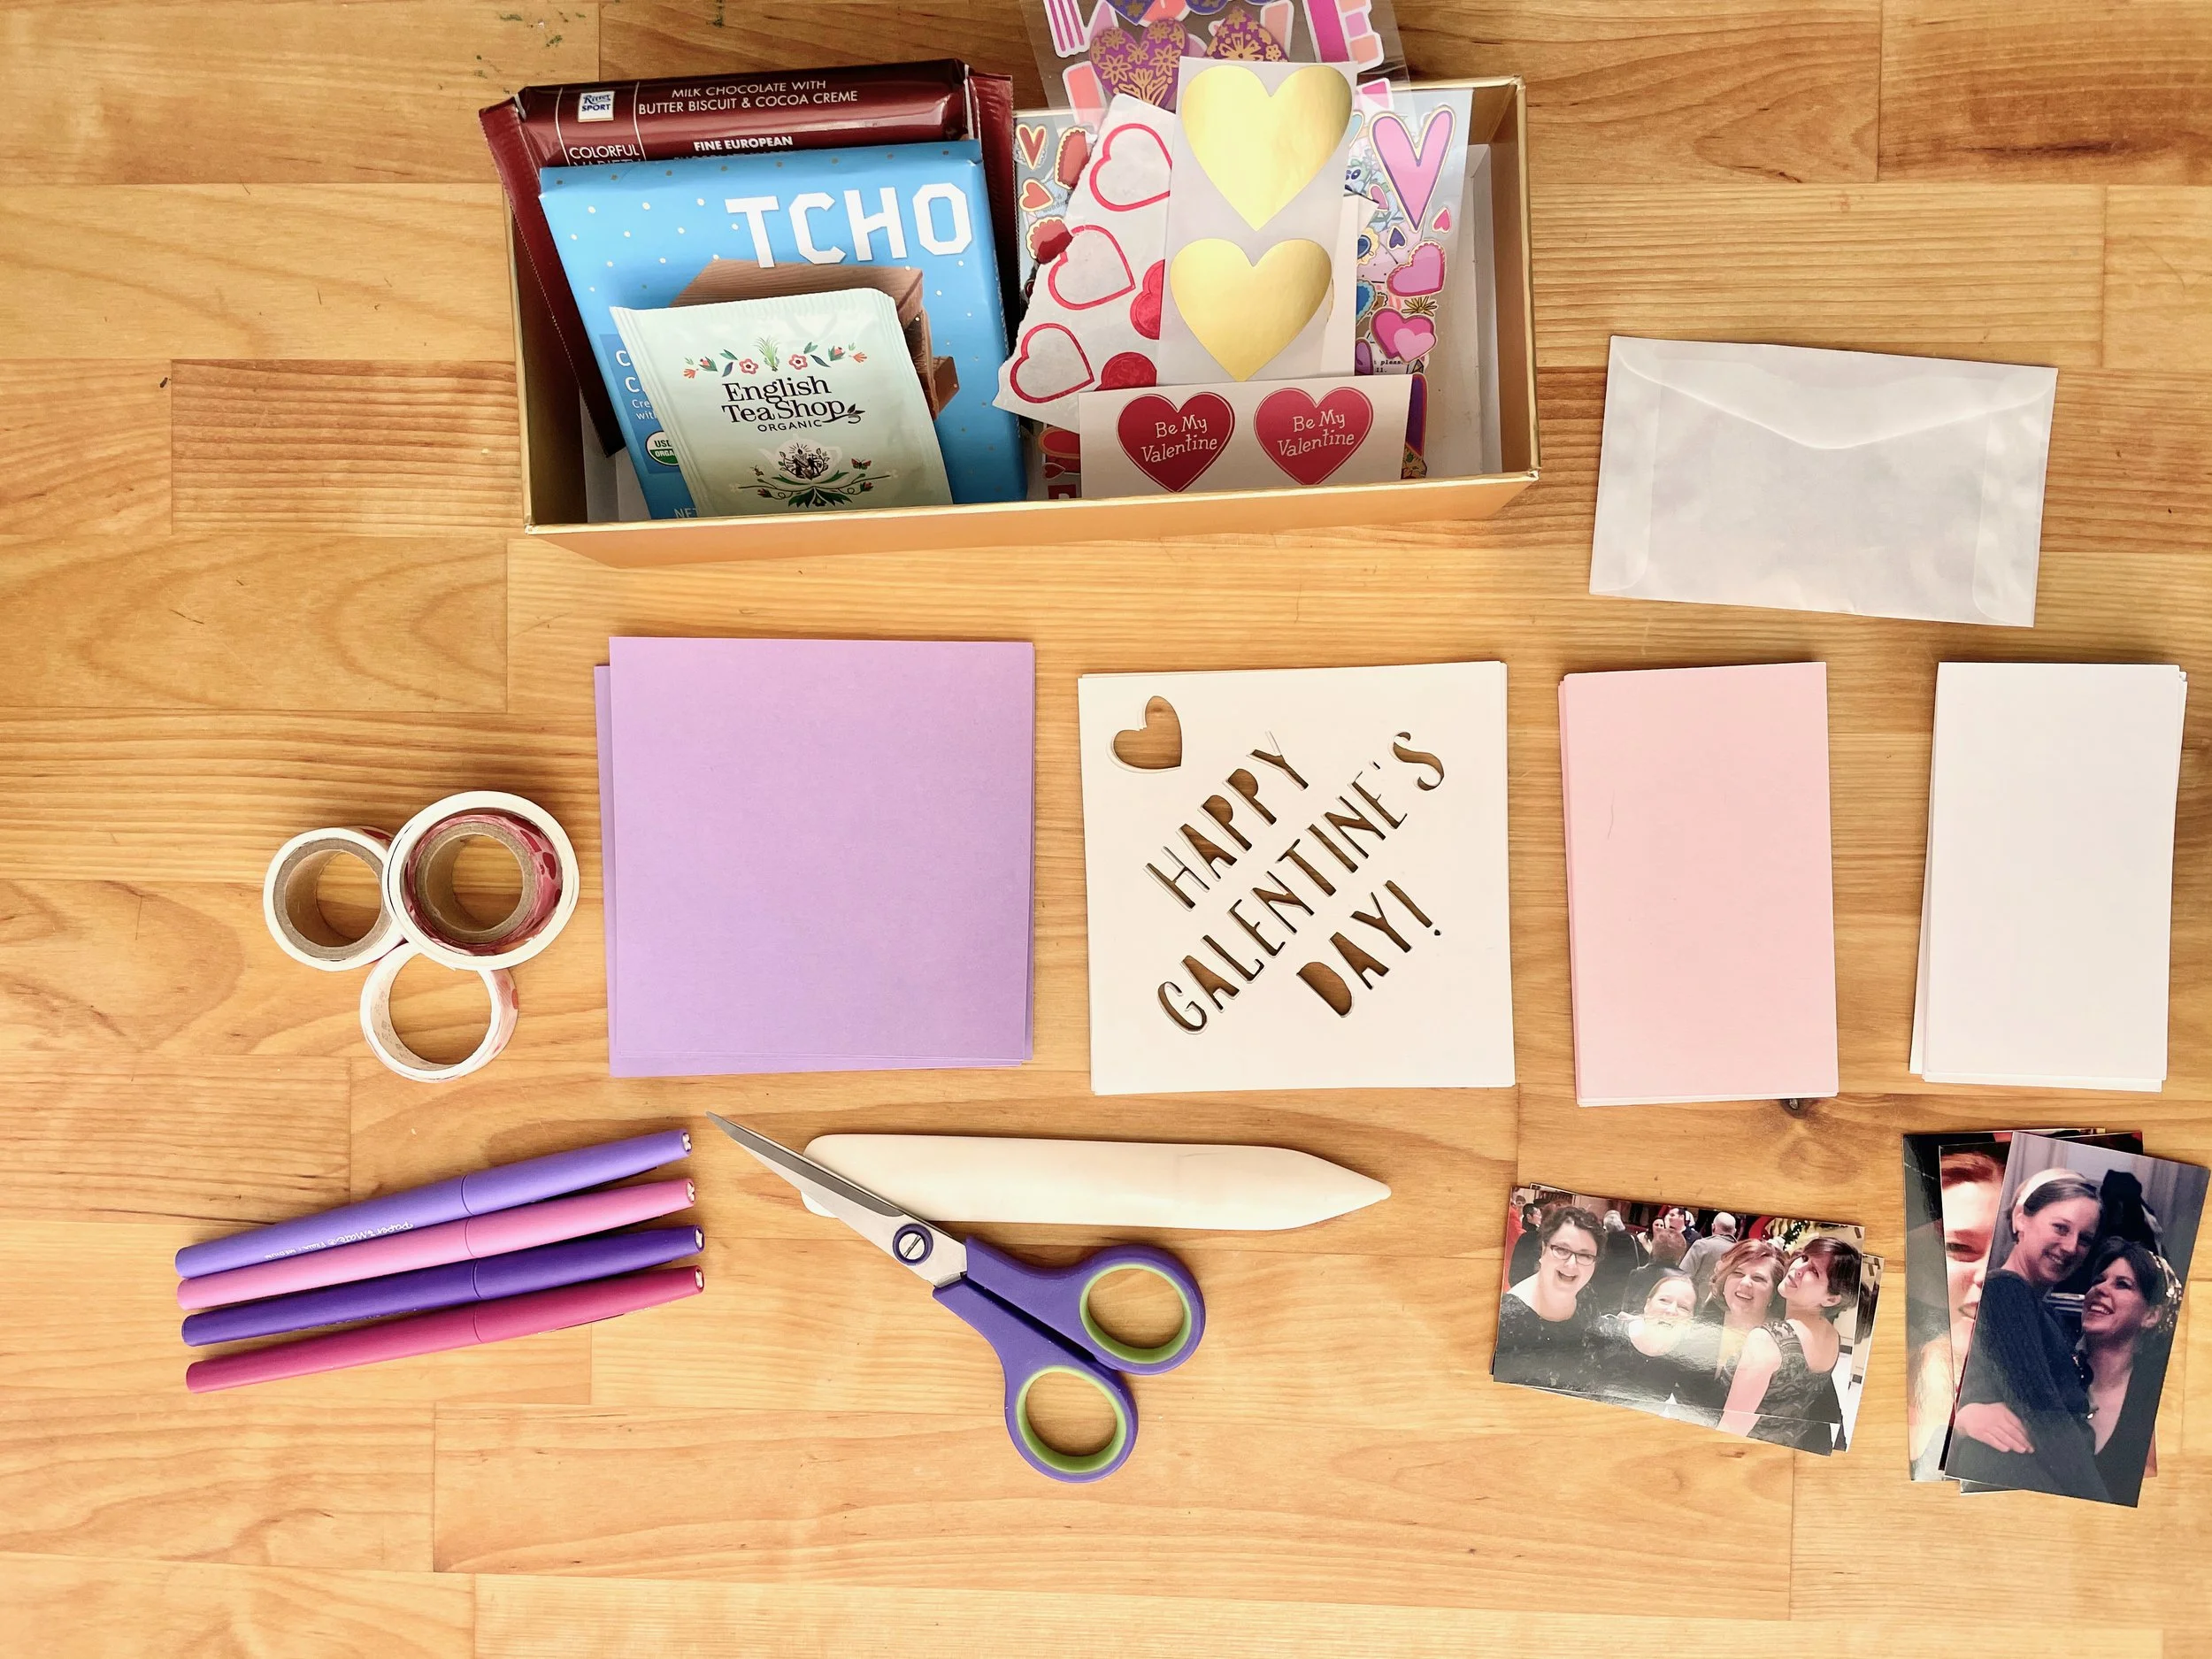
Materials
Colored cardstock. I used lavender, white, and pink, but use what you have!
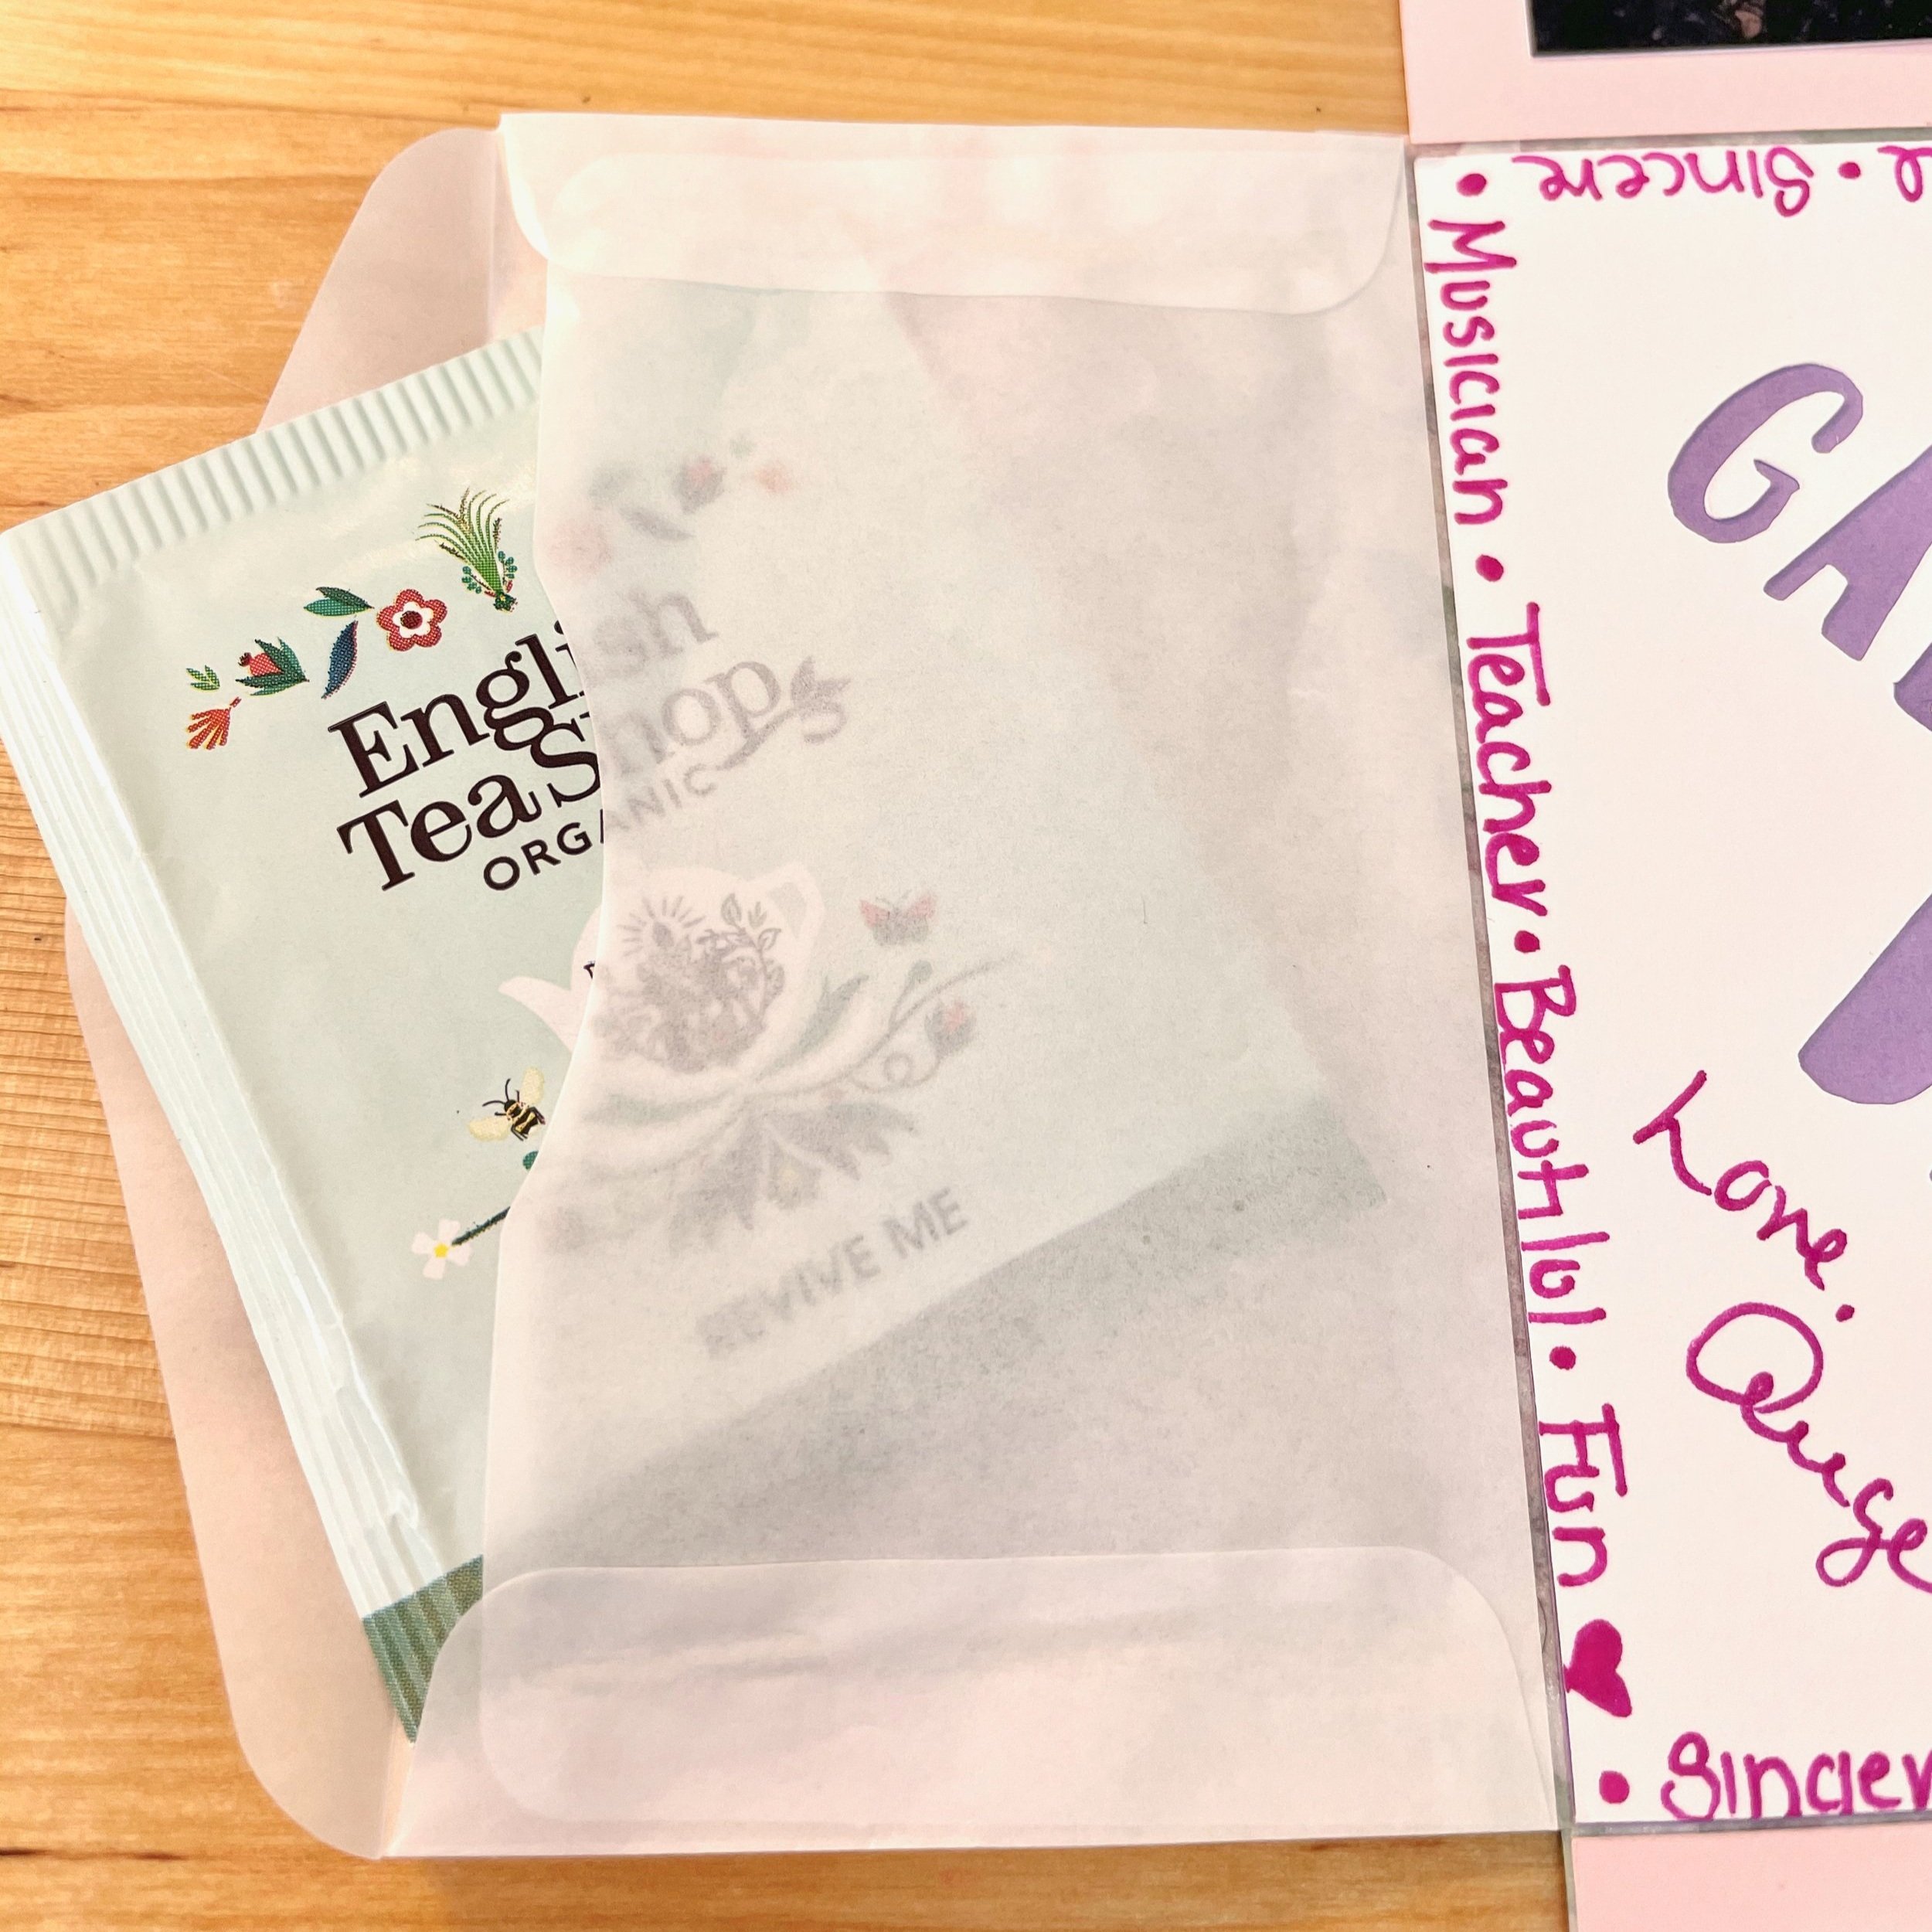
#3 Glassine envelopes (4 1/4” x 2 1/2”)
Printed photographs or a Canon Ivy printer
Square chocolate bars (Tcho or Ritter Sport)
a glue stick
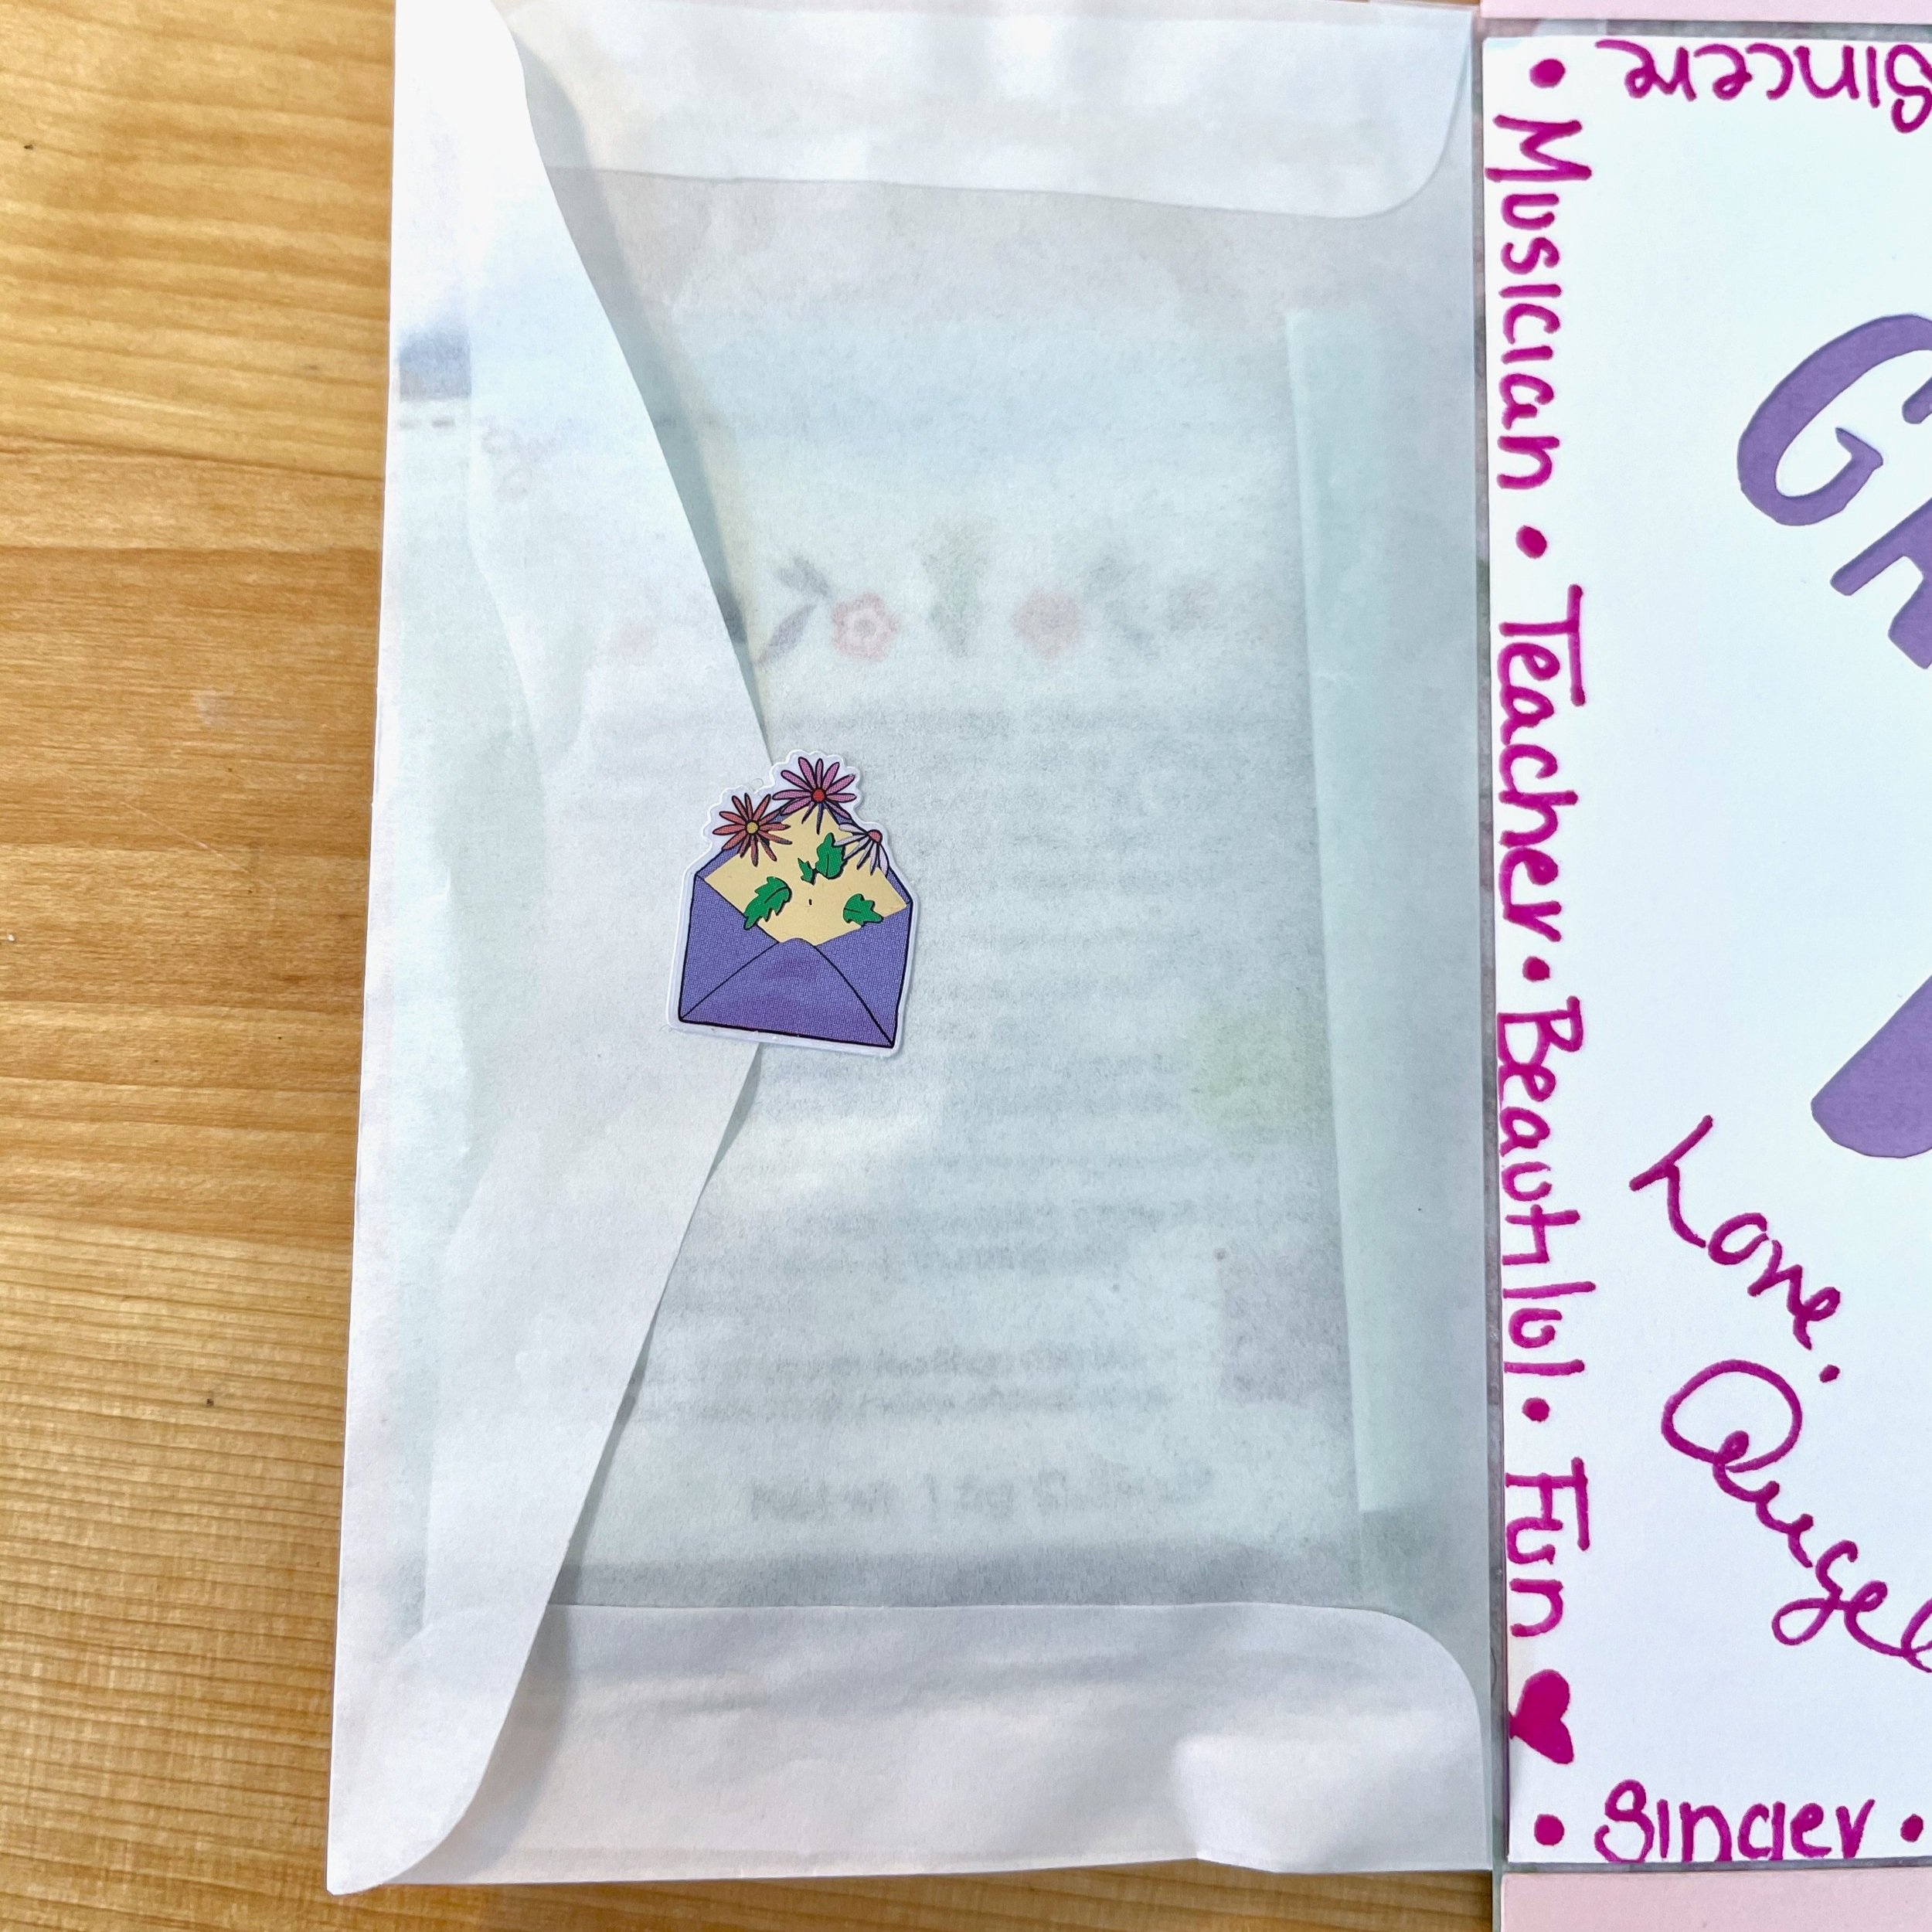
Tea bags, stickers, or other treats to fill the envelopes
a Cricut or a printer and cutting supplies
Scissors


A few notes
This project was designed around square chocolate bars. Obviously, you don’t have to include them as part of your Galentine! But the project dimensions were created with the Tcho or Ritter Sport bars in mind.
If you will be mailing these Galentines, be sure to include extra postage and put them into a sturdy envelope.
I have had both the Cricut Maker and Maker 3. I love them!
Video Tutorial
Scroll down for written step-by-step instructions.
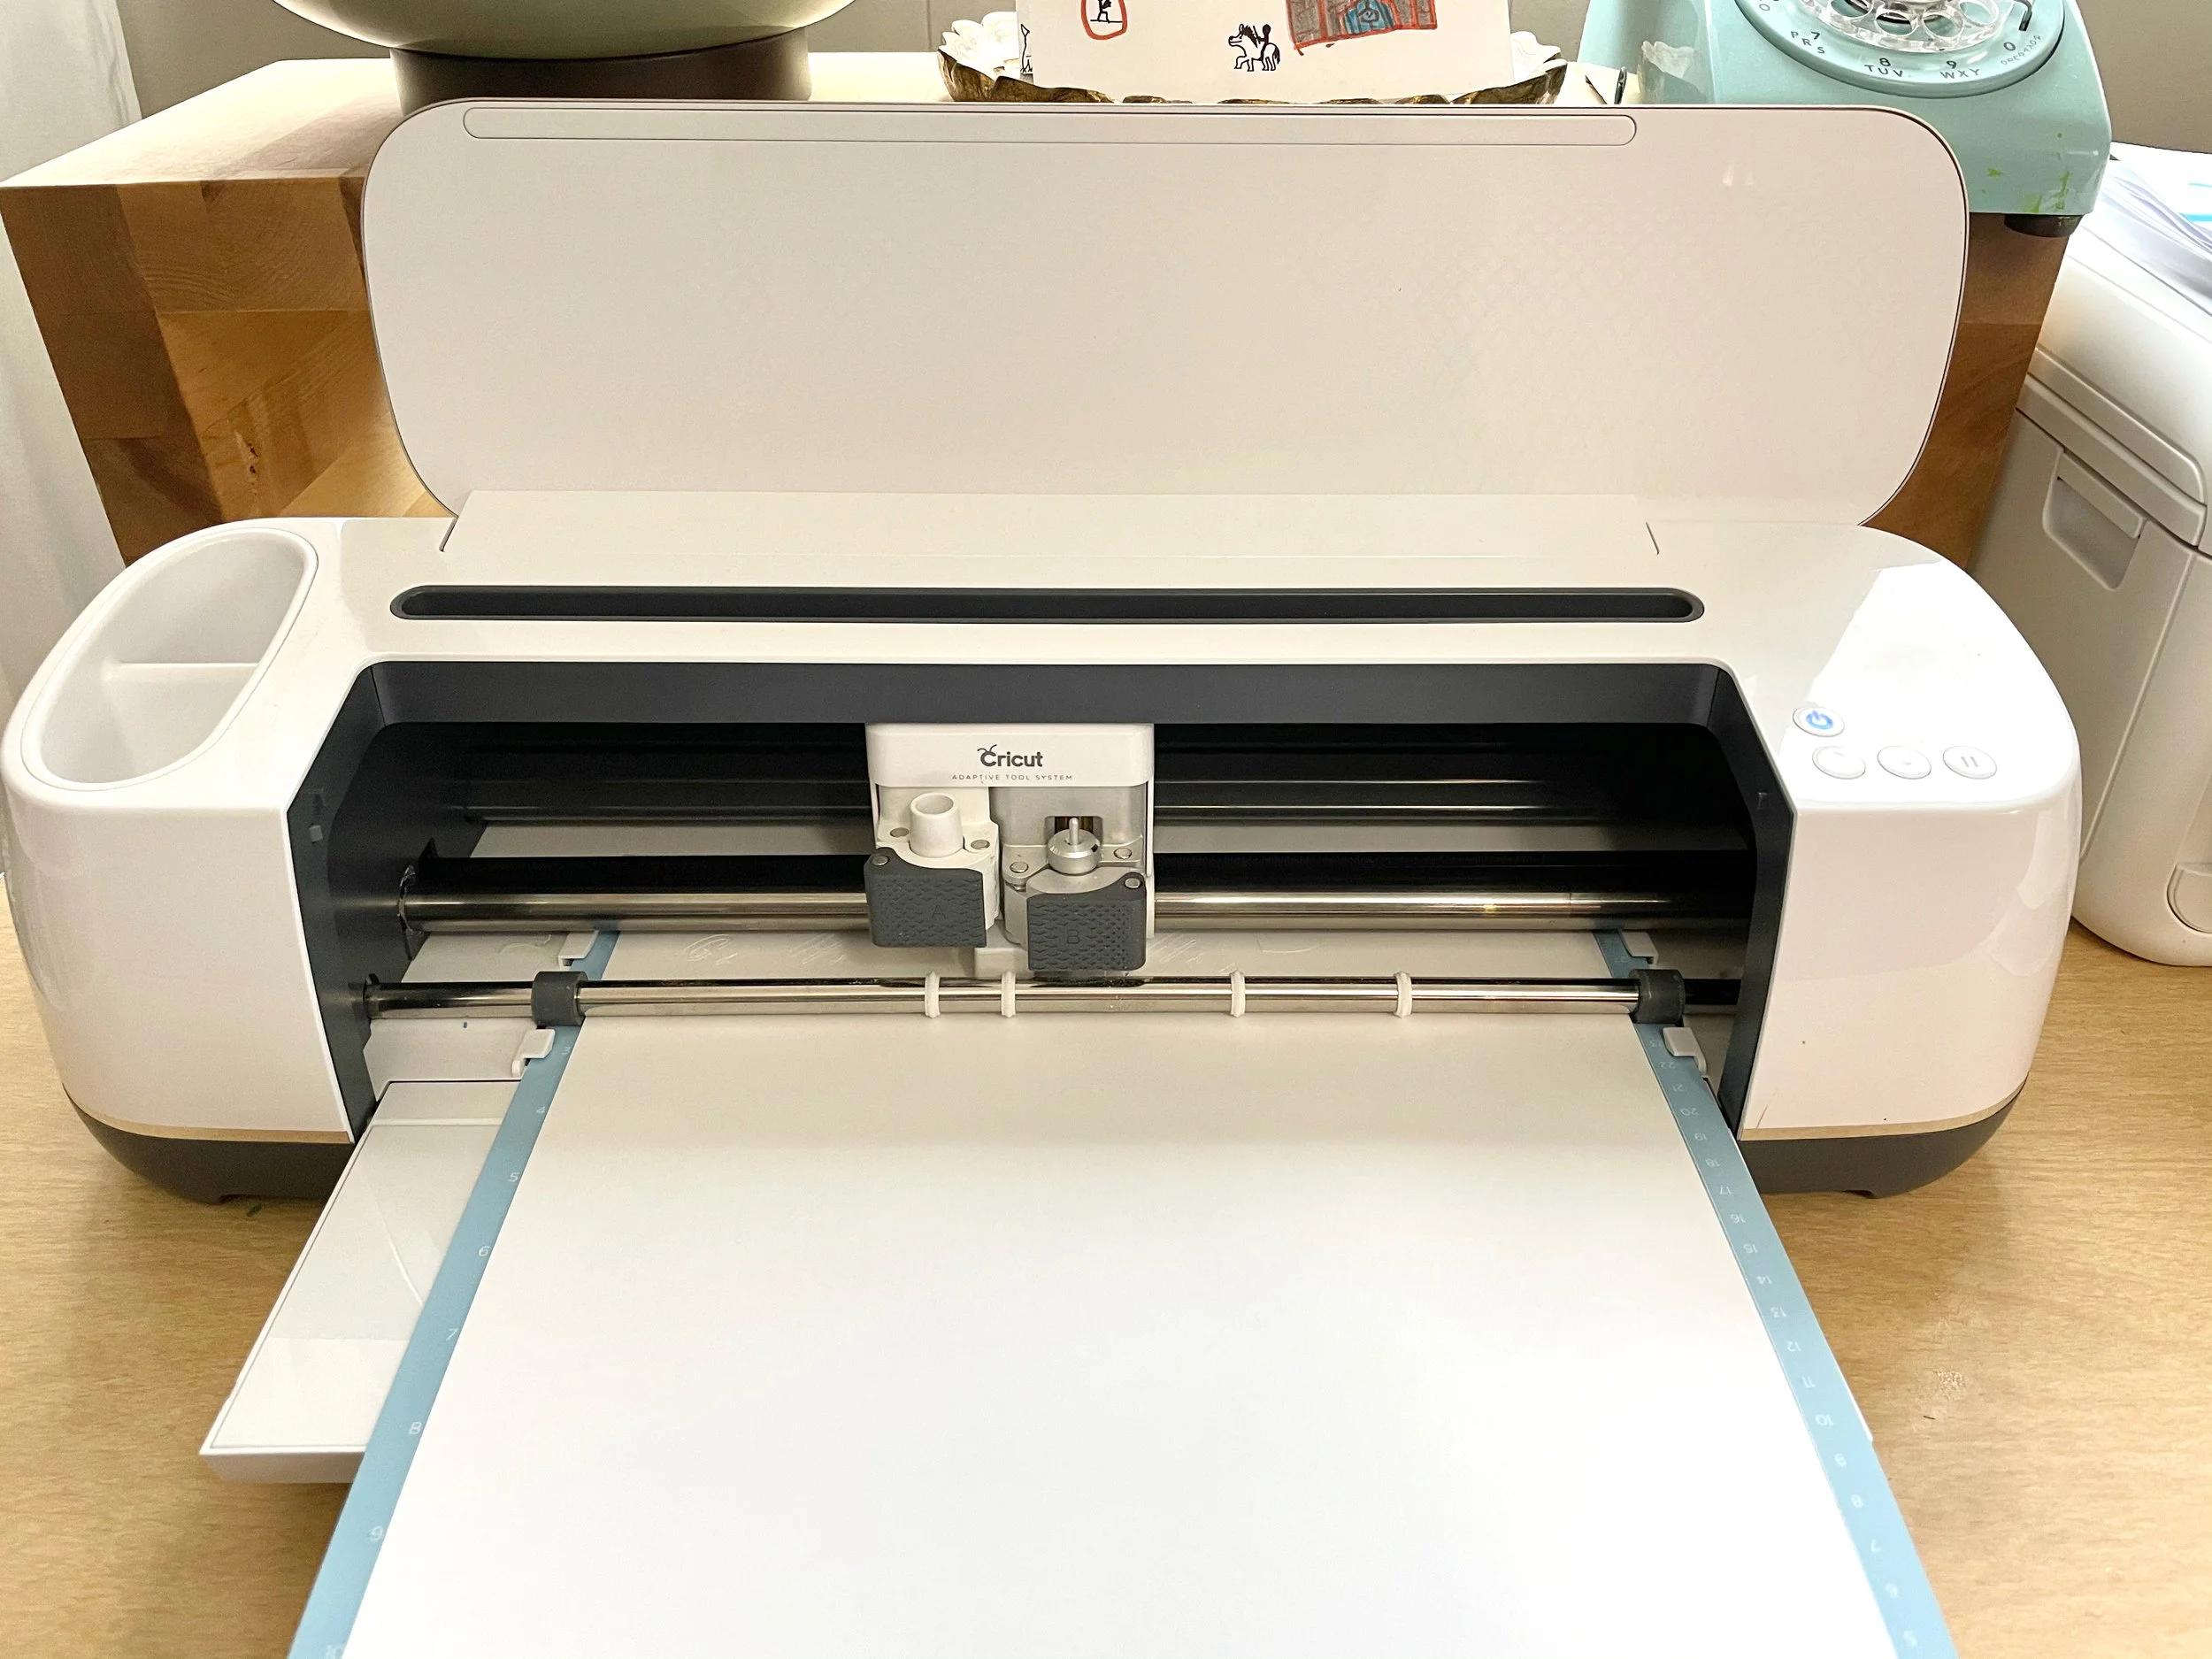
Cut the Card Pieces
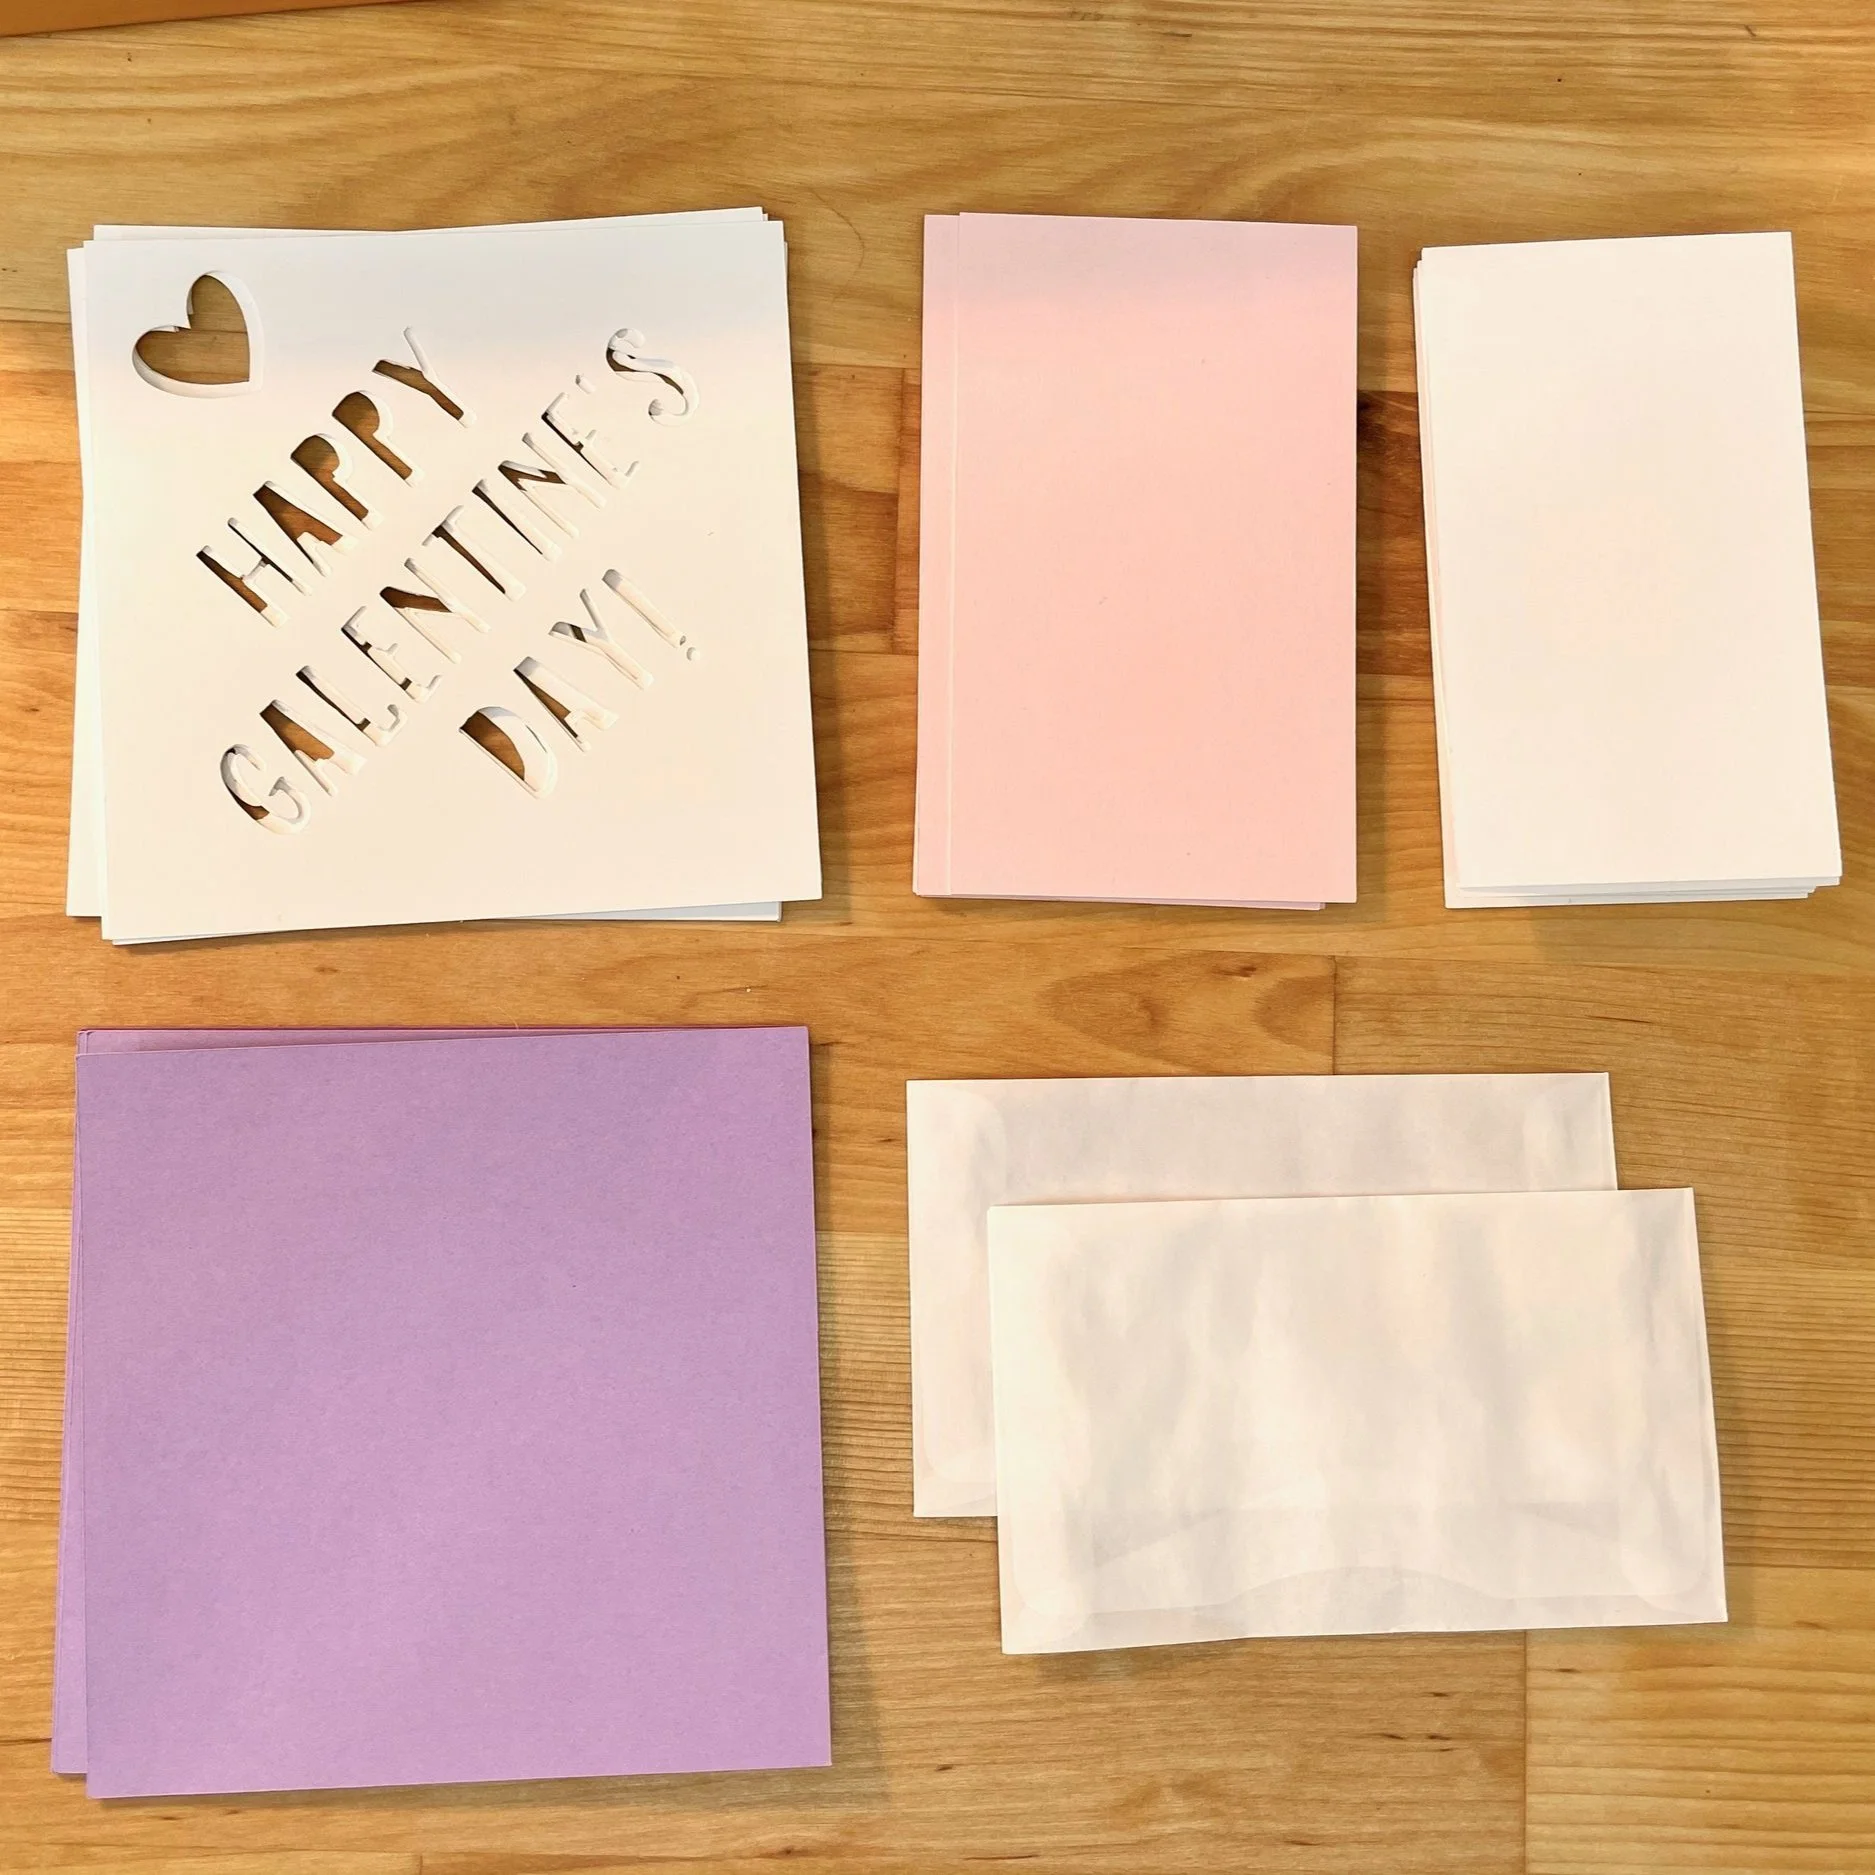
If you are using a Cricut, all of the pieces are laid out in the Cricut Design Space for you. For each card you will need:
1 Happy Galentine’s Day square (message square)
1 contrasting square in a different color (4.25” square)
2 larger rectangles (4.25” x 2.5”)
2 smaller rectangles (4” x 2.5”)
2 glassine envelopes
If you aren’t using a Cricut, just cut one square and print or write your message on the square.

Glue the Squares
Write a message as desired on the message square. Then glue the message square to the contrasting square using a glue stick.

Glue the PHotographs
Stick or glue down the photographs to the larger rectangles. I trimmed the photographs to 4” x 2.5” which centered perfectly on the larger rectangles.

Apply Washi Tape
Apply washi tape to all four sides of the contrasting square sticking it to the back of the square. It’s ok if it overlaps at the corners. You can trim that once the card is assembled.

Add Large Rectangles
Taking care to line them up, add the large rectangles with the photographs on opposite sides of the square.
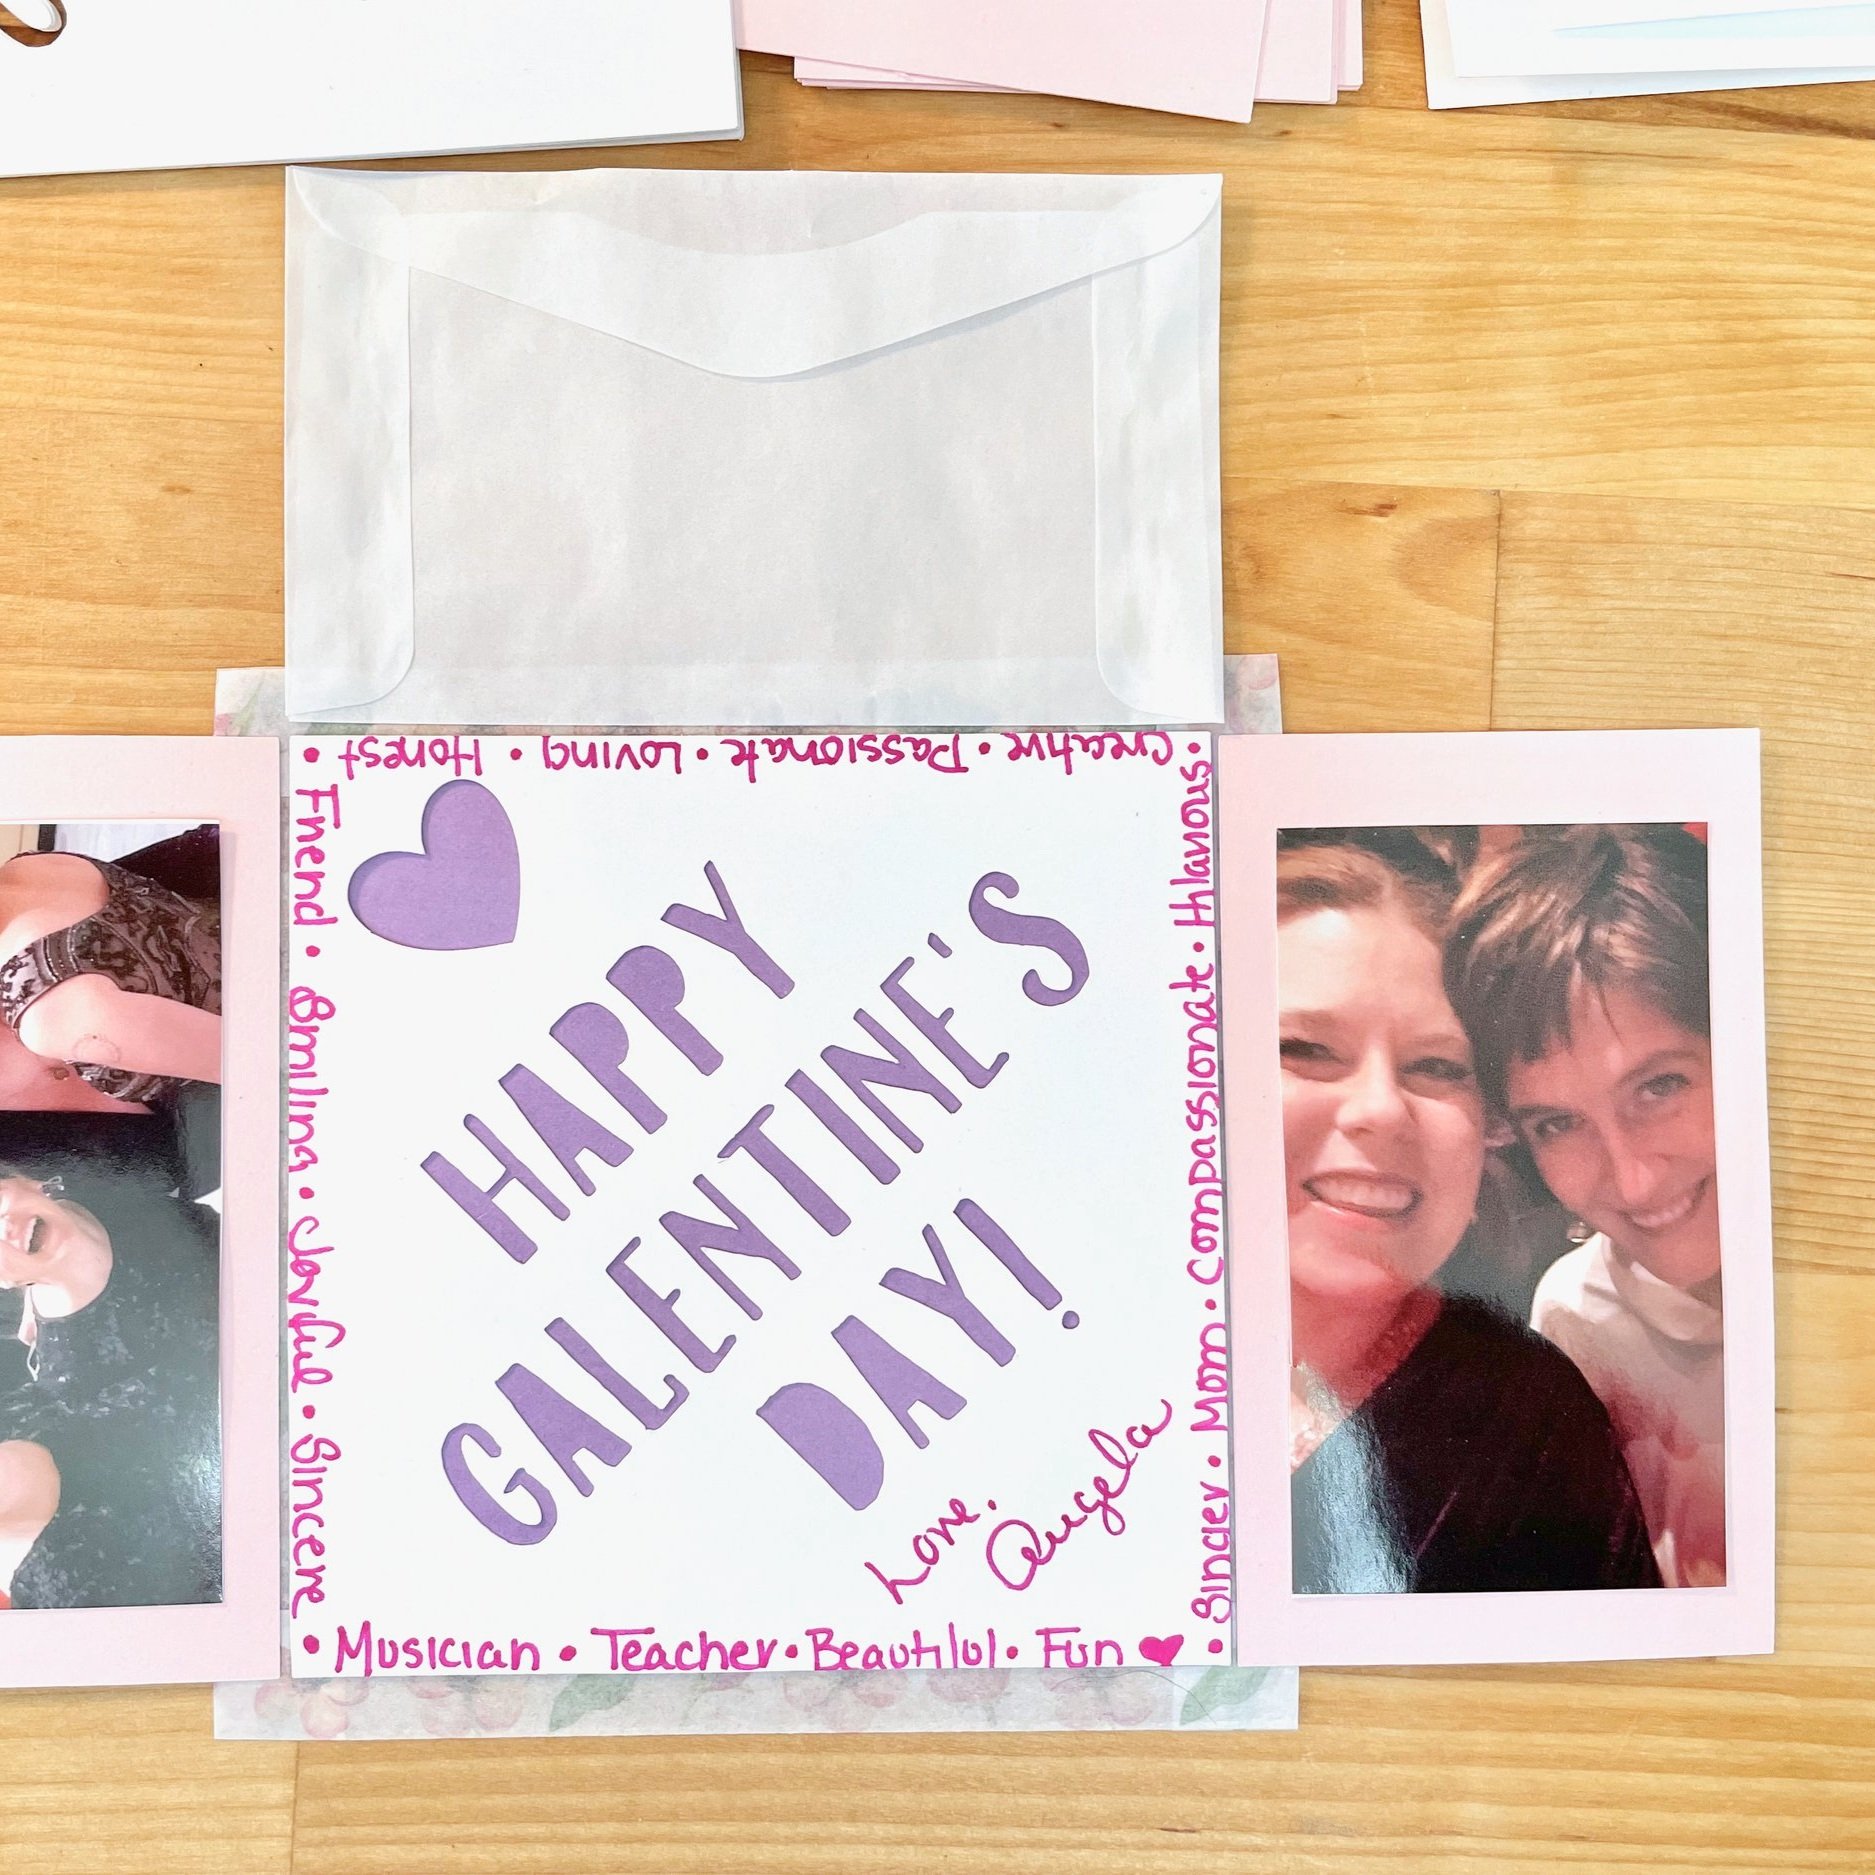
Add Glassine Envelopes
Line up the glassine envelopes on opposite sides of the square. Ensure that all pieces have good contact with the washi tape.

trim excess tape
Using scissors, clean up the washi tape at the corners and edges.
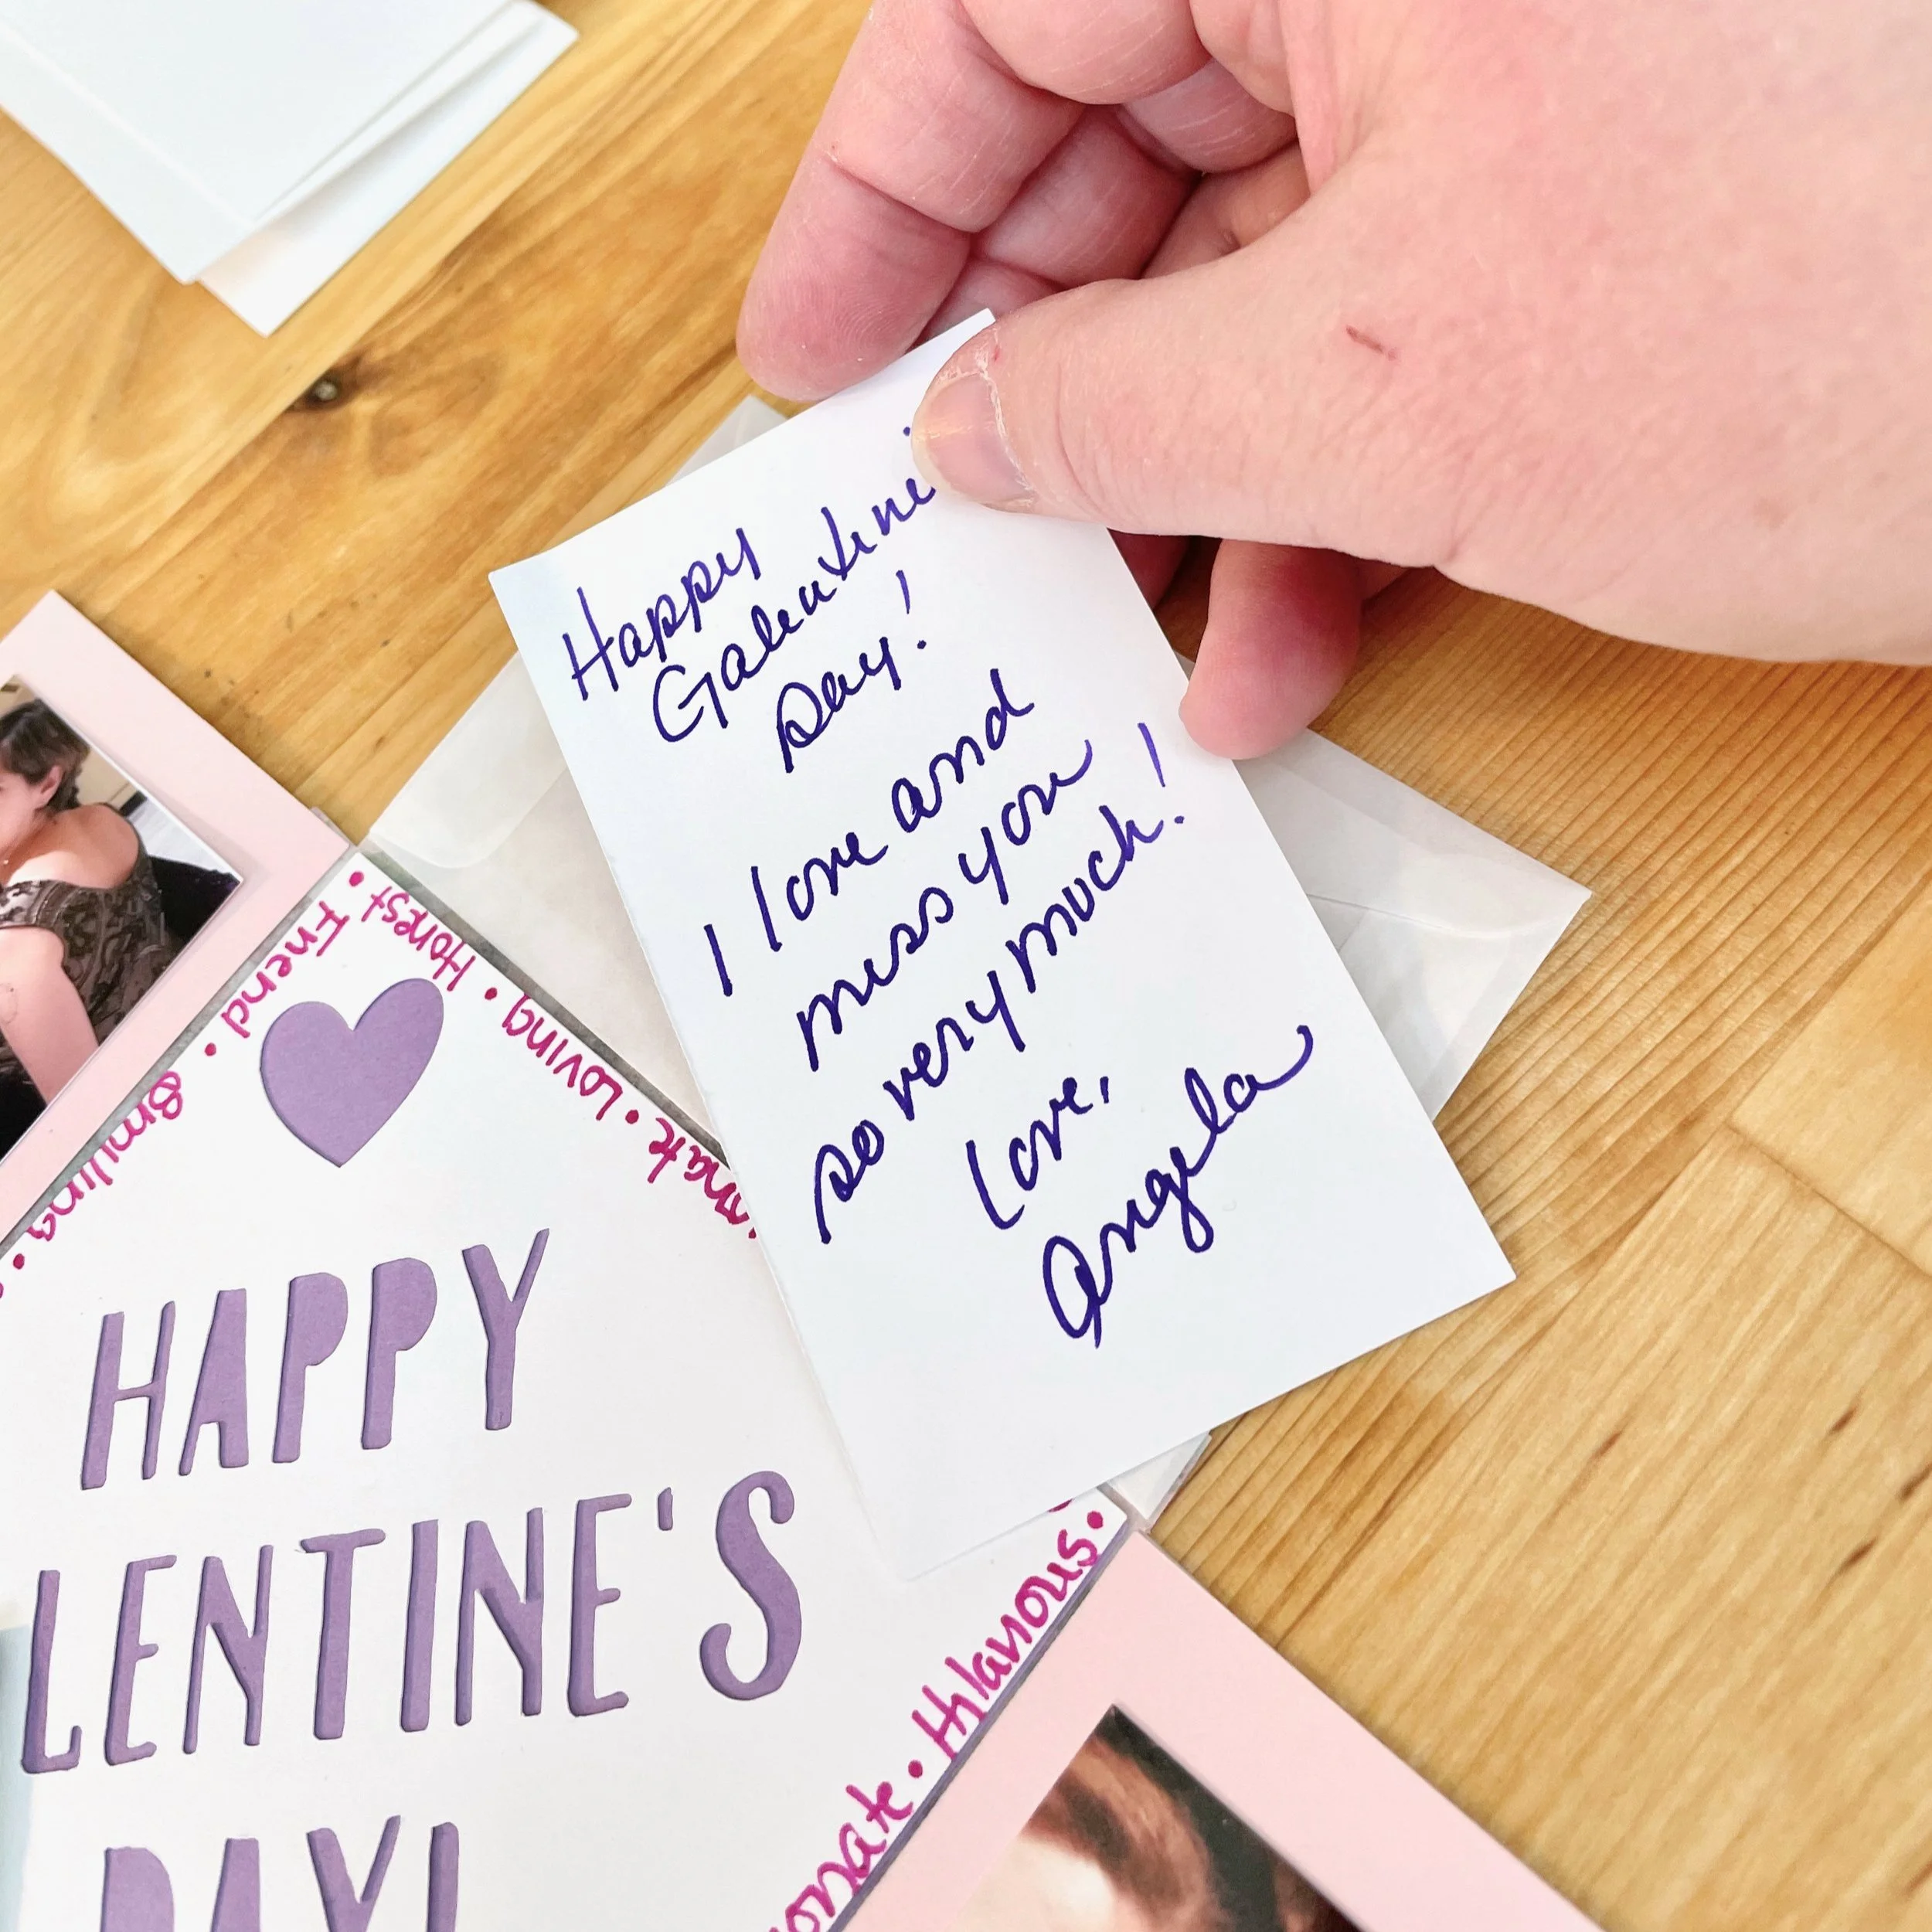
Write Notes
Use the smaller rectangles for a personal note to tuck into one of the envelopes.
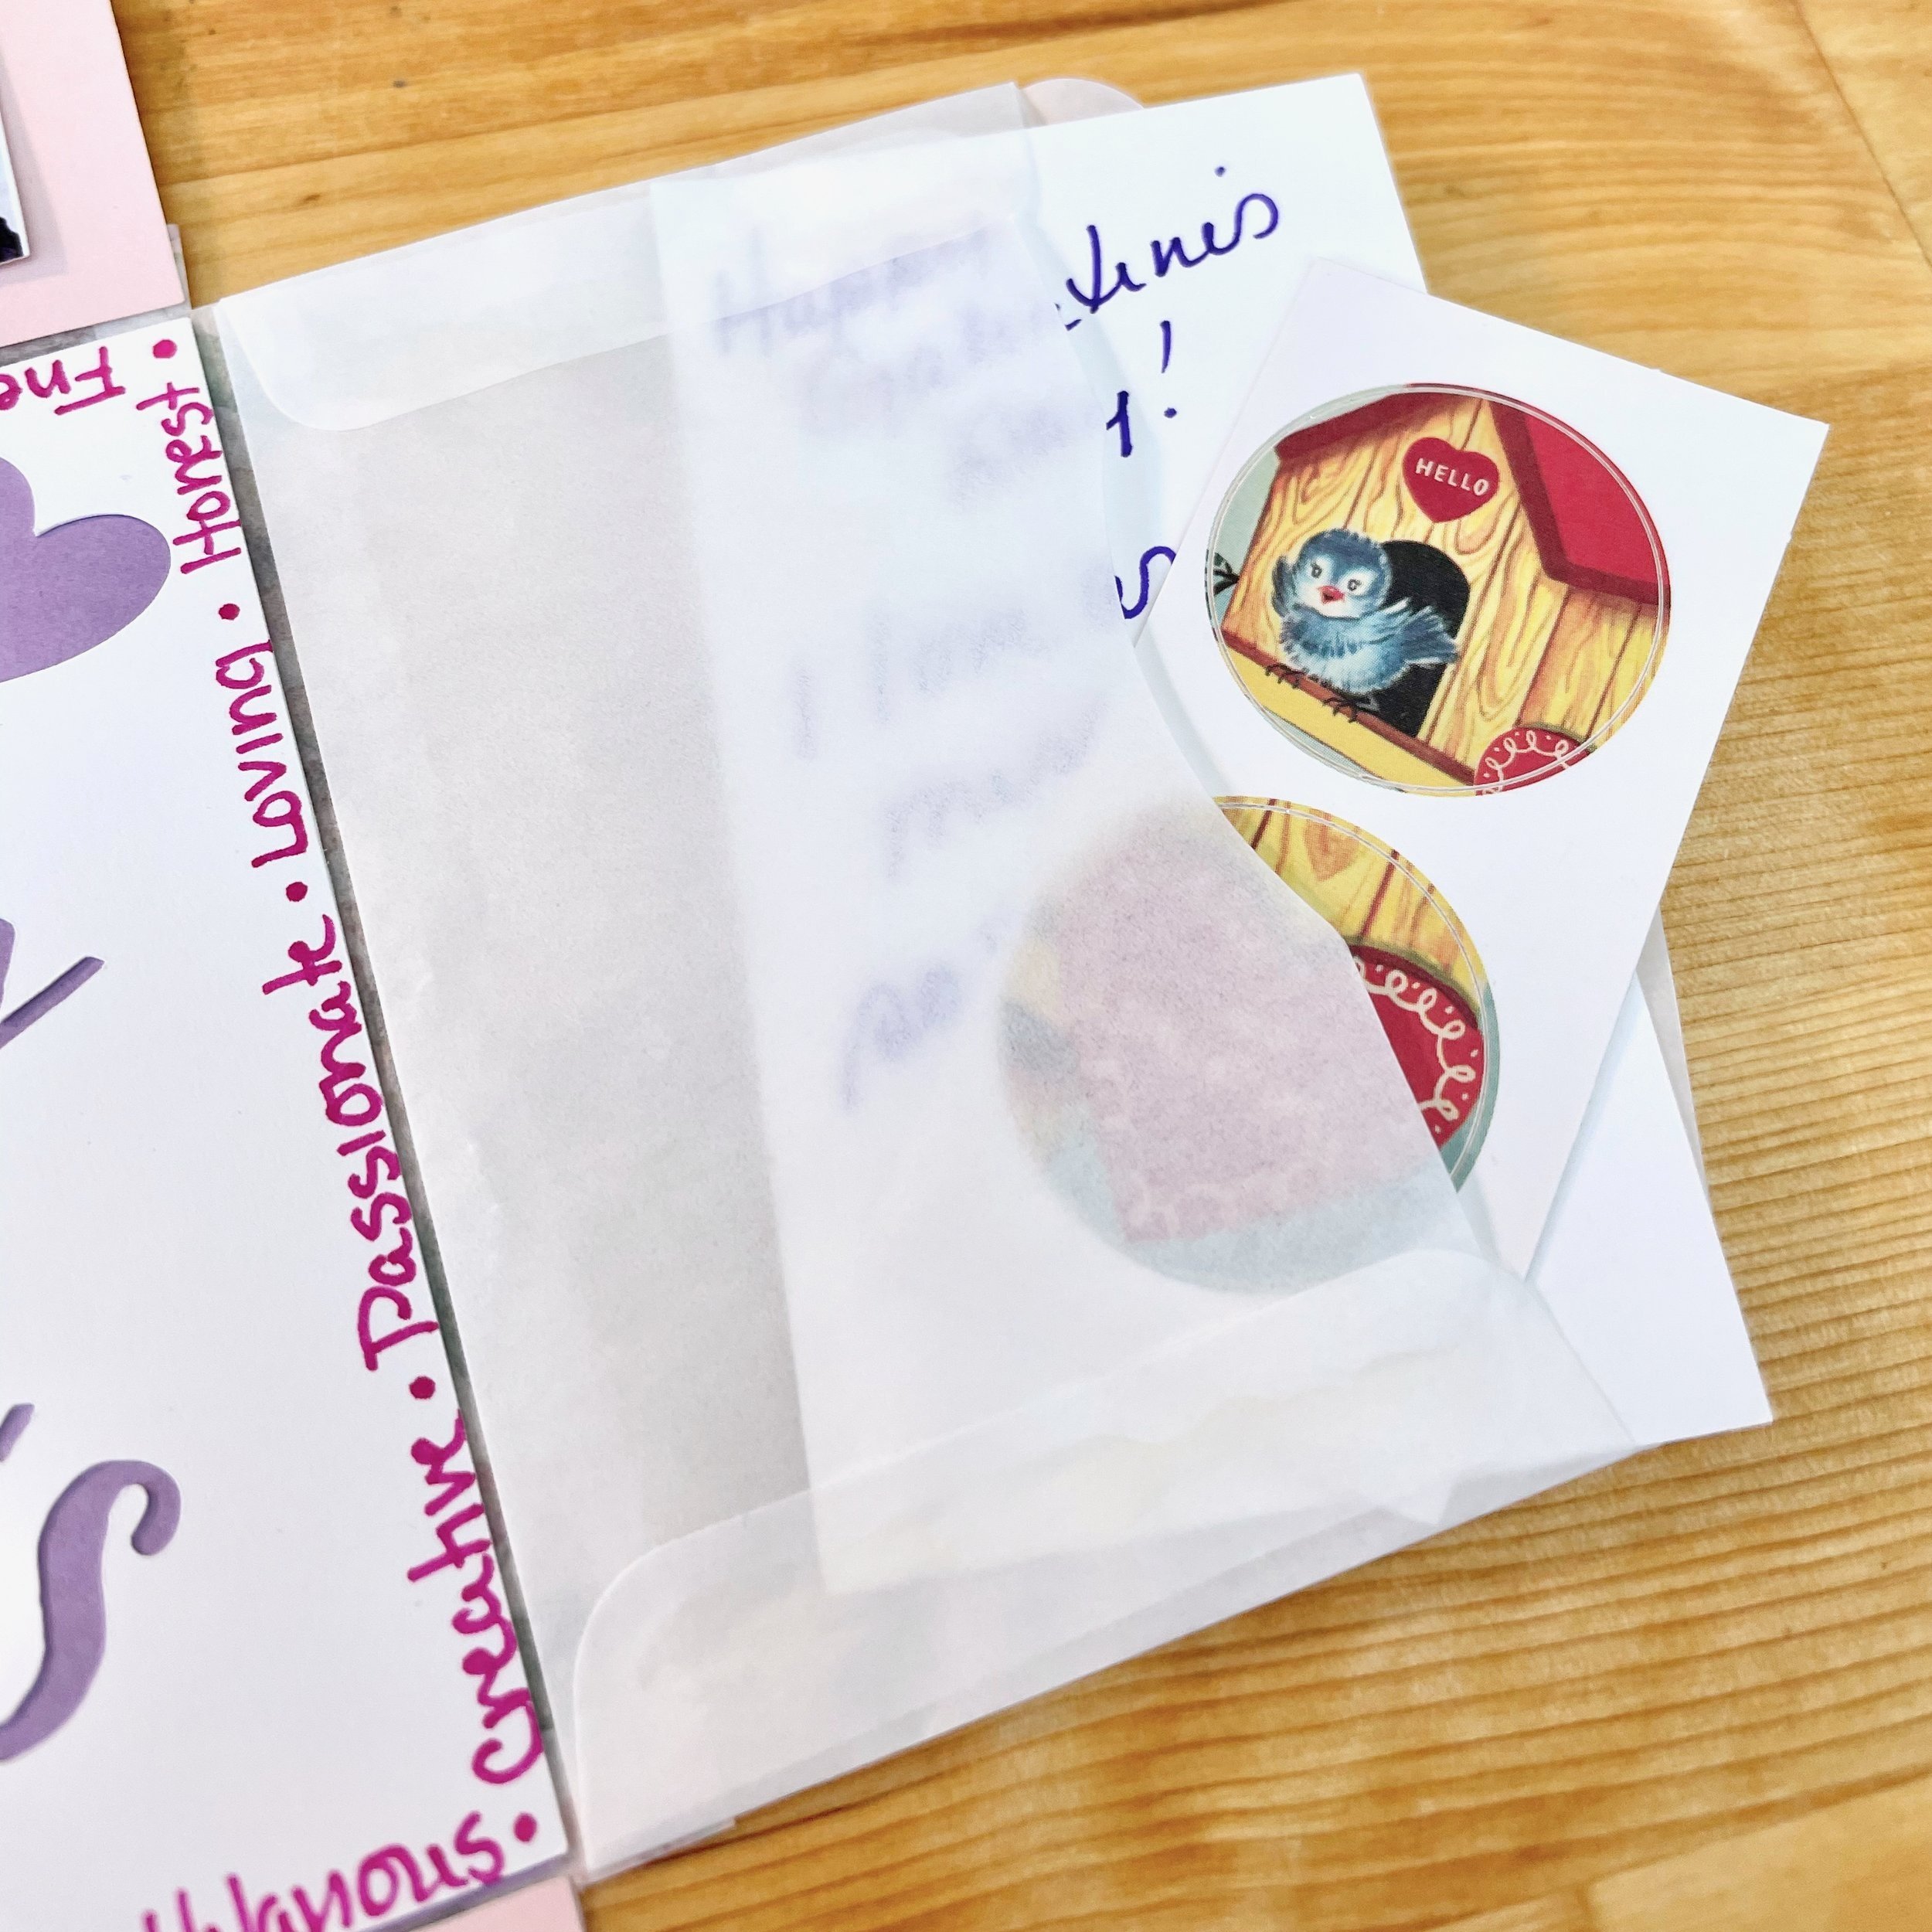
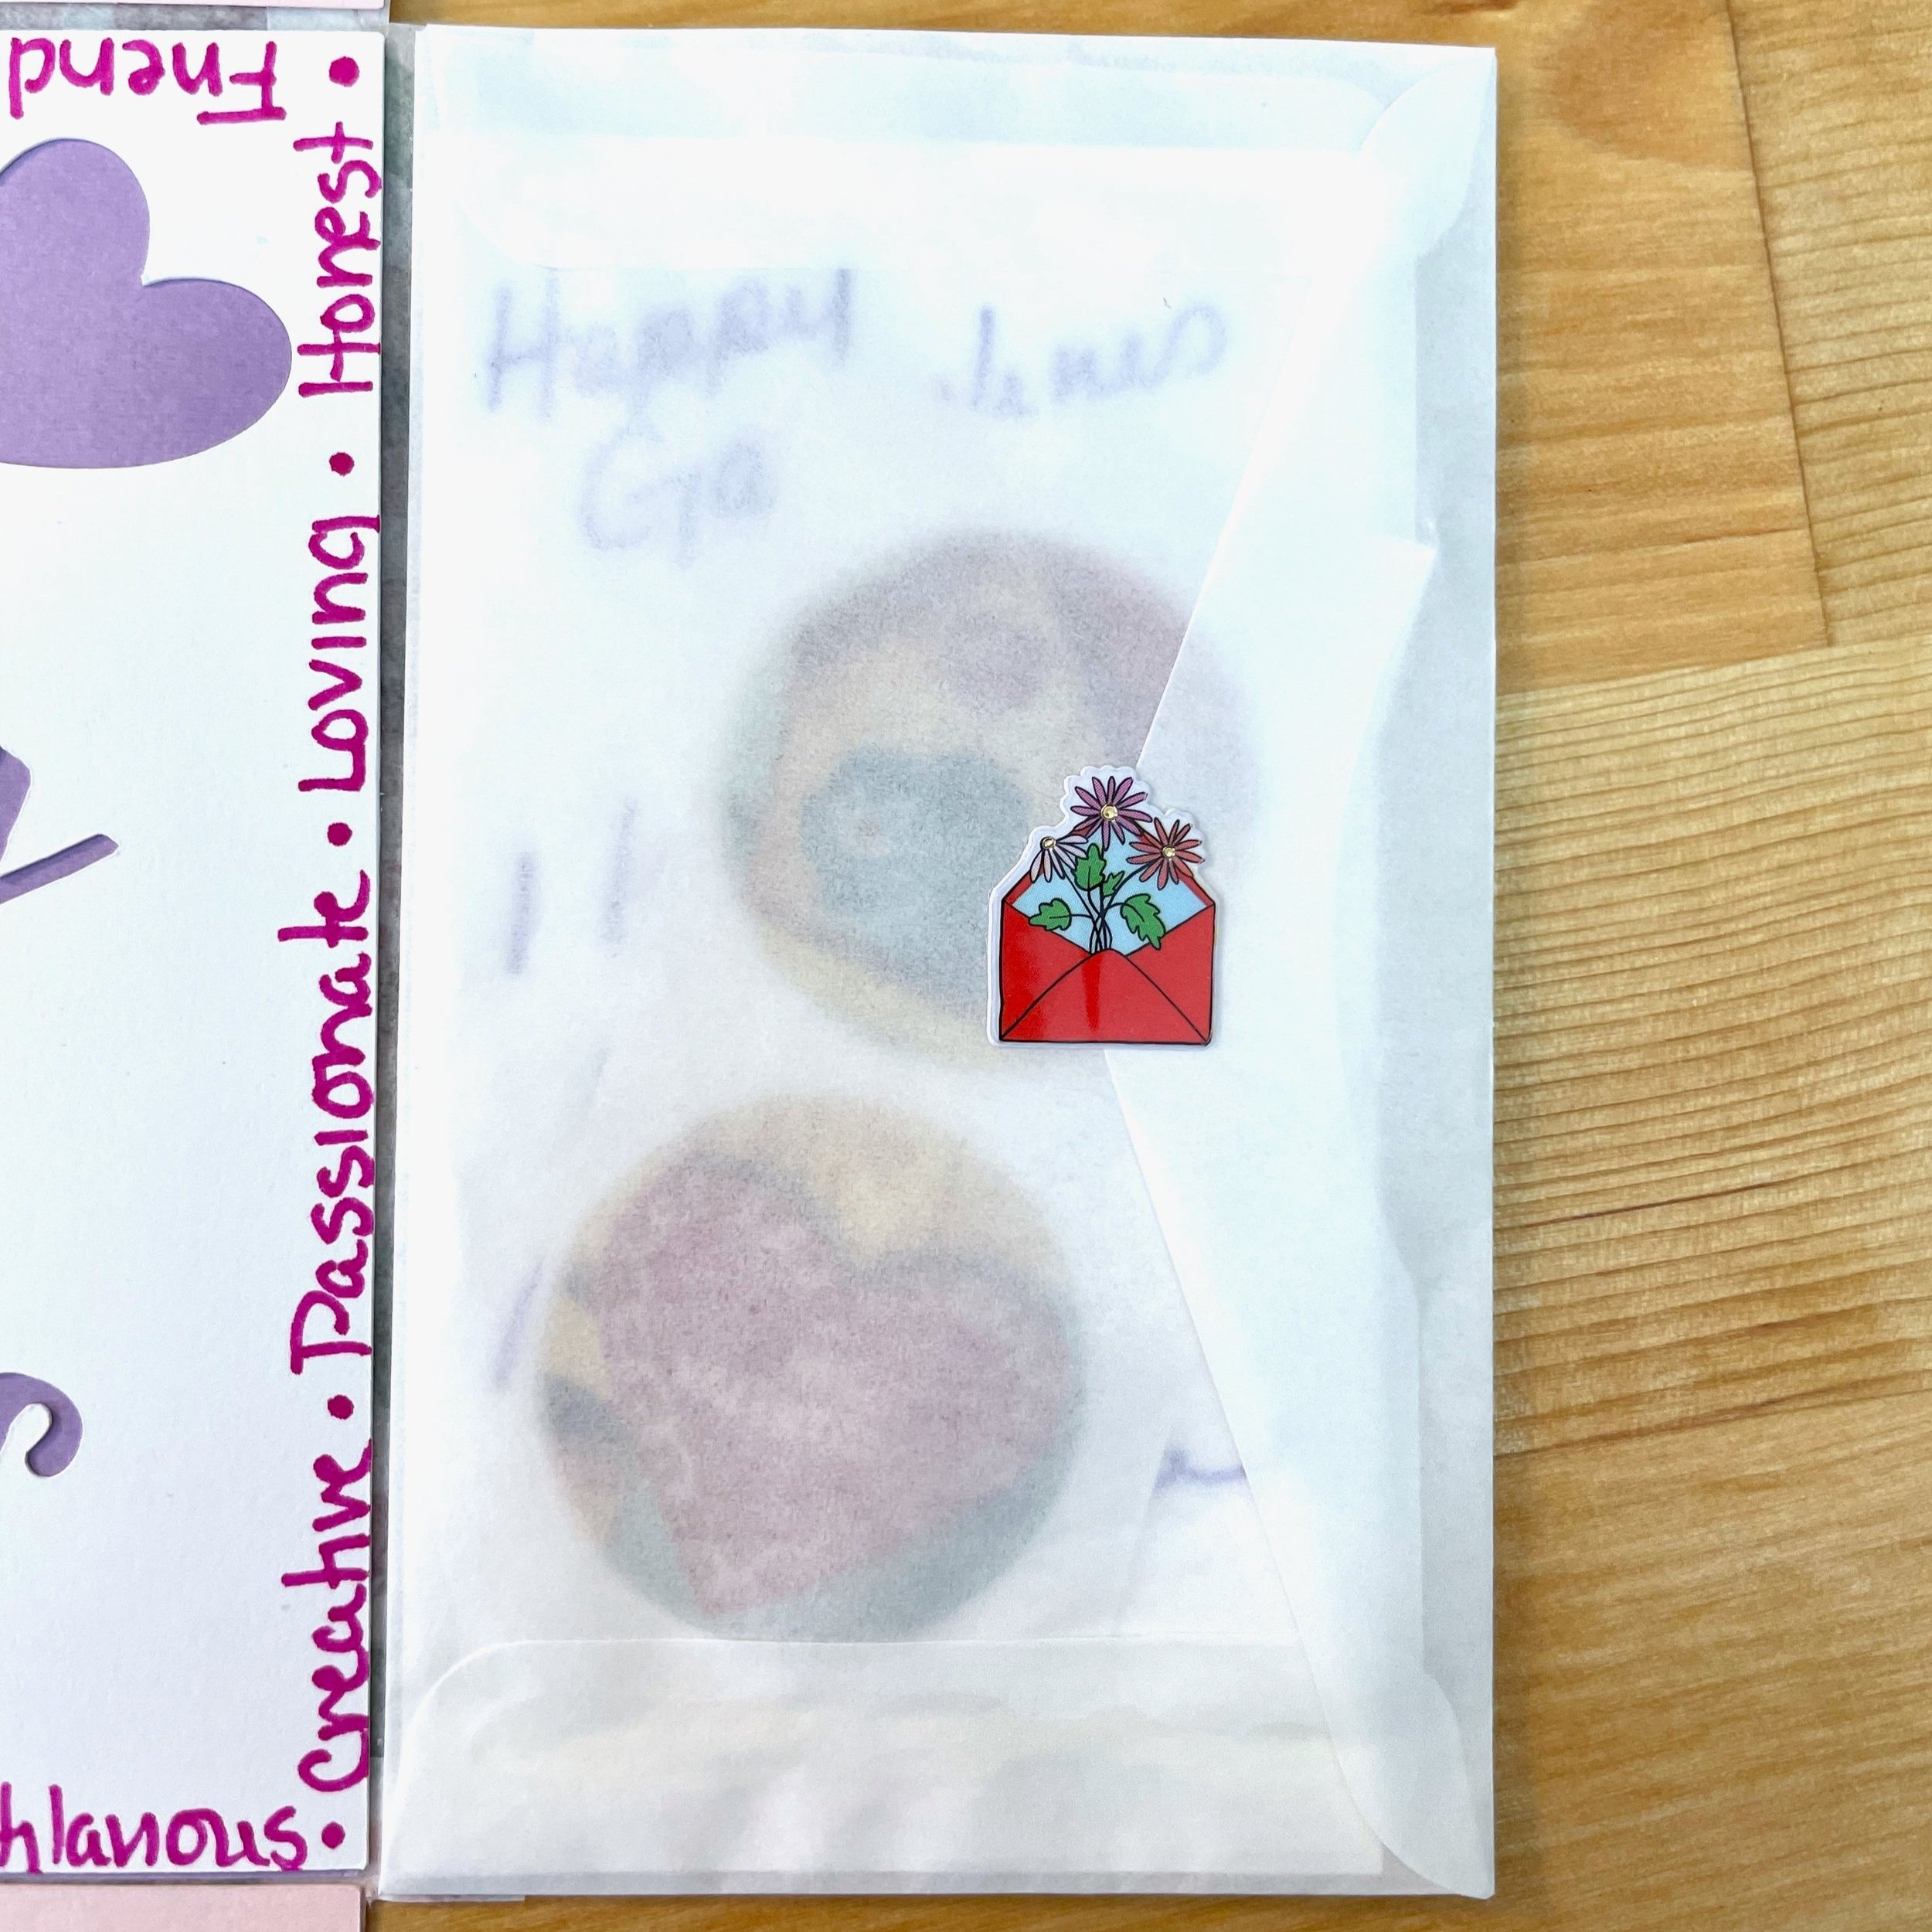
Add treats
Tuck a tea bag, stickers, or any other fun, small treats into the envelopes and seal with a sticker.

Fold in the photos
Fold the photo flaps inside first. Seal with a sticker.

Fold in Envelopes
Now fold in the envelopes. Seal these with a sticker as well.

Add Chocolate!
You can hot glue the card to the chocolate bar wrapper if you want it to be secure. Or tie the whole package up with a bow if you are giving it in person.

Address & Mail
If, like me, you have to put them in the mail, be sure to add adequate postage to accomodate the weight of the chocolate and the square envelope (which carries an additional charge).
Happy Galentine’s Day! Wishing you each a happy day of friendship and love!
