
DIY Face Mask with Ties

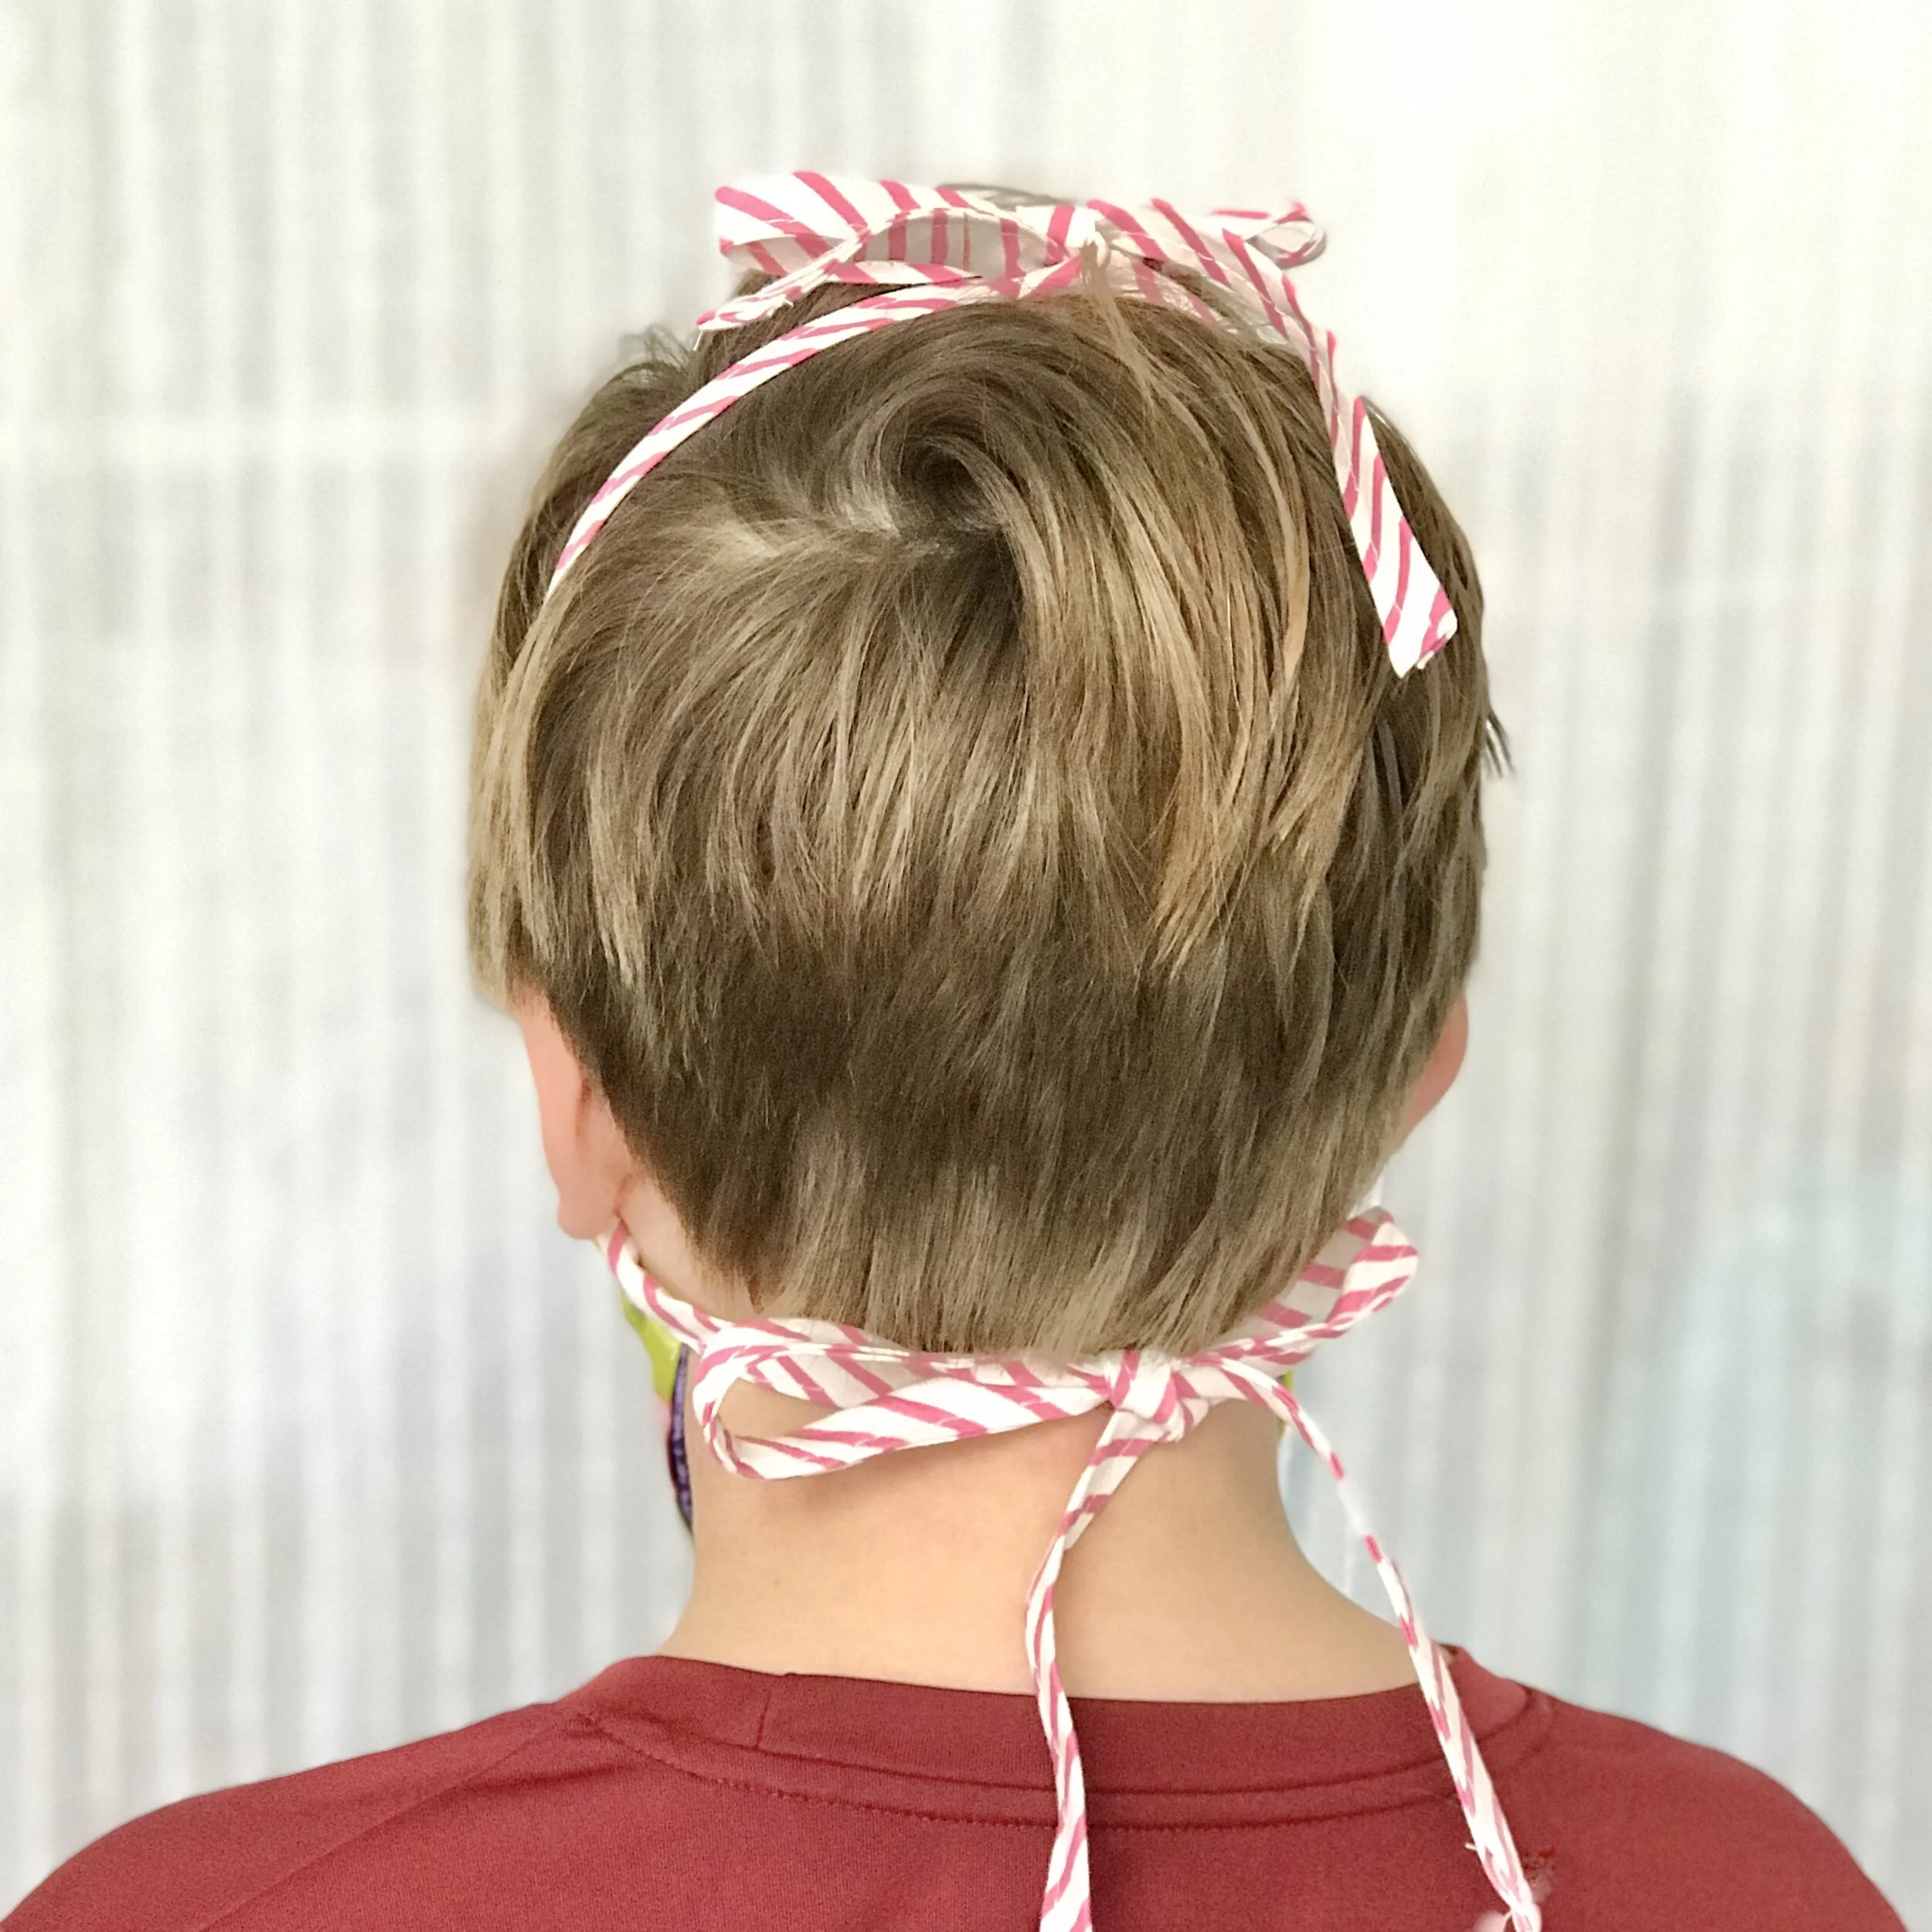
Bias Tape or Ribbon
Bias tape or ribbon ties should be long enough to tie over the top of the head and then at the back of the neck. They can also be held securely in place using barrettes or other hair accessories as needed.


The Basic Face Mask
The face masks I ended up being happiest with are based on the instructions from Vanderbilt University Medical Center. I chose this design for several reasons. It is simple to make. I could use items I already owned. It is adaptable for different face sizes and shapes. And my local hospitals will accept donations of this kind of mask as well. I made several small adjustments to the design, however, to accommodate the different materials I have on hand to use and to create a filter pocket.
Additionally, I felt the measurements they provide are a little on the small size, so I made our masks slightly bigger for better face coverage. Maybe we just have big faces! Once you have the basics down, however, you can adjust yours for your own family. Just be sure the mask fits securely over the nose and extends past your chin. You also don’t want gaping on the sides of the mask.
Here are the basics: you are making a rectangular mask with two layers of fabric and an interior pocket for a filter. It an be fastened to the head in a variety of ways.
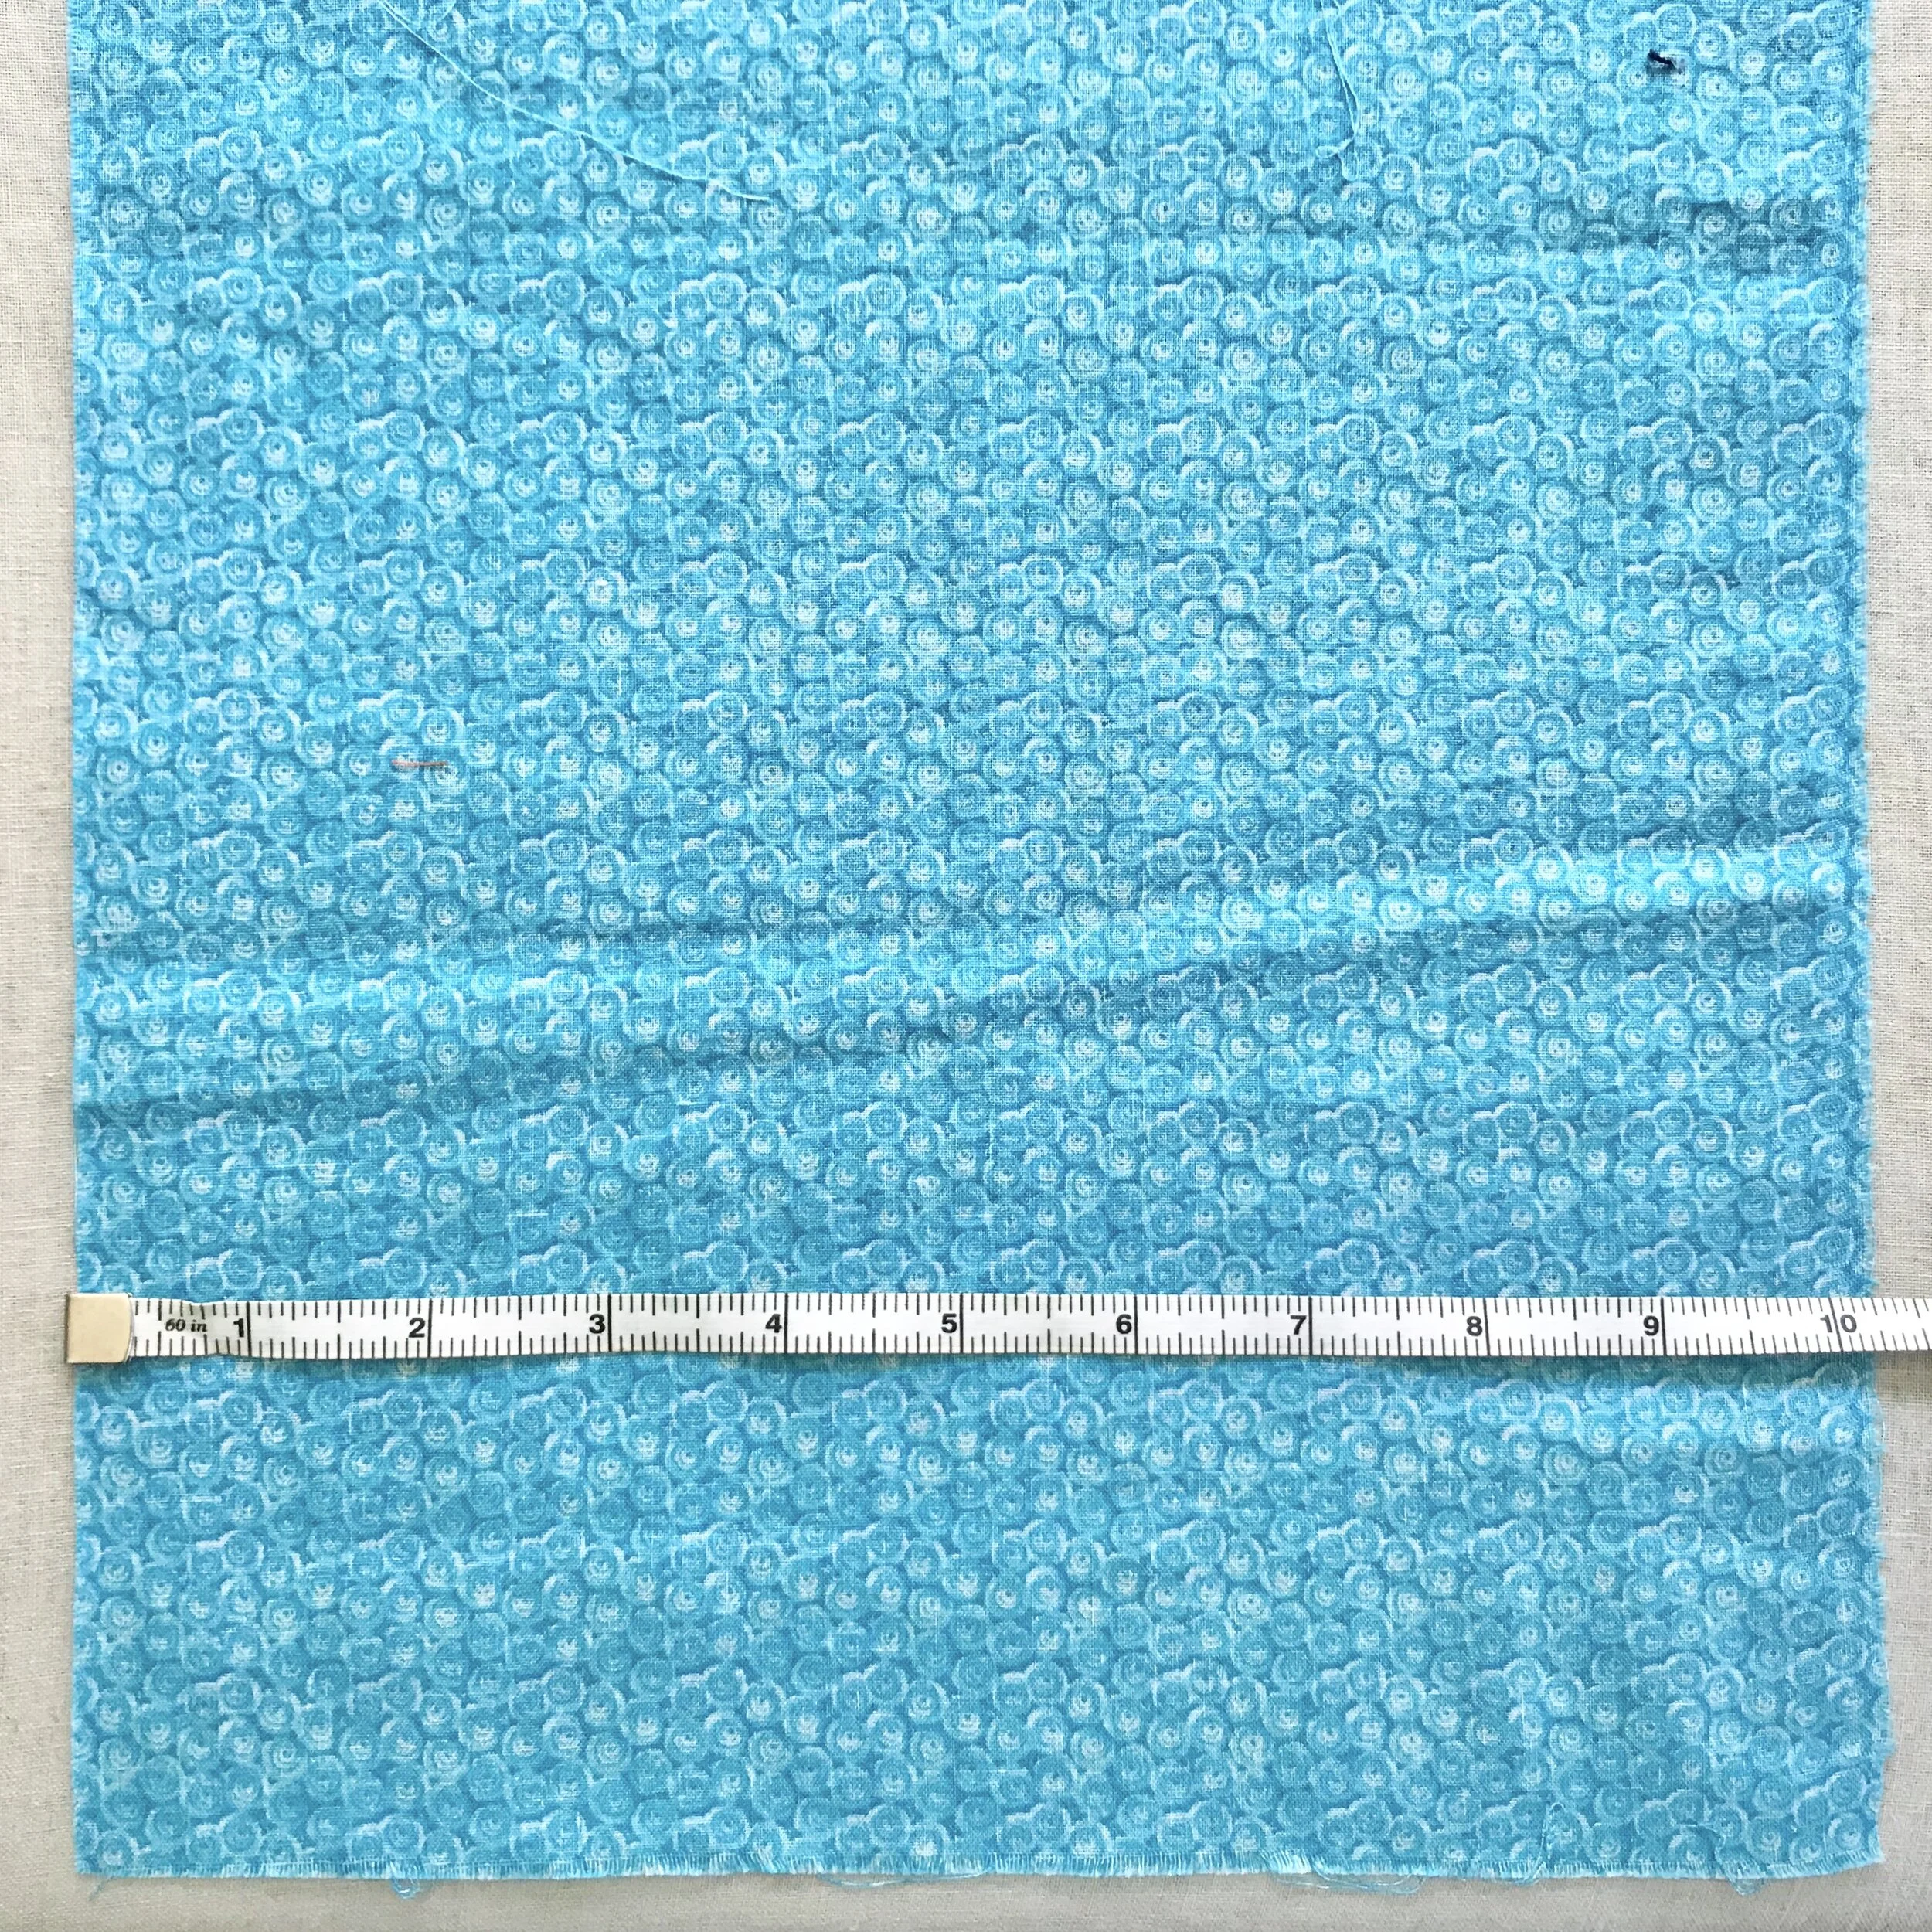
For fabric recommendations, elastic ideas, and measurements, start at this link and then come back here for the full tutorial:

Making Your Face Mask
Step 1: Cut the Fabric
Cut a rectangle of each fabric — two total per mask.
Adult: 7.5” x 10.5”
Child: 6.5” x 8.5”
Adjust according to your family’s face size. If you are making masks to donate, make adult masks.
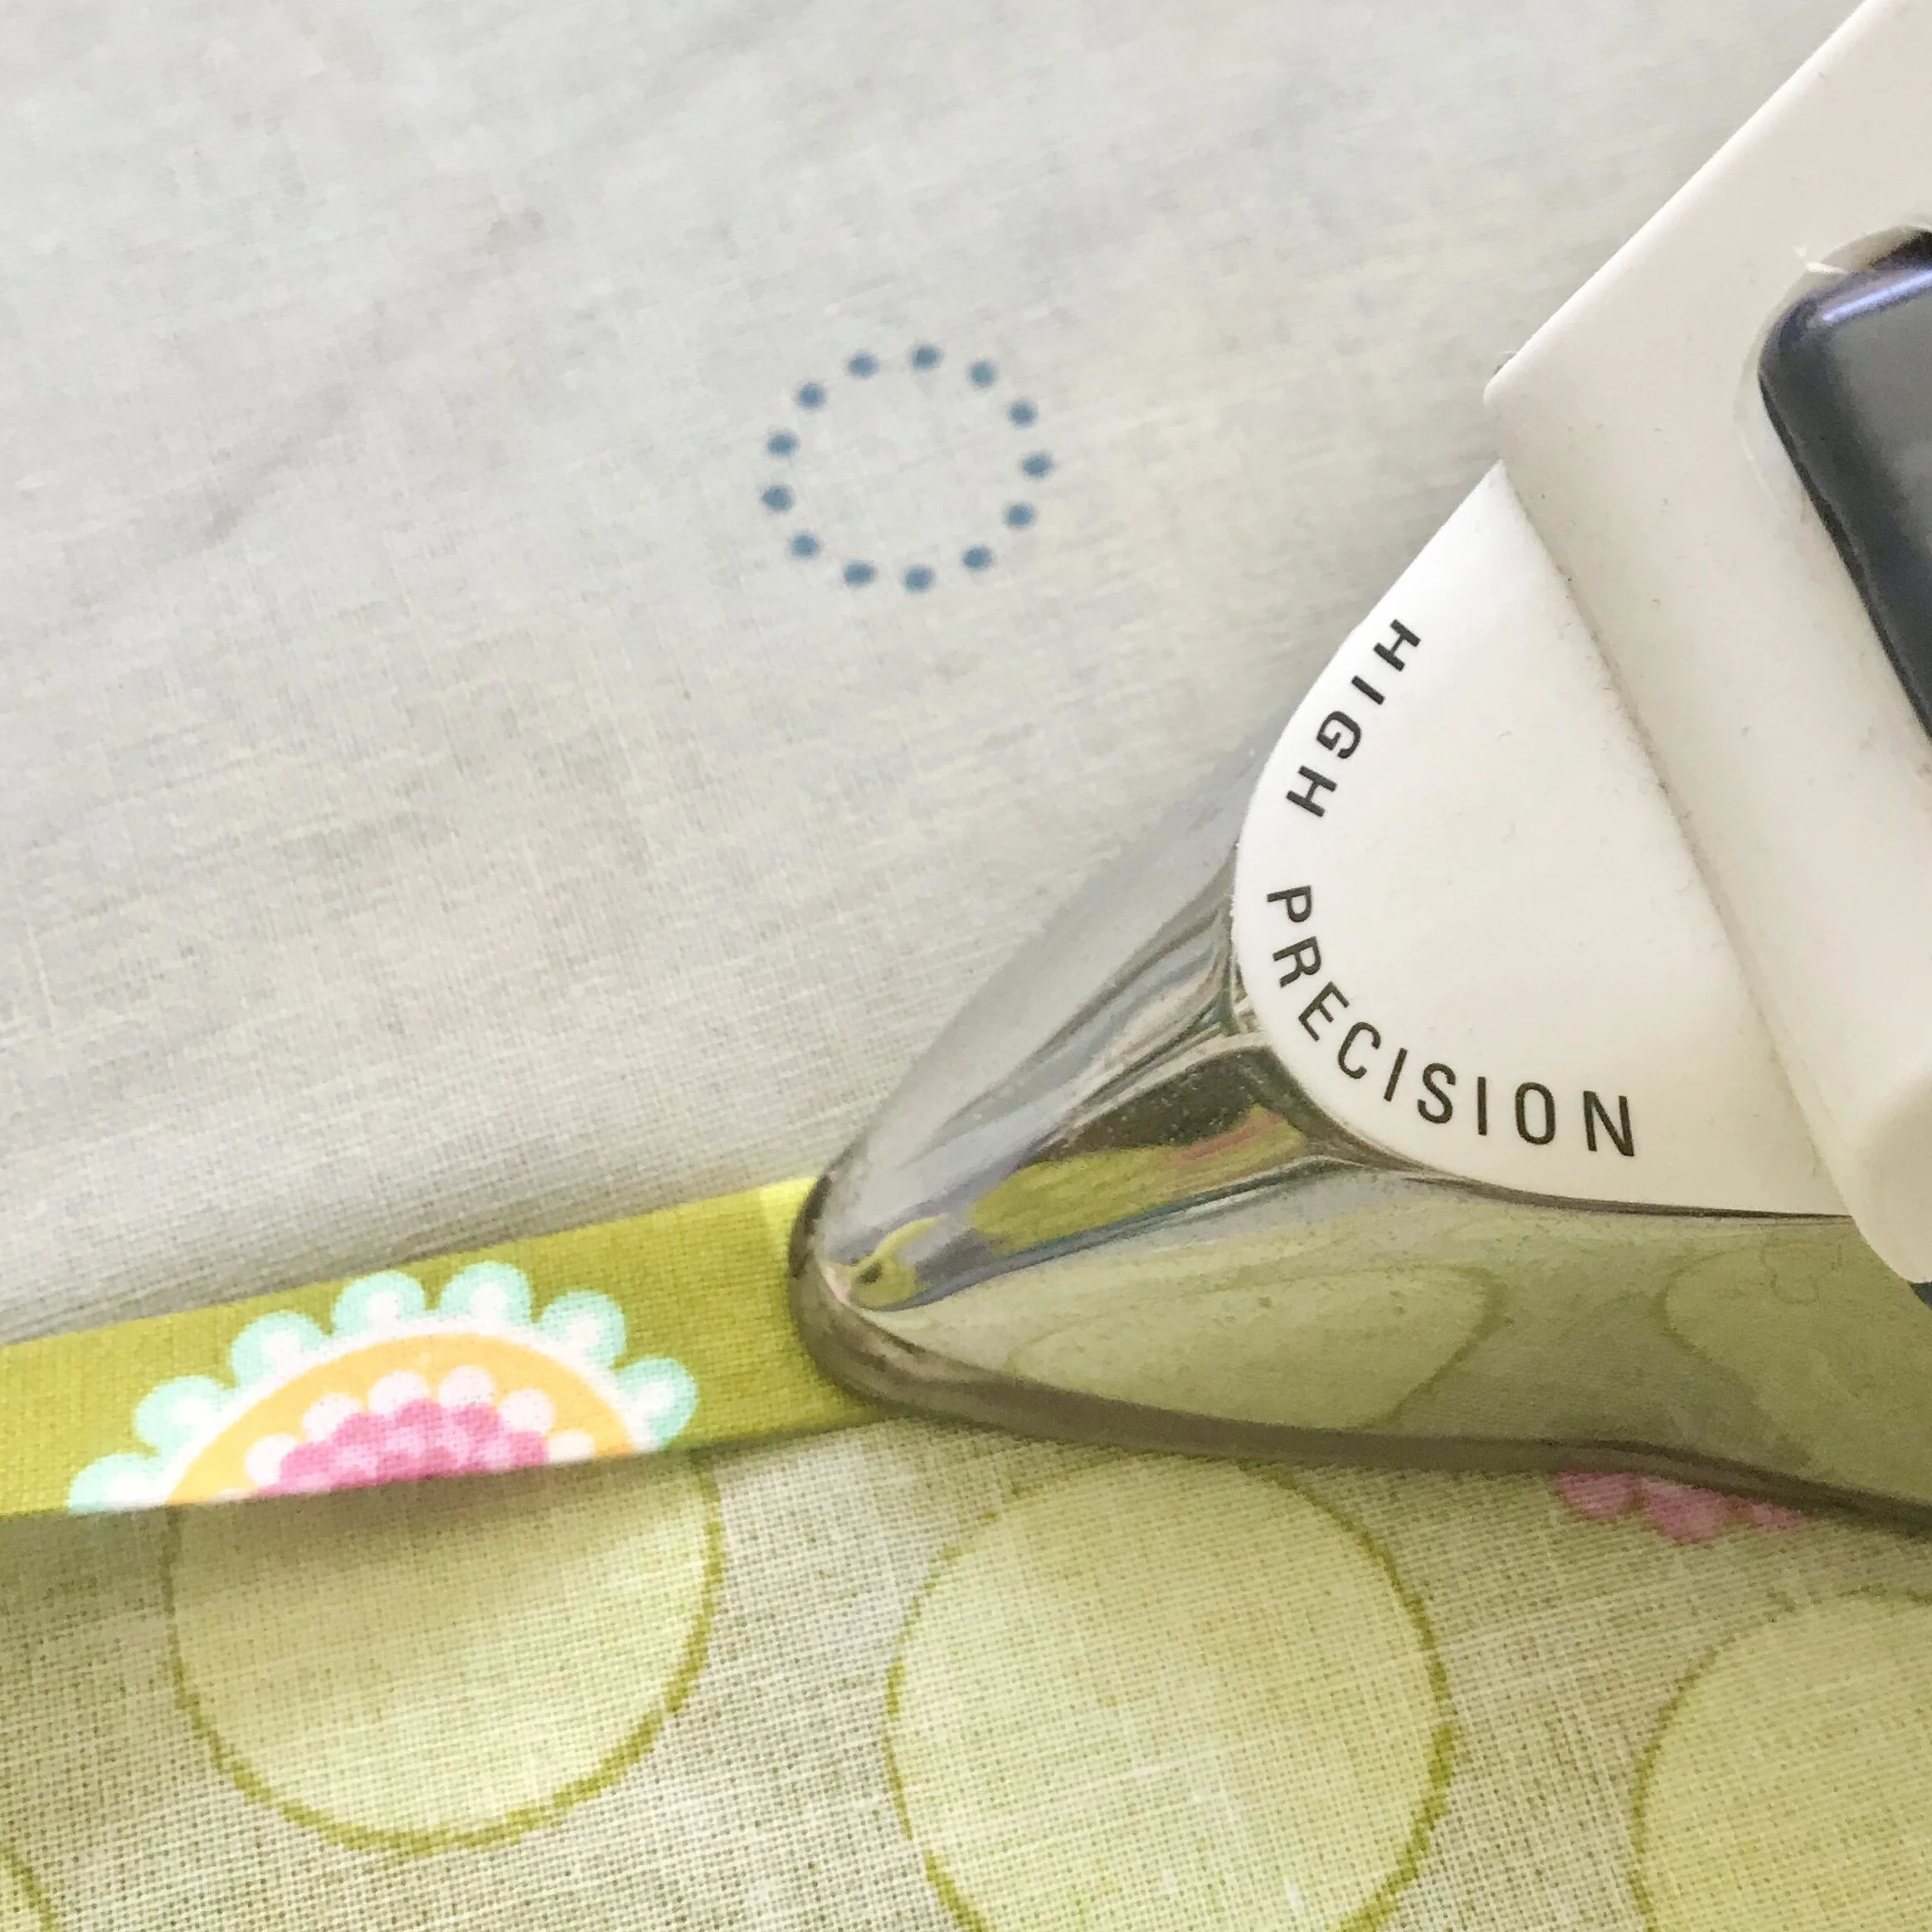
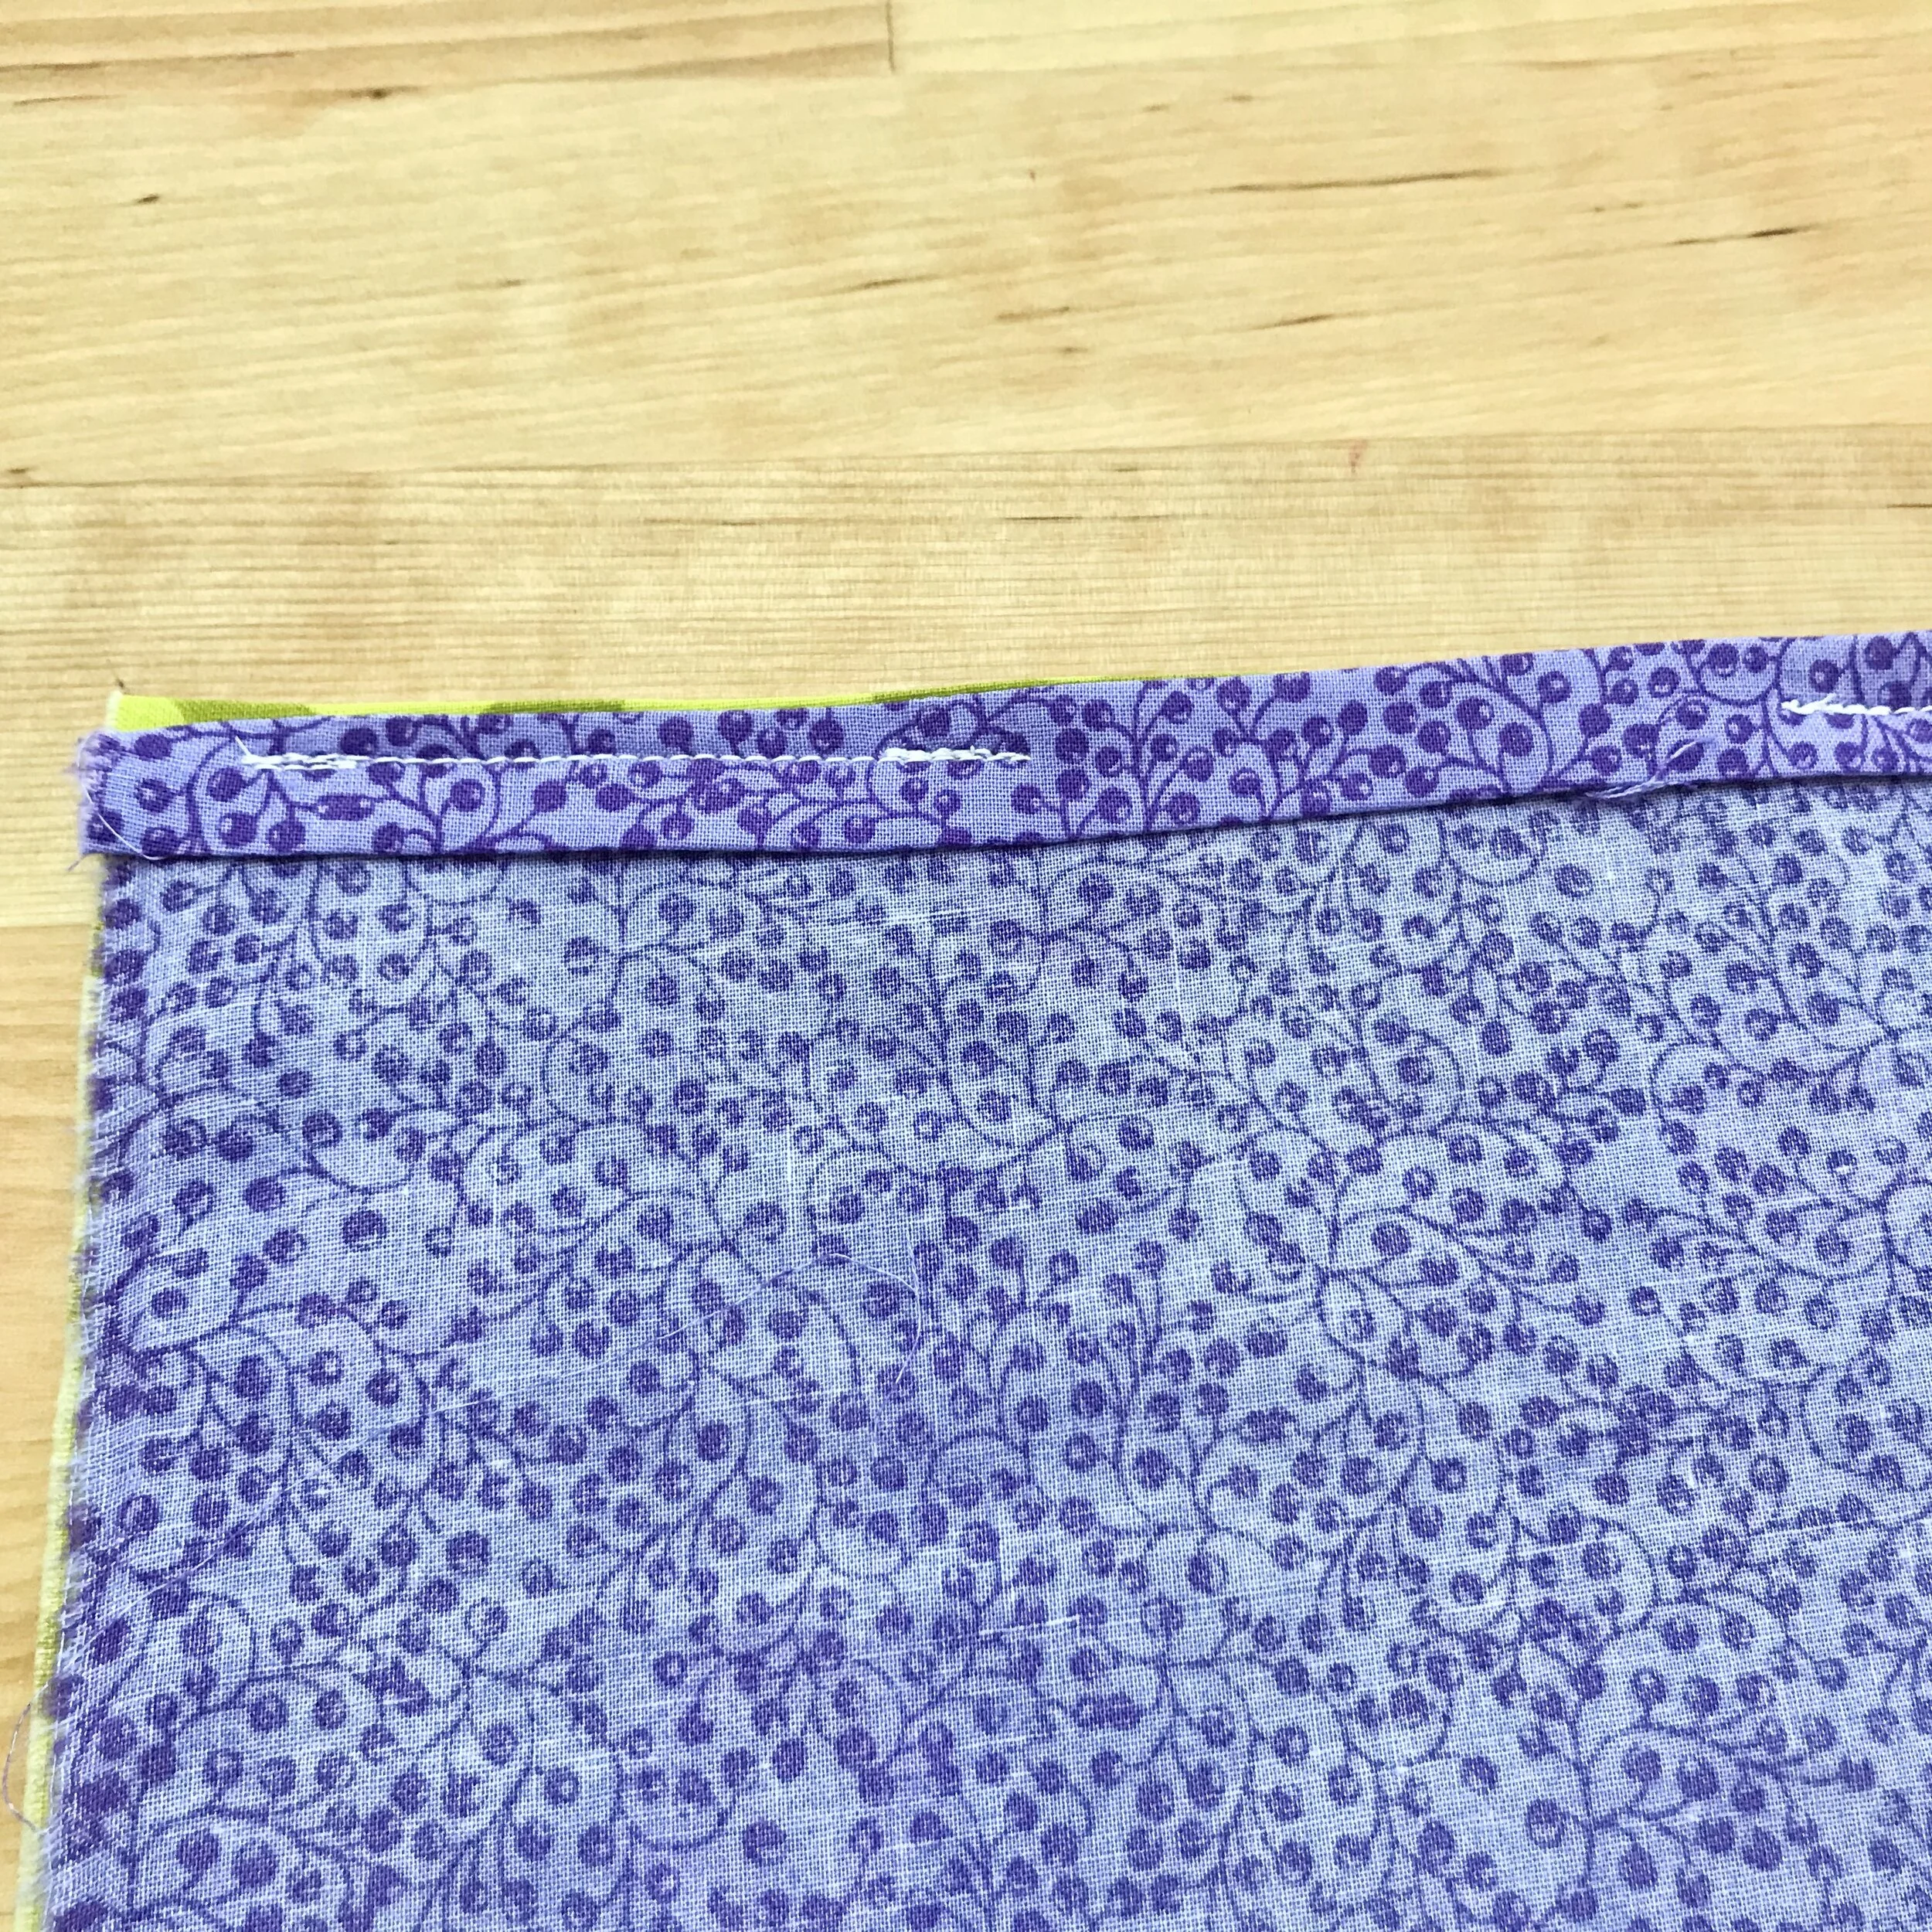
Step 2: Fold & Iron
Press the fabric. At the top of each piece, fold and press 1/4” over. Then fold and press again to create a double-fold hem. At the bottom fold and press 1/4” over.
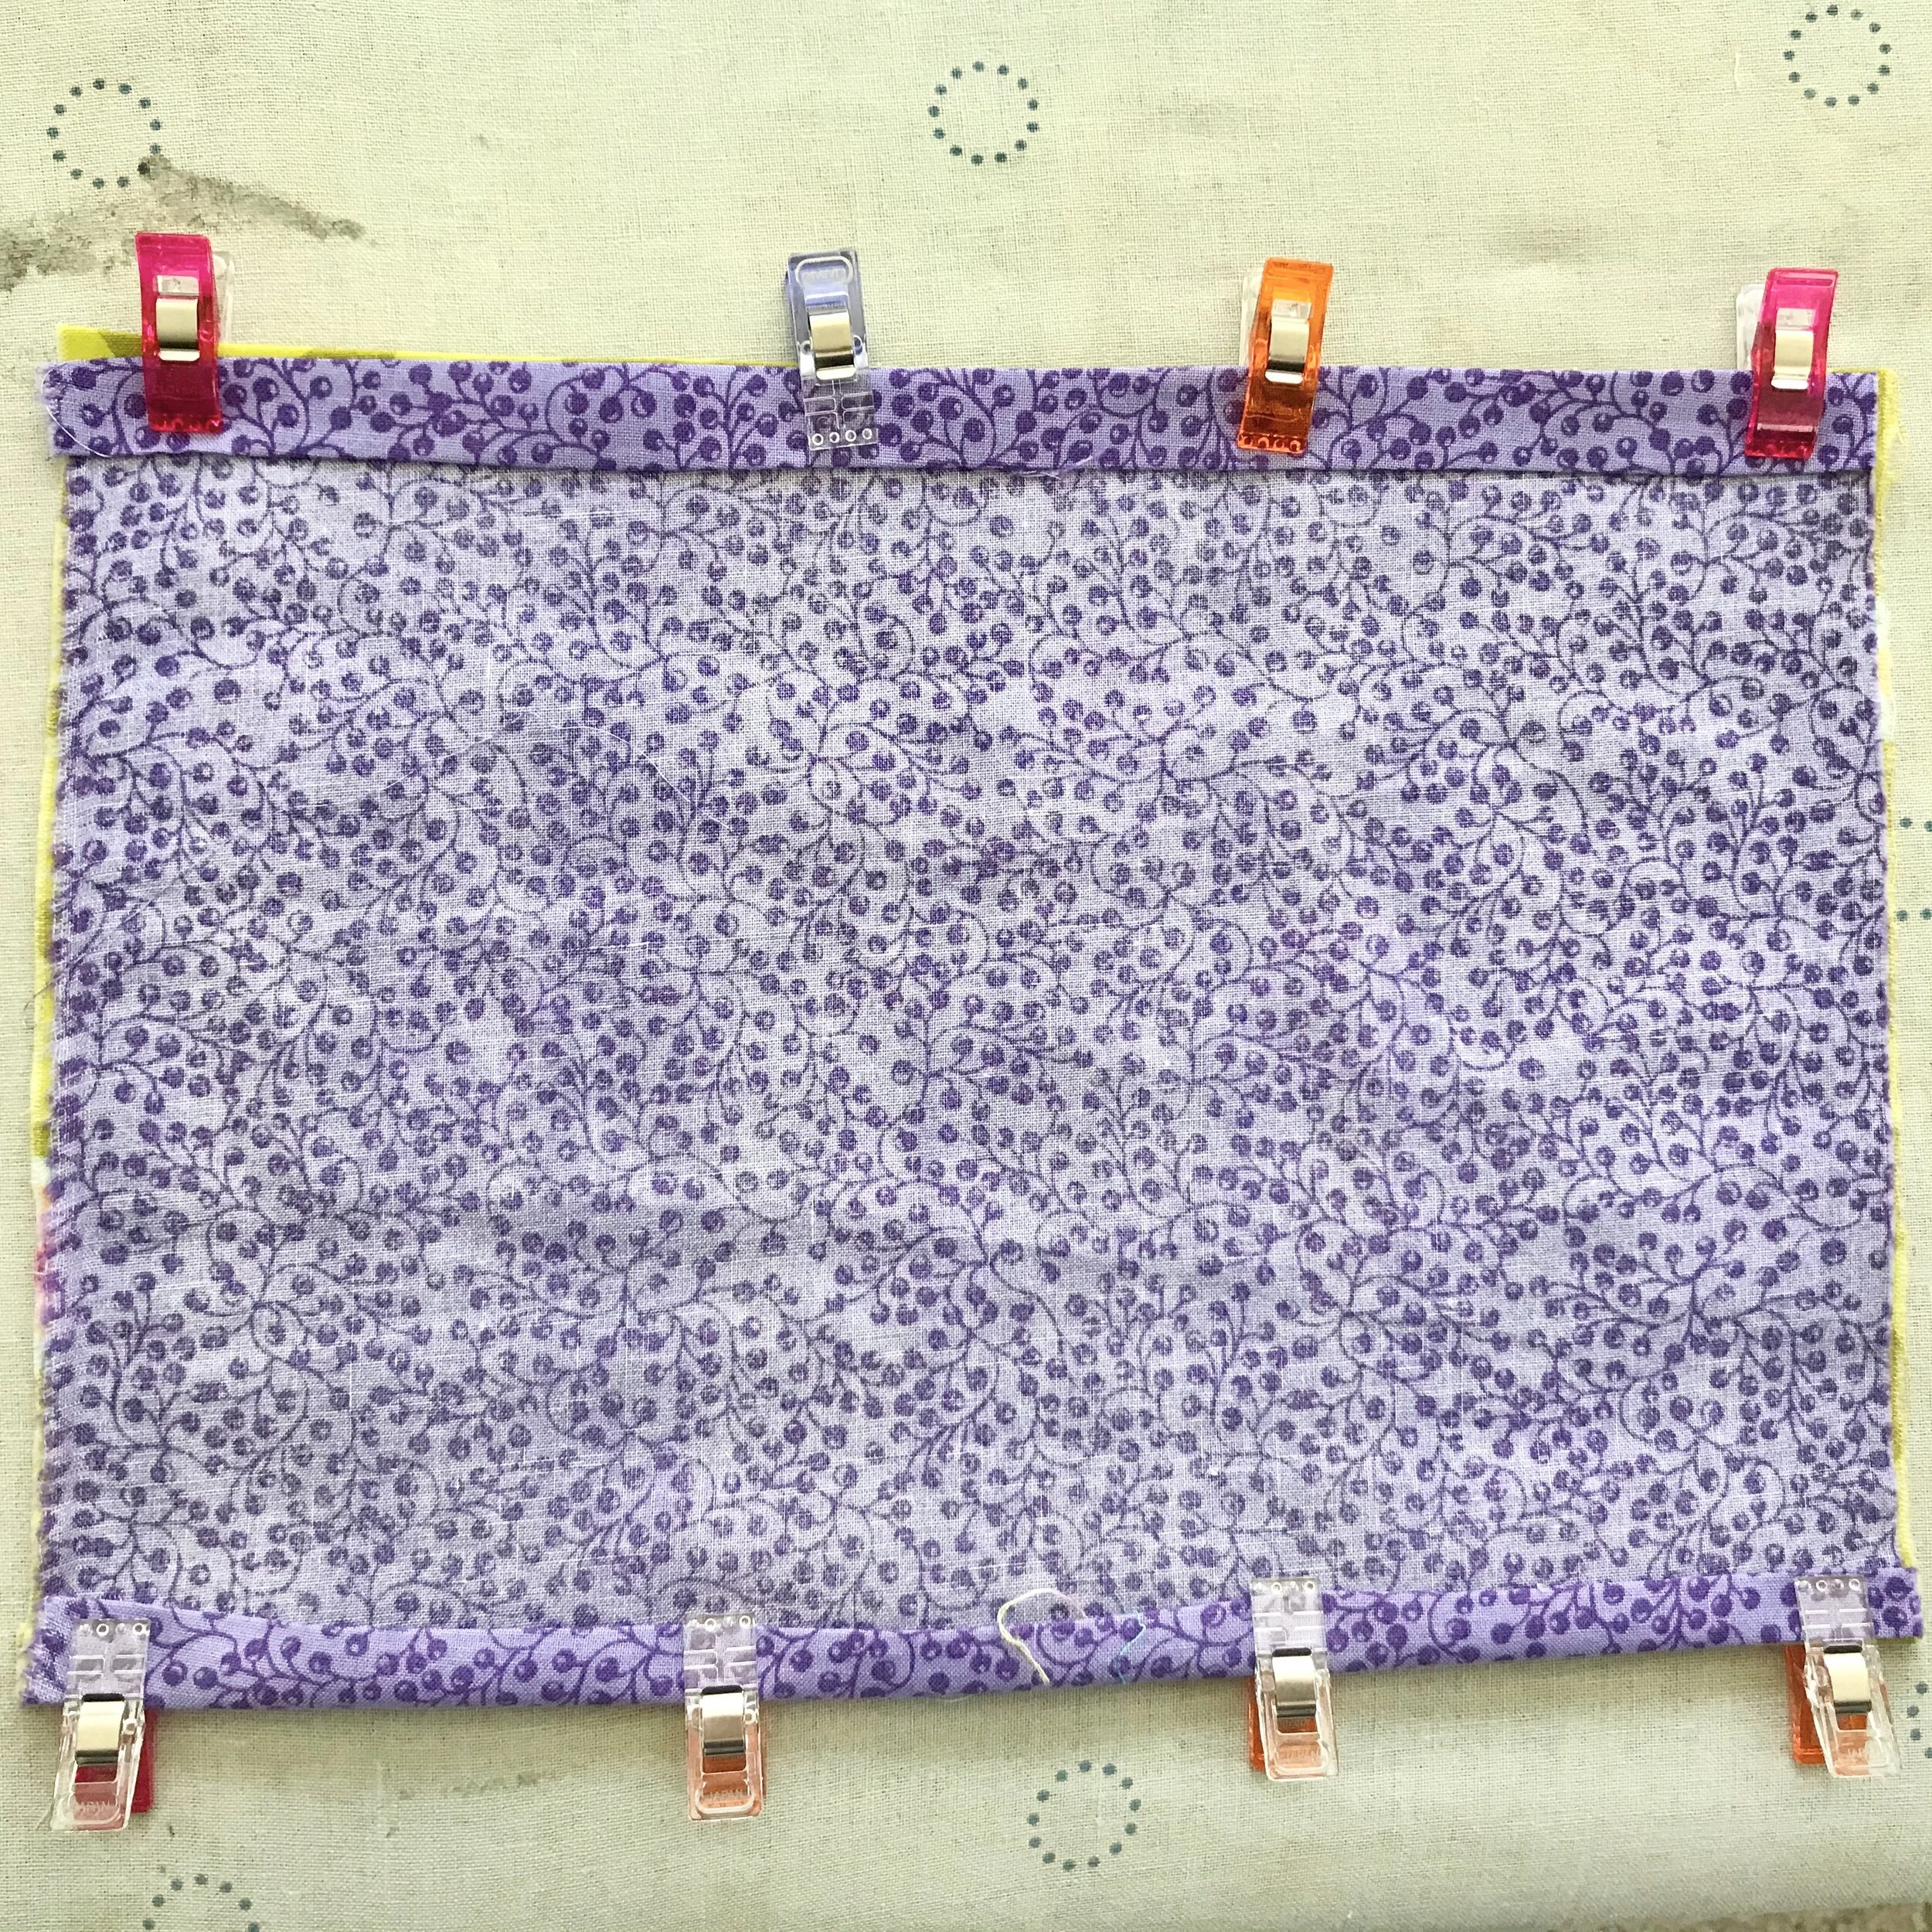
Step 3: Pin Right Sides Together
Place the right sides of the two fabric pieces together. Pin or clip them together. Place a clip at each corner — this will keep the seams from getting too close to the edges.
I use quilting clips — which I love — but straight pins work very well, too.
If you are using flannel instead of a filter, sandwich the flannel between the two pieces of cotton.
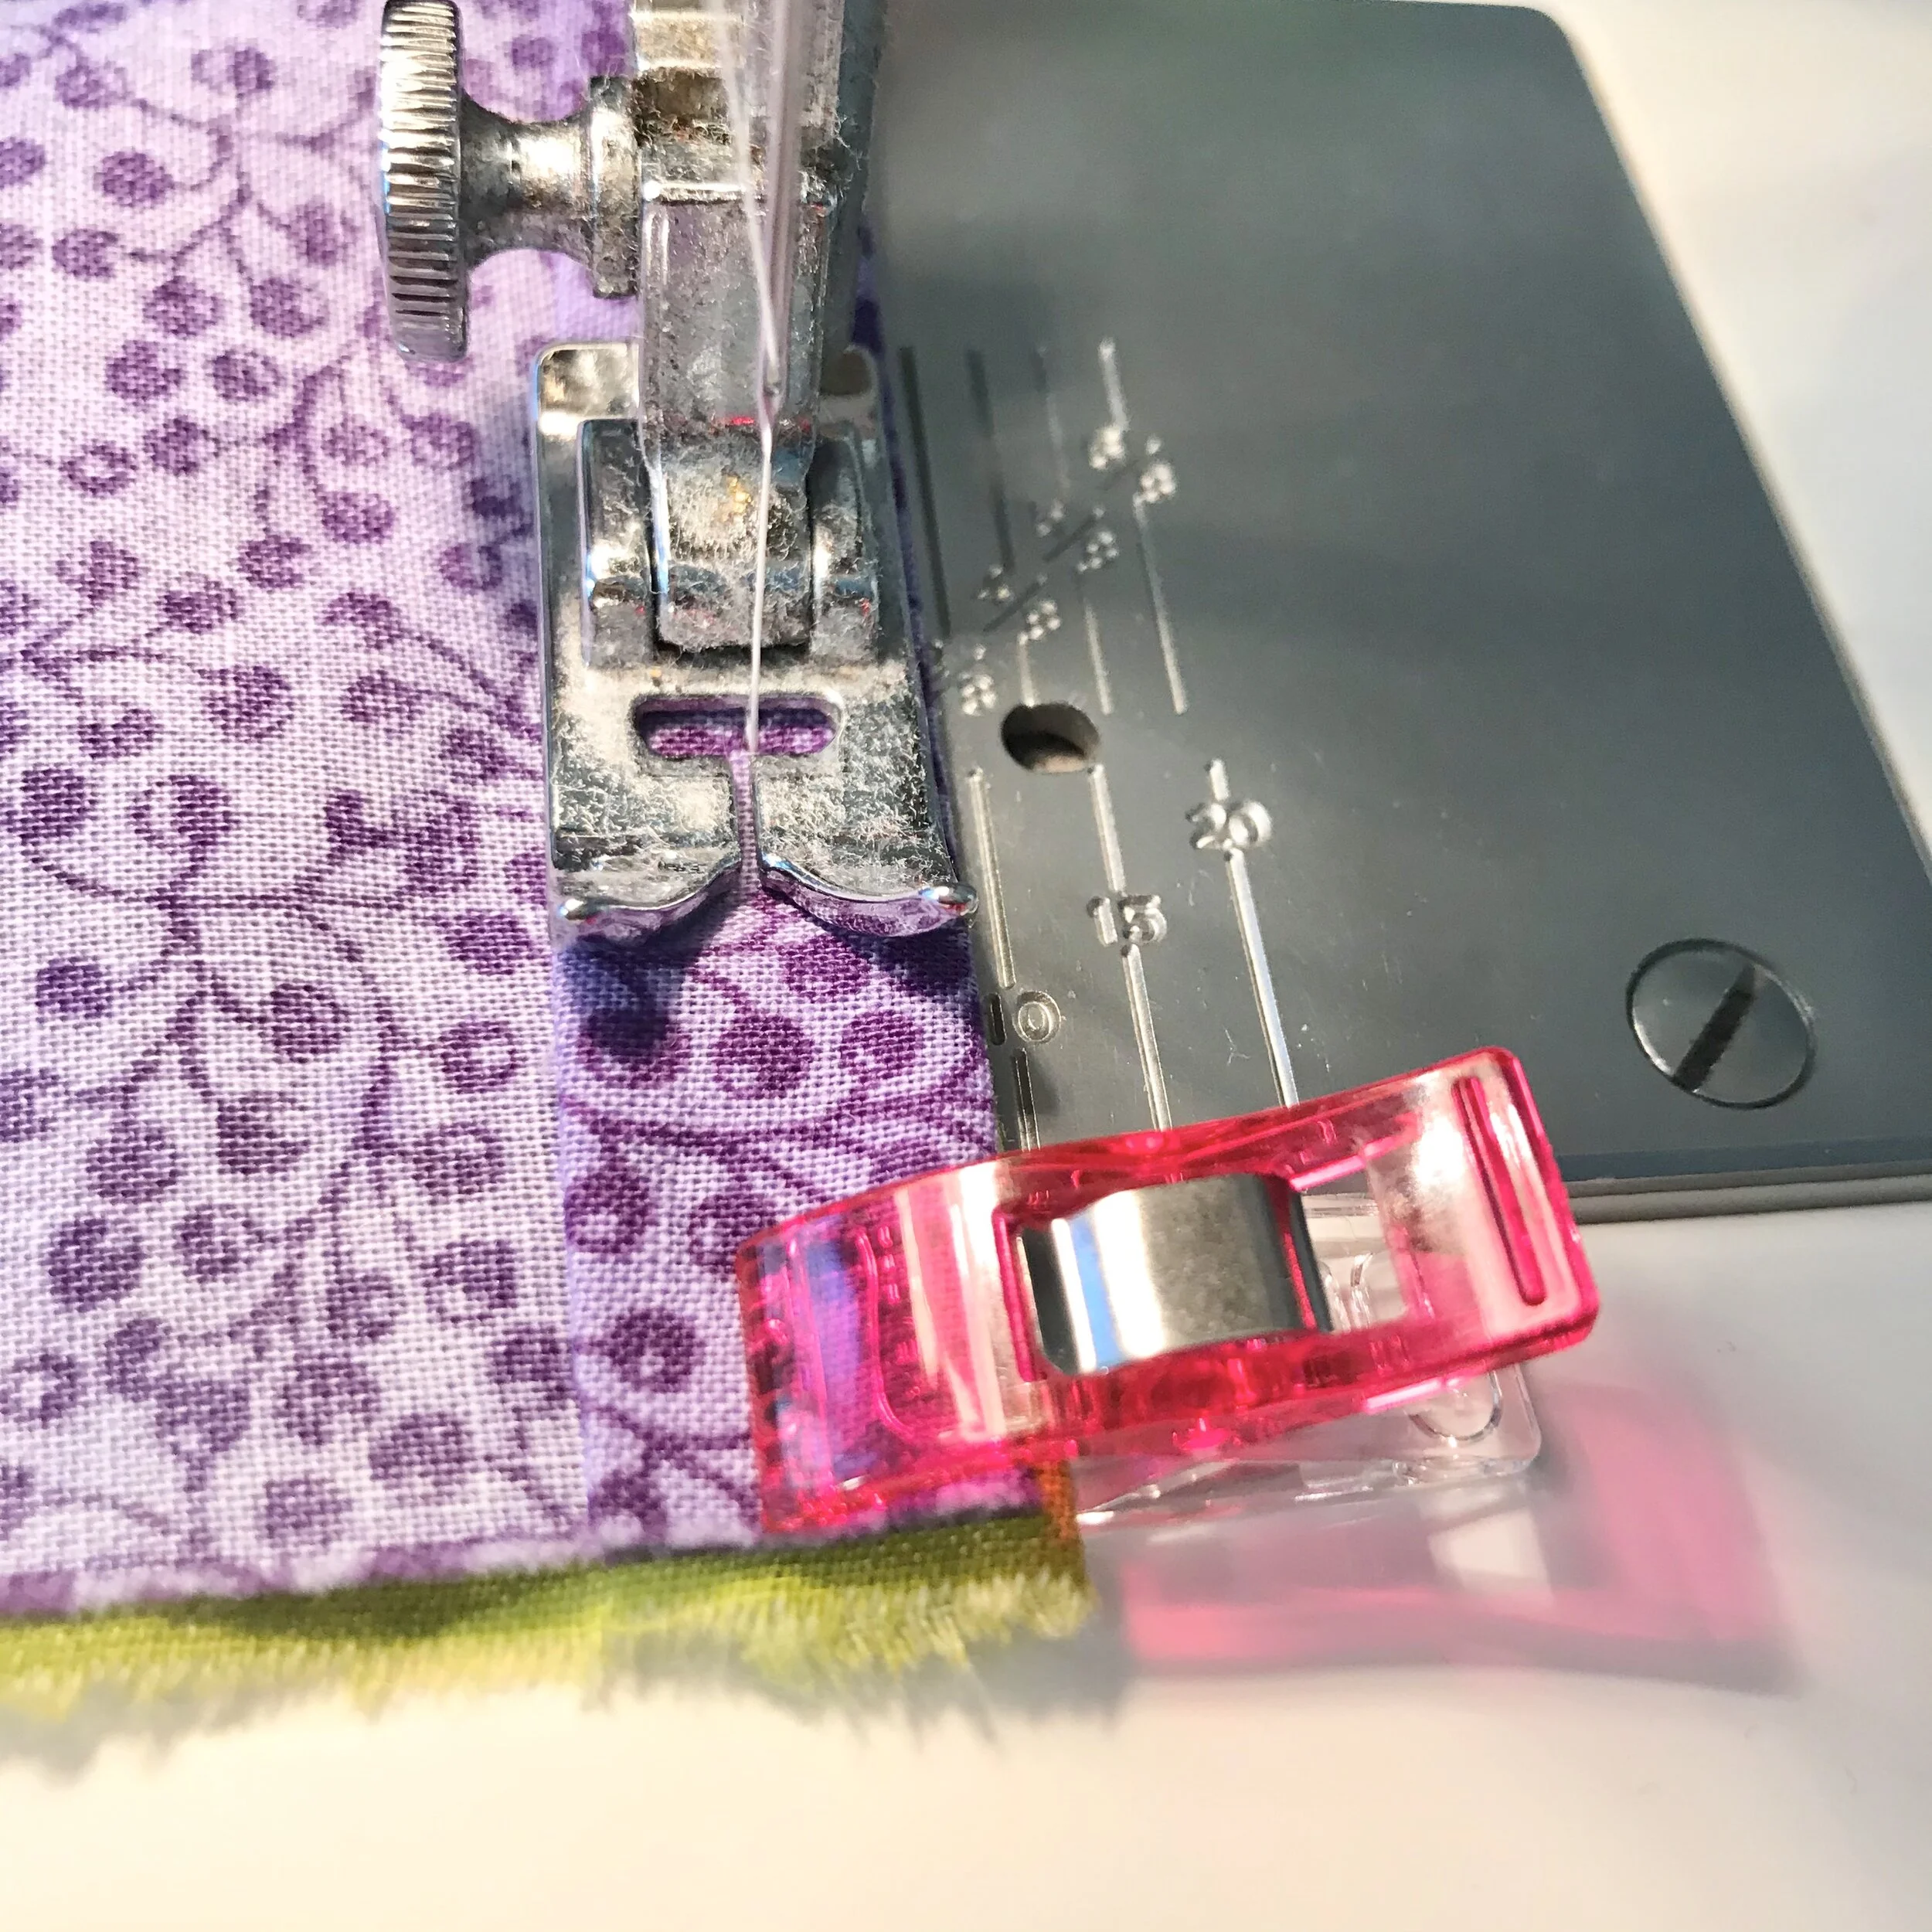
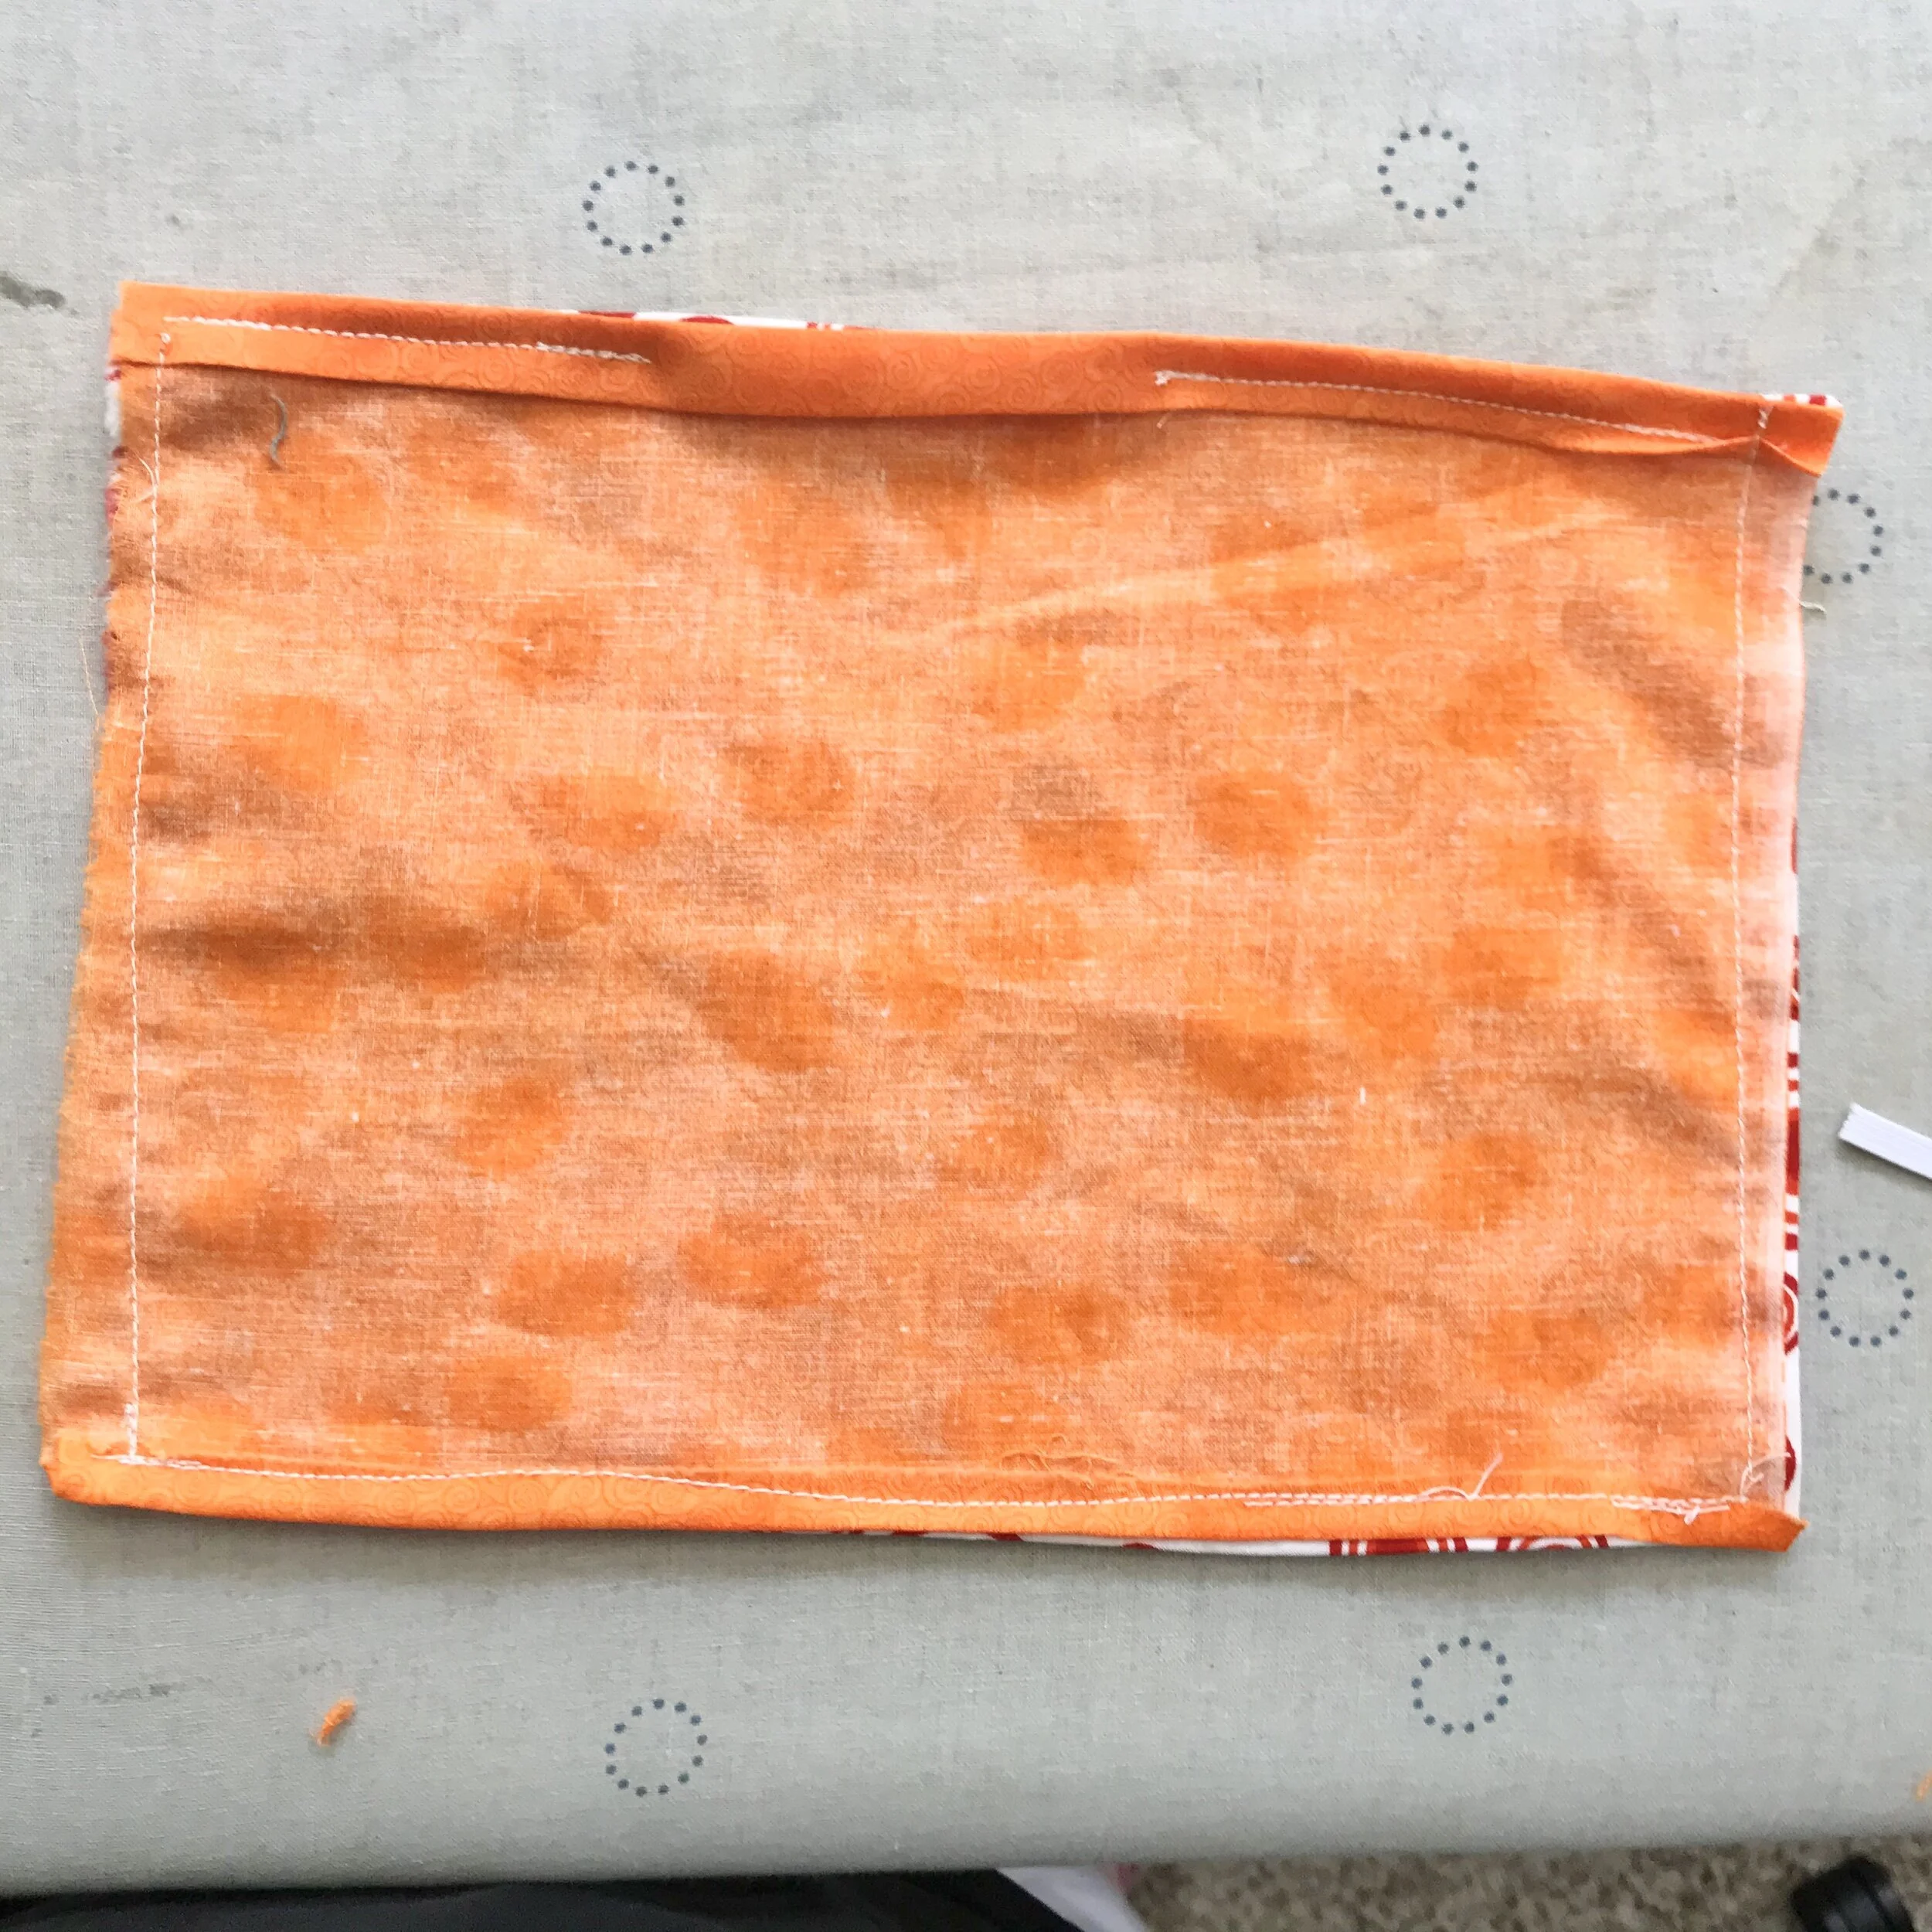
Step 4: Sew the Top Seams
The top seam is actually two small seams with a space between. This space will form the access for the filter pocket.
Starting 1/2” in from the corner, sew a 3.5” seam across the top. Repeat from the other corner leaving an approximately 2” gap between the two seams.
Measurements are for an adult-sized mask. Adjust accordingly for smaller masks.

Step 5: Sew the Bottom Seam
The bottom seam goes straight across but starts and stops 1/2” from the fabric edge.
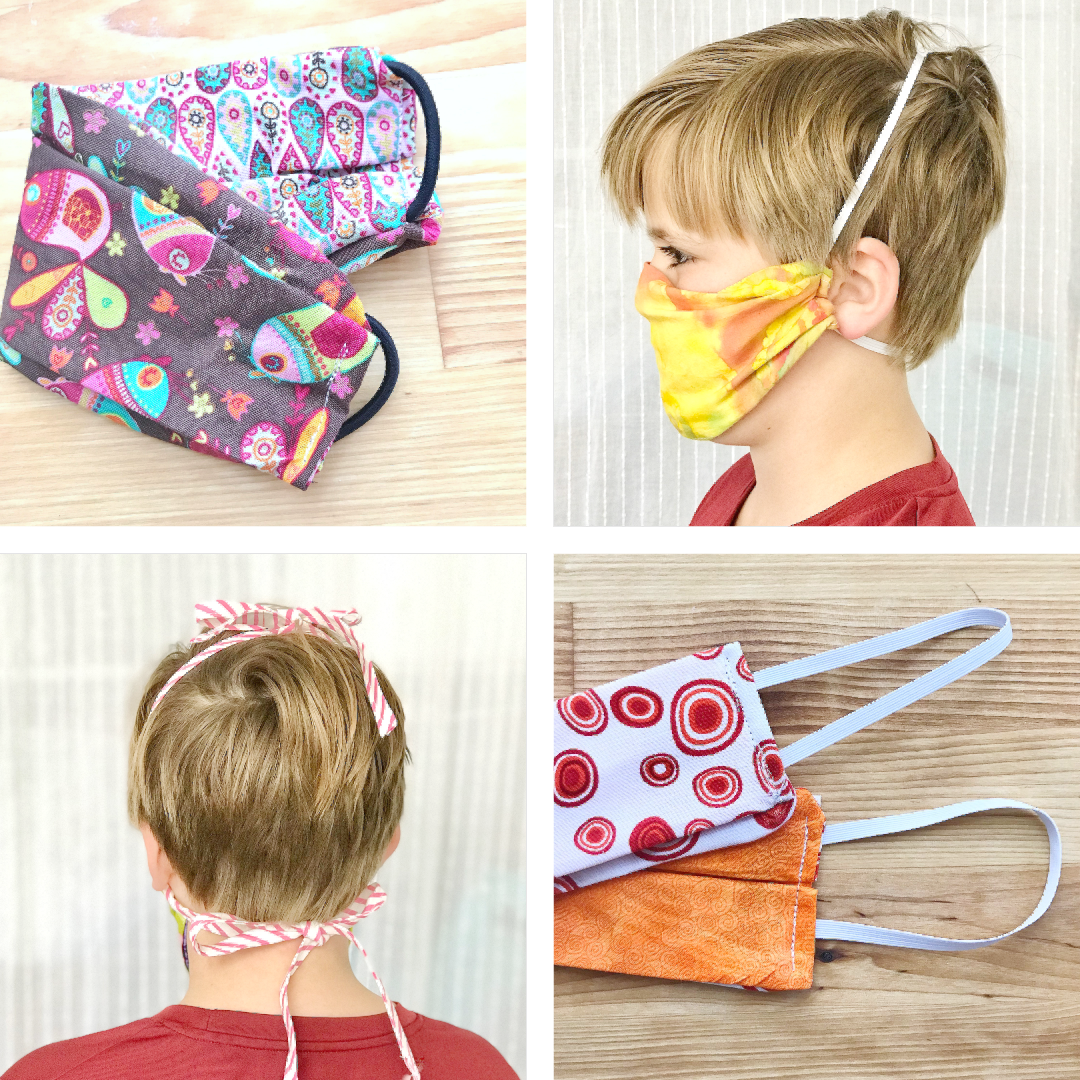
Step 6: Choose your Fastener Method
From here there are several ways to finish your mask depending on how you want it to fit and what materials you’ll be using. See below.
Bias Tape or Ribbon
Bias tape or ribbon can be used as ties. You’ll need two sets of ties for security. They can also be added using the Ear Loop method. Simply sew four pieces of bias tape or ribbon instead of creating loops.
Step A: Sew top, Bottom, & side Seams
Sew all the way around the perimeter of the mask leaving a 2” gap at the top middle of the mask only. For this technique you do not need to leave gaps at each corner.
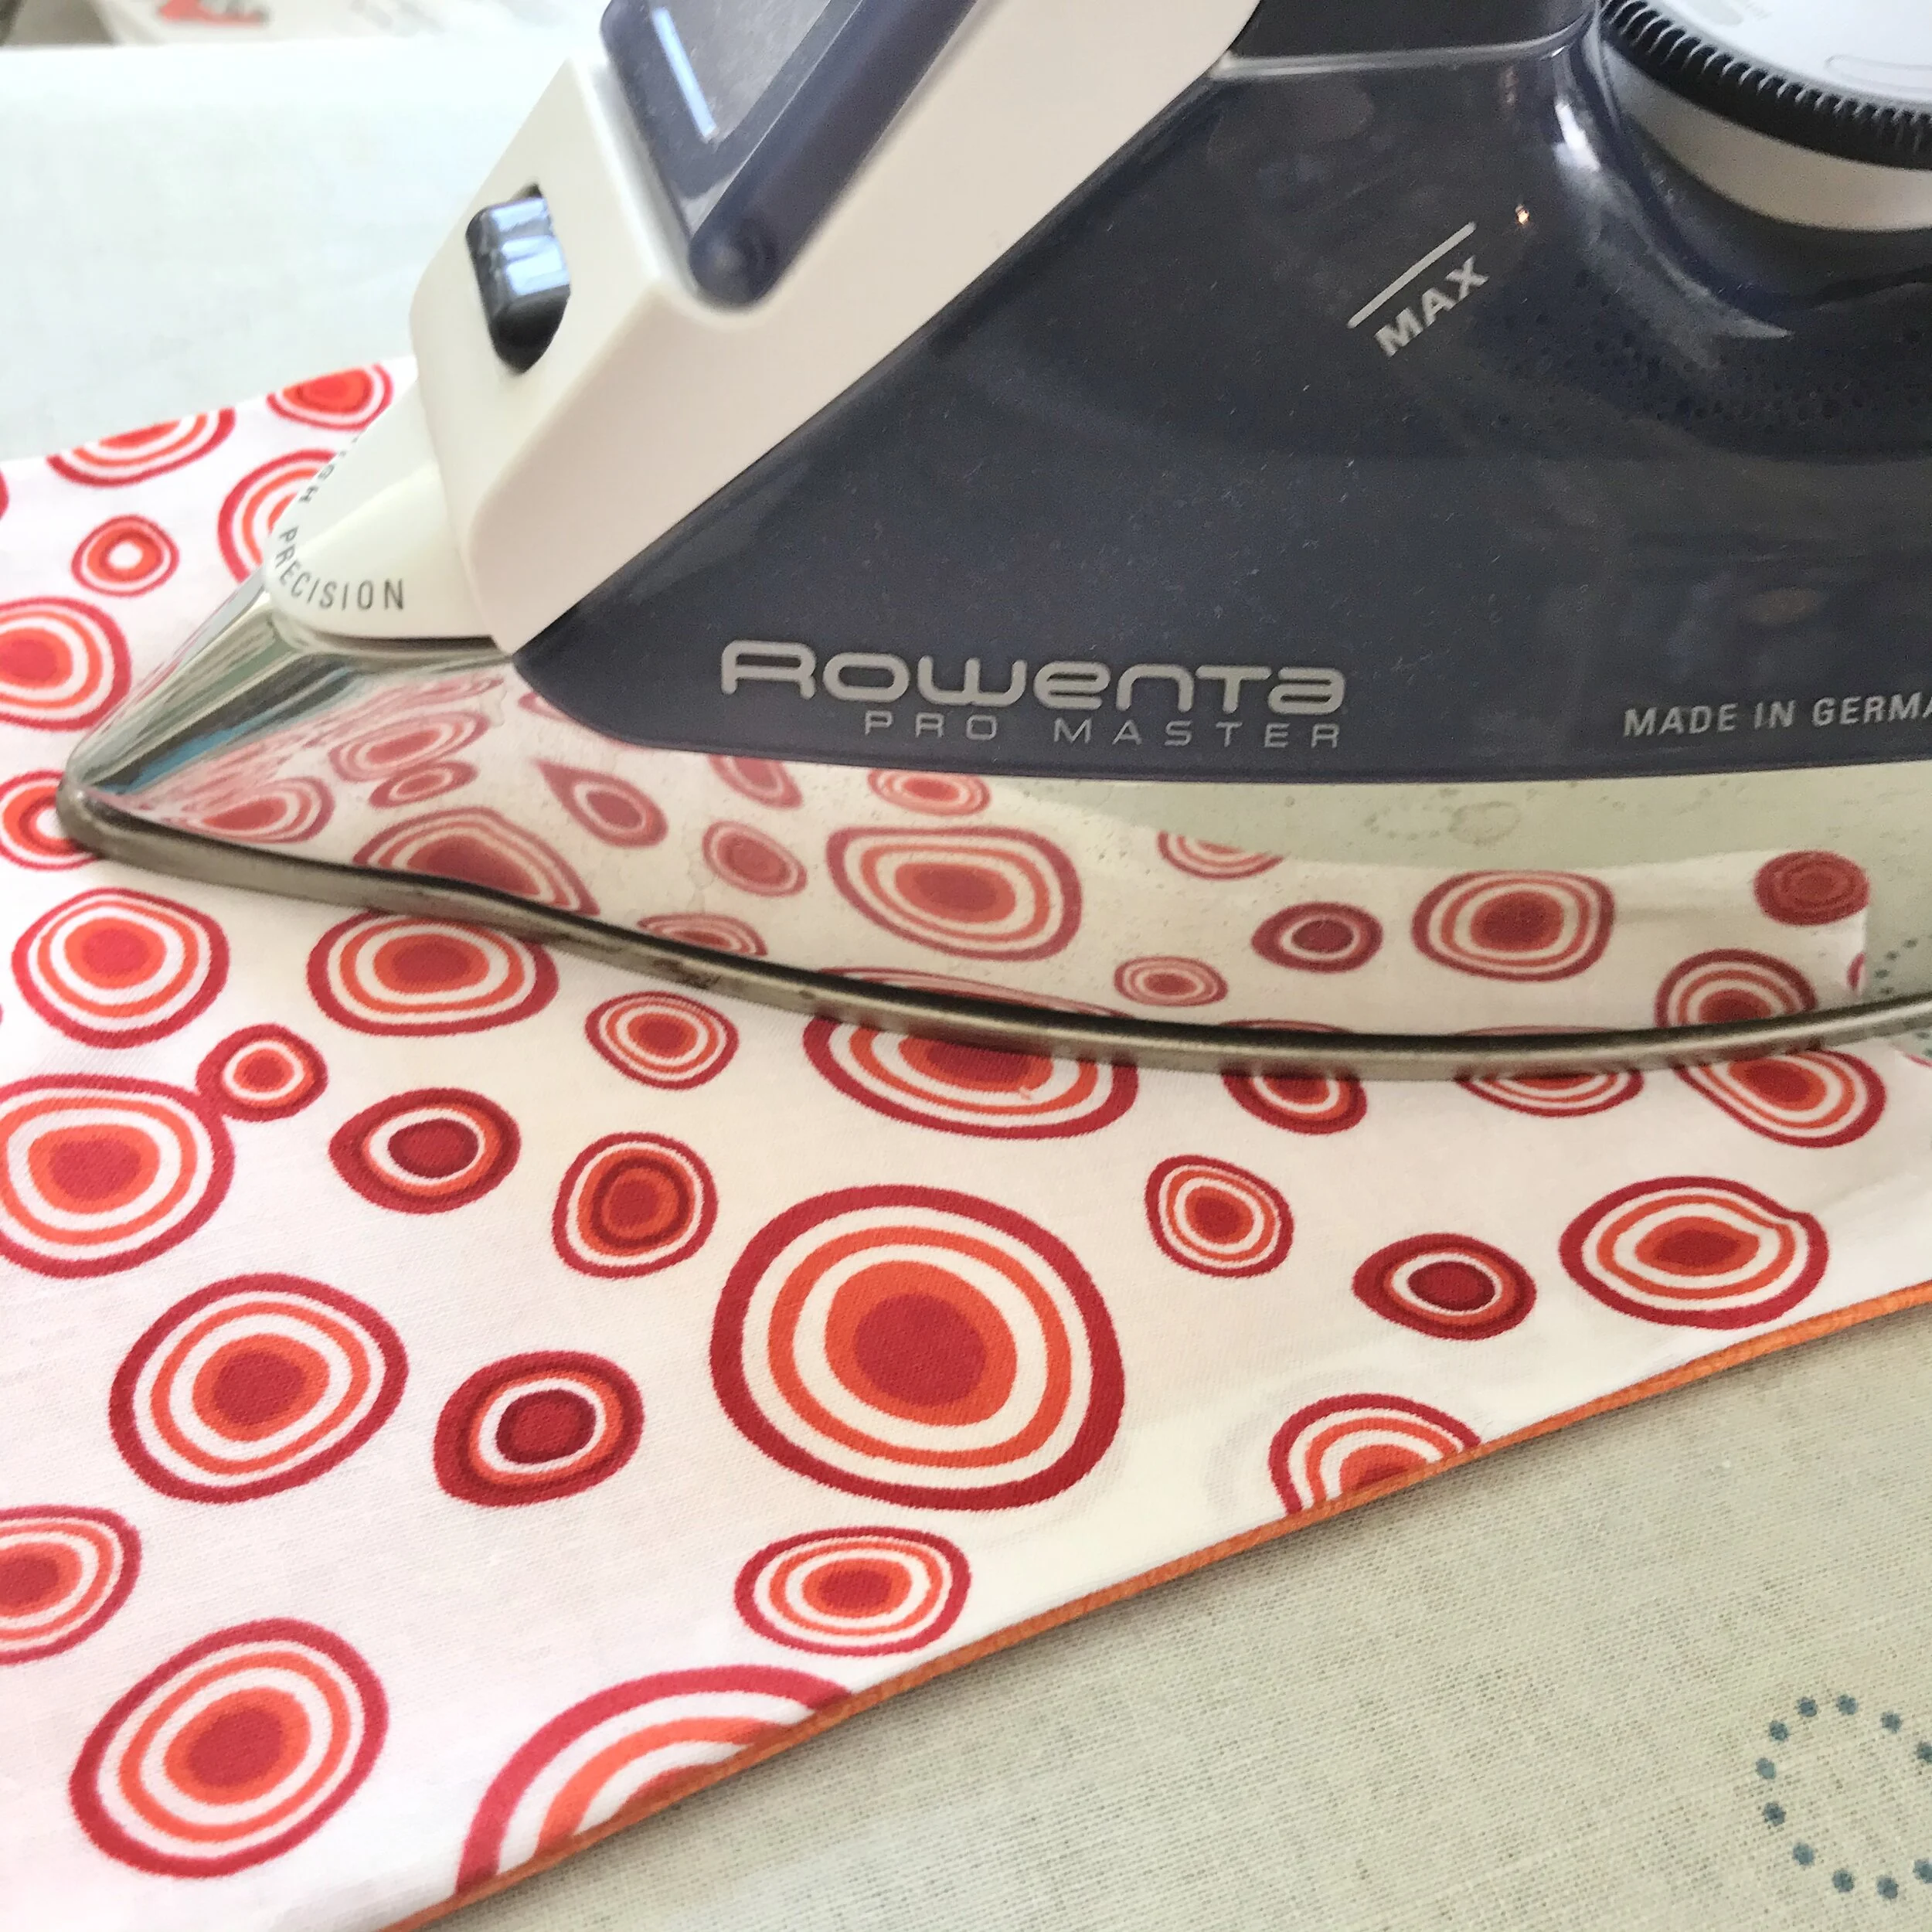
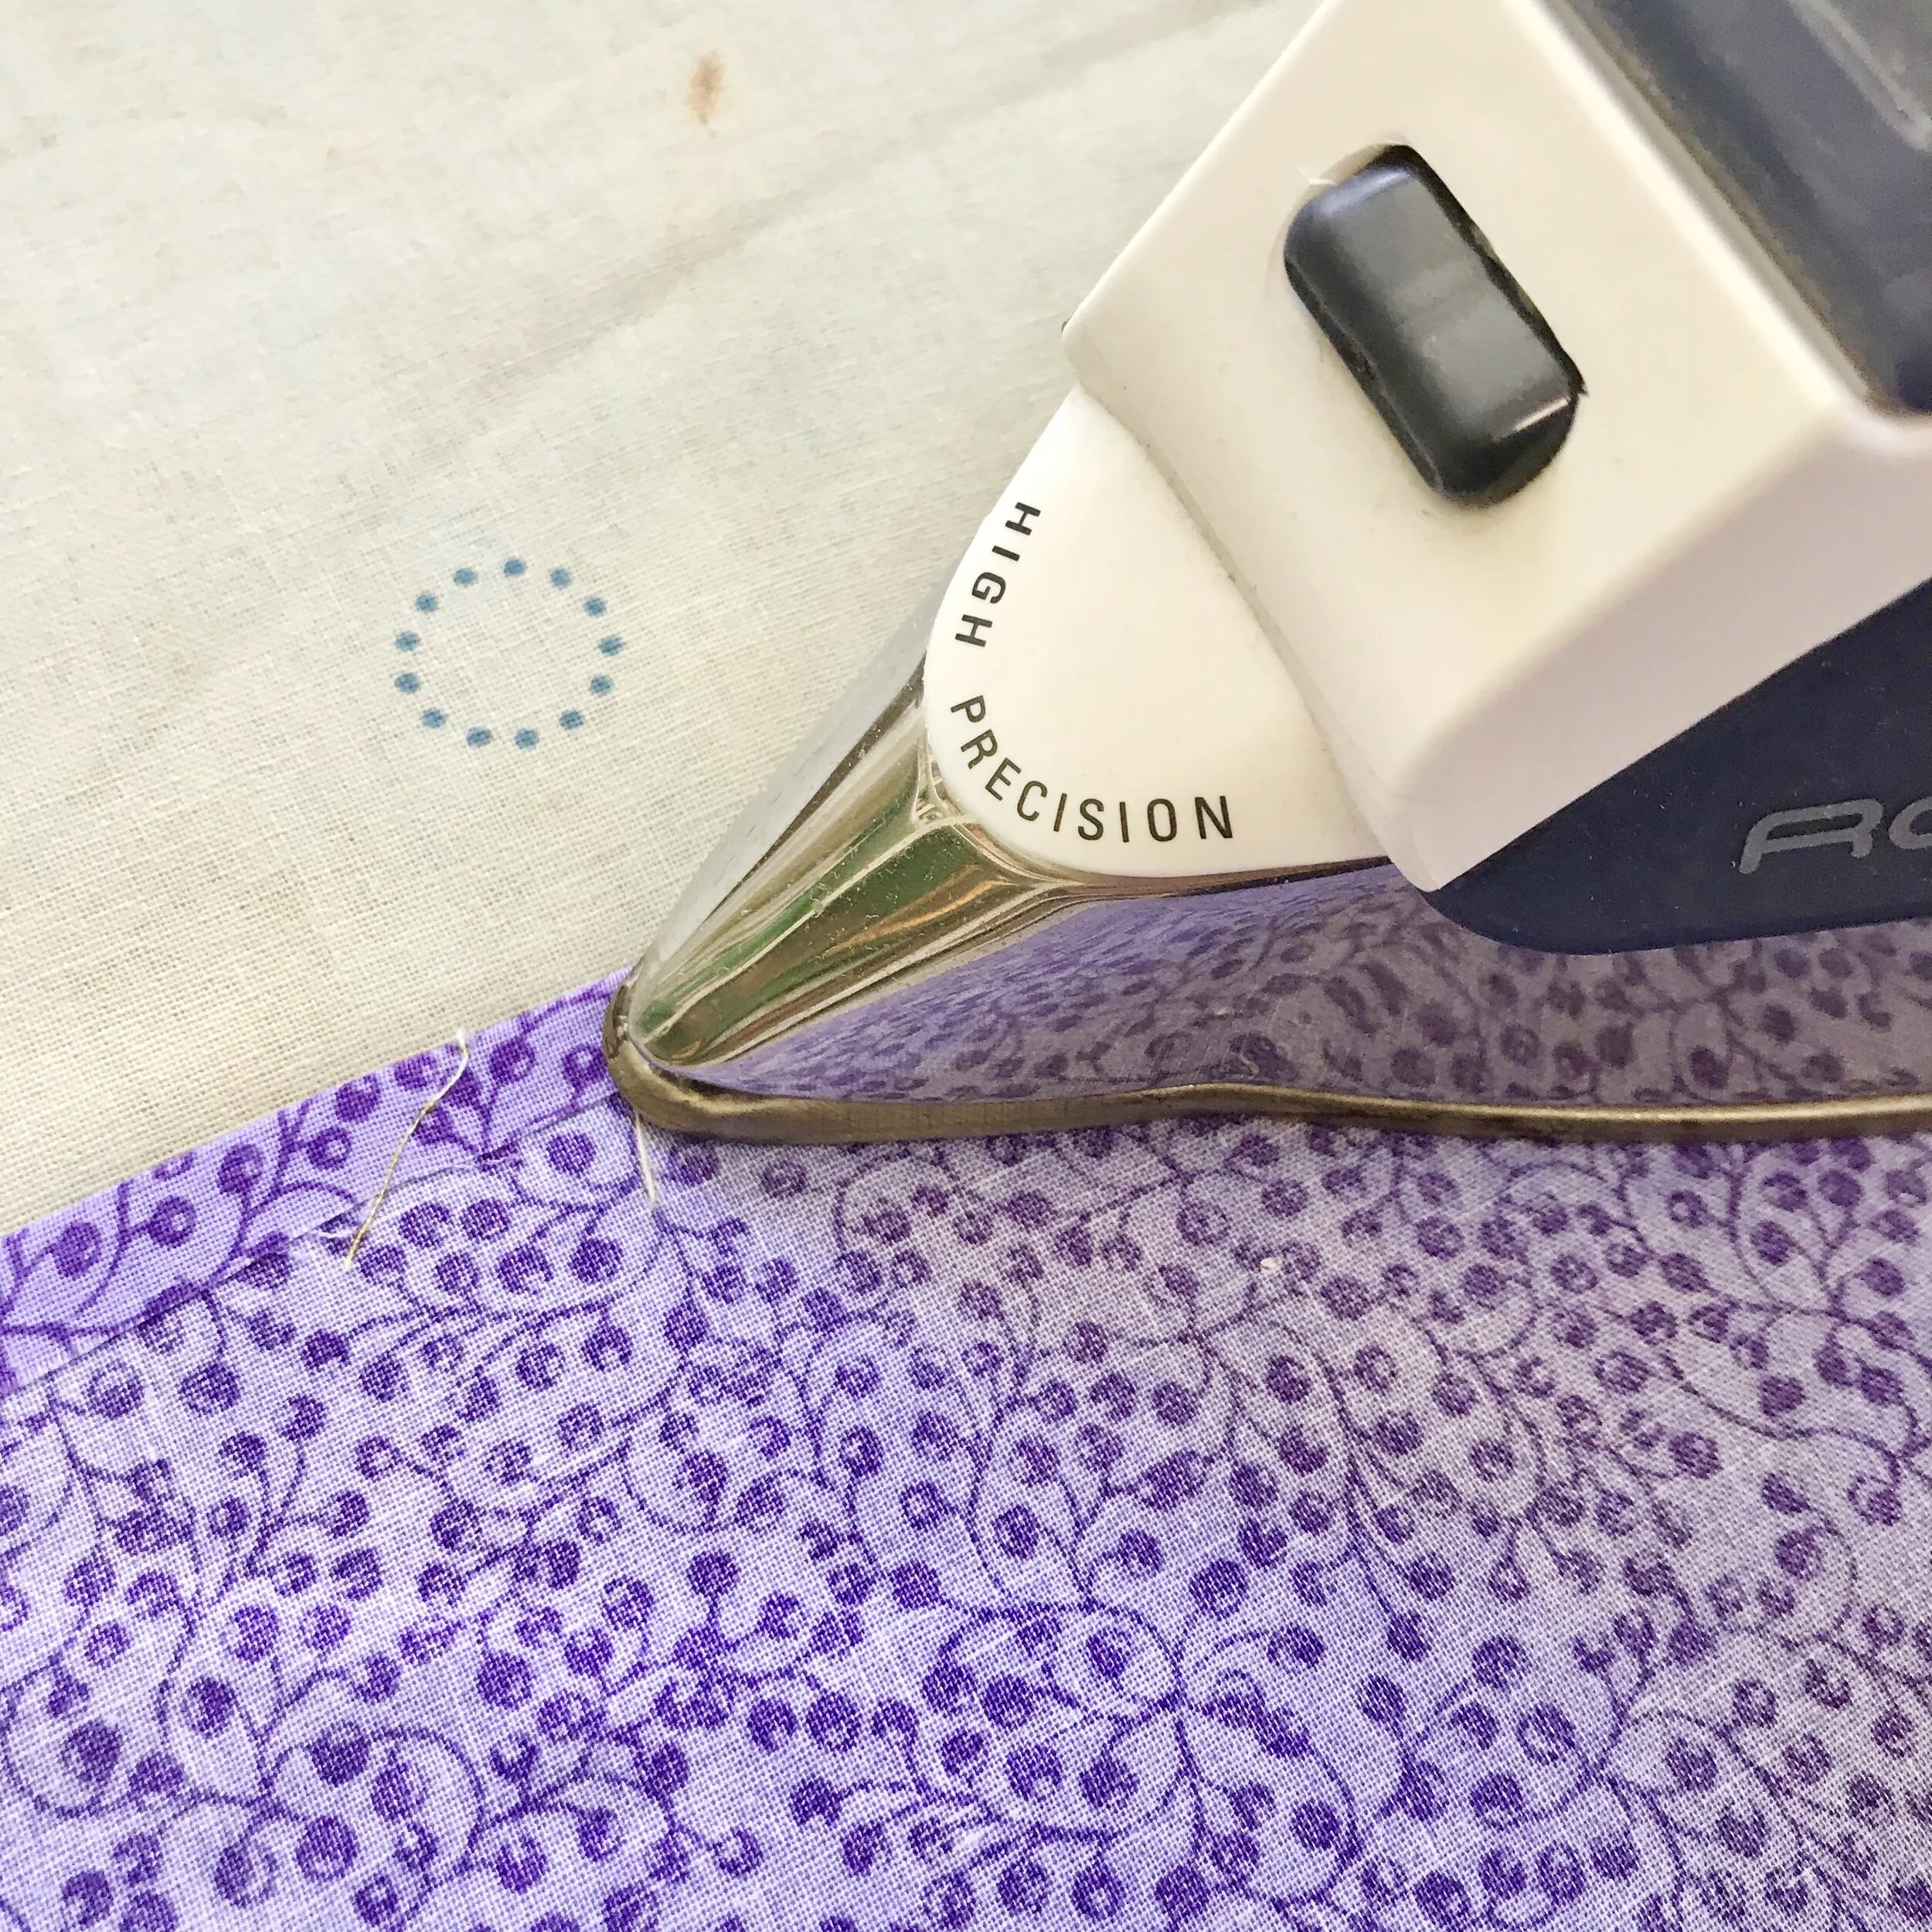
Step B: Turn & Iron
Turn the mask right side out. Press the mask.
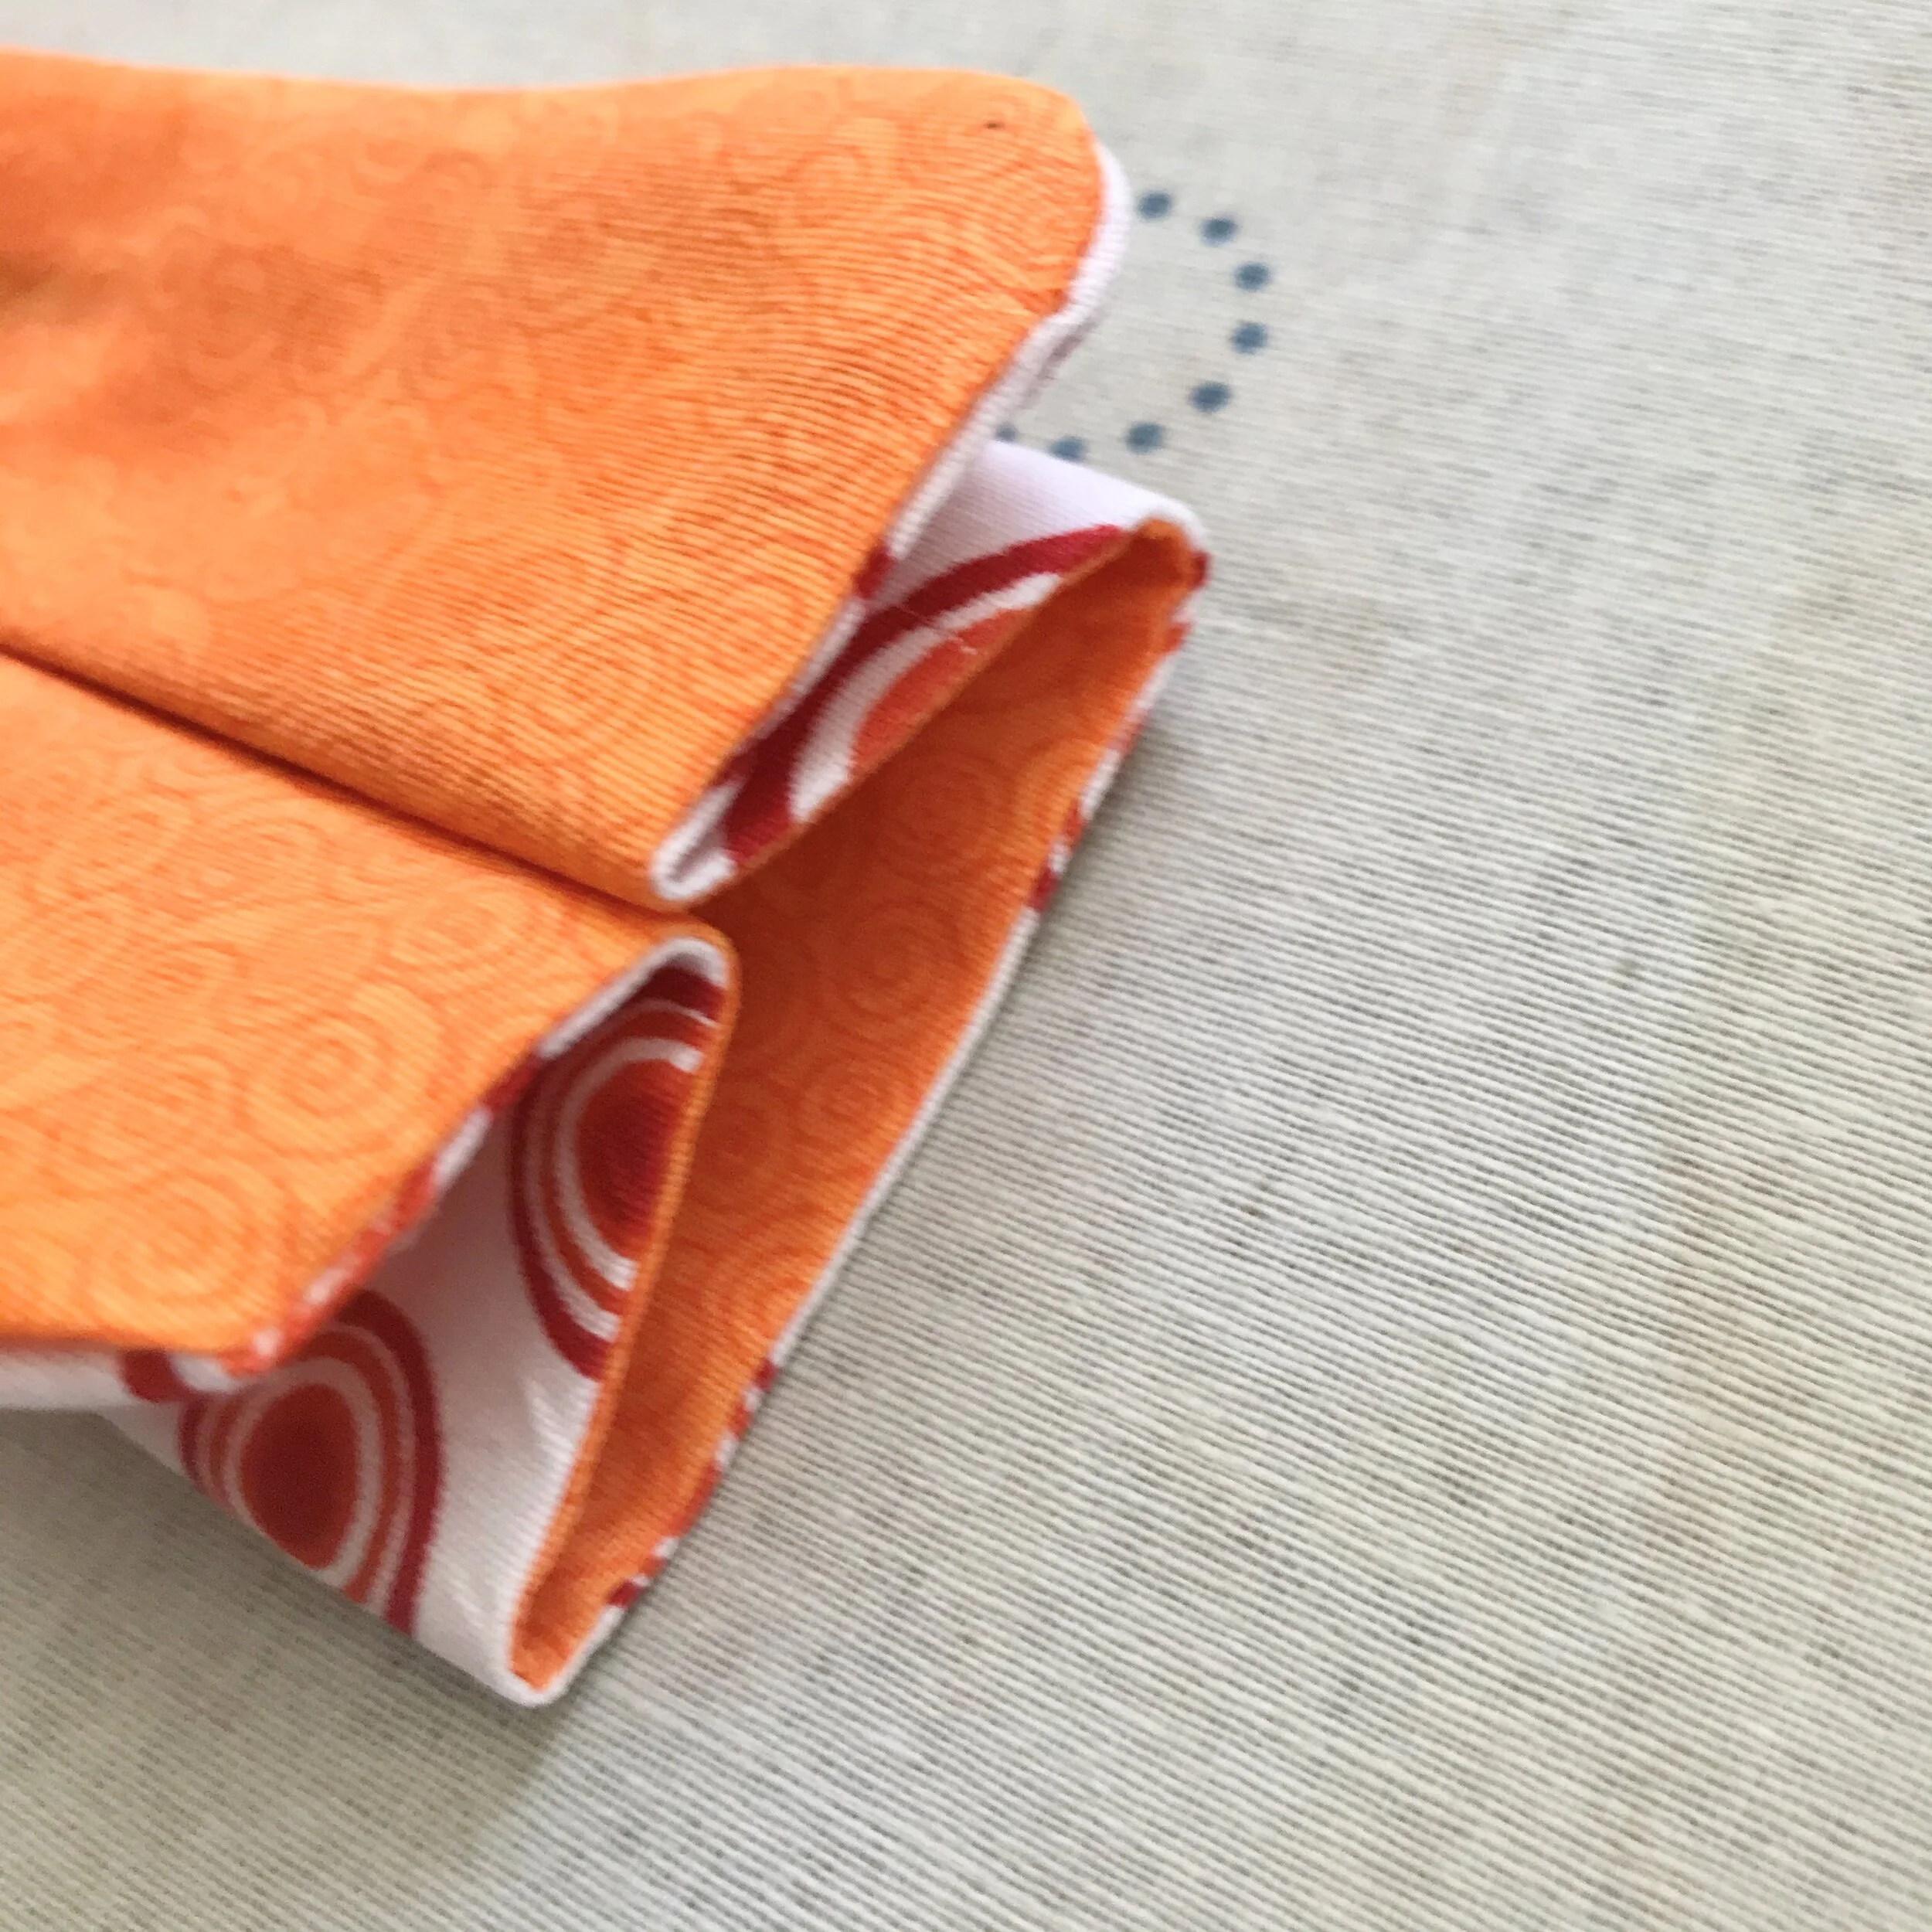
Step C: Fold & Iron
Fold the side seams as shown creating one box pleat. Secure with pins or clips. Repeat on the other side seam.
Press the box pleats.

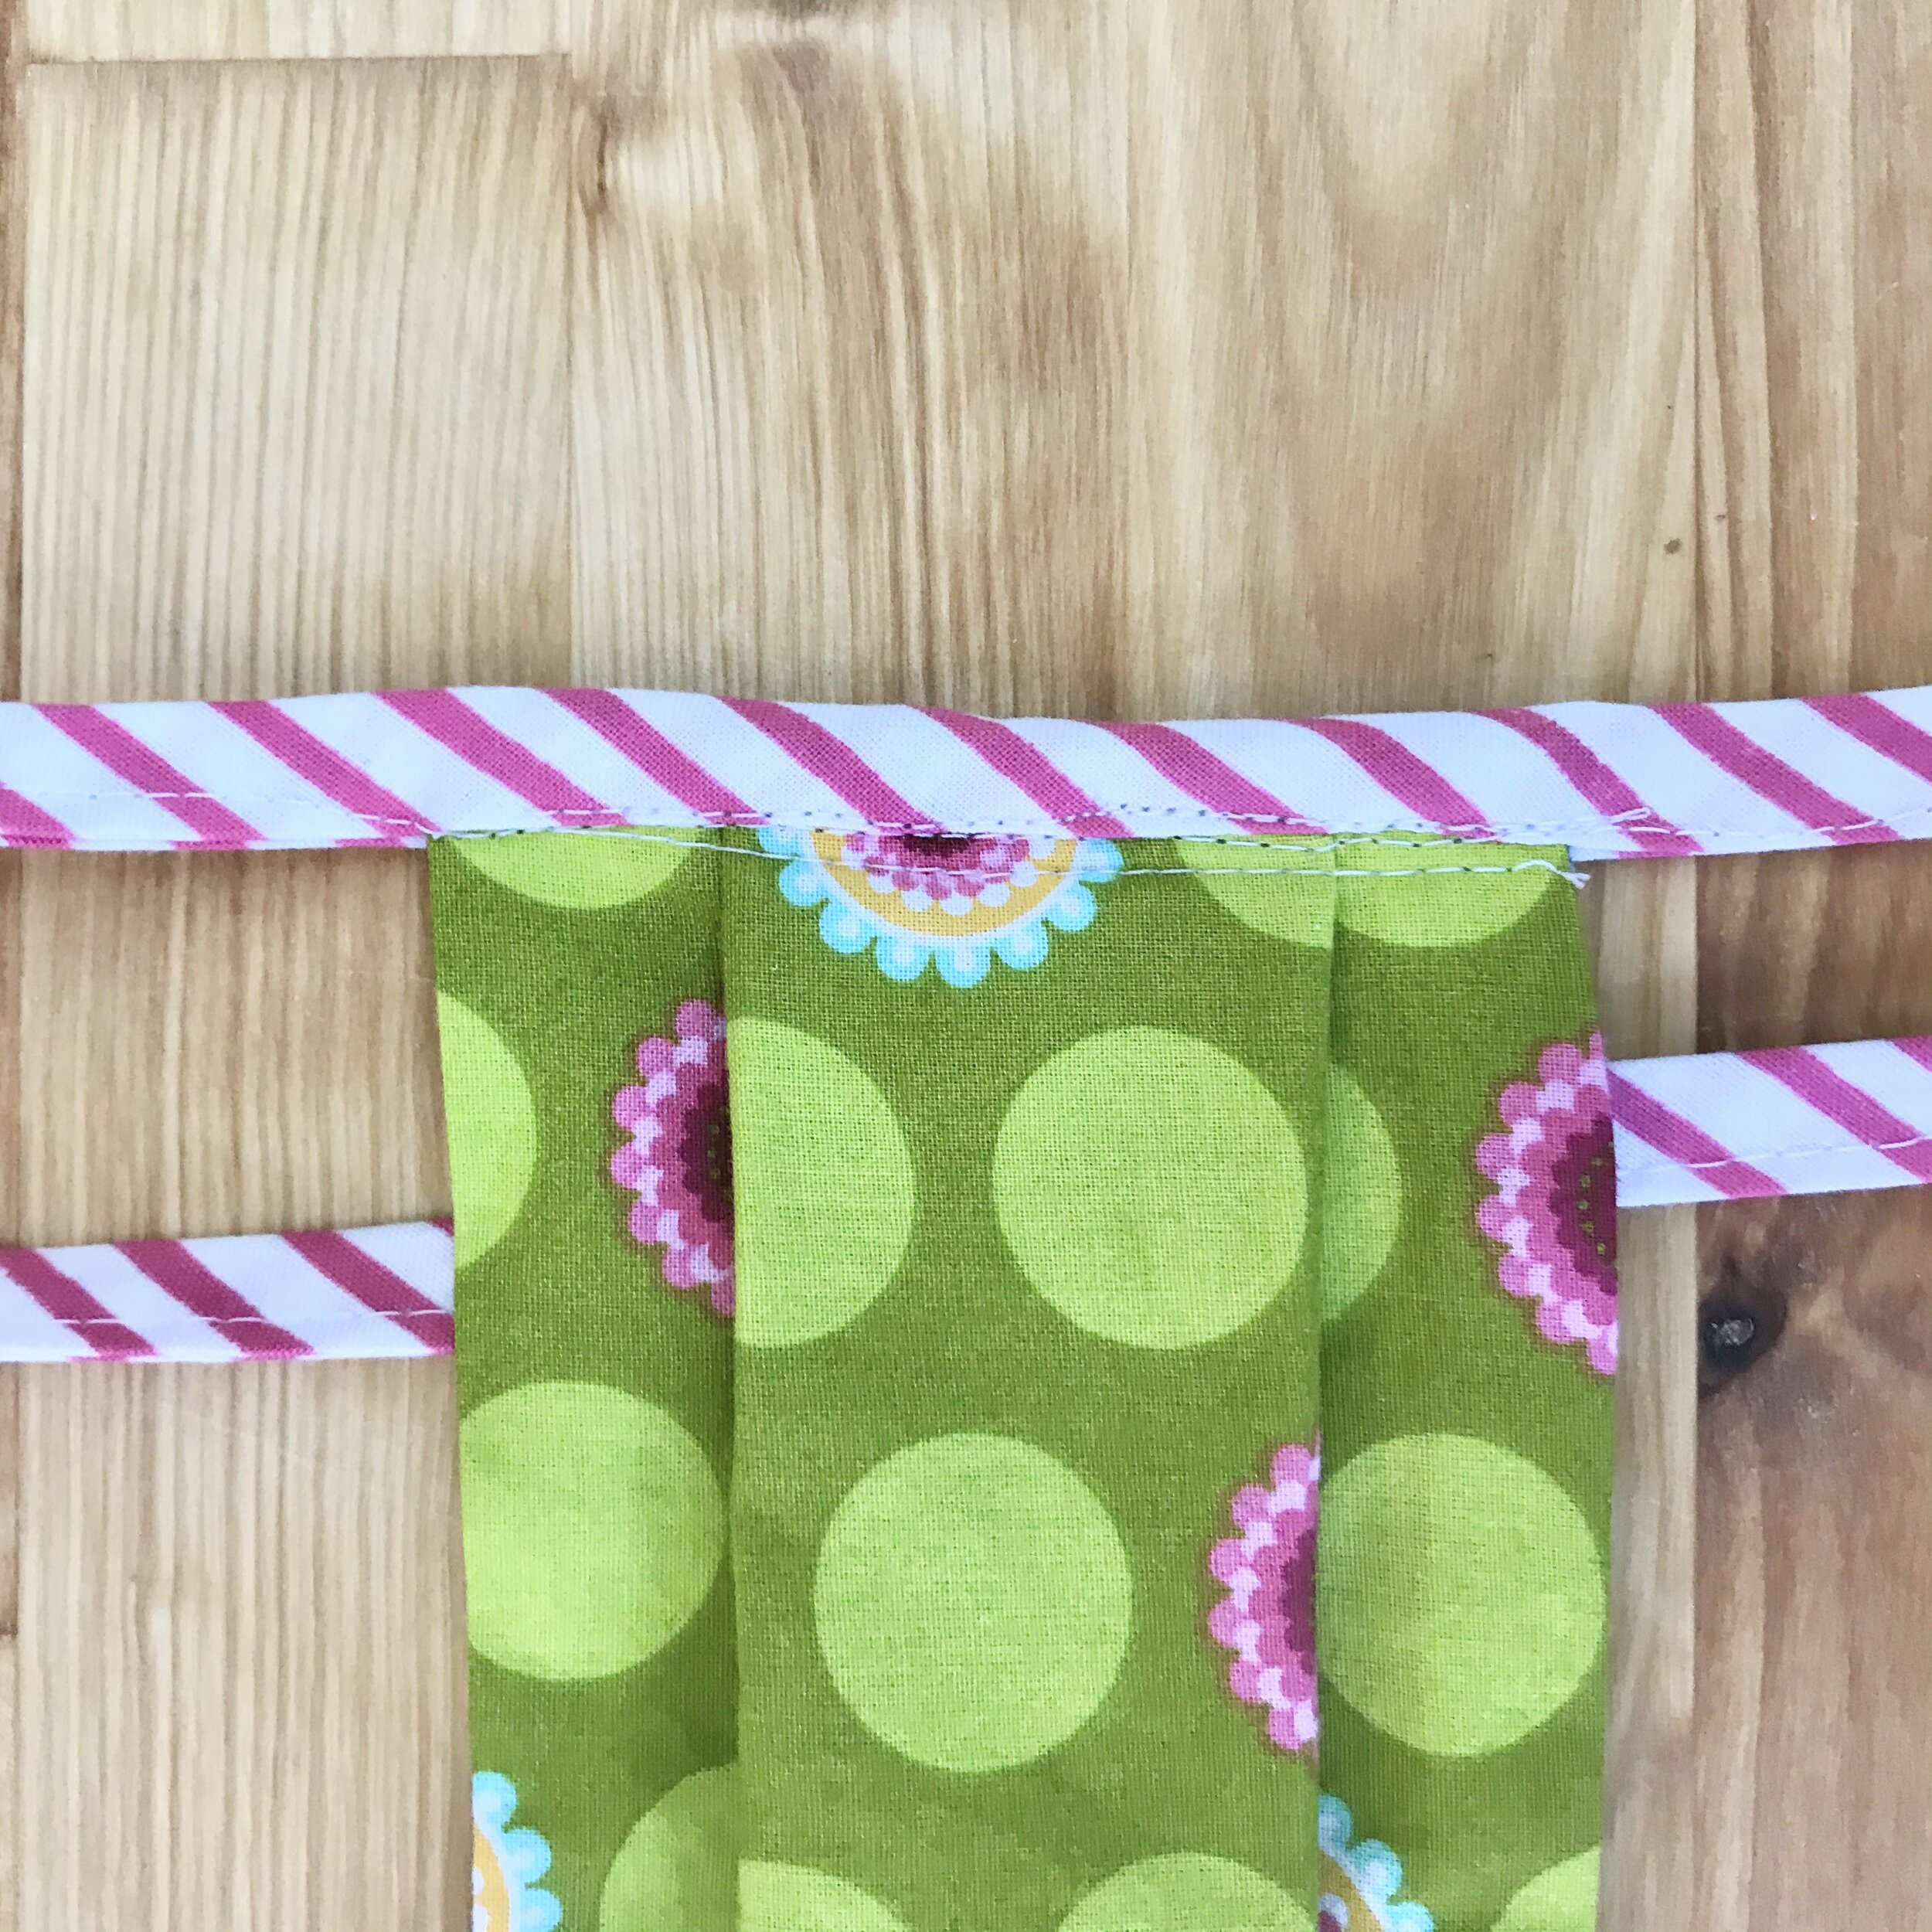
Step D: Add Bias Tape
Cut two 40” pieces of bias tape.
Line up the middle of the bias tape with the middle of the mask. Insert the mask into the fold of the bias tape. Pin and sew. Sew the bias tape together, too, for added stability.
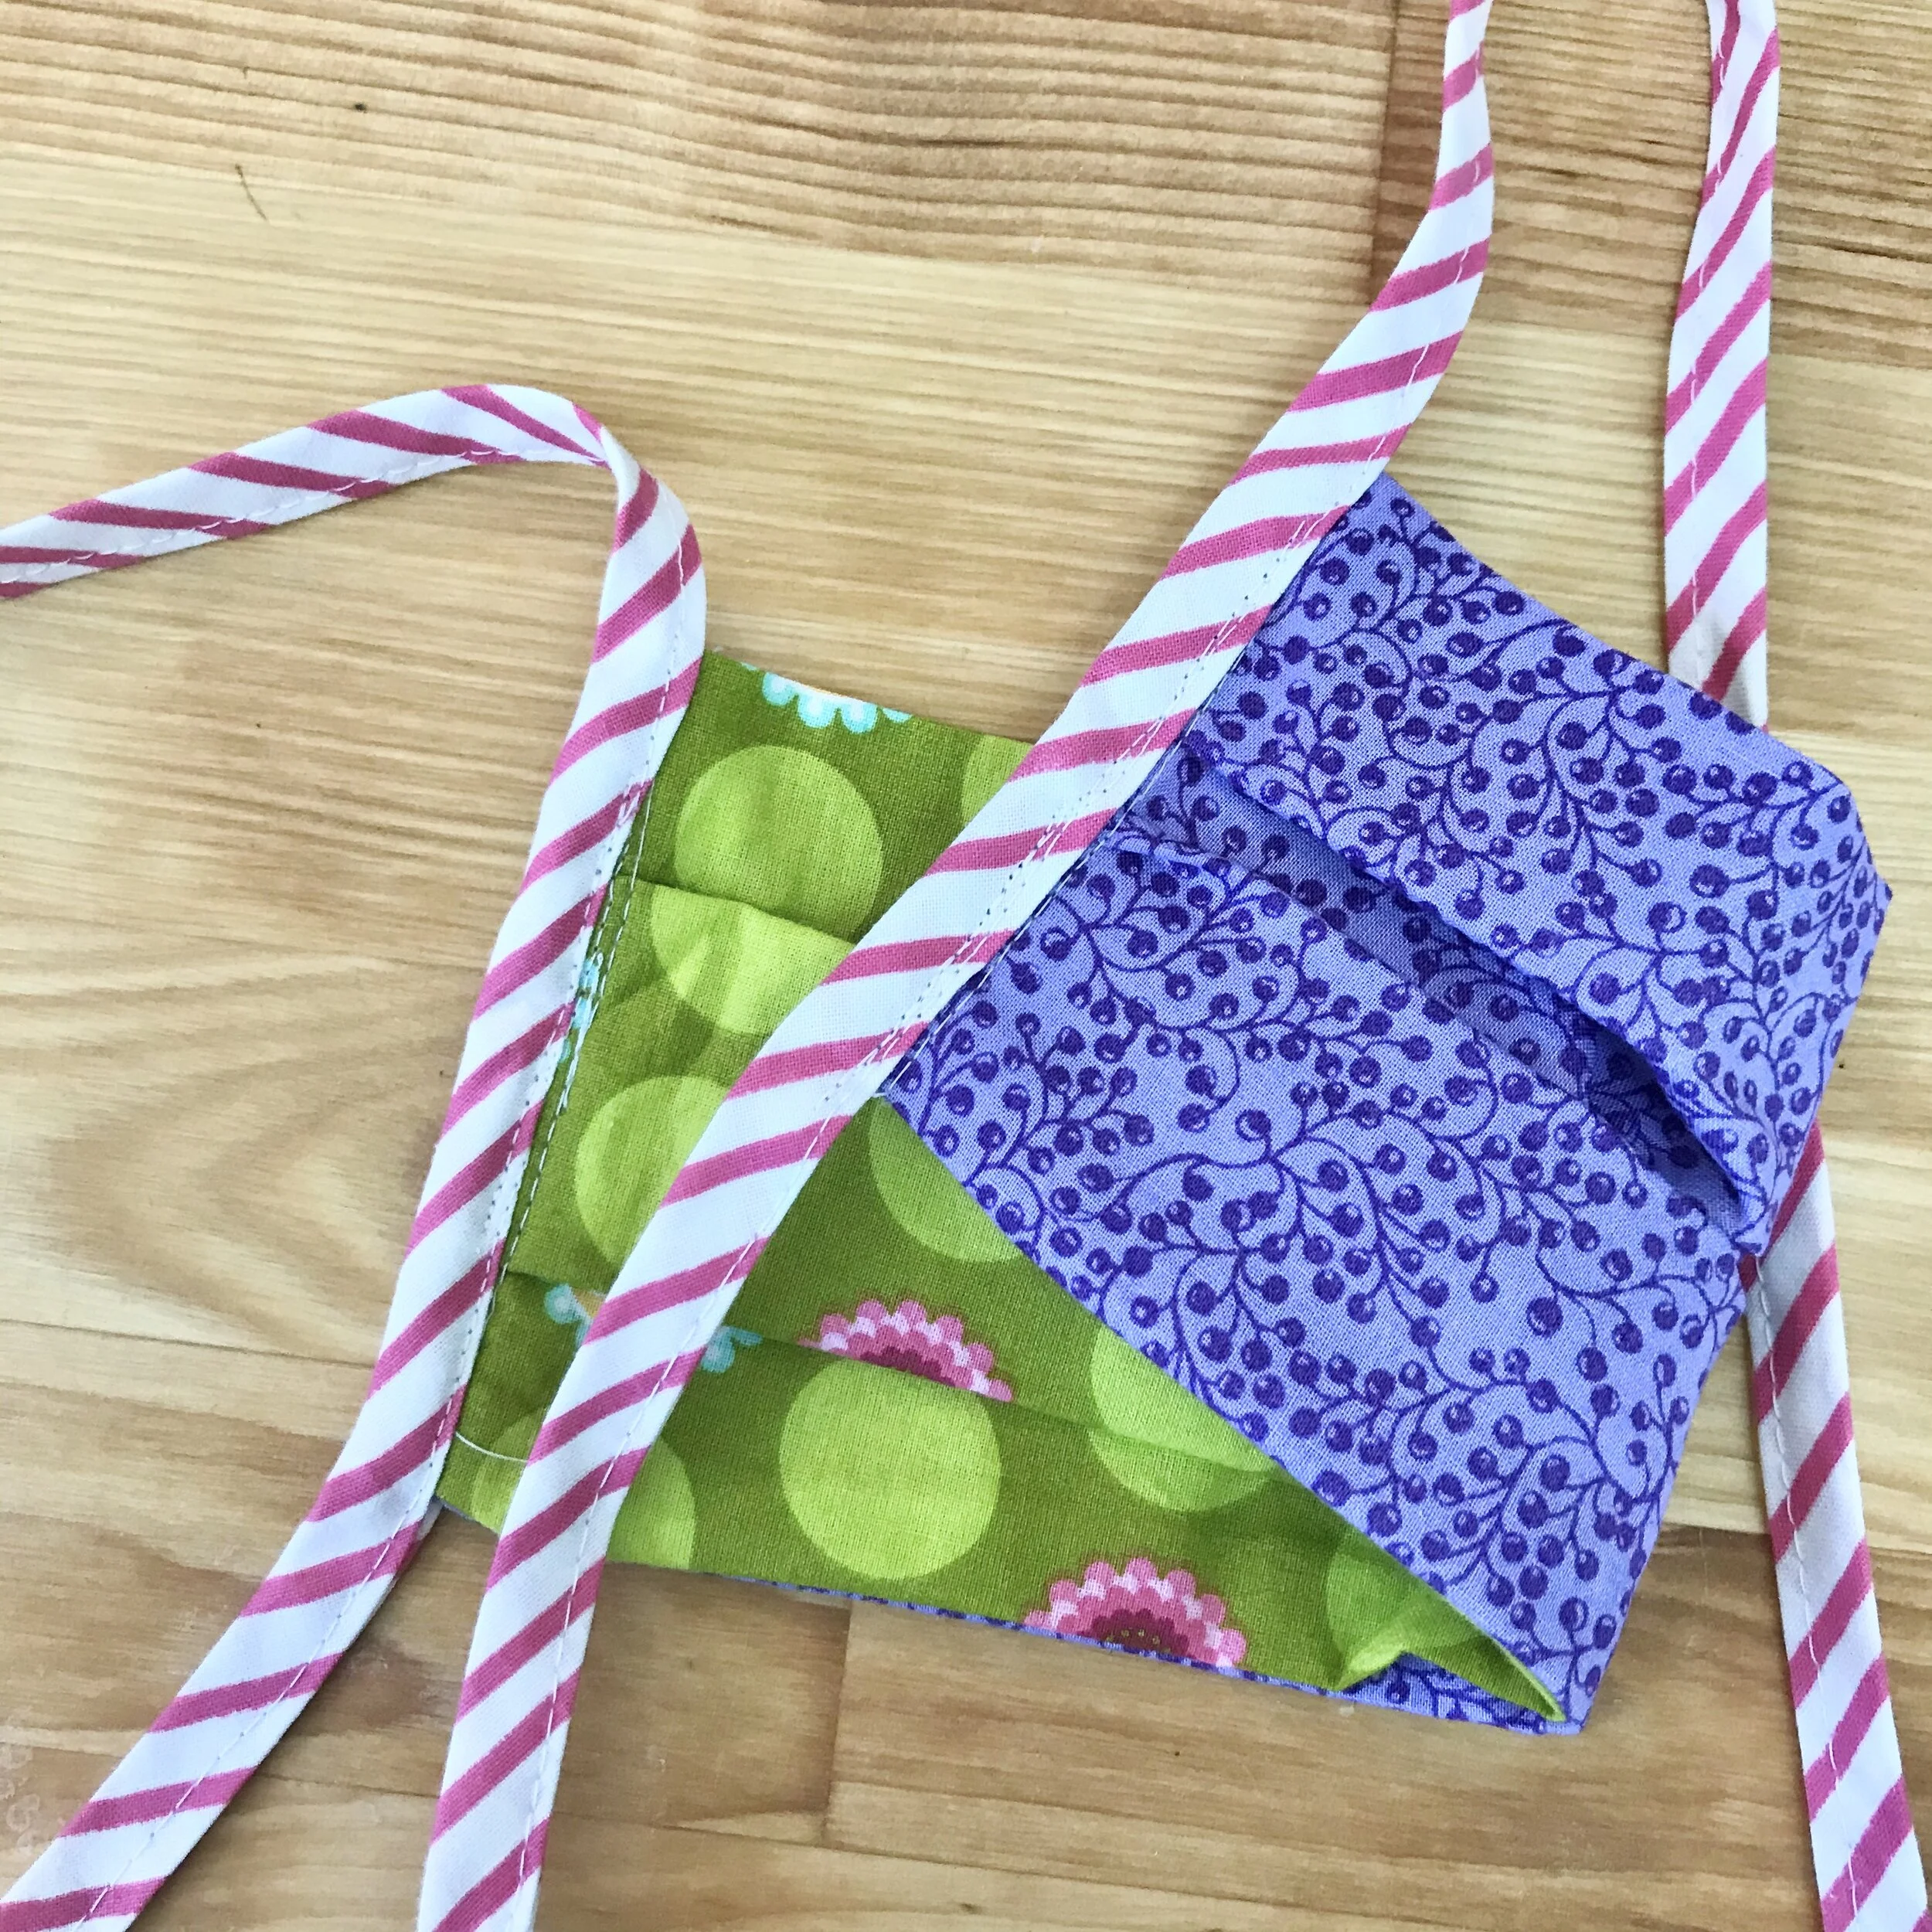
Completed Mask
Your mask is now done and is reversible! Wear it in good health!
No matter what kind of mask you wear, I encourage you to wear a mask when you leave your home. When they asked people in the Czech Republic to wear masks, the entire country adopted a saying, “My mask protects you; your mask protects me.” We are all in this together no matter how long it lasts.
My masks will protect you. Your masks will protect me.
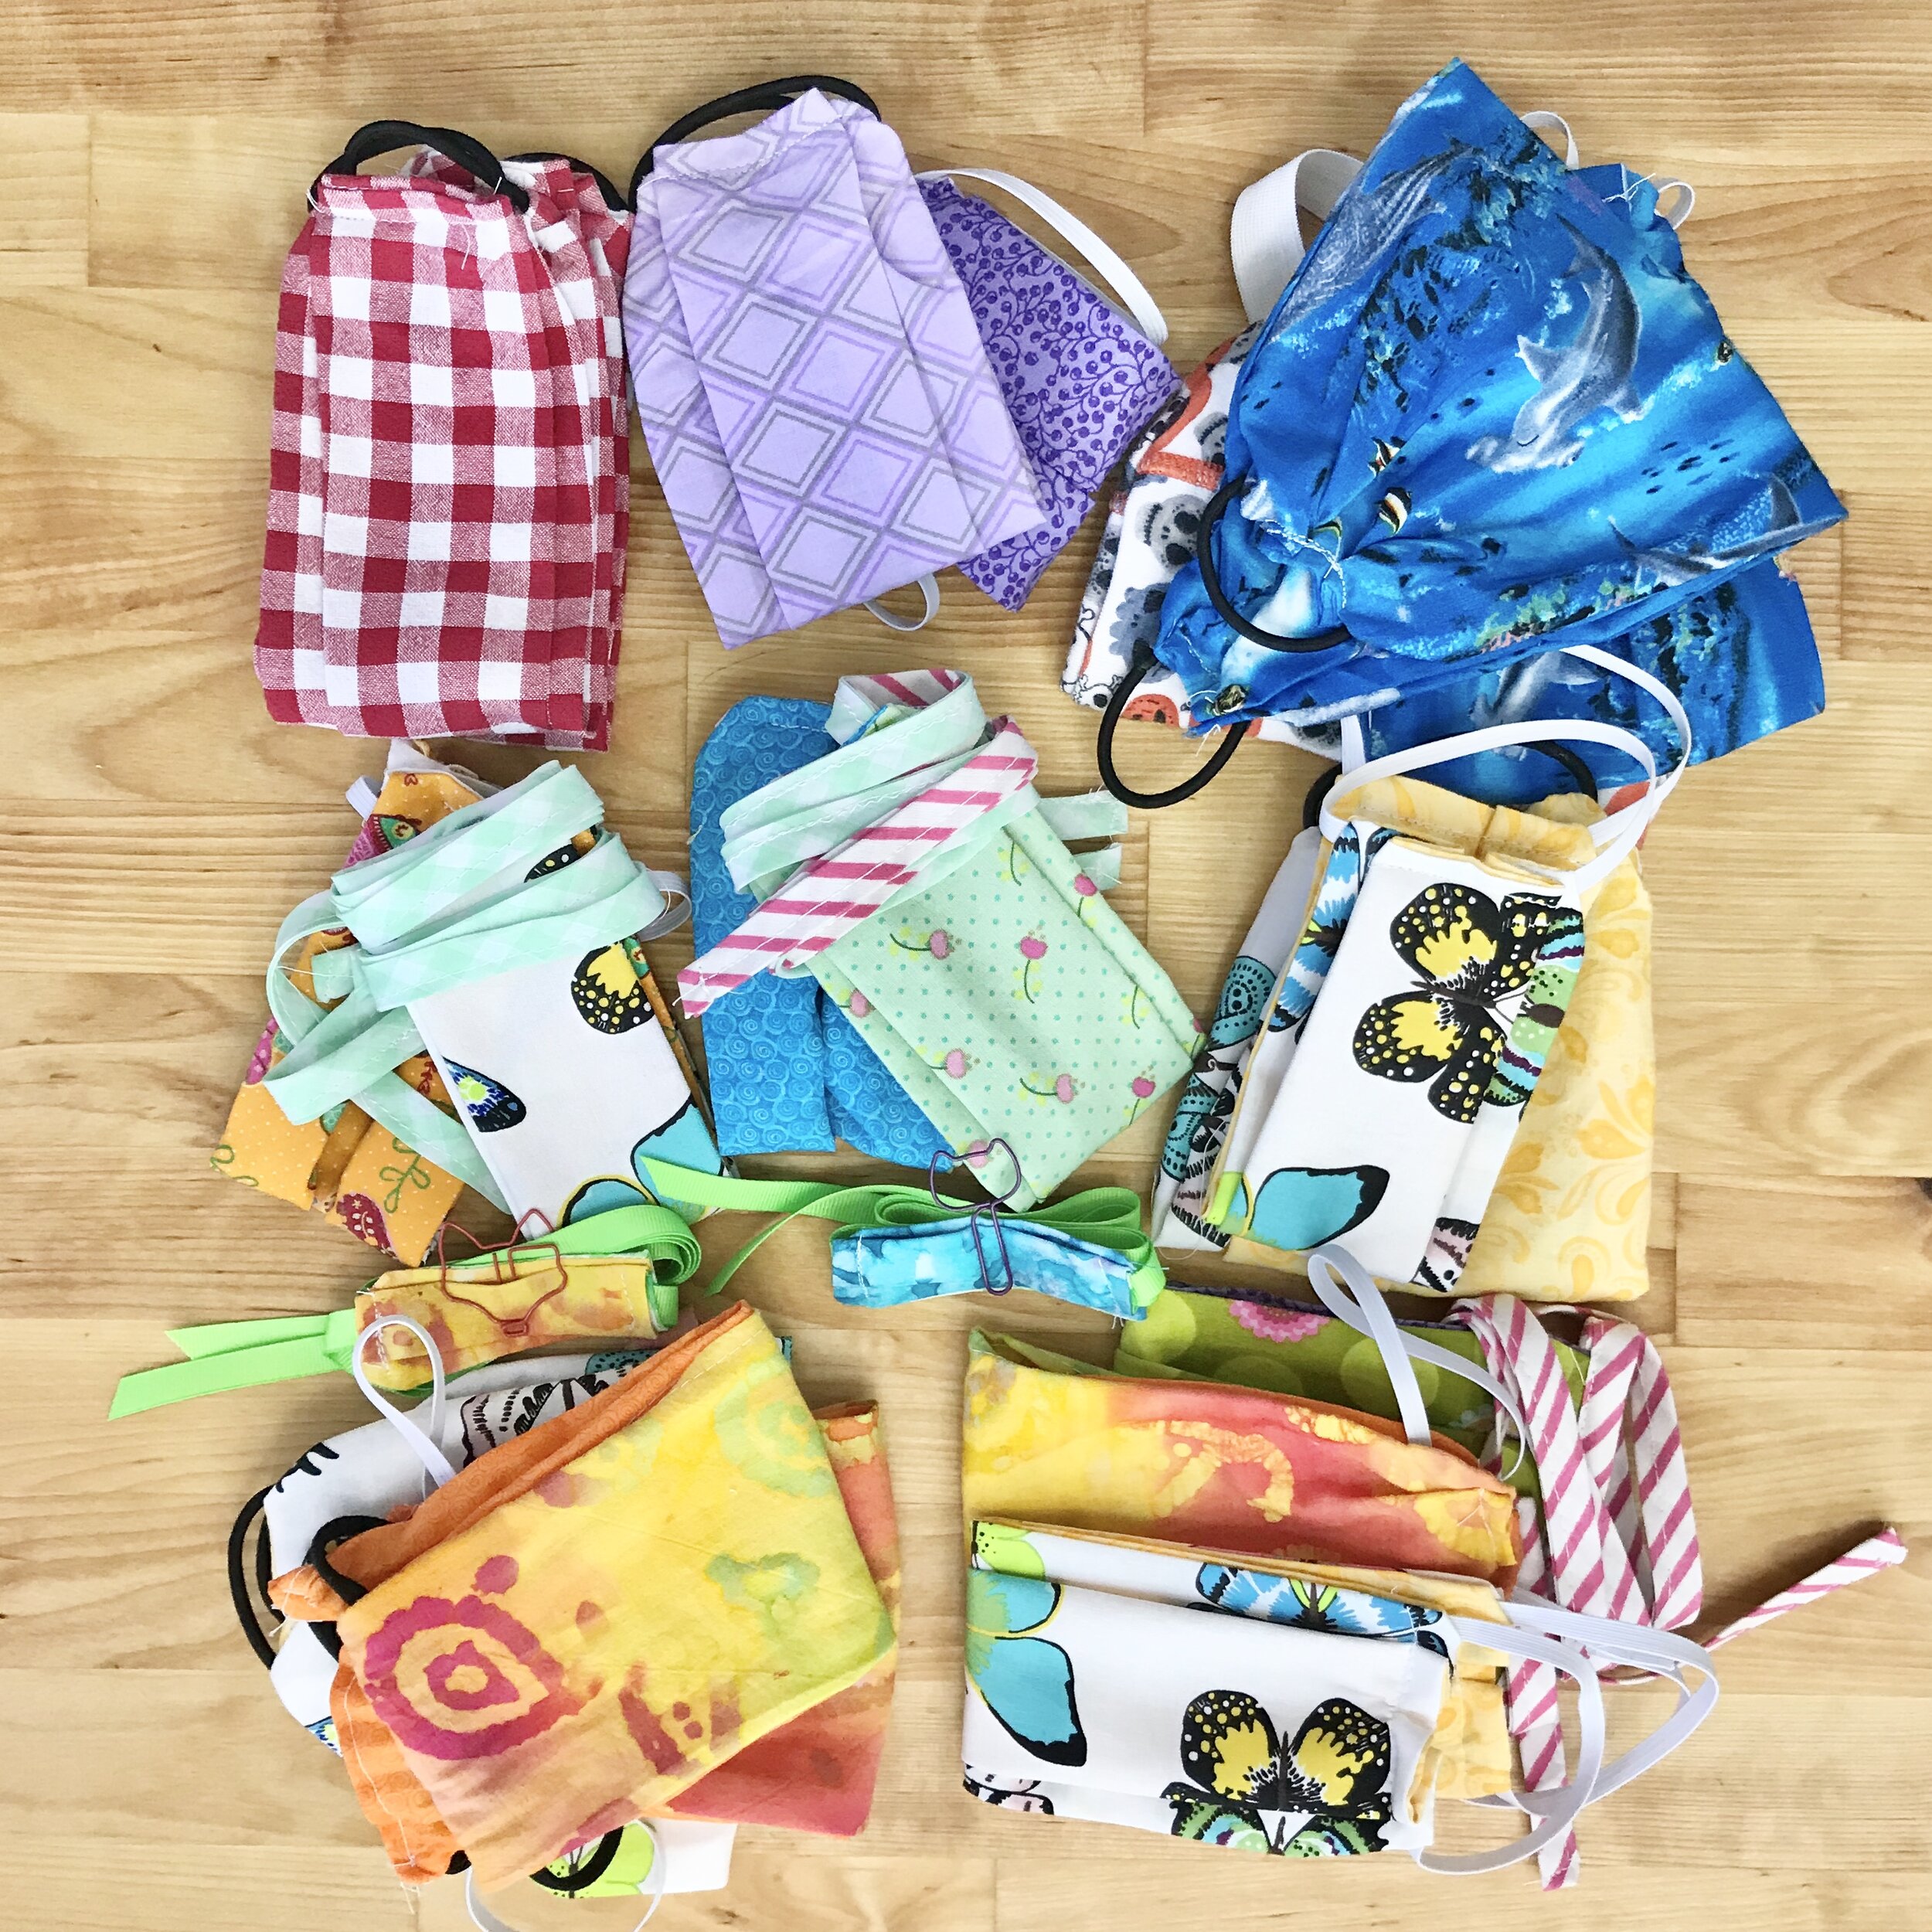
The work of the weekend: 22 masks to be mailed off to family far and near.
