
Make a Duvet Cover from Sheets
In the US, most sheets are sold in sets: top sheet, bottom sheet, and a pillowcase or two. When we switched to sleeping Scandinavian-style, I suddenly had a stack of top sheets without a purpose. Some I donated. Others I repurposed. And then one day I realized that I had the raw materials for a duvet cover, so I started making duvet covers from our top sheets which has saved a lot of money over the years.
This is a fairly simple sewing project with straight seams, but the volume of fabric means you need a large place to work or it becomes overwhelming. So find a bigger table with some clear space around it to set up your project.
What size and how many sheets do I need?
That depends on what size duvet cover you will be making. To complicate things, different manufacturers make sheets in different dimensions. So the best approach is to measure what you have. But as a rough guideline a twin can be made from two of any size sheet or one king sheet. Everything else will probably need two sheets.
Materials:
2 flat sheets, ironed
snap tape or buttons
duvet
sewing machine
zipper foot (if using snap tape)
coordinating thread
scissors
straight pins
dressmaker’s chalk
2 yards of ribbon, seam binding tape, or other material for the ties (or make your own from scraps — see Step 5)
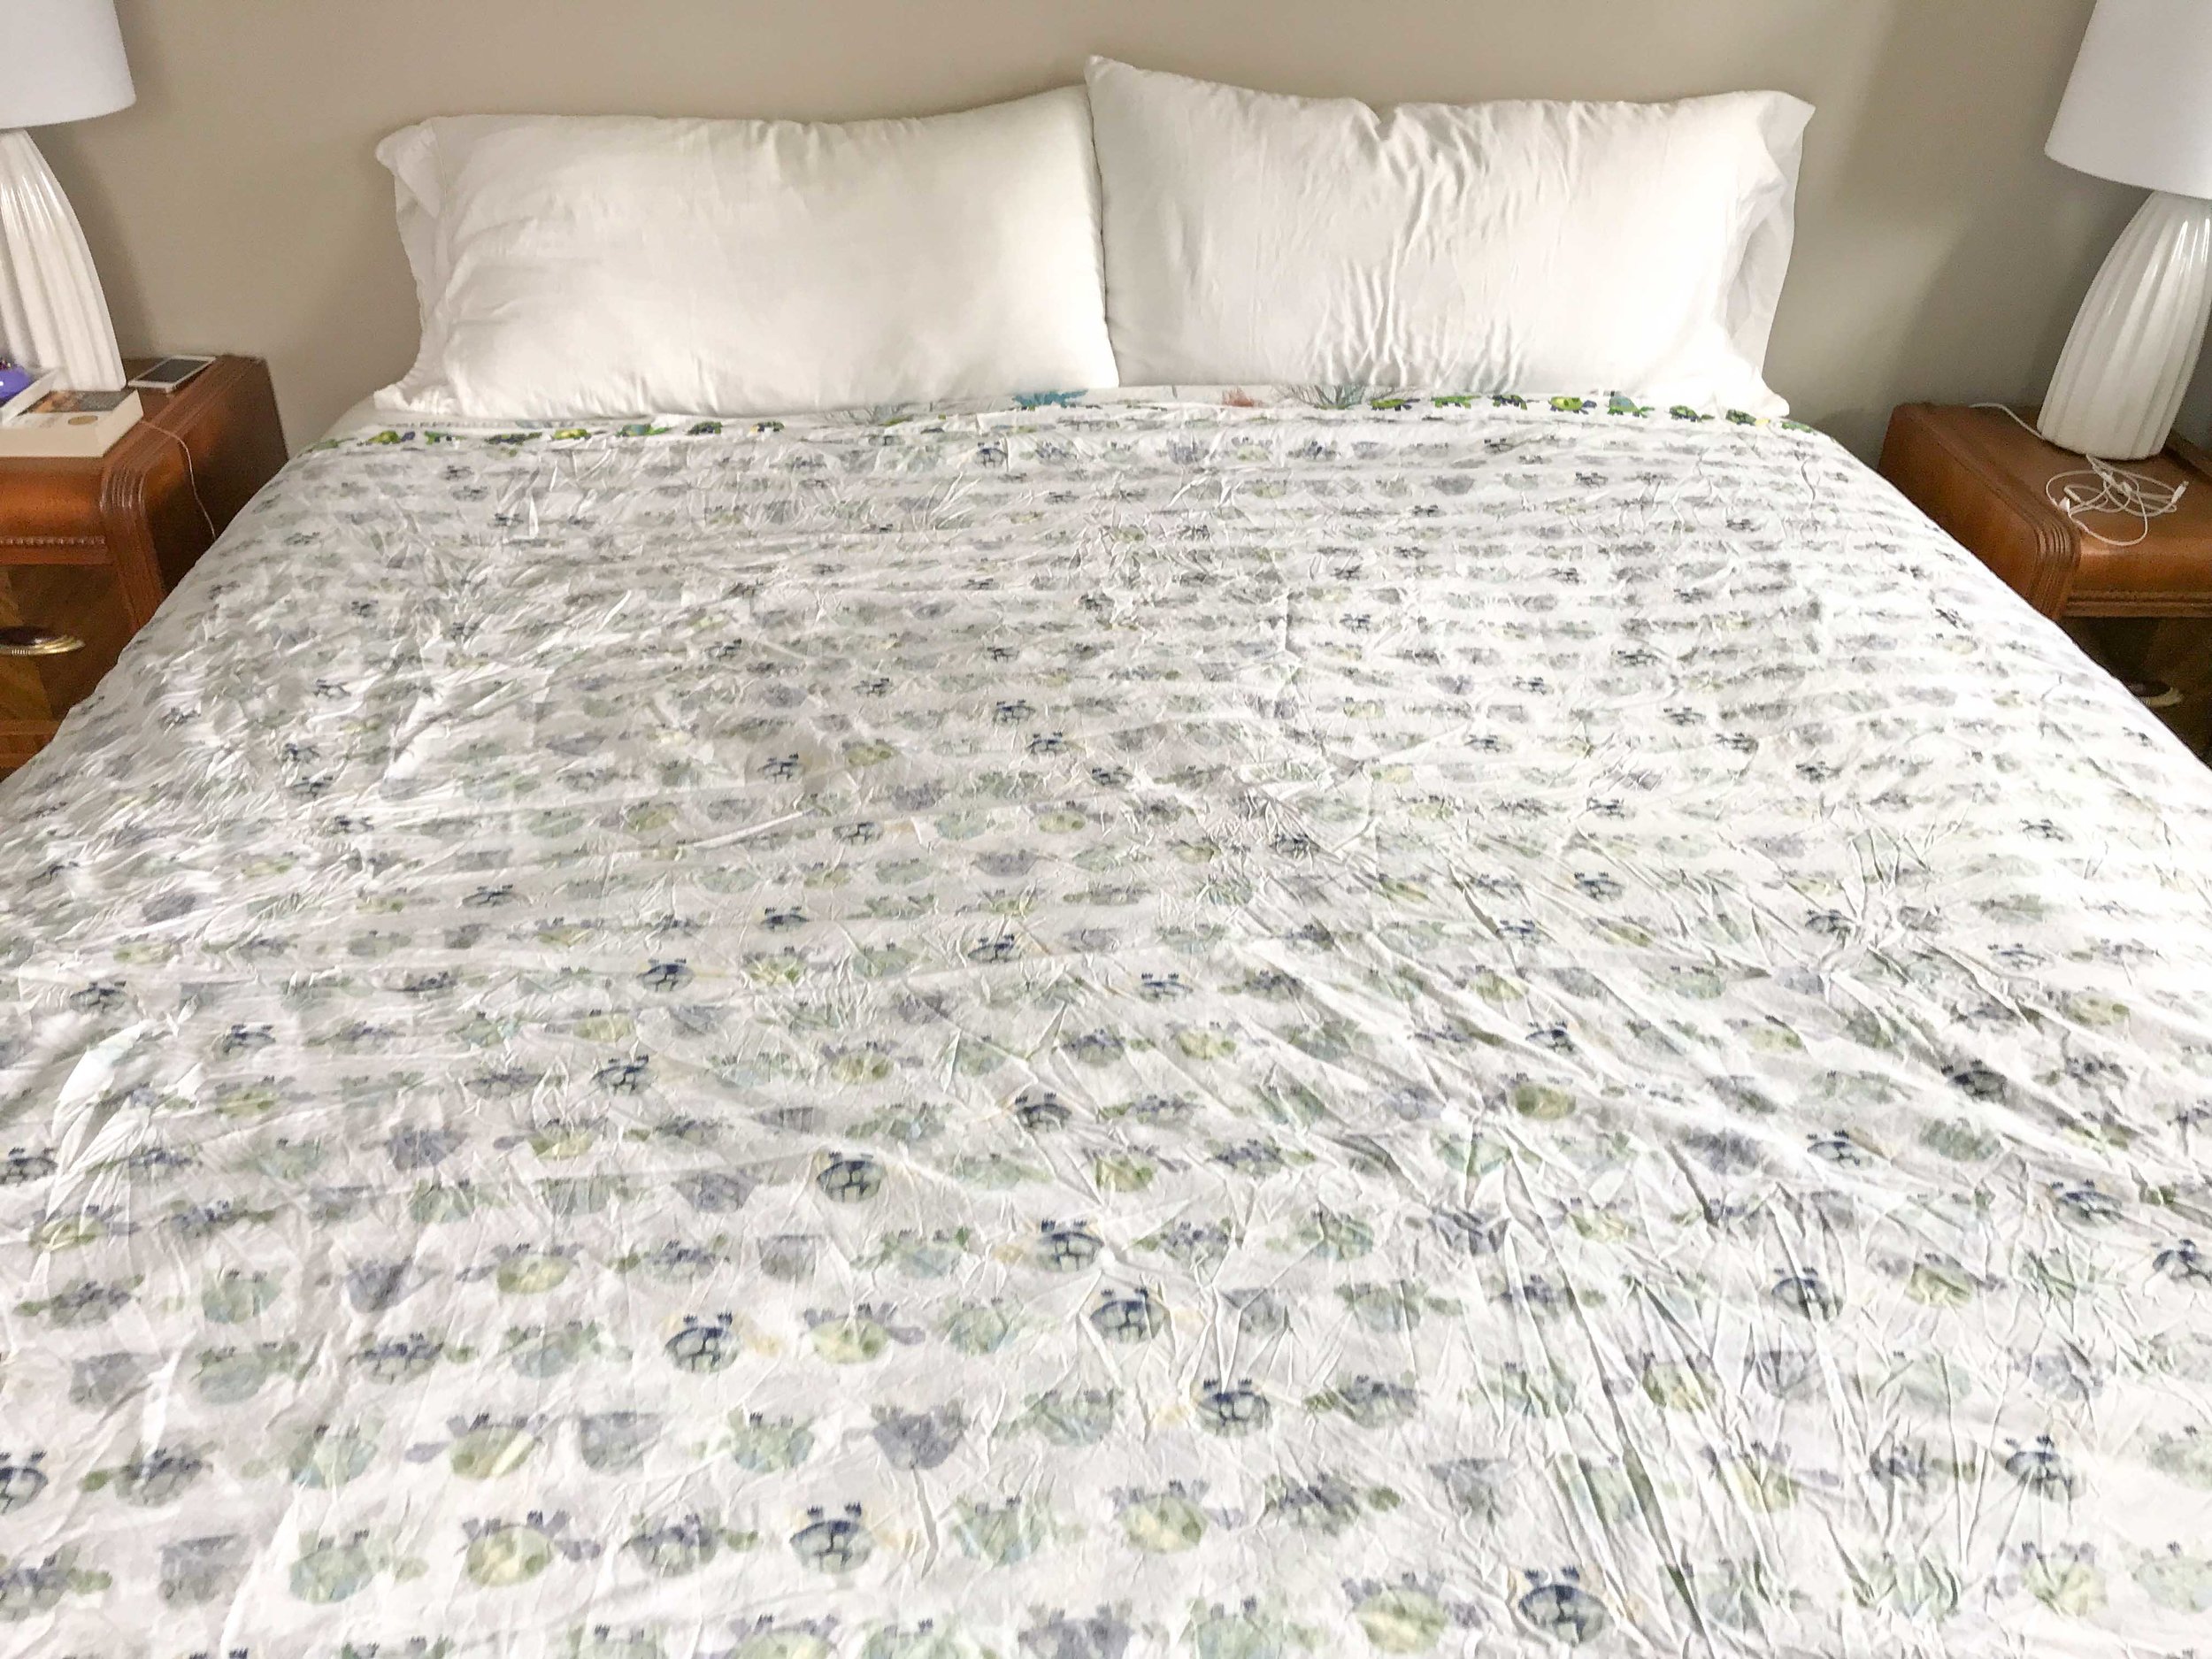
Notes: For this example, I made a queen-sized duvet cover. I used two queen-sized sheets and 48” of snap tape.
Snap tape measurement: 1/2 of the total width of the duvet. 48” for a queen-size duvet.
I could have used buttons, but, frankly, snap tape is faster than making button holes. But that’s your call!

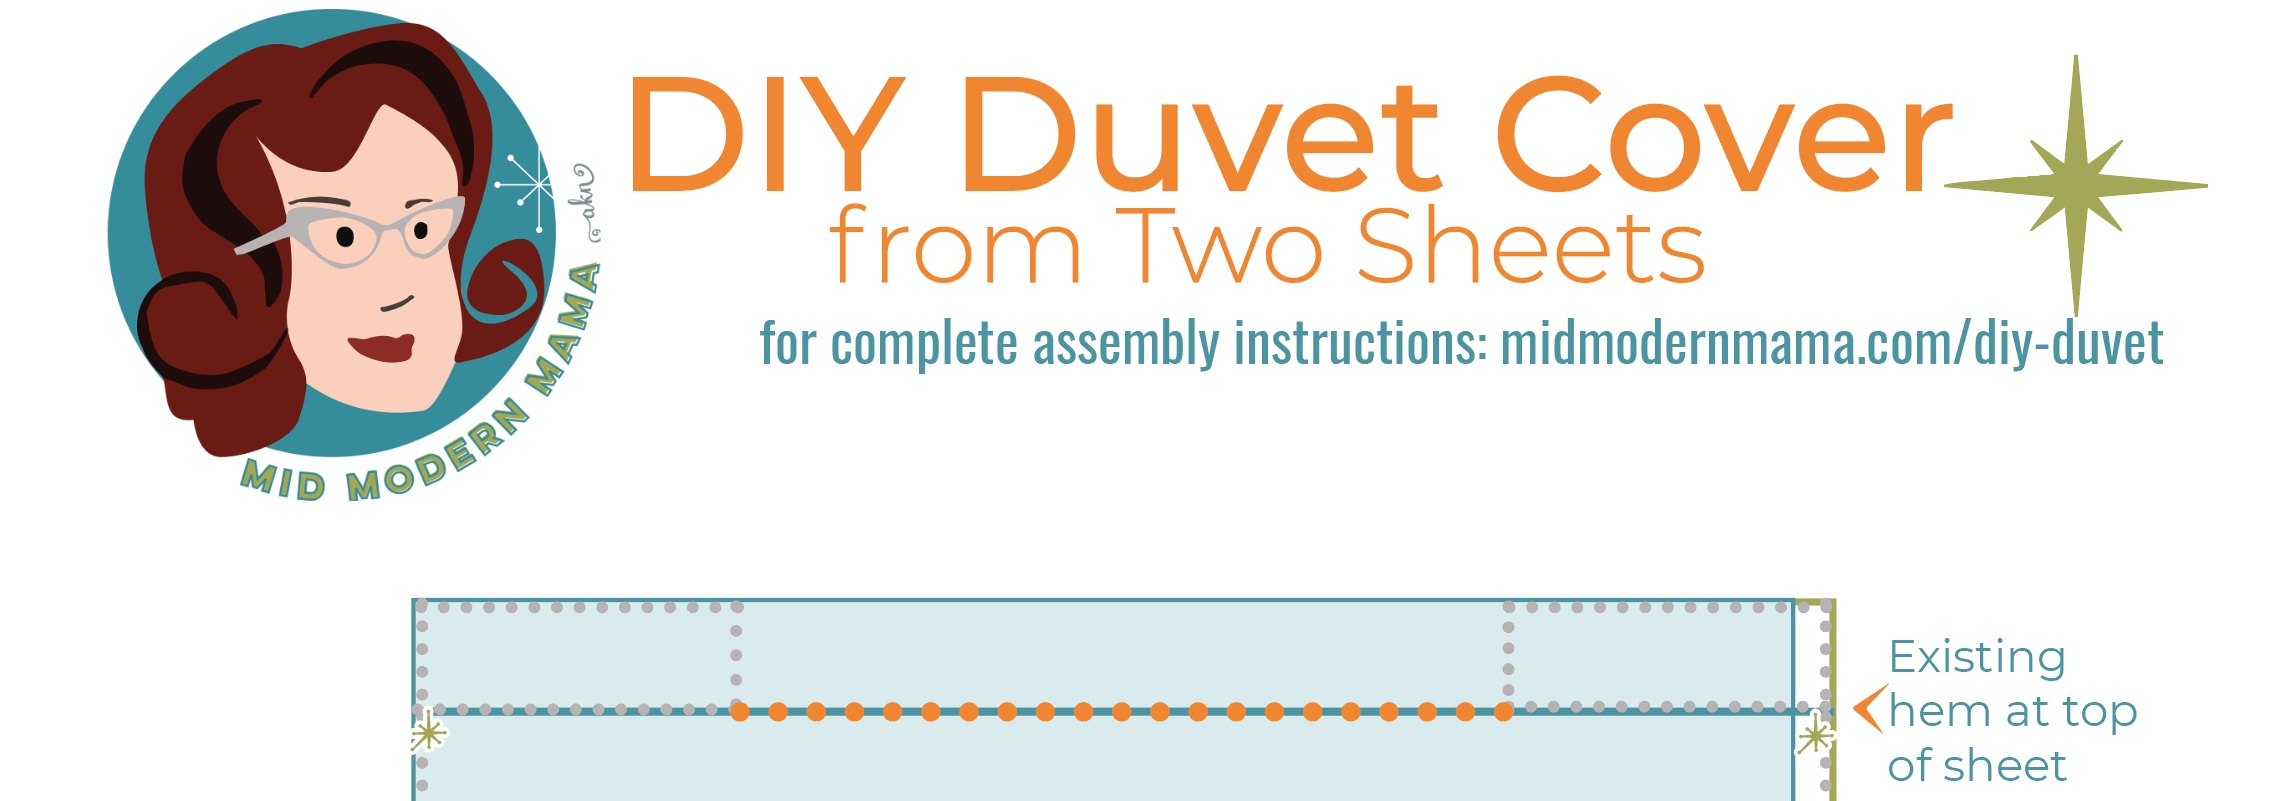
Where is the top?
The direction of the pattern on your sheets will determine where you put your snap or button closures. If the top of the sheet (where the deep hem is) is intended to be folded over, then the pattern will run bottom to top. In other words, the top hem of the sheet will become the bottom hem of the duvet with the snap tape or buttons. If the sheet is not designed that way, however, you’ll want to put the snap tape or buttons at the bottom of the sheets, so that the closures are by your feet, and the pattern is running the right way.
If you have solid fabric or a print that is not directional, this doesn’t matter. Put the closures in at the top hem as the extra layers of fabric will make it stronger.
Step 1: Measure and Mark
Lay out your flat sheets, right sides together, on a flat surface. A bed is great for this. Lay the duvet out on top, matching the tops and one side. Flat sheets tend to be larger than the duvets of the same size. For example, the queen-size sheets I used for this project were 4 inches wider and 16 inches longer than the queen-size duvet for which I made the cover.
I decided to keep the 4 inches extra on the width so that I could keep the finished seams. I just absorbed those inches into the seam allowance on both sides. But I cut off 14 inches at the bottom (leaving a 2 inch seam allowance for a French seam at the bottom).
I kept the pieces I cut off to make ties (see Step 5).


Step 2: Sew the Snap Tape
With the right sides out, find the middle of the end where your snap tape will go. Mark the middle with dressmaker’s chalk on both sheets. Separate the snap tape. Line up the middle of your snap tape with the middle of each sheet. Pin it into place on the wrong side of each sheet working from the middle to each end. Sew the snap tape into place on each sheet using your zipper foot.

Step 3: Sew the Side Seams
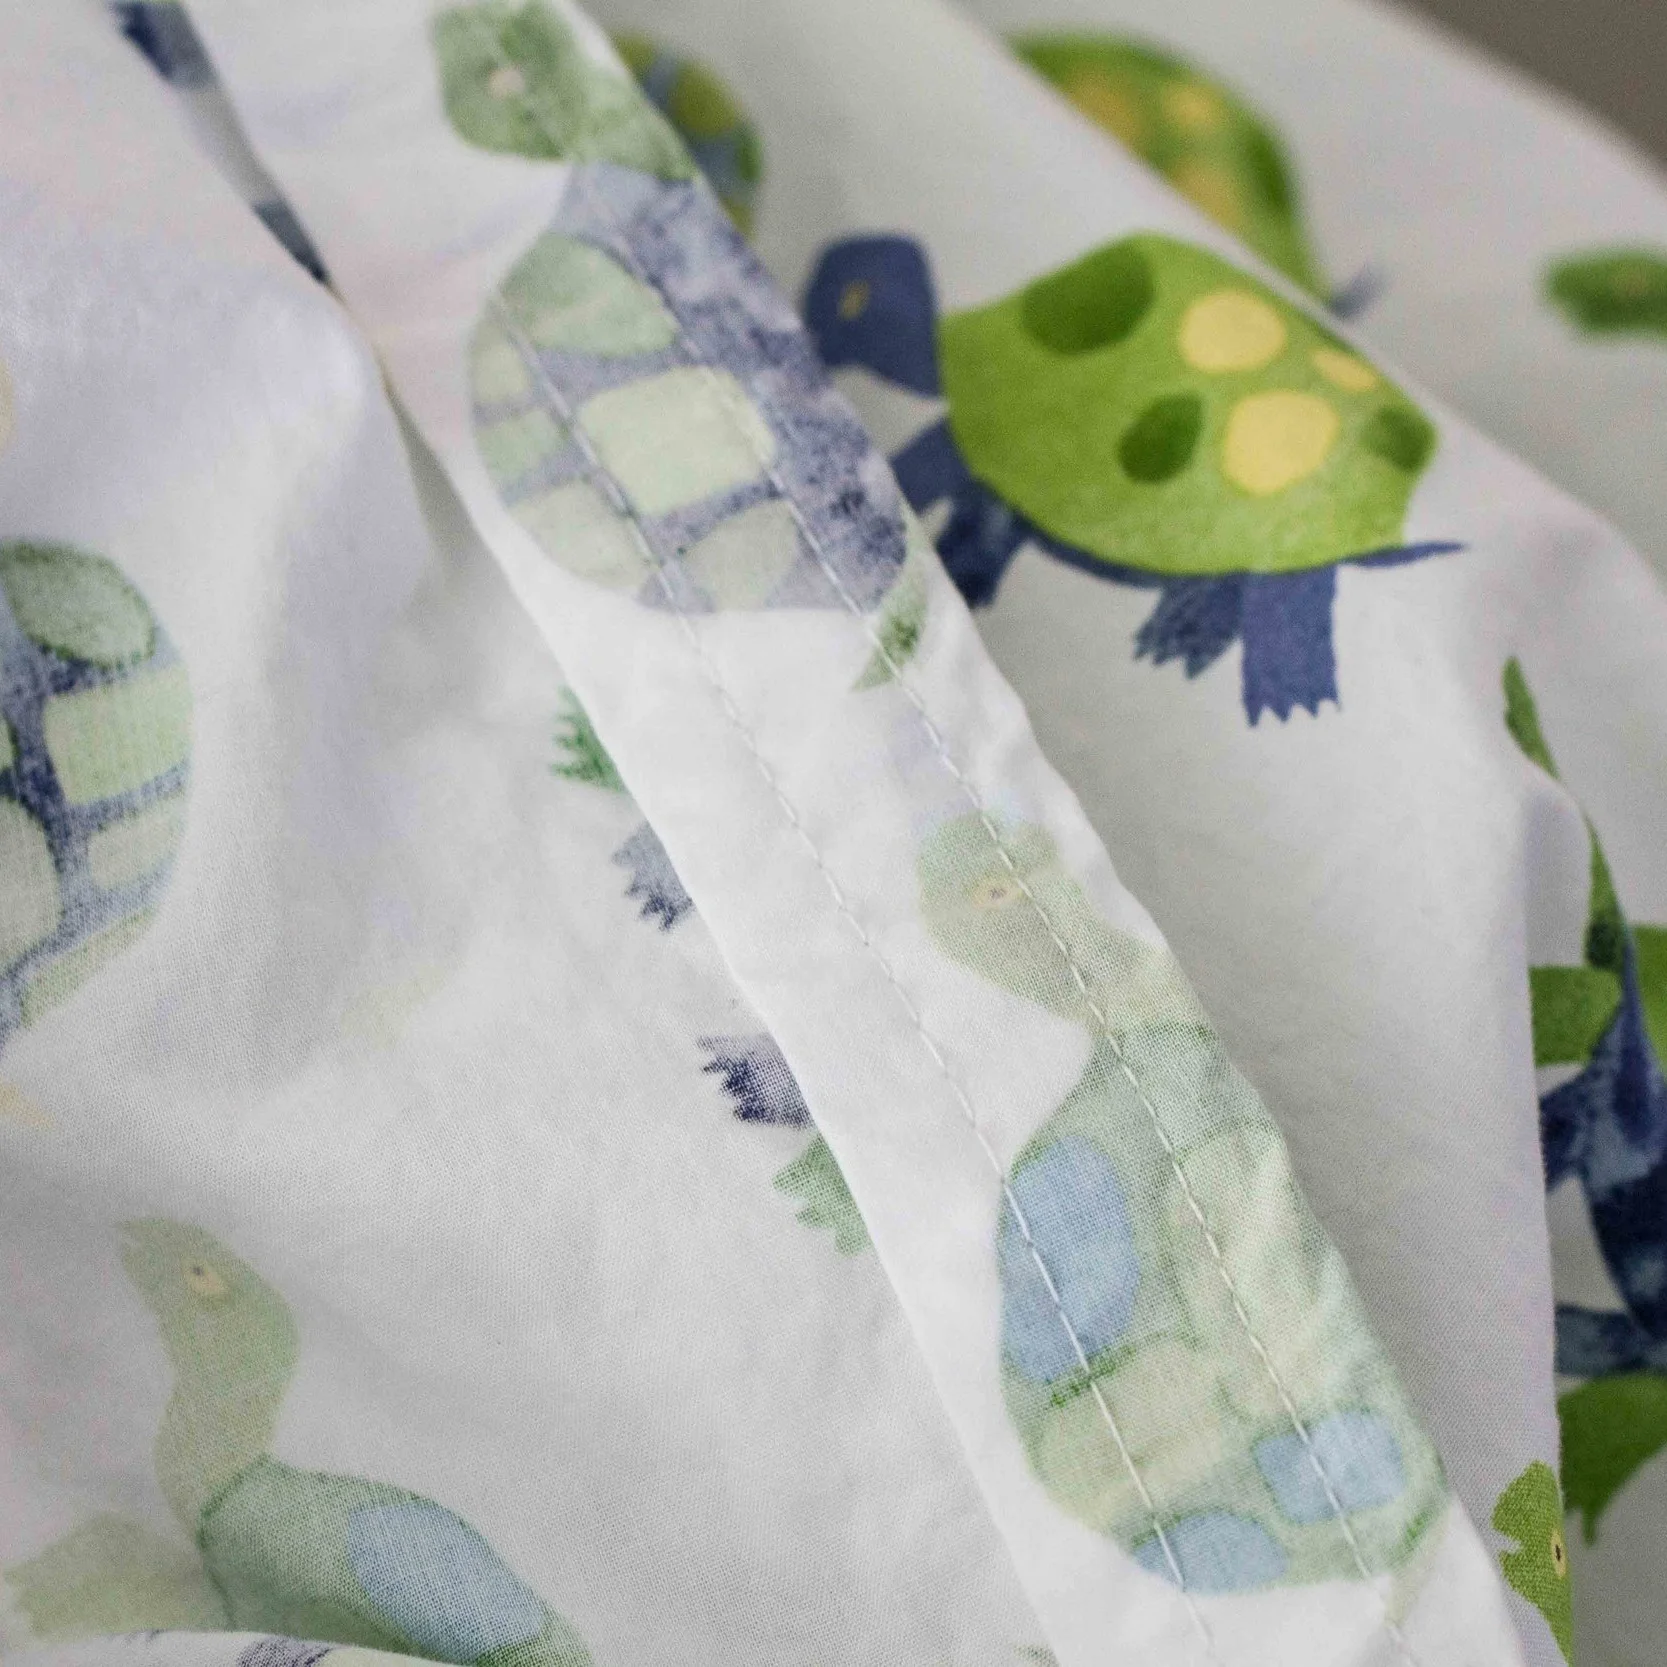
Snap the sheets together to check alignment and to hold everything in place. With the snaps still snapped, flip the sheets so they are right sides together. Pin the sides. Sew each side seam. If you have raw edges from a side seam, use a mock French seam to prevent fraying.
Step 4: Sew the bottom seam
Once both sides are done, now pin and sew the bottom seam. Again, if you have raw edges, use a mock French seam to prevent fraying.


Step 5: Add the Duvet Ties
Cut whatever you are using for the duvet ties into 4 equal pieces. Fold each piece in half, and secure one in each of the 4 duvet corners, sewing it securely to the seam.
For this duvet, I made my own ties from the scraps I cut off the bottom. I cut the bottom seam off with a 1 inch seam allowance, and then sewed the raw edge back onto itself — essentially half of a mock French seam. This made a long strip which I then cut into 4 pieces. I hemmed the ends of each piece and sewed them into the corners.

Step 6: Finish the Top
Turn the whole duvet cover right side out. Snap the snap tape together. Top-stitch from the top edge of the duvet down, across the ends of the snap tape. Repeat on the other side.
Now topstitch the top closed from the end of the snap tape to the outer edge on each side. If you used the sheets’ top hems for the snap tape, you may also want to sew across the bottom of that hem line from the snap tape to the outer edge on each side — just for a finishing detail. Be sure you don’t enclose your duvet ties when you do this!
Step 7: Wash Again and Insert Your Duvet
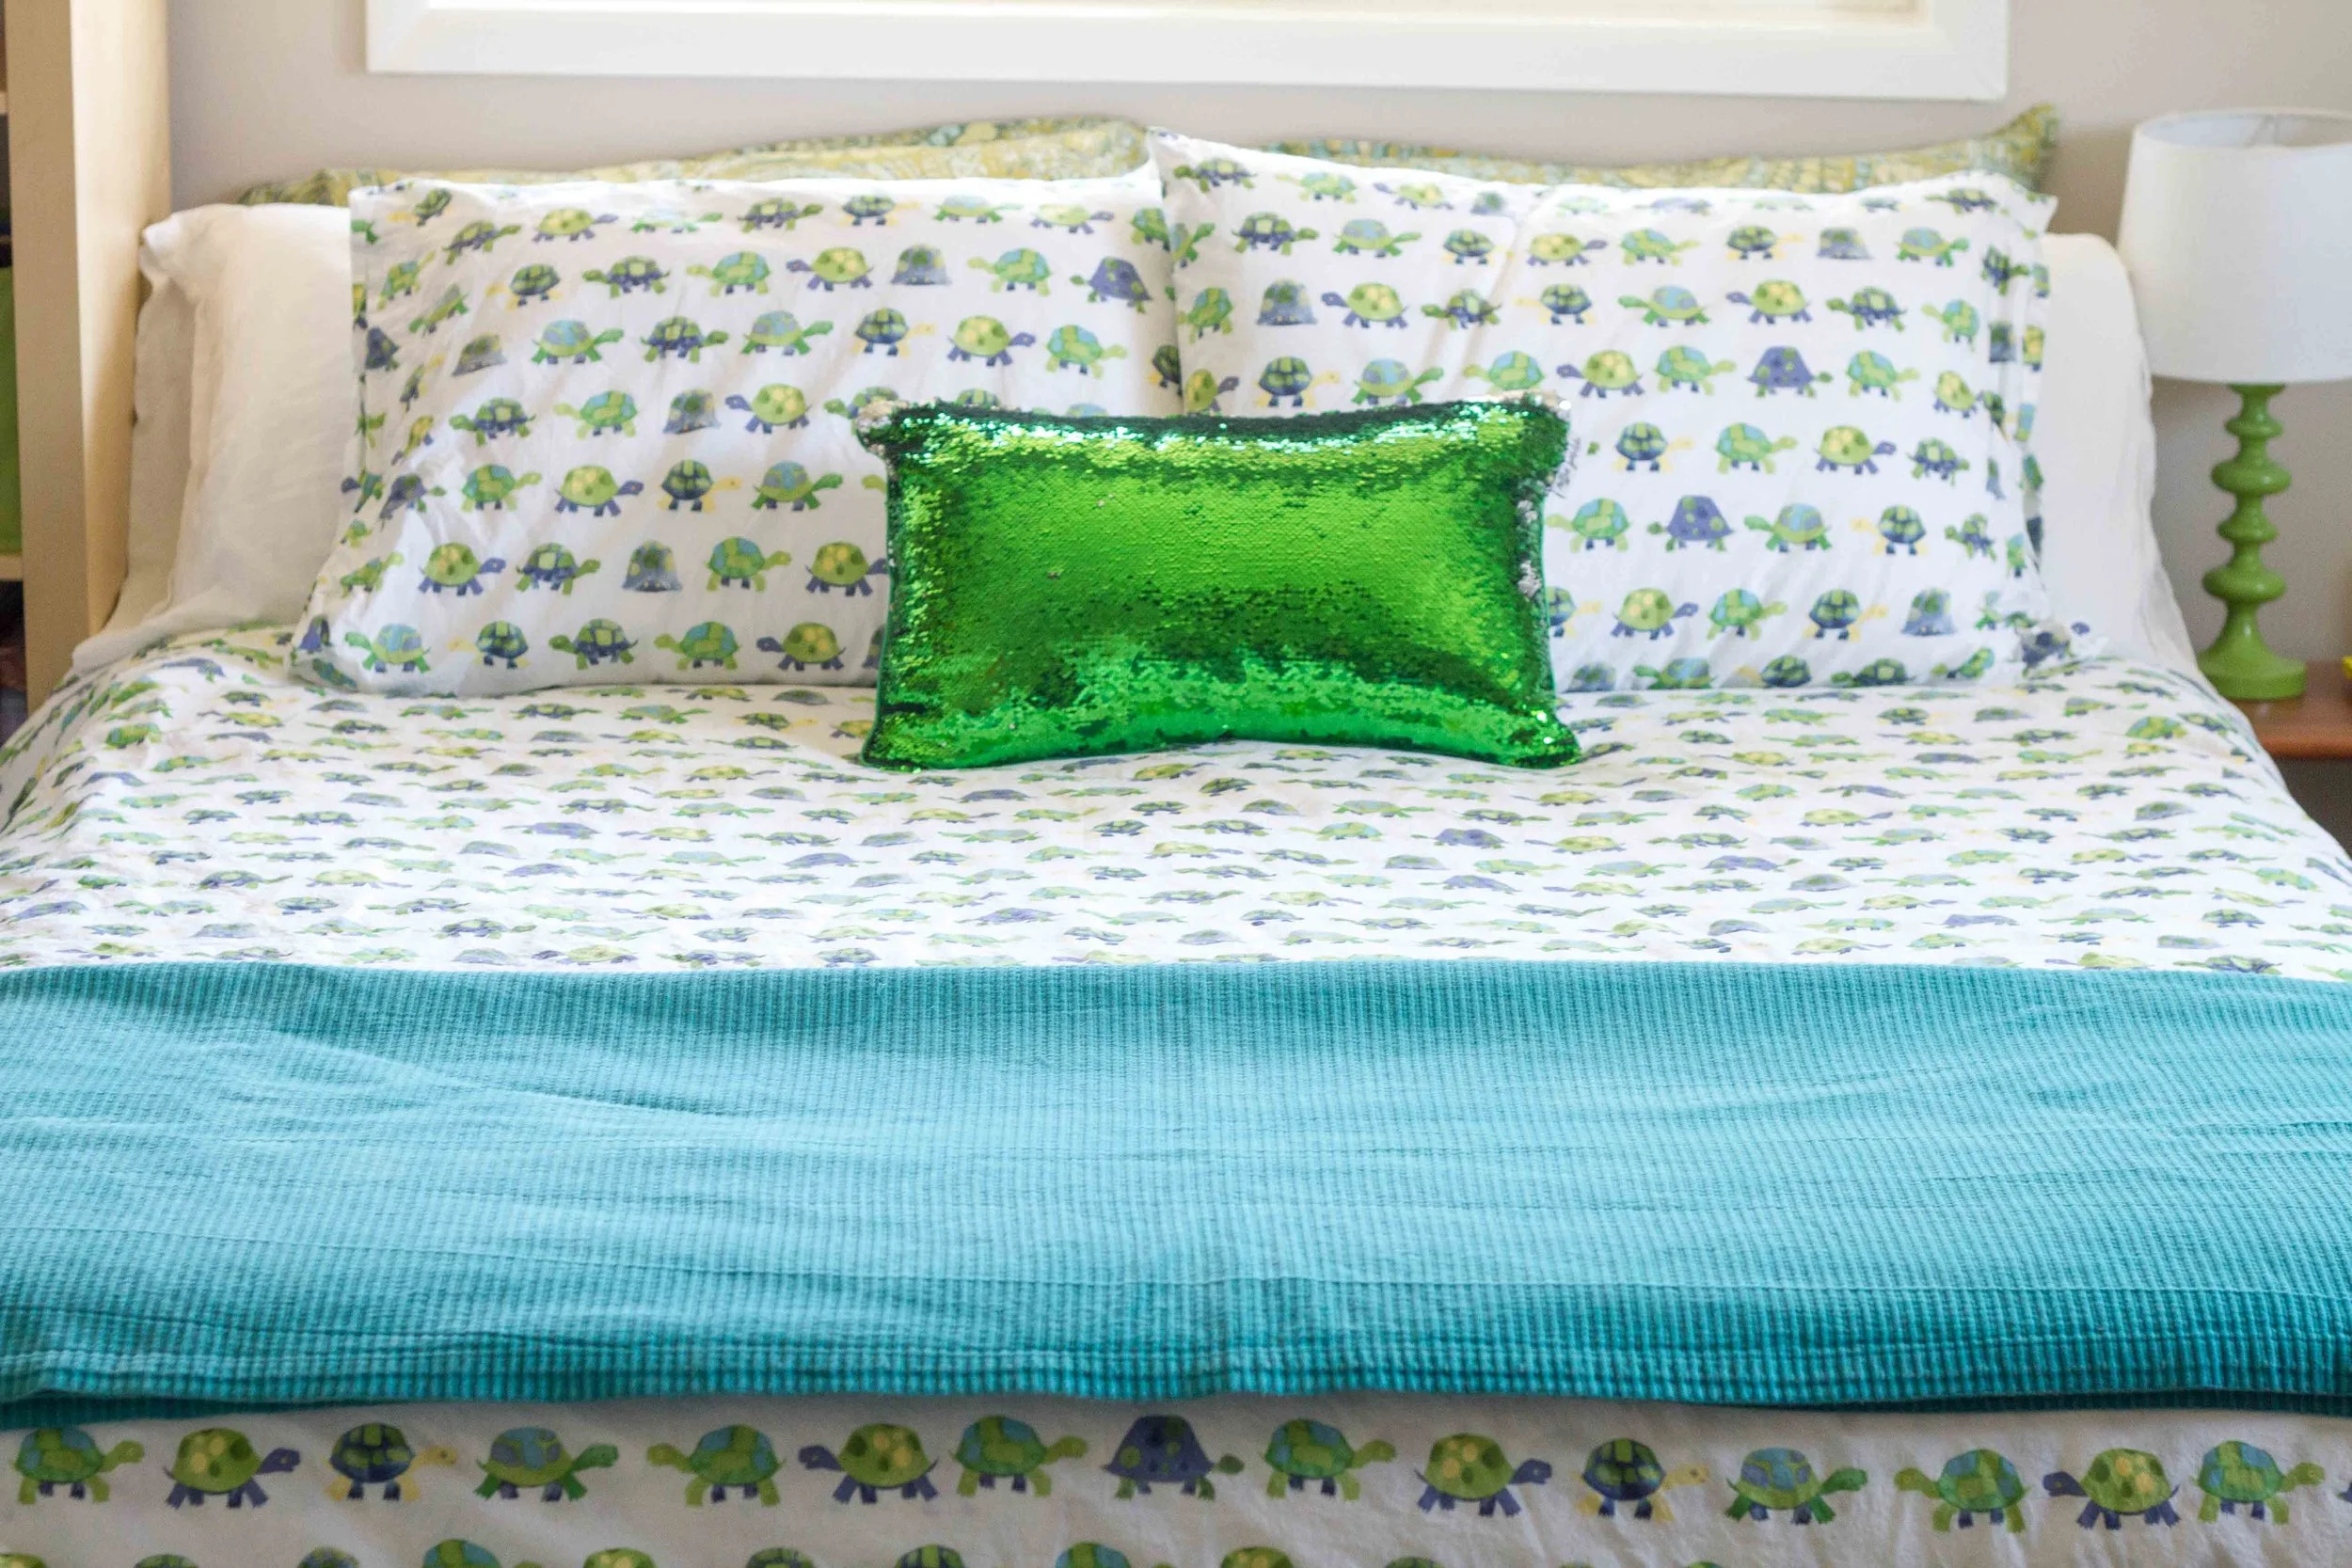
I always give my duvet cover a good wash again before I put it on the duvet. And then it is ready to go on your bed!
Pin it!
Want to know my simple trick for putting on duvet covers?

Create your own duvet covers using flat sheets. These simple DIY instructions offer an easy tutorial for twin, double, queen, and king size beds. This is a simple, beautiful project which can be adapted for any kind of decor and includes a free pattern.
This is part of a larger series on duvets, beds, bedding, and sleeping Scandinavian-style. I hope you’ll click the links below to find out more about all-things-sleeping and my Guest Room Refresh.

