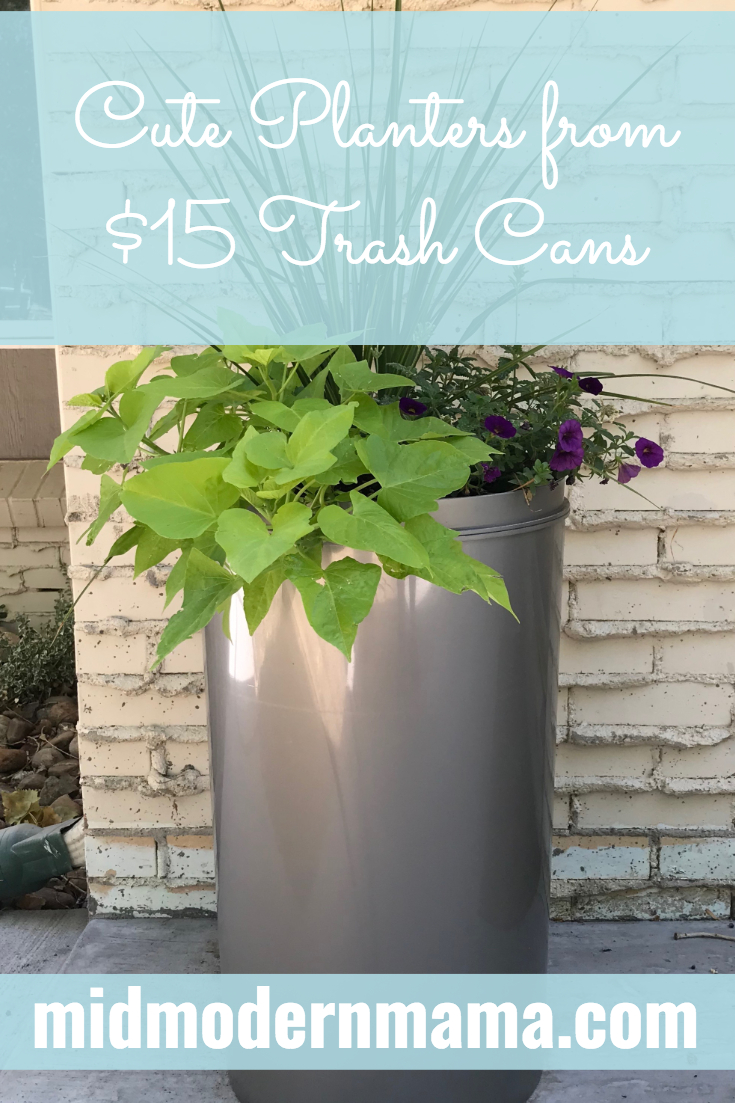
Trash Can Planters
an inexpensive large planter solution
Our Atomic Ranch house needs landscaping -- desperately. If dandelions and thistles were a cash crop, we would be very wealthy. However, we also have a pretty big yard, so this is an expensive proposition. And pretty landscaping ranks decidedly below functional improvements like a new fence. But I want pretty! And we needed some pop on the front porch. Our long-range goal involves built-in planters, so I didn't want to spend a fortune on this project either.
So I came up with this solution: planters made from trash cans. They gave me the height and sleek look that I wanted, and they didn't cost a fortune. In fact, excluding the cost of plants, each planter cost about $20 to make.
Materials:
Plastic Trash Can
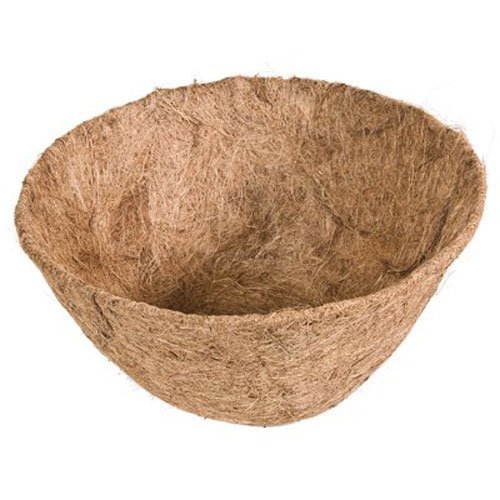
Coconut Fiber Plant Liner (take your can lid with you to the store and choose the right size)
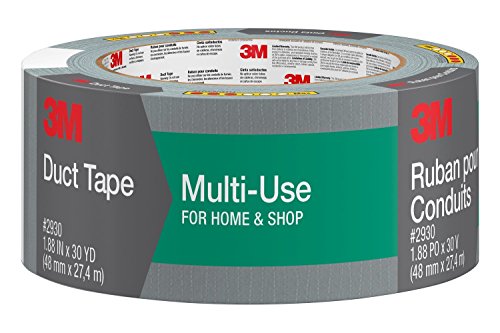
Duct Tape
Potting soil
Plants of your choice. You can make this even easier by using a pre-made hanging basket or pot that is roughly the same size as your trash can lid.
Drill with a large bit
Rocks or bricks to fill the bottom of the can
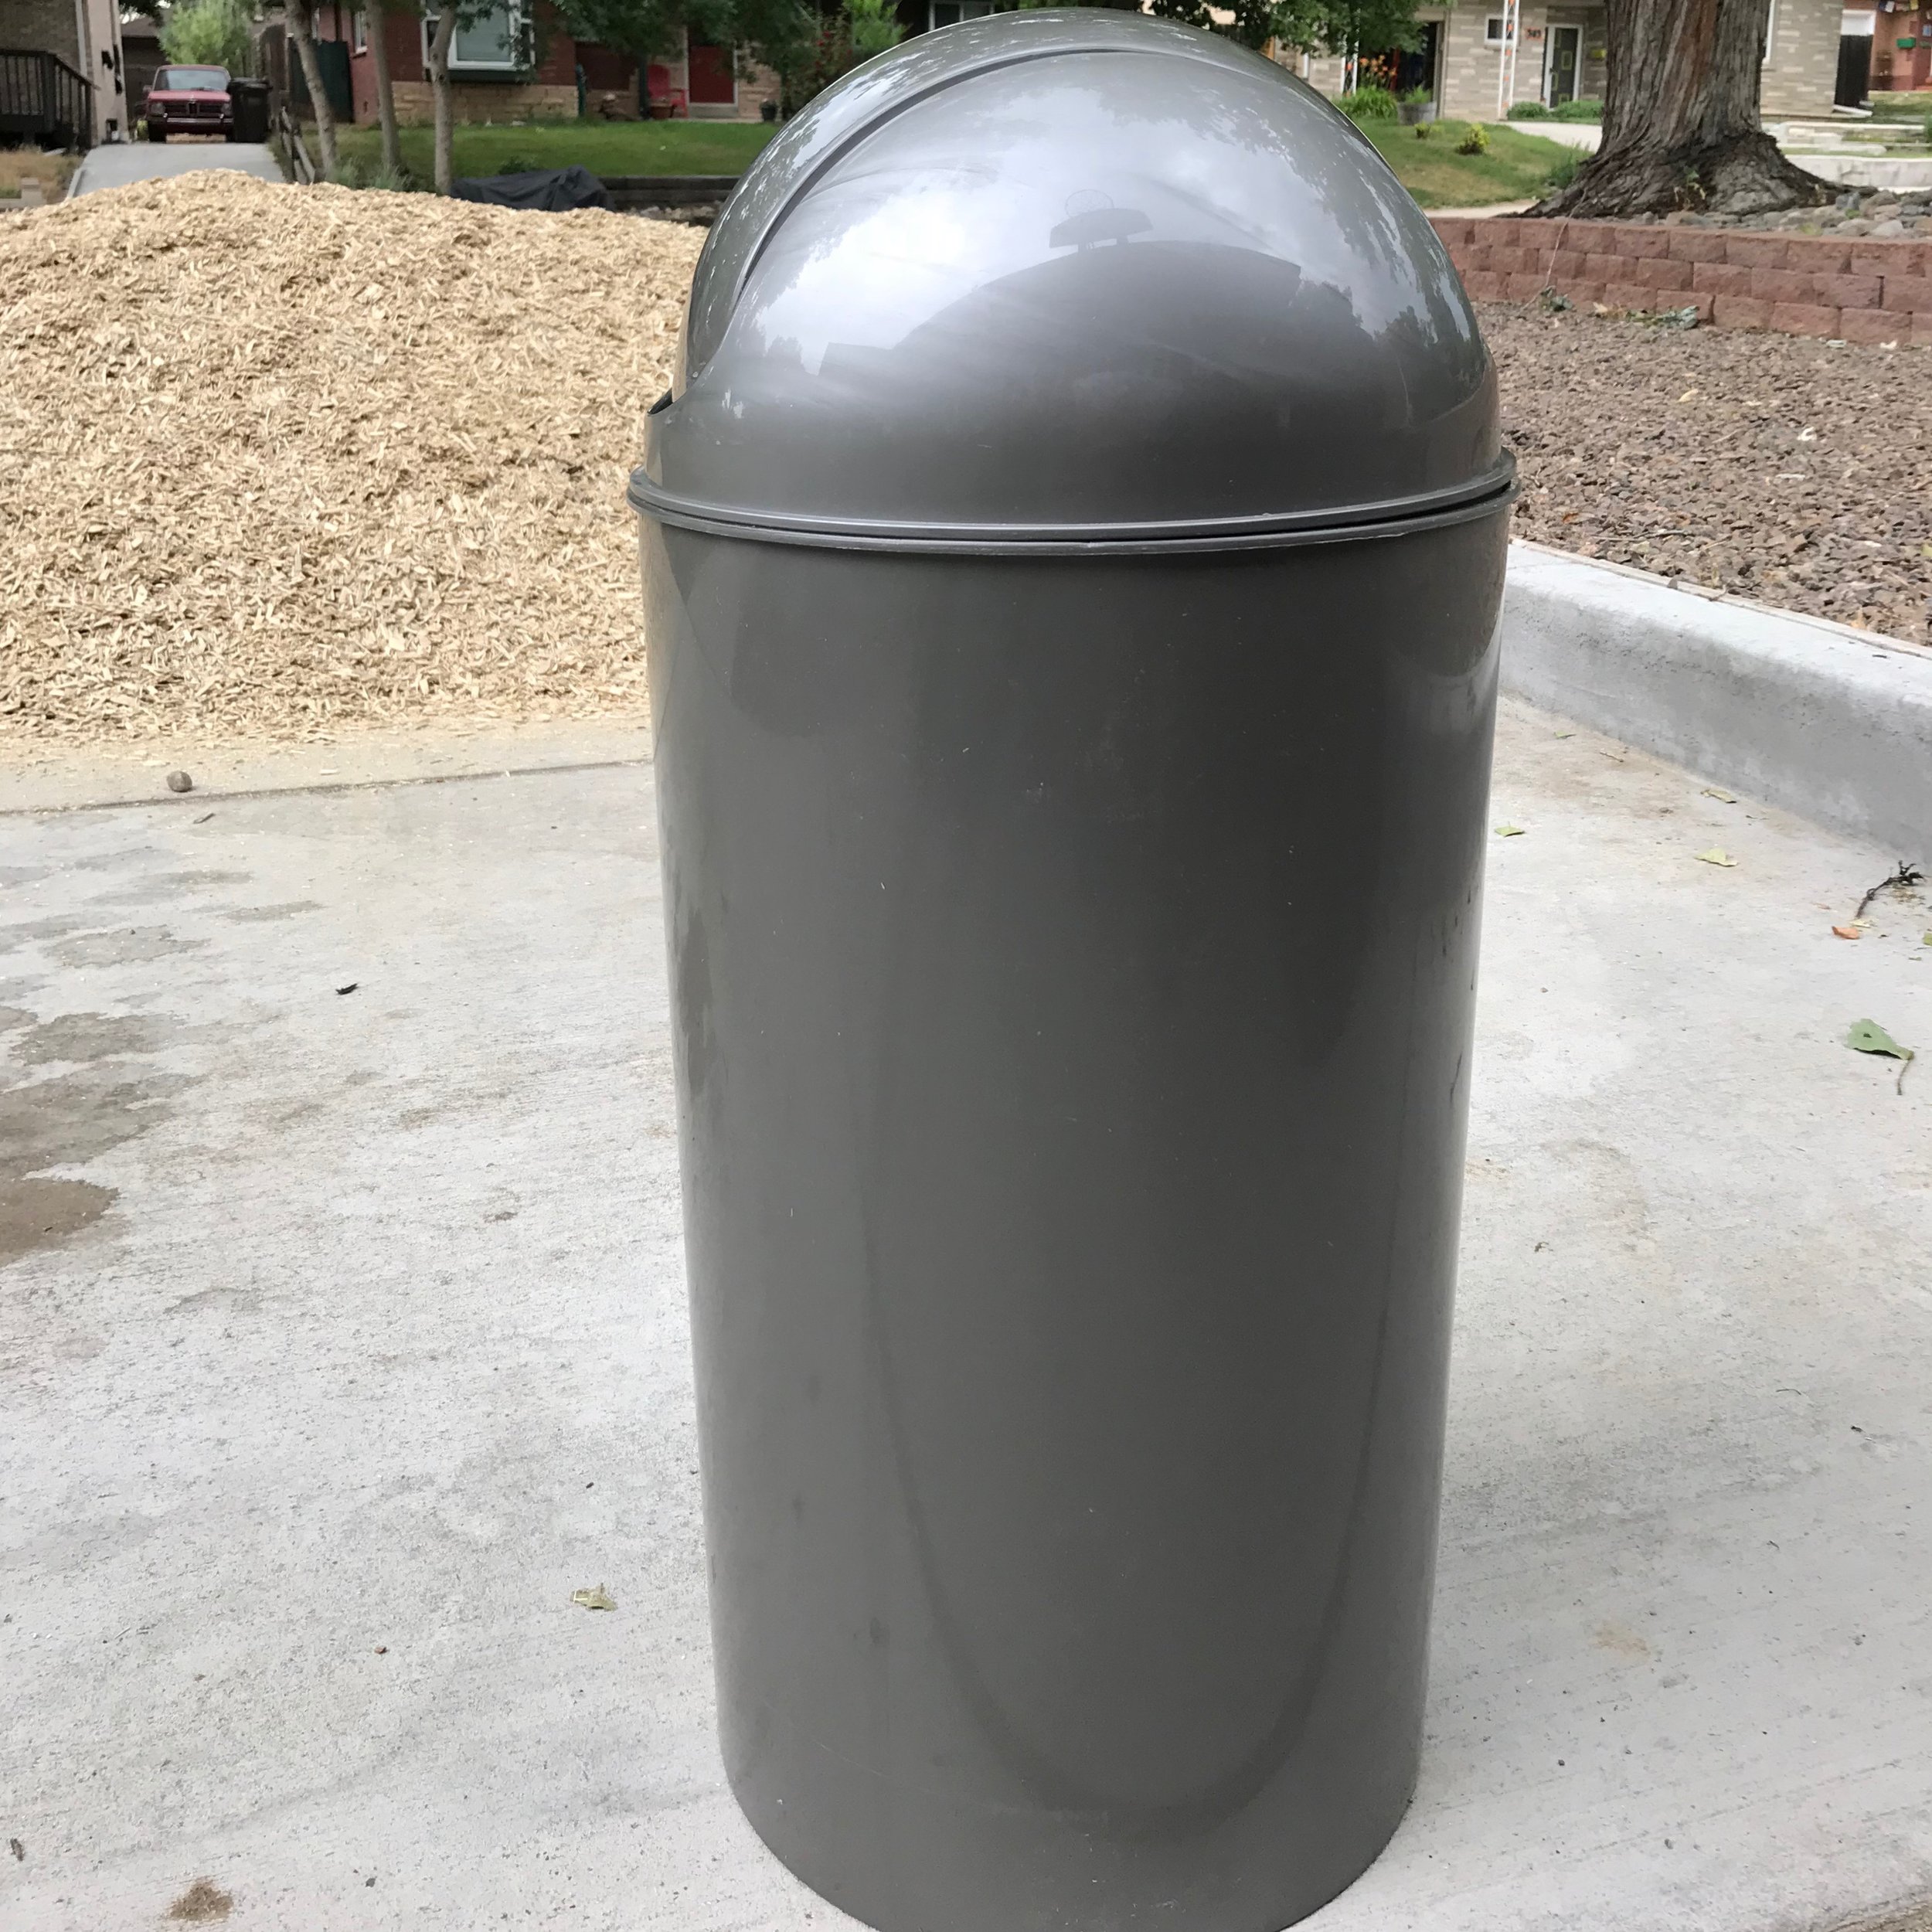
56 Quart Swing Bin Trash Can in Silver: $14.99 from At Home
1. Choose your Trash Can
I wanted something sleek and a little modern for the front of our house. But you could do this with any container that suits your decor. This style of top became a perfect planter, however. Mine are plastic, but metal would be great, too. Before purchasing the trash cans, I made sure the lids fit well in the top of the can and balanced perfectly on a lip inside.

Drill drainage holes in the bottom
2. Drill drainage holes
Using a large drill bit, make at least 5 drainage holes in the bottom of your trash can.

Duct Tape the top of the can
3. Duct Tape the Top
Because the top of the can will become your pot, you don't want the flip top to move much. I taped it with a little duct tape, but I left the cracks unsealed -- that will help with drainage.

Add soil and plants
5. Add Soil and Plants
I balanced the rounded tops on an empty pot for this step. Fill the top with soil and add your plants! I used a variety of sun-lovers including:
Potato Vine
Sweet William
Pansies
Japanese Sedge
Aeonium
You could make this even easier by just plopping a pre-made hanging basket or potted arrangement into the lid. They are roughly the same size!
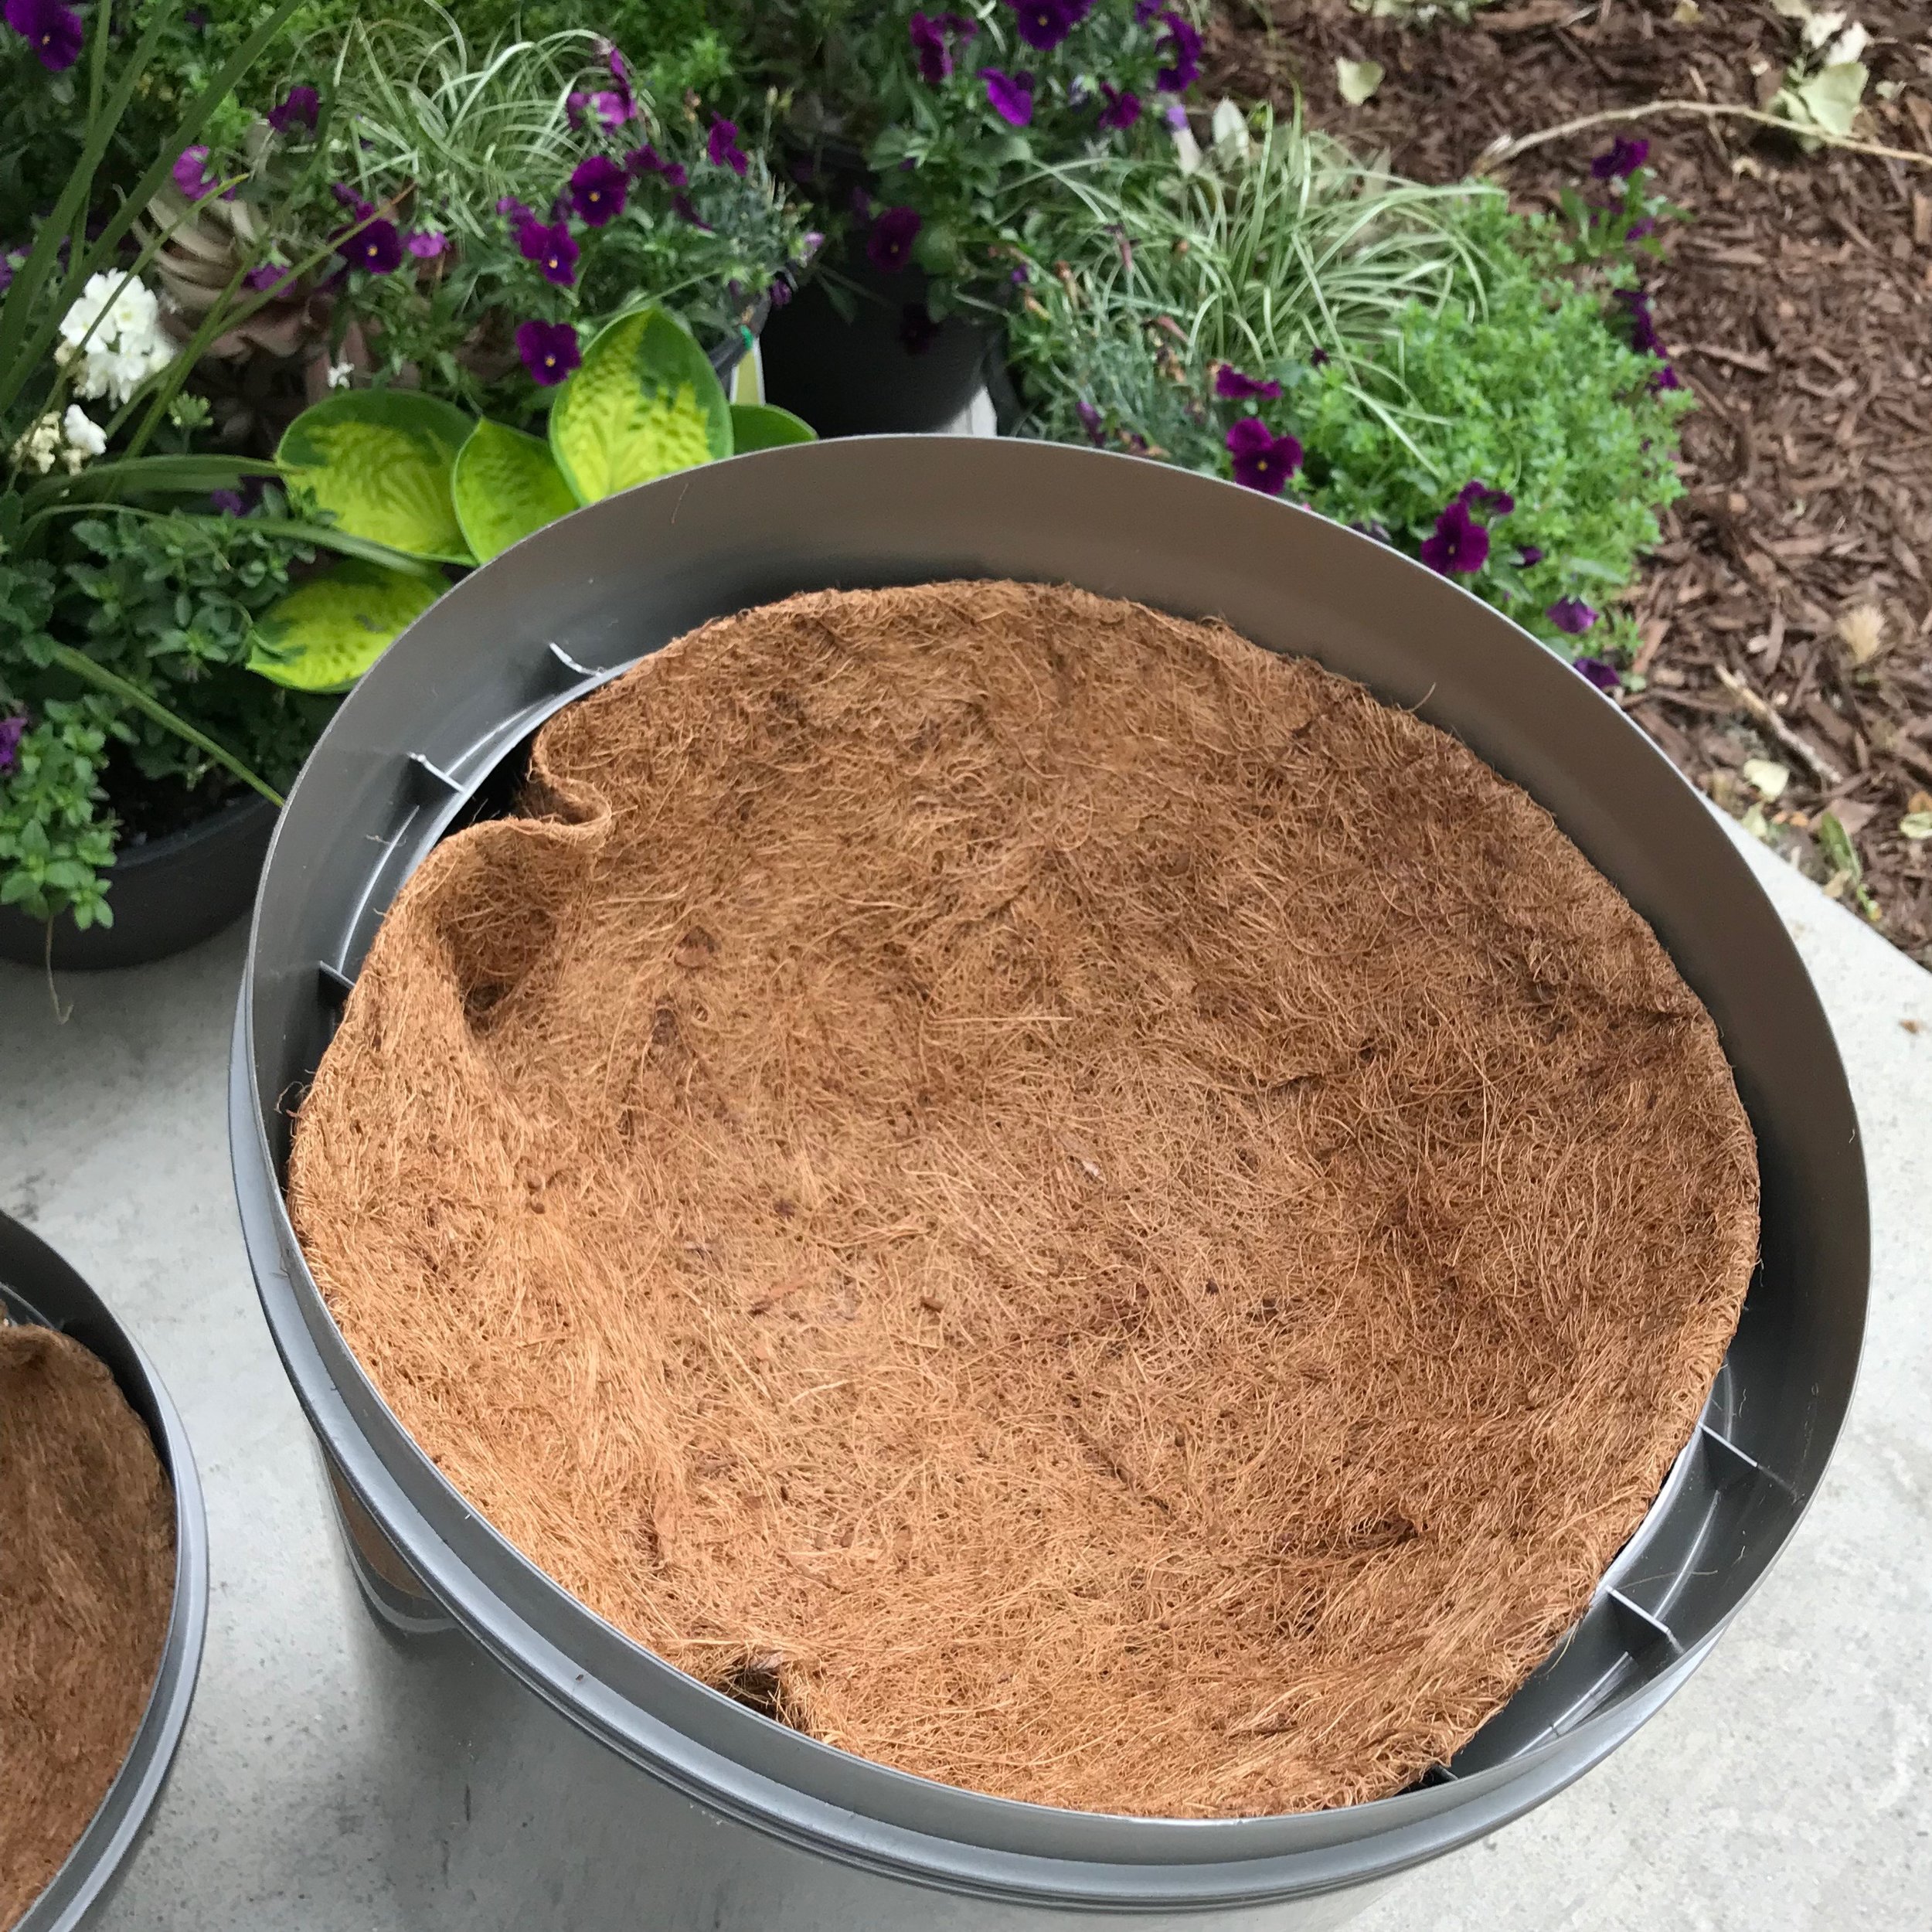
Coconut Liner
4. Add the coconut Liner
Flip the top over, and insert the coconut liner. This will help keep the soil in the lid, and it also helps the pots retain moisture. Additionally, the liner helps distribute the weight of the soil and plants evenly.
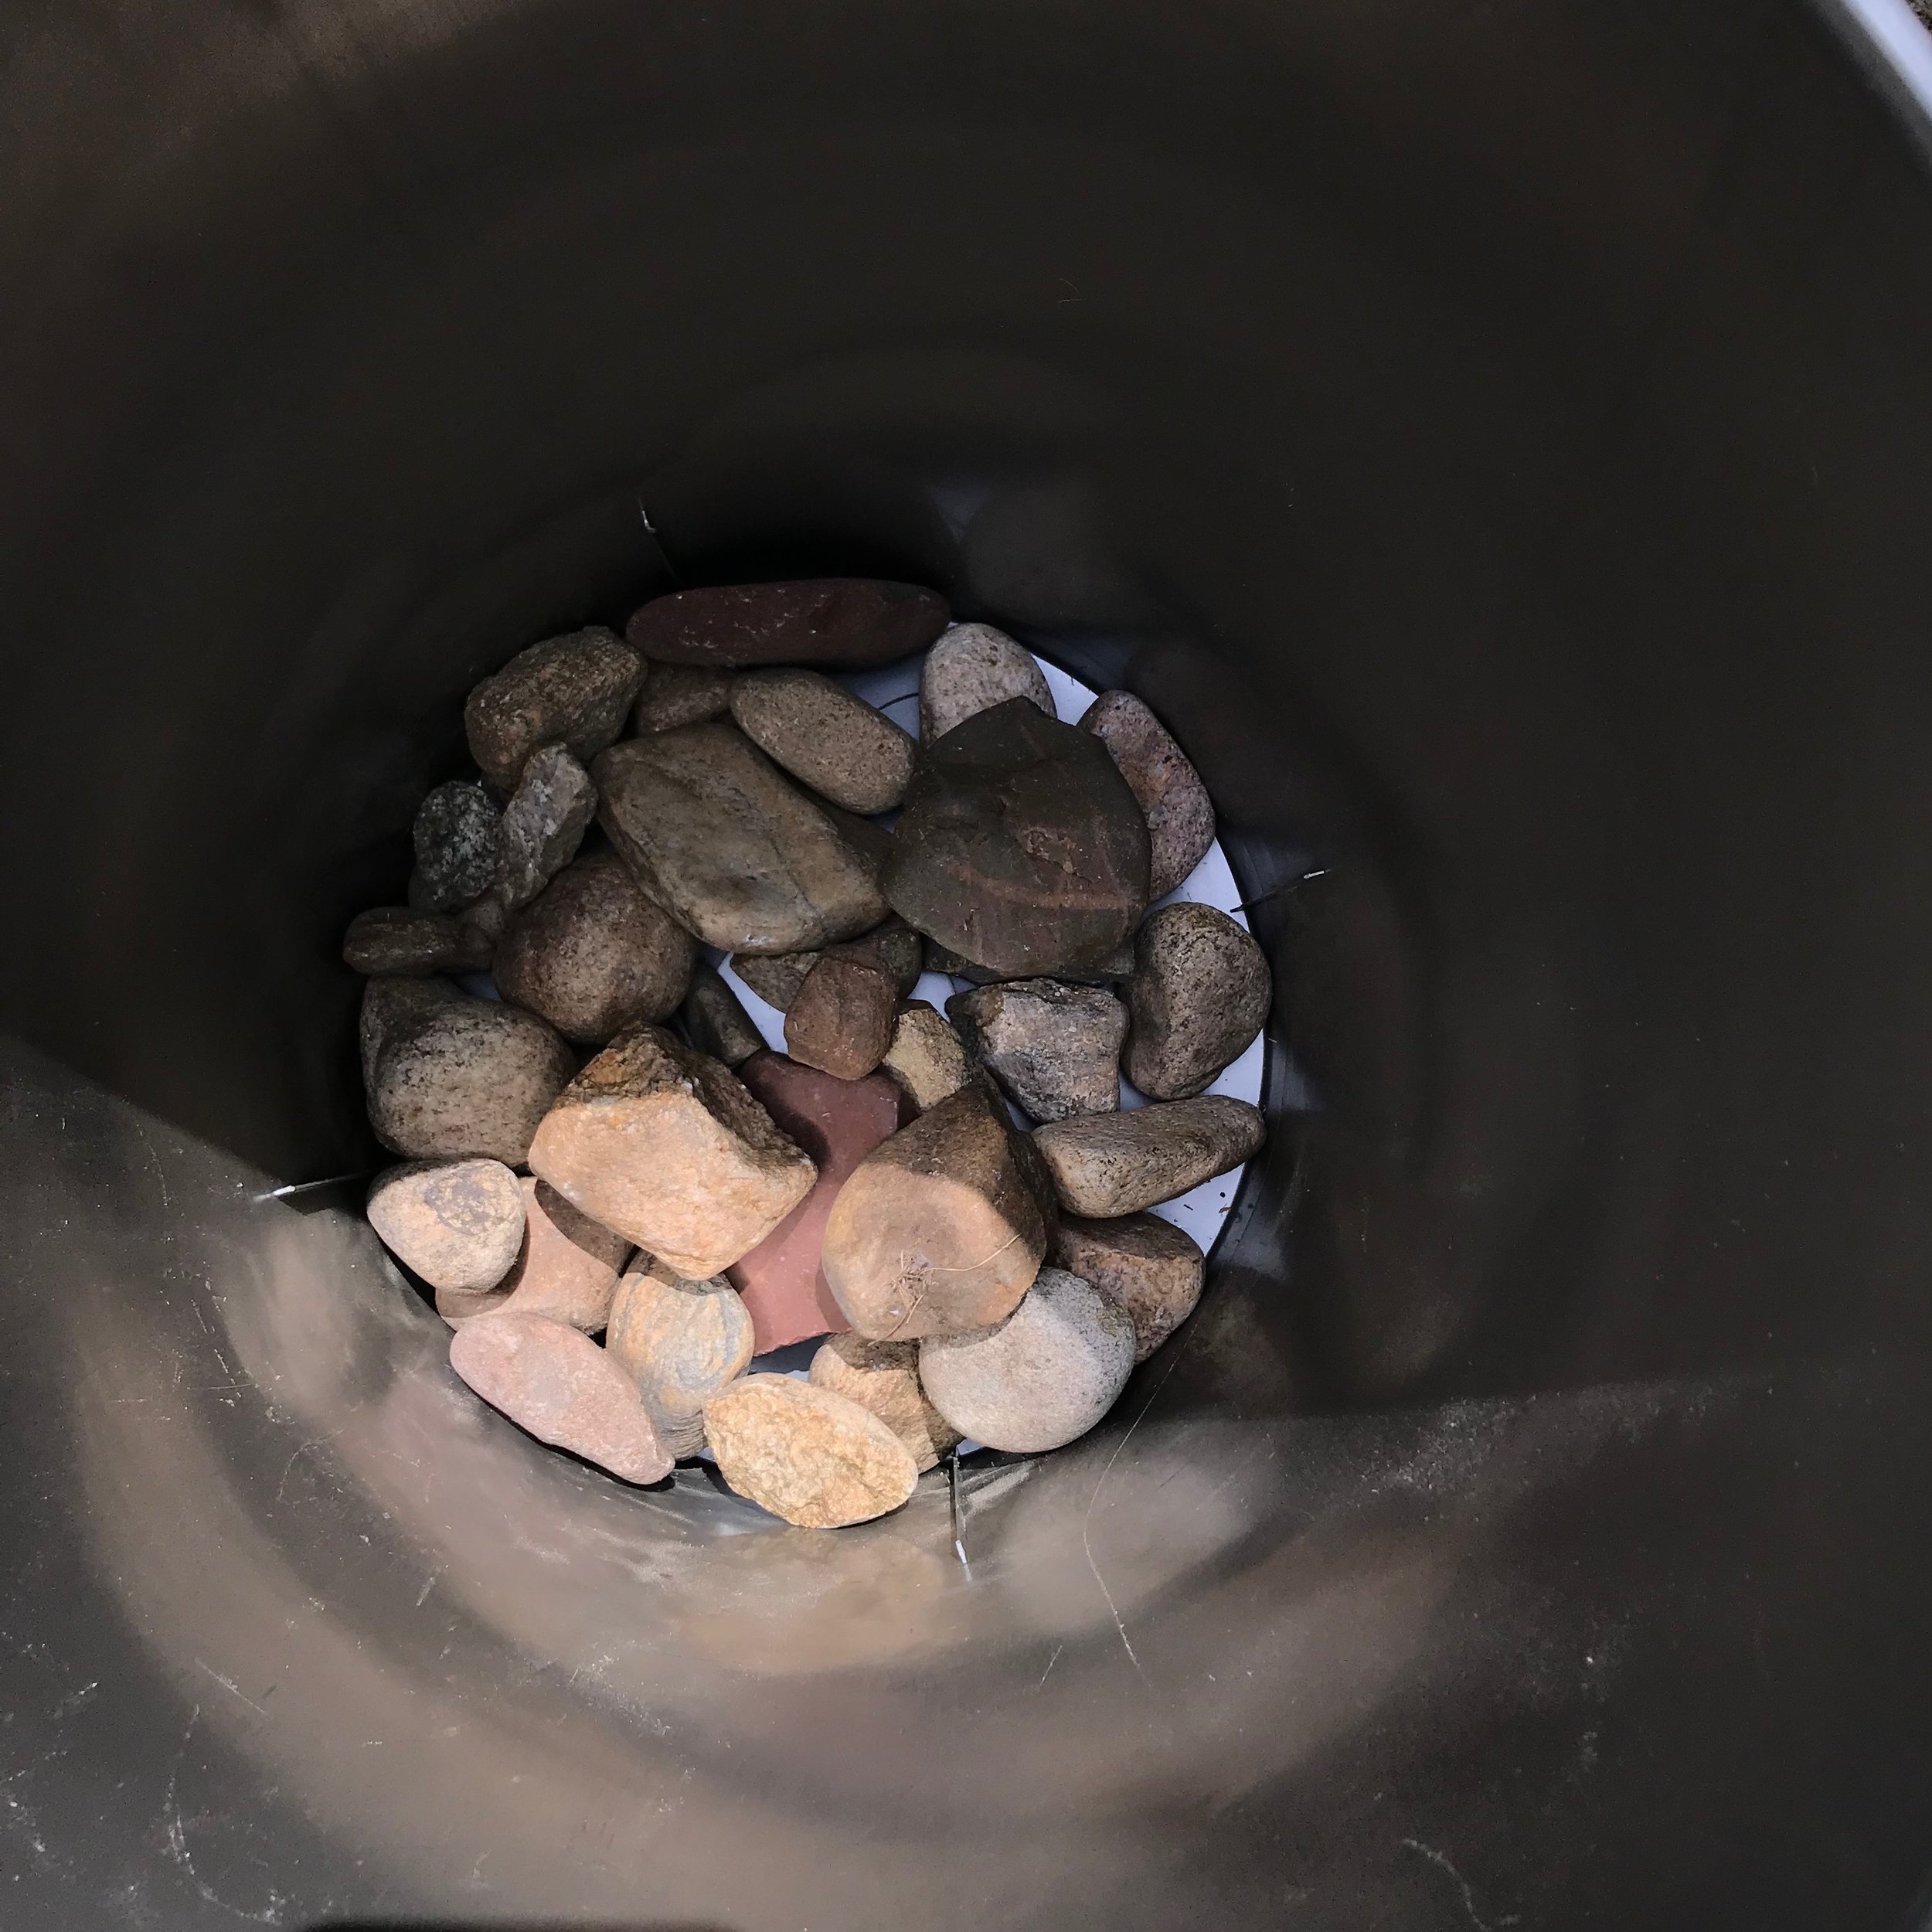
Add stones
6. Add Stones
Fill the bottom of the can with enough stones that the can can't be knocked or blown over. I used river rock that we have in our yard. You could use bricks, broken concrete, or anything else that is heavy. Just make sure your container won't be top-heavy.
7. Assemble
Place your stone-filled cans where you want them.
Place the tops into the can.
Give your plants a good drink!

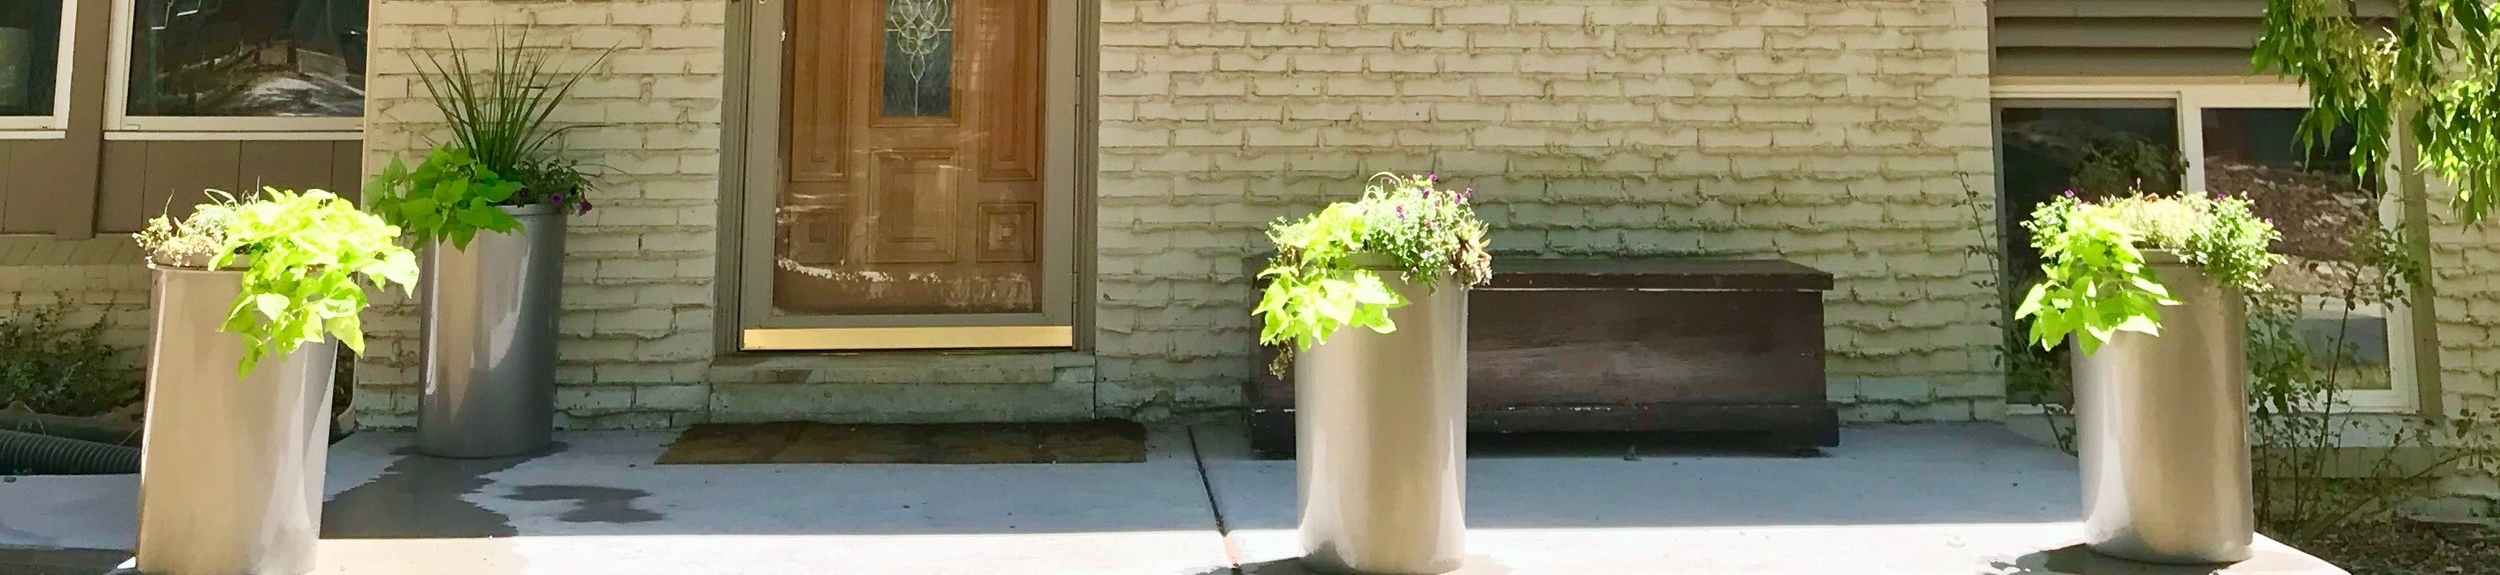
I have 4 planters on the front porch and one by another door -- all for under $90 (not including the plants).

Put it all together!
Pin this!
Supplies
Your purchase helps keep Mid Modern Mama ad-free. Thank you for supporting Mid Modern Mama!