
How to Replace the Trim on a Mid Century Desk
In my original Workroom set up, I had a table to hold my printer and Cricut. However, I really needed some storage and especially file storage in that work zone, so I set out to find a vintage desk with file storage. I found the perfect piece on the Facebook Marketplace: a steel teacher’s desk from the 1950’s. It is in beautiful condition, with one exception: the rubber trim around the desktop was cracked and coming off.
So I replaced it which wasn’t hard or expensive.

The listing photo from Facebook

The corner with damaged trim

All fixed with new trim!
Before you Begin
This is a two-person job. I did it by myself, but I would have been faster and gotten even better results if I had had another set of hands to help with this project. Get a partner! It is possible but much harder alone.
How to Replace the Trim on a Midcentury Desk
This is a really inexpensive project, and it would work on any desk or table with rubber or plastic trim.
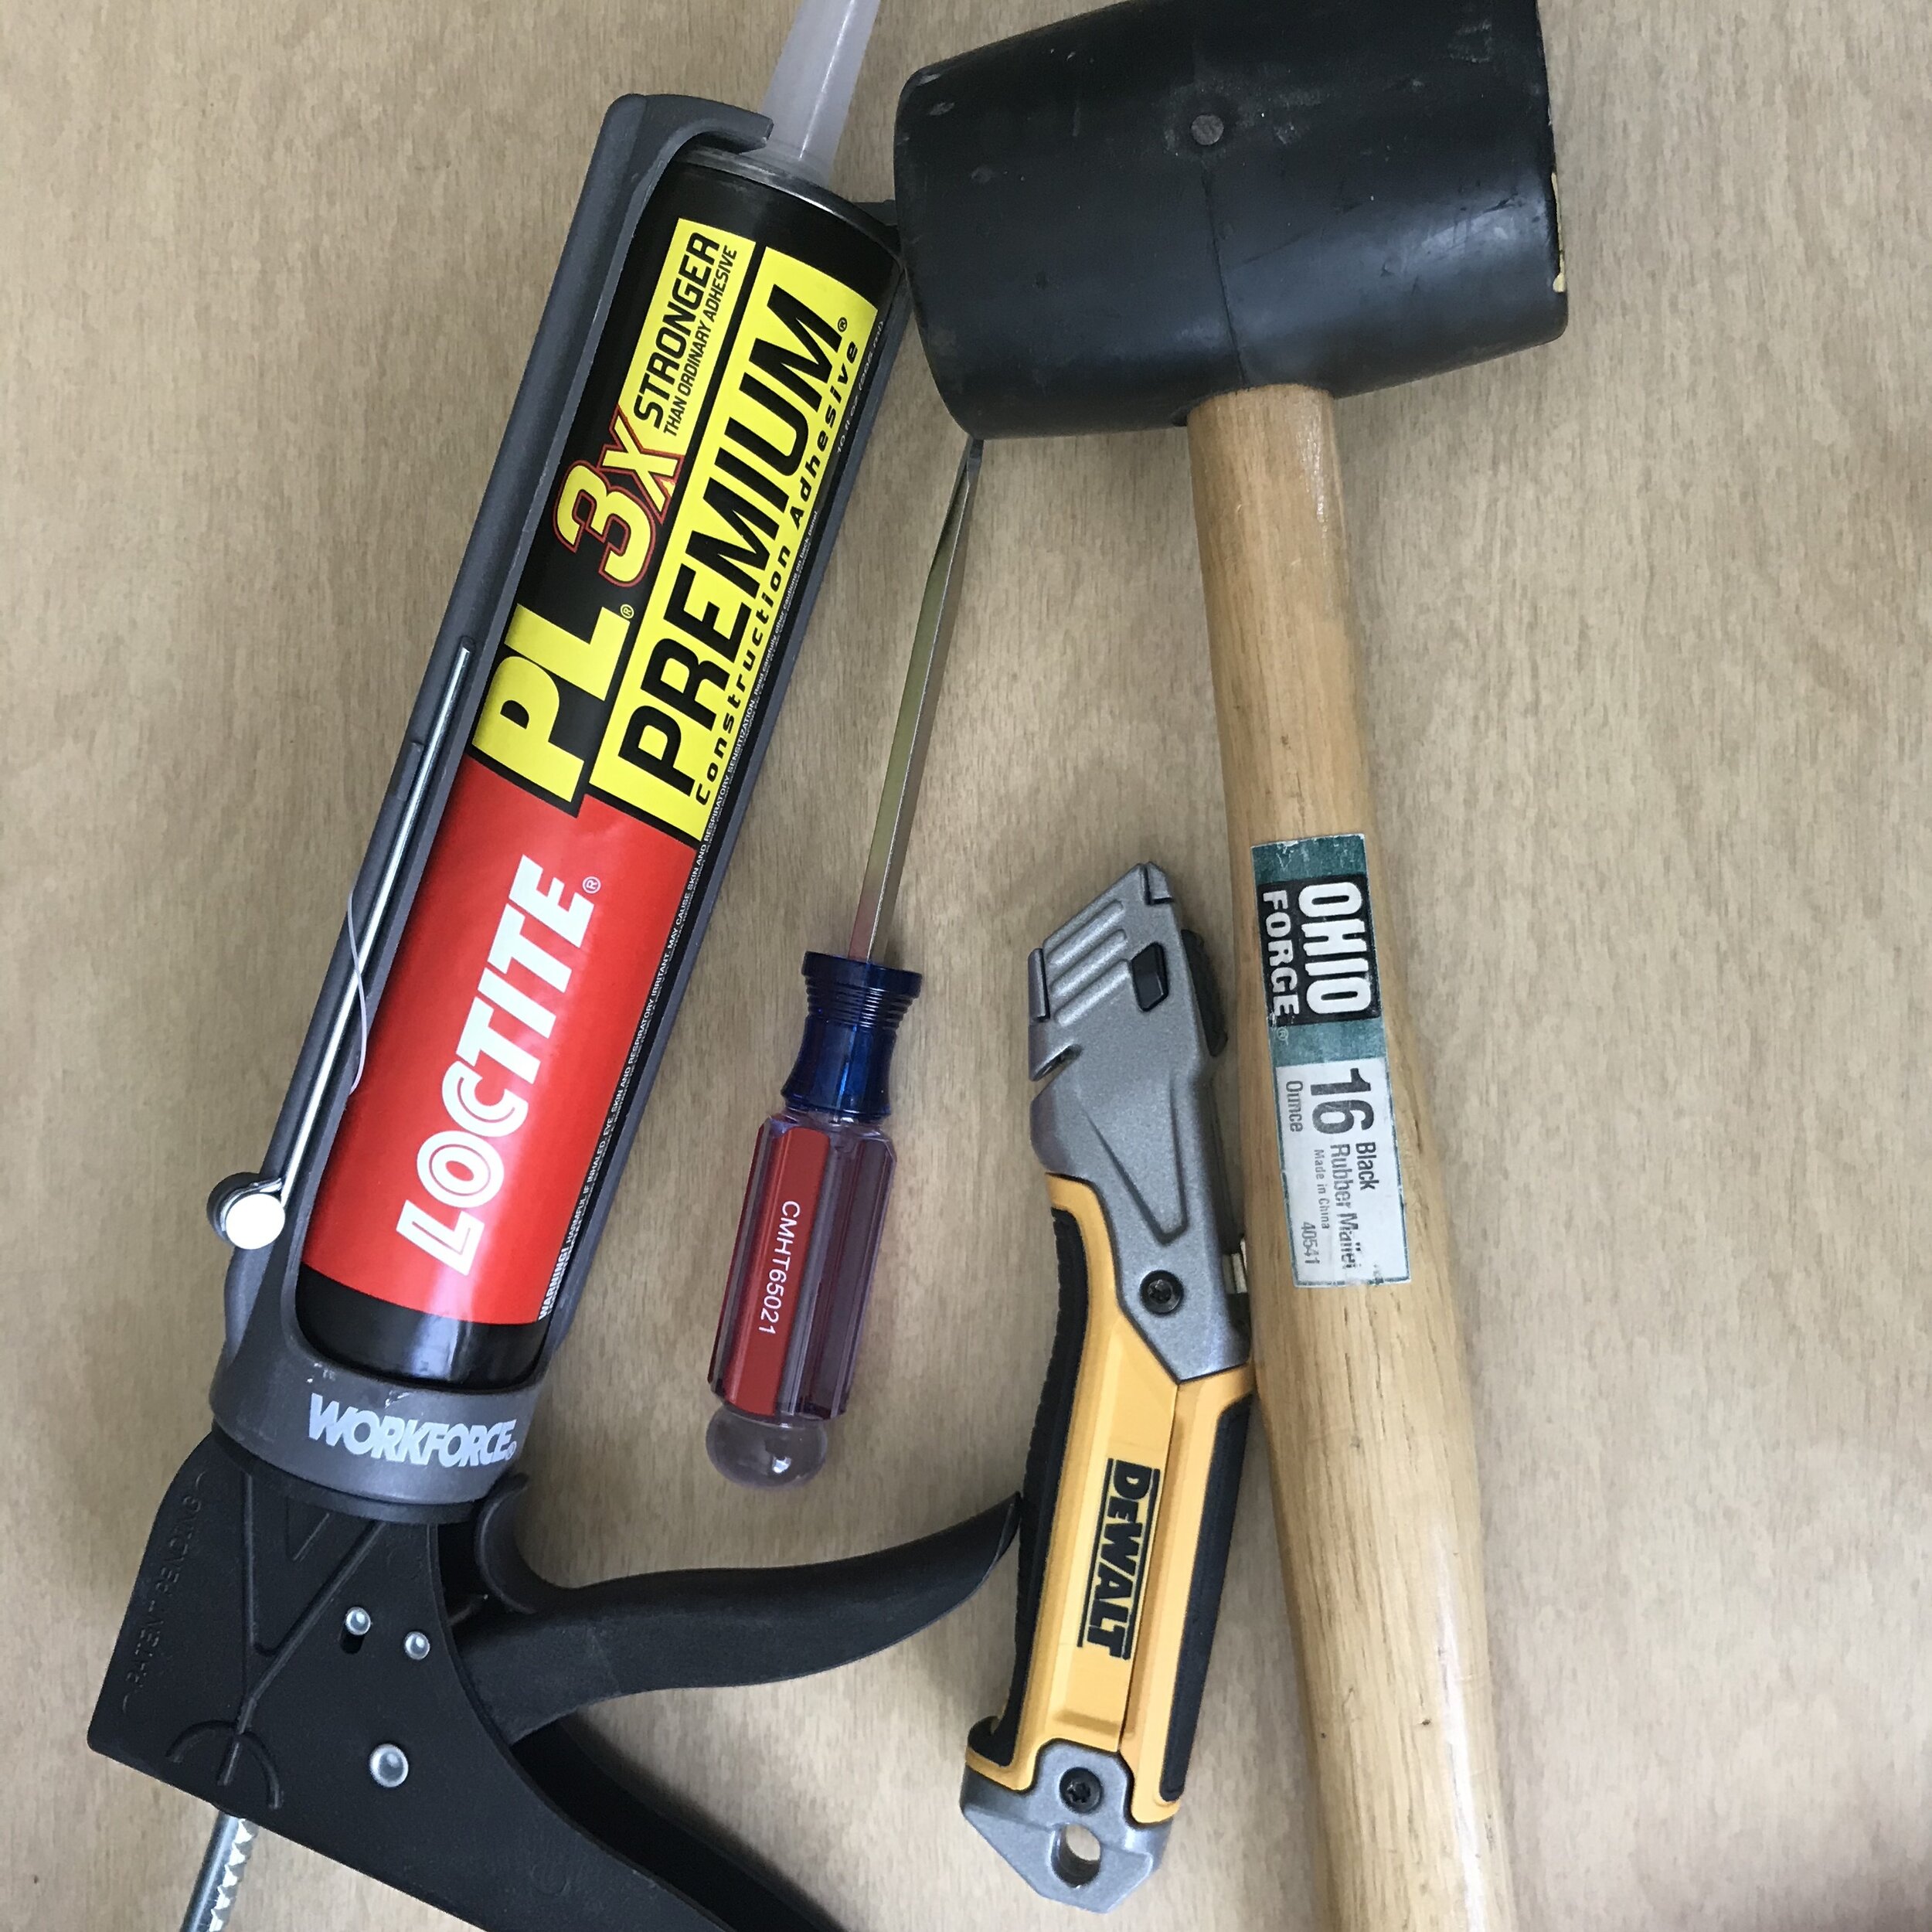
Materials
T-molding — measured to the perimeter of your desk or table
Construction Adhesive
Scissors
Utility knife
Mallet
Flat-head screwdriver
Clamps that will span the width of your table or desk (at least two, preferably four)
Damp rags or paper towels
Optional: small paintbrush (to be thrown away)
About T Molding
I ordered my T Molding from T-Molding.com. They have flexible T-Molding in a variety of sizes and colors. You can replace yours with the same color — or switch it up. In my case, they didn’t have a color close enough to the original, so I chose their chrome finish with which I am very pleased. T Molding is sold by the foot.
Note
You may get lucky! You may find that the T Molding fits perfectly into the channel on your tabletop with just the encouragement of a mallet. Fantastic! You may only need to add adhesive in a few spots. Also amazing! For me, the groove in the desktop was too wide to hold the T Molding in place reliably, so I needed the adhesive to do the job. Test it out before you commit to the adhesive, and see if you are able to skip that sticky step.

T-Molding as it arrived

Step 1: Remove the old Molding
On my desk, the trim was held in place by a few staples which were easy to remove with a flathead screwdriver. The trim came off in large pieces, but it was brittle and broke easily.

Step 2: Choose a Starting Point
Decide the most inconspicuous place to begin your trim. The seam will not be highly visible, but it will be there. Because my desk will be against the wall, I centered the seam on the desk’s back side.
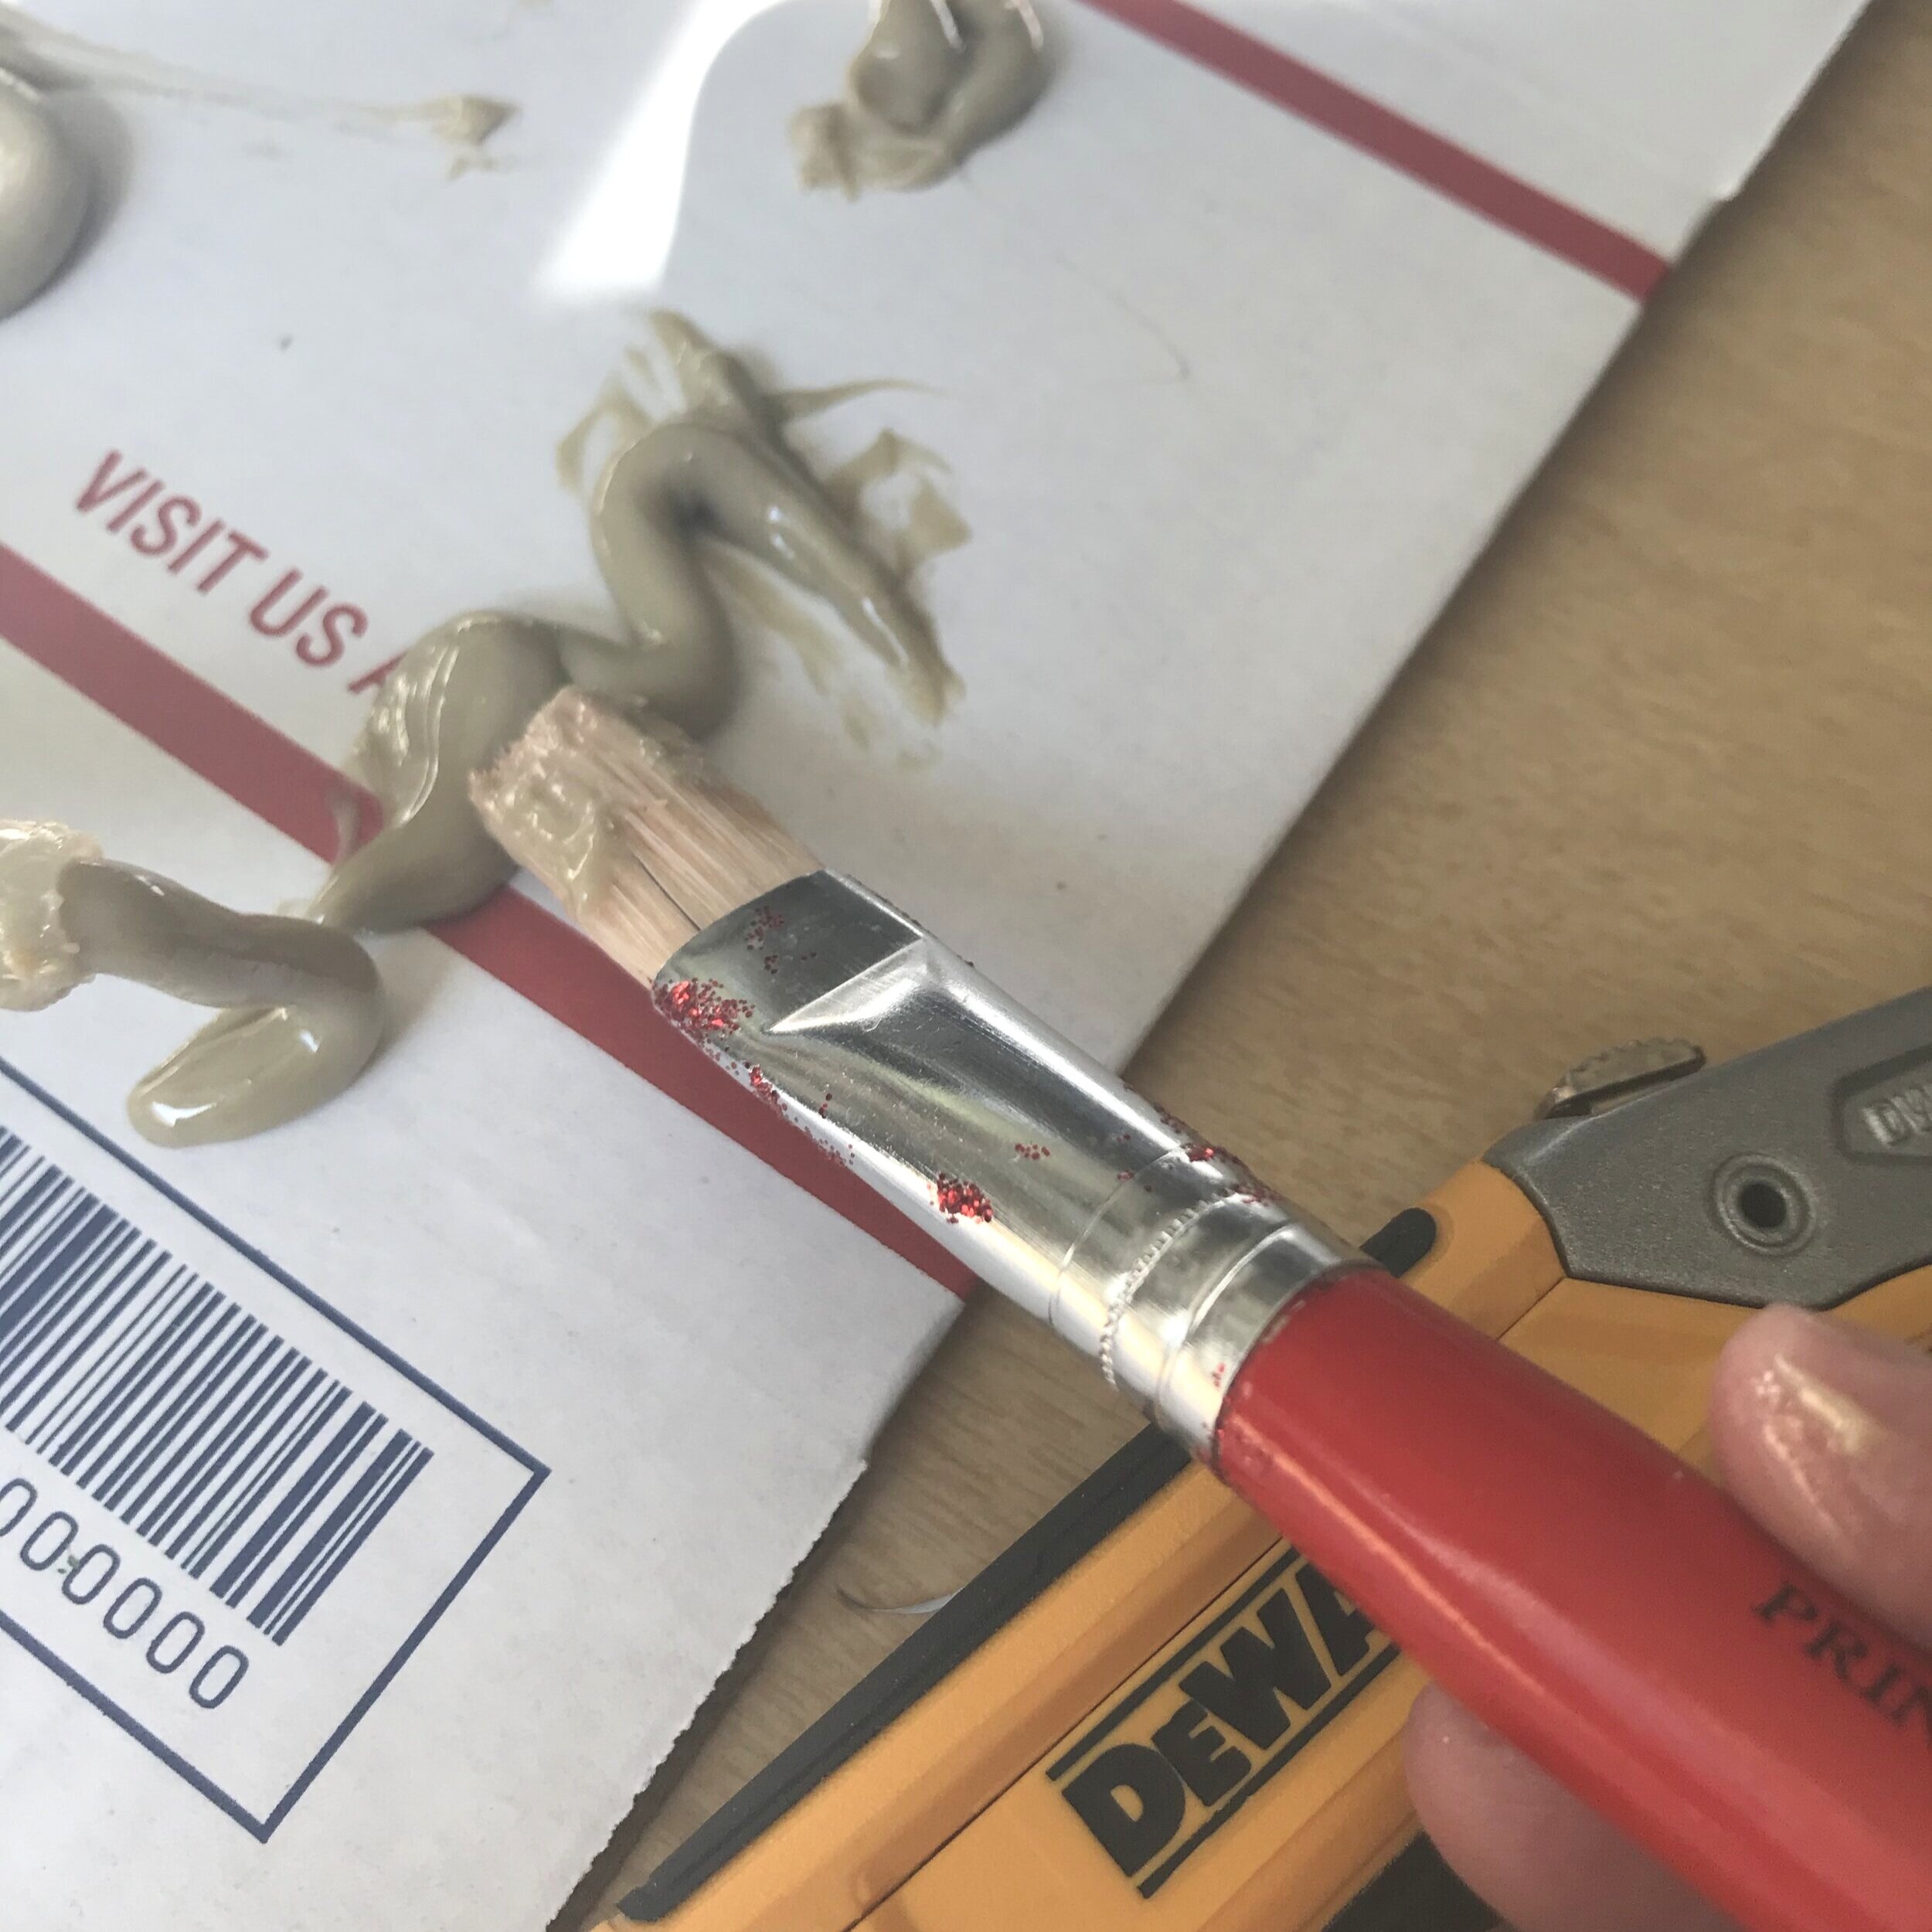
Step 3: Apply adhesive & Position
Because I was working by myself, I found that applying the adhesive with an old paint brush gave me better coverage and control. Whether you use the tube or a brush, apply an even coat of the adhesive to the inside of the T Molding, then fit it into place and hold.
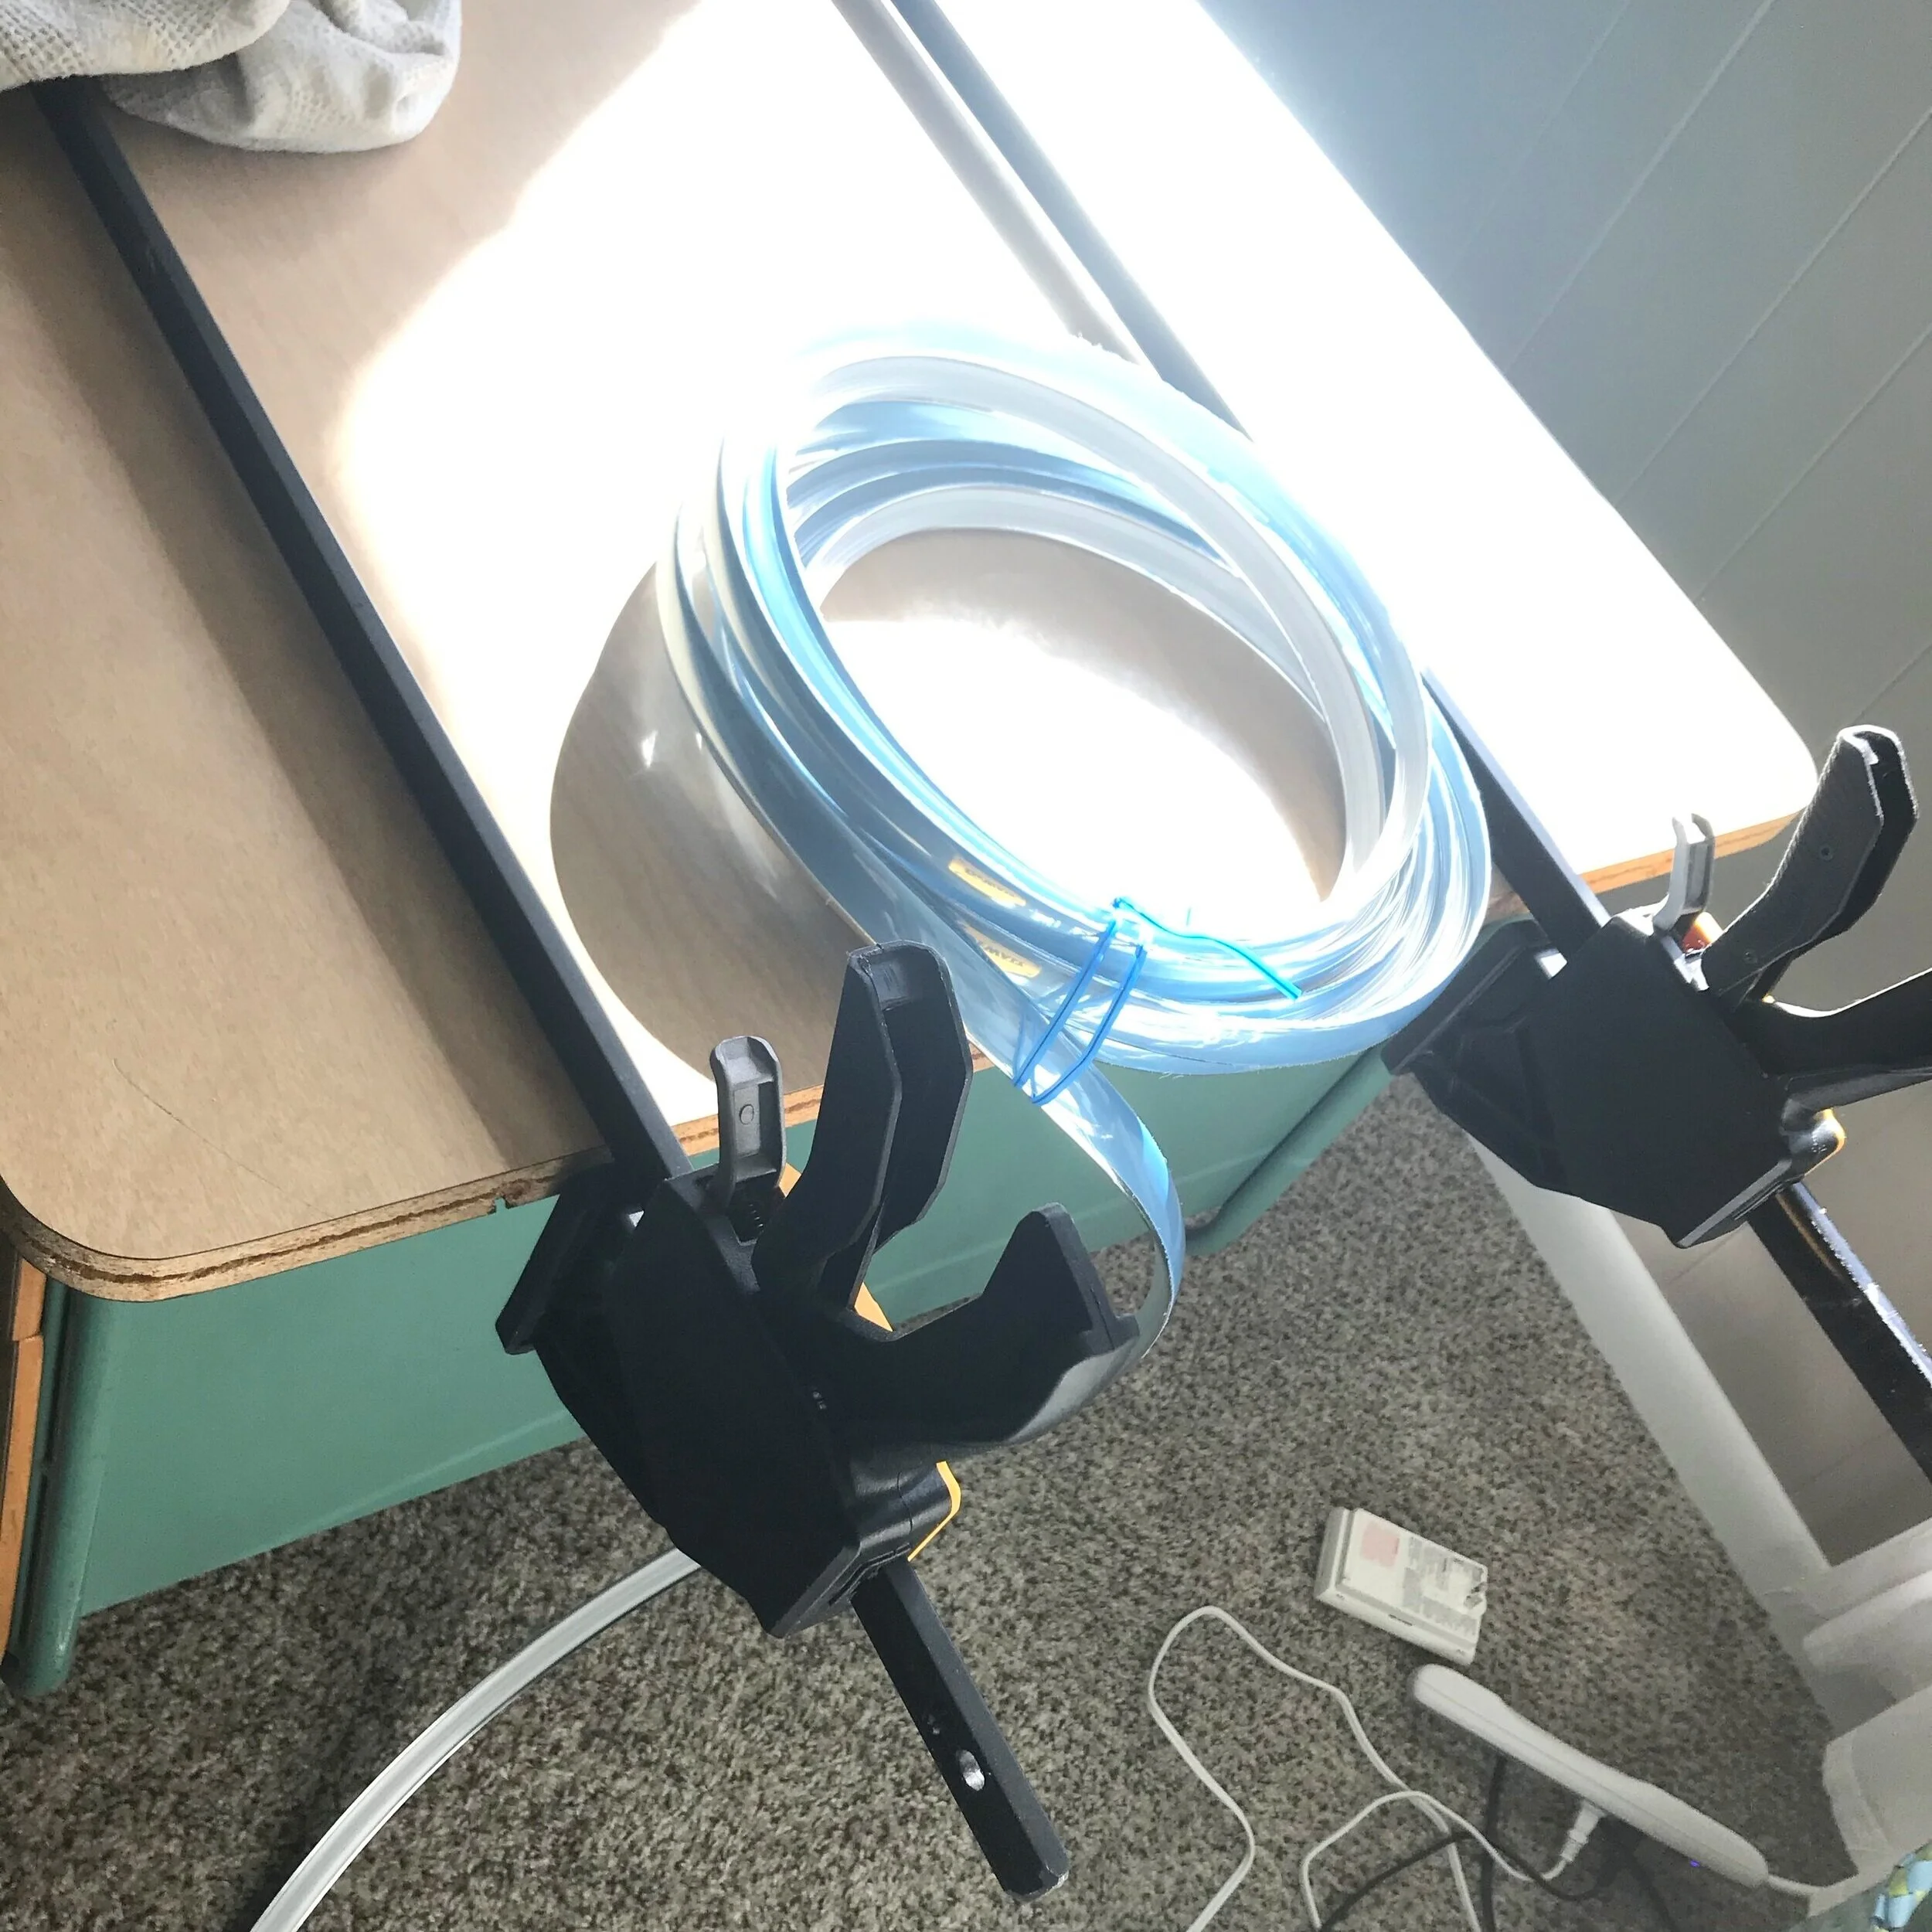
Step 4: Work in Small Sections
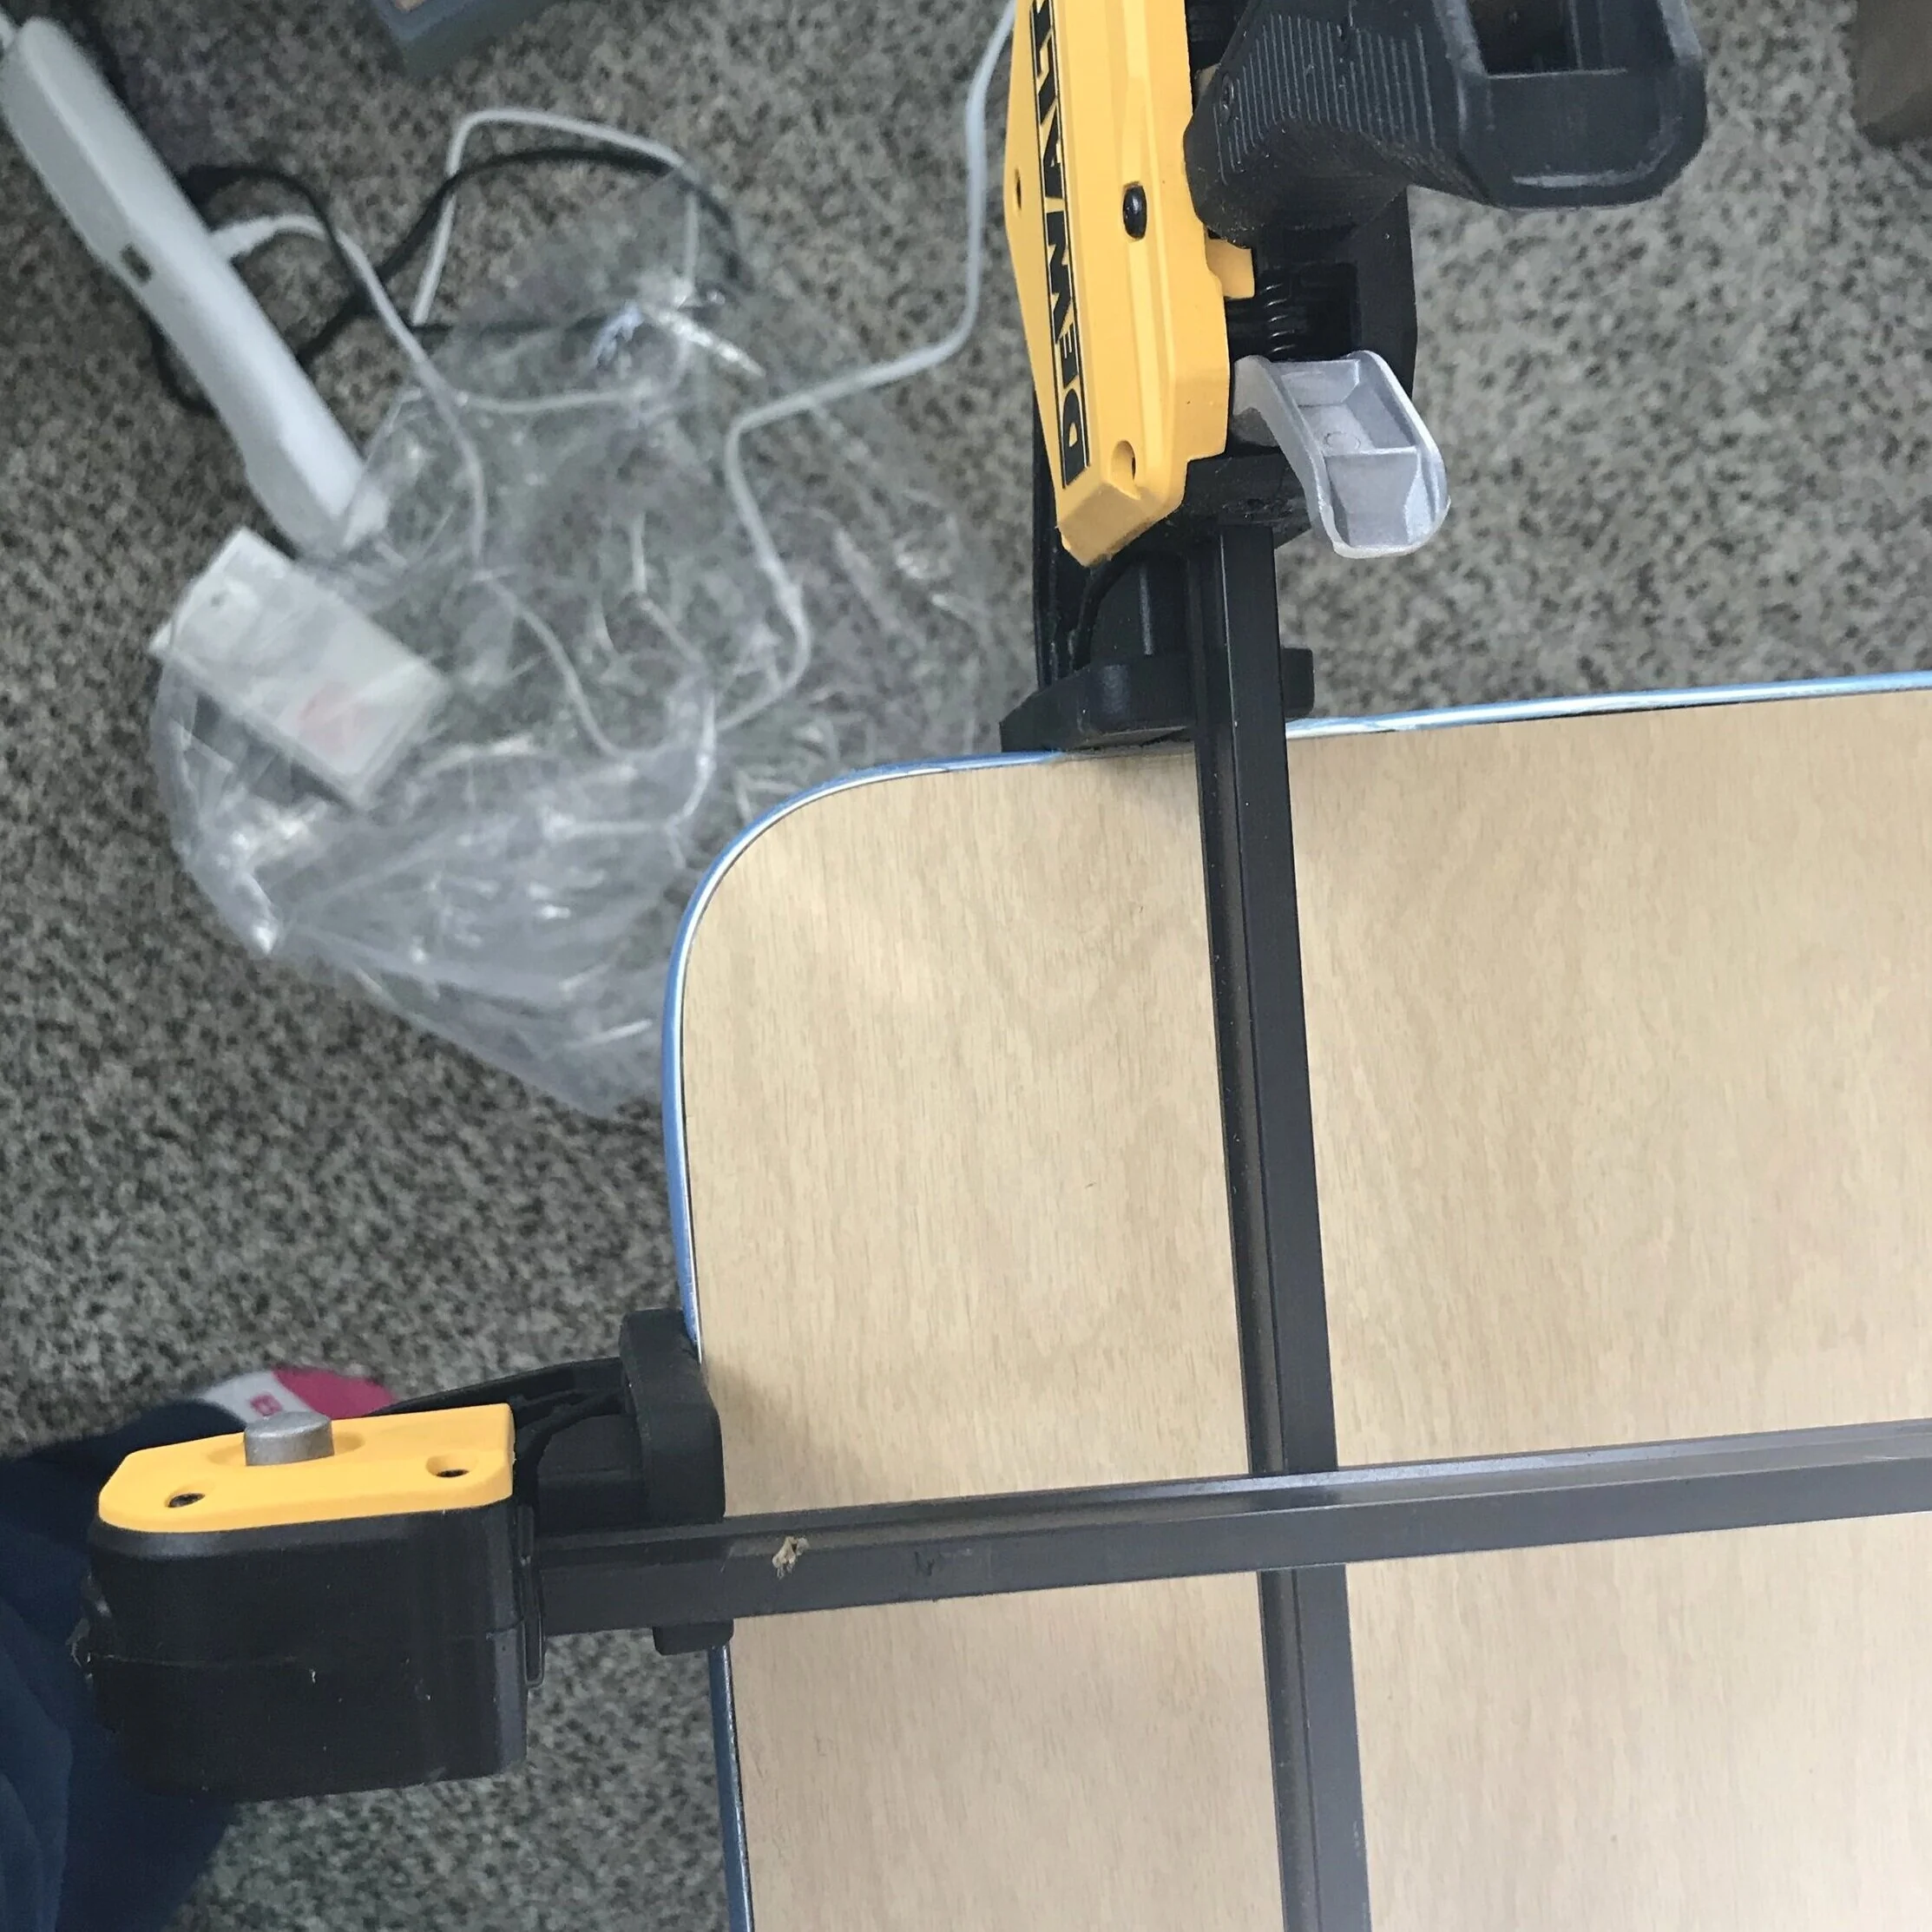
Because I was working alone, I worked in sections of just 6”-12” at a time. I had my clamps set up at the start to act as another set of hands.
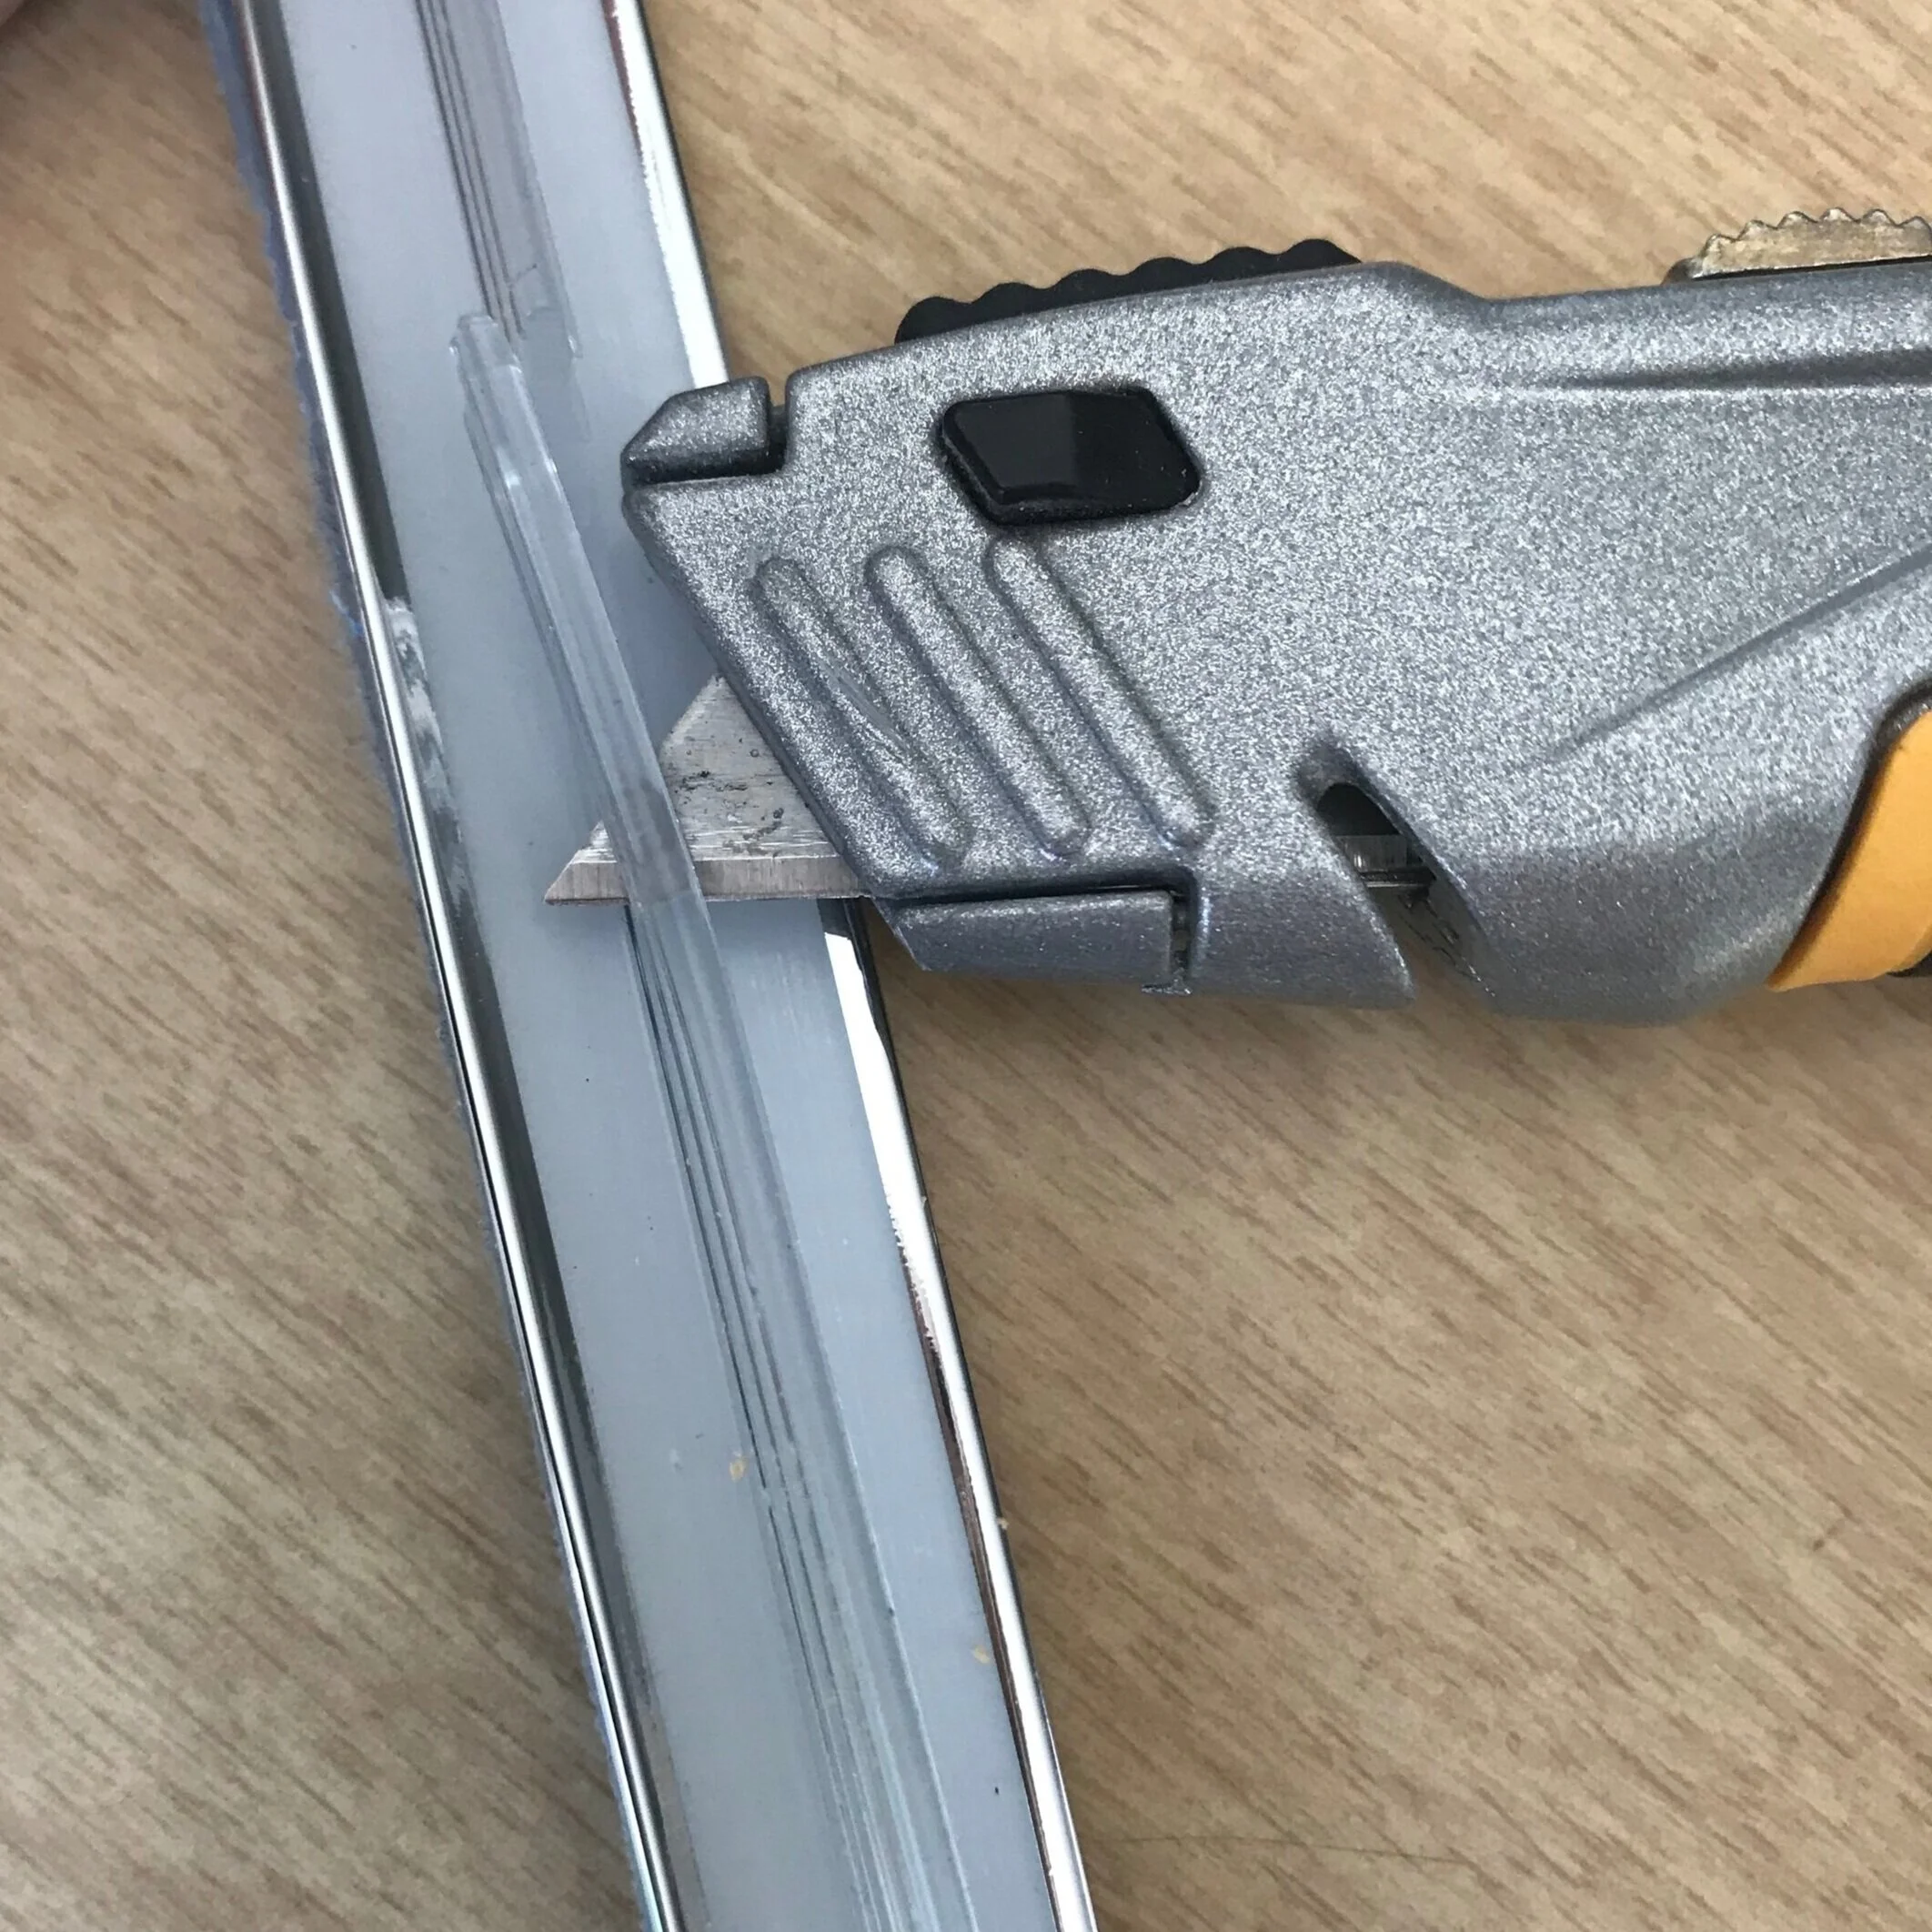
Step 5: Trim at Corners
When I removed the original trim from my desk, I found that the T part that fits into the channel was removed on each corner. After testing I found this does indeed help make the bend around the corners smoother. So when I got to each corner I marked and removed about 5” of the T with a utility knife.
Step 6: Clamp to Dry
Once a section is glued and in place, apply clamps to hold until the adhesive sets.

Step 7: Clean any Excess
When you apply the clamps, excess adhesive will ooze out. Wipe it up with the damp rags.

Step 8: Remove Clamps & Repeat
I completed my desk in four sections — gluing and clamping then waiting about 30 minutes for the adhesive to set. Then I began the next section. The adhesive wasn’t fully dry for the next section, so as I moved the clamps, I was careful about clamping both the new section as well as the previously done section. With two people and two more long clamps, this would have been much faster and easier.

Step 9: Trim End & Glue into Place
I found that it was far easier to cut the T Moulding with scissors in the end. Get a close fit for the two ends and secure with adhesive and clamps to dry.
Changing out that cracked trim will make such a difference in the appearance and functionality of your vintage desk! Good luck with your project!
Before

The desk as listed on Facebook when I purchased it.
After
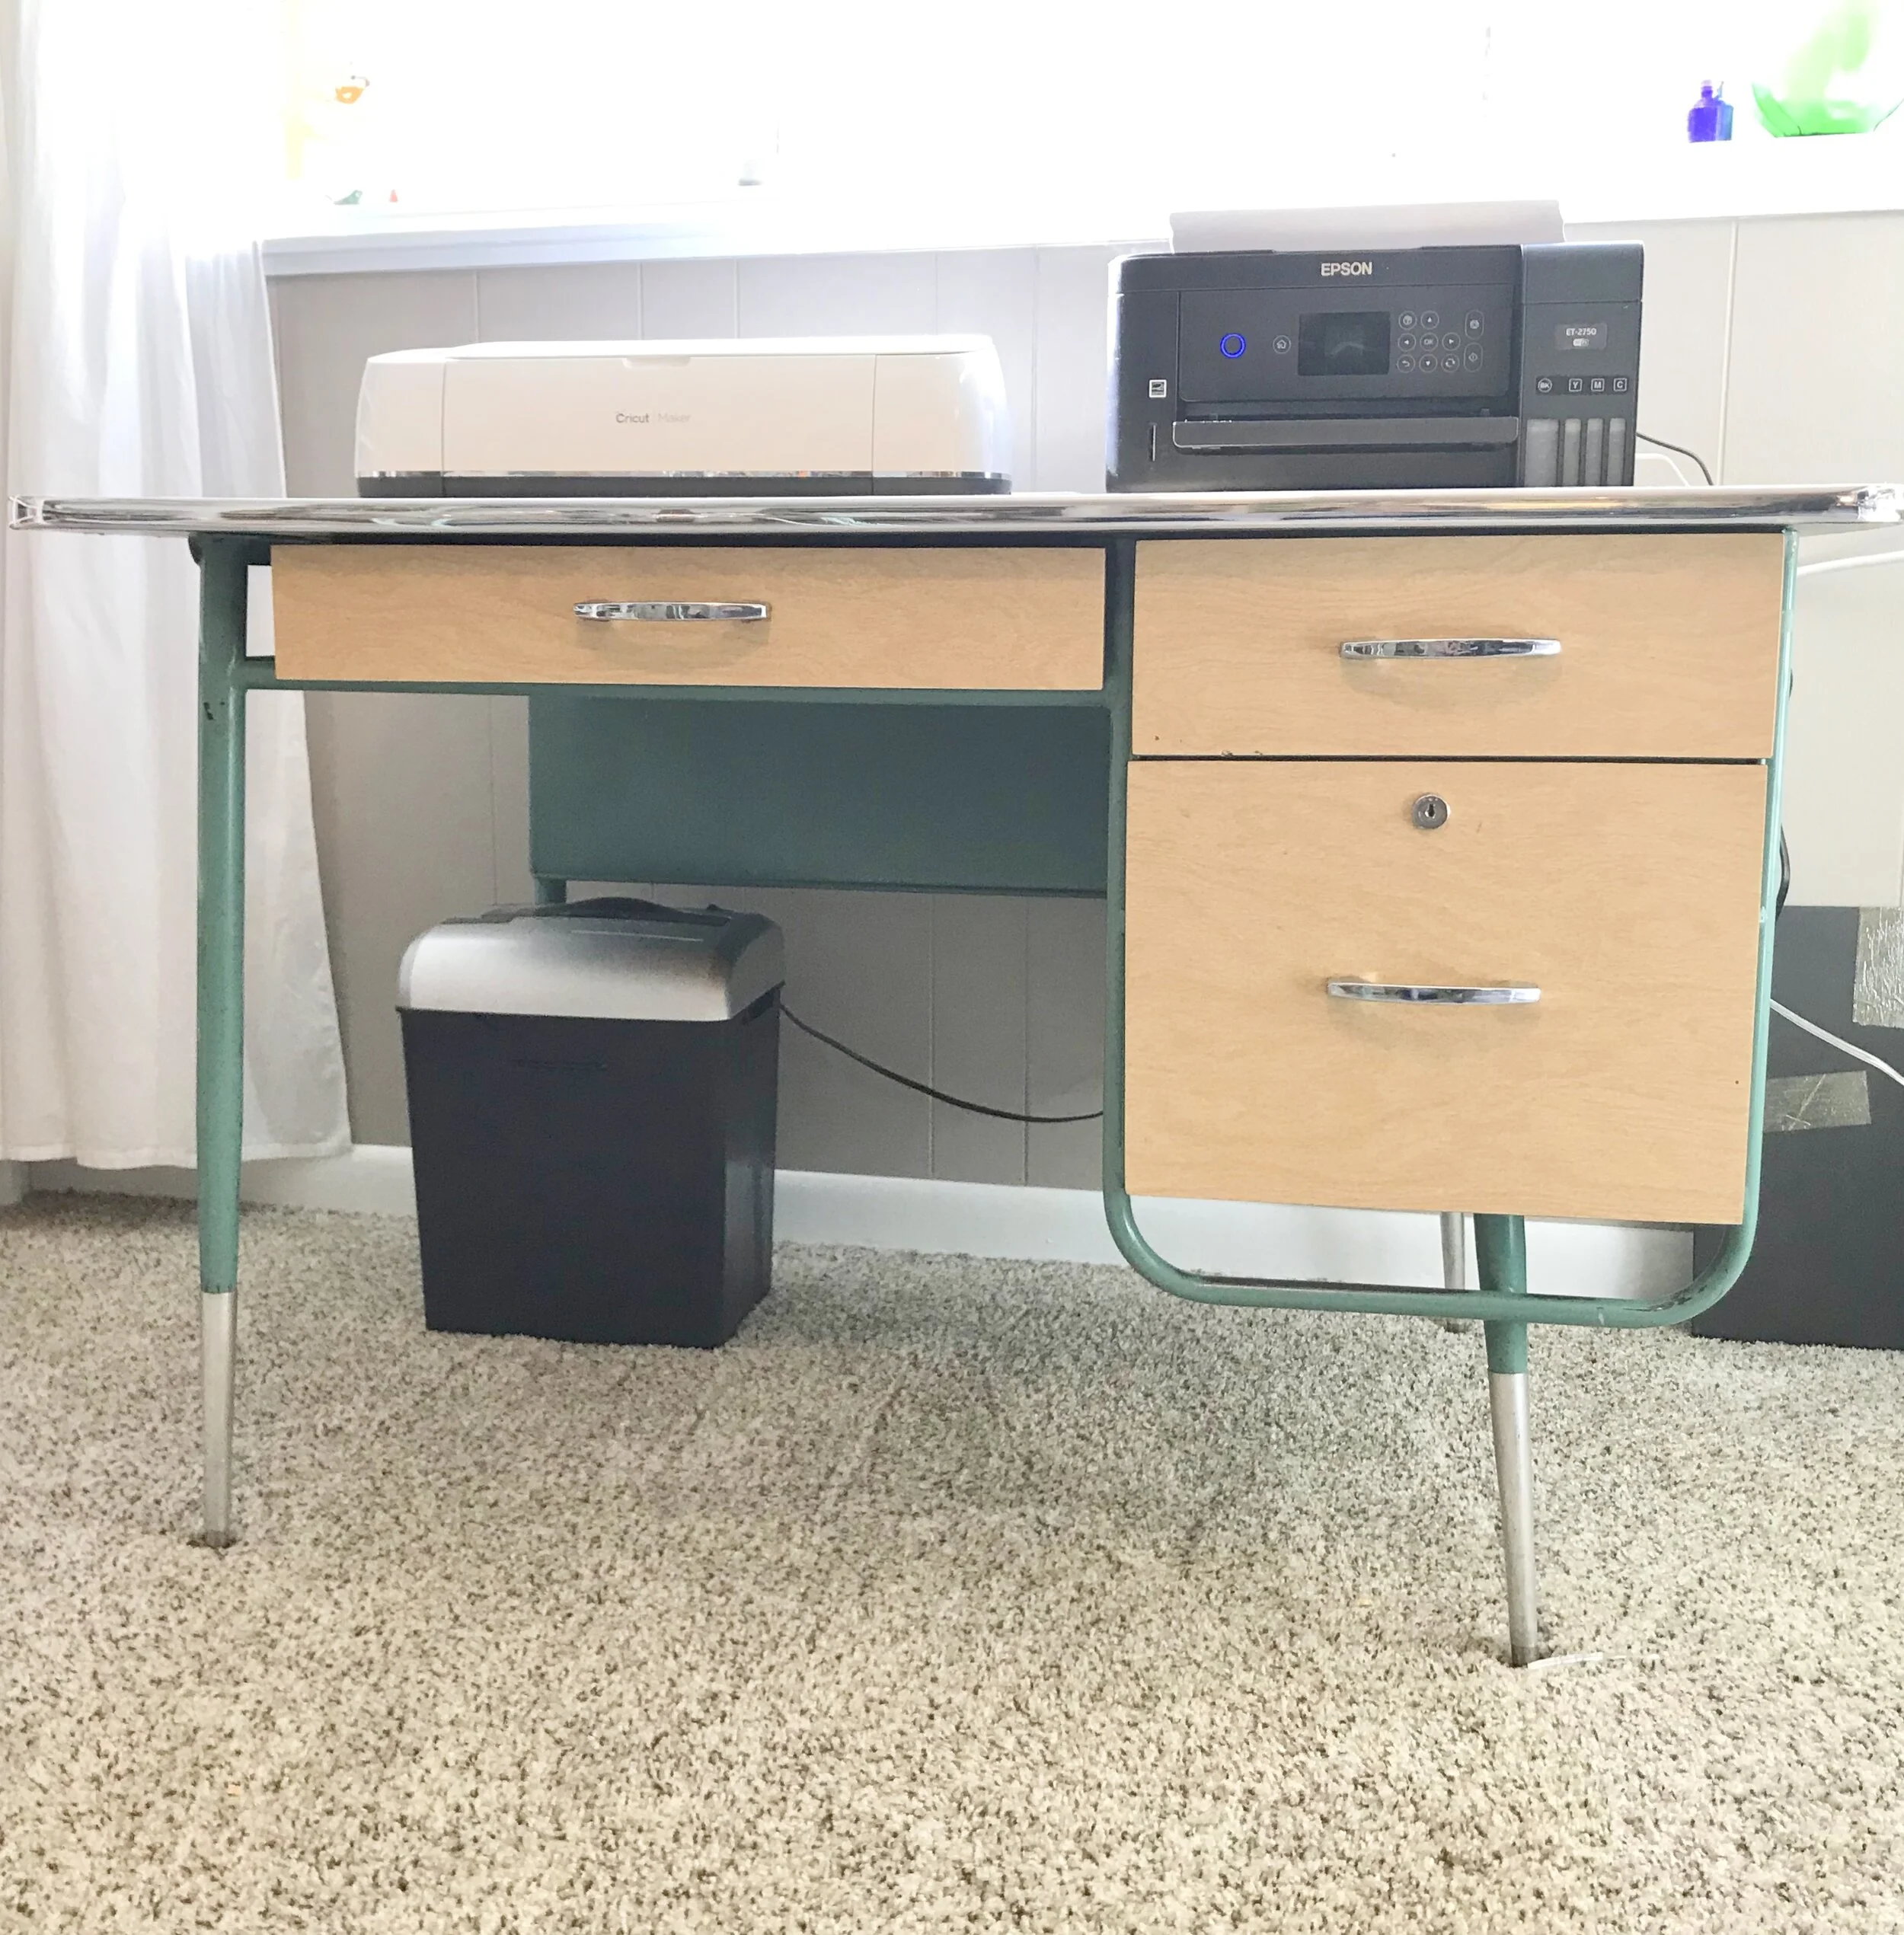
And after with new chrome trim!
