
Easy KonMari Solution: Linen Closets

So what do you do when your linen closet is too small or an awkward shape for bins, but you need to organize your linens somehow? I have the perfect DIY solution for you! It is easy, cheap, and perfect for renters as well as homeowners. I should not be this excited about linen closets. But I am. And I am not going to apologize for it!
We have been tidying our house using Marie Kondo’s KonMari Method from her book, The Life-Changing Magic of Tidying Up , and her new show on Netflix, Tidying Up with Marie Kondo. As I have written before, this isn’t our first KonMari experience, but it is the first time my husband and our child have fully joined me which makes this even more exciting. So a few weeks ago we started in on our linens — sheets, towels, and other bedding.
After thanking and letting go of all of the linens we didn’t need, I faced our linen closets. How to stow these sheets and linens in an organized way?
Towels
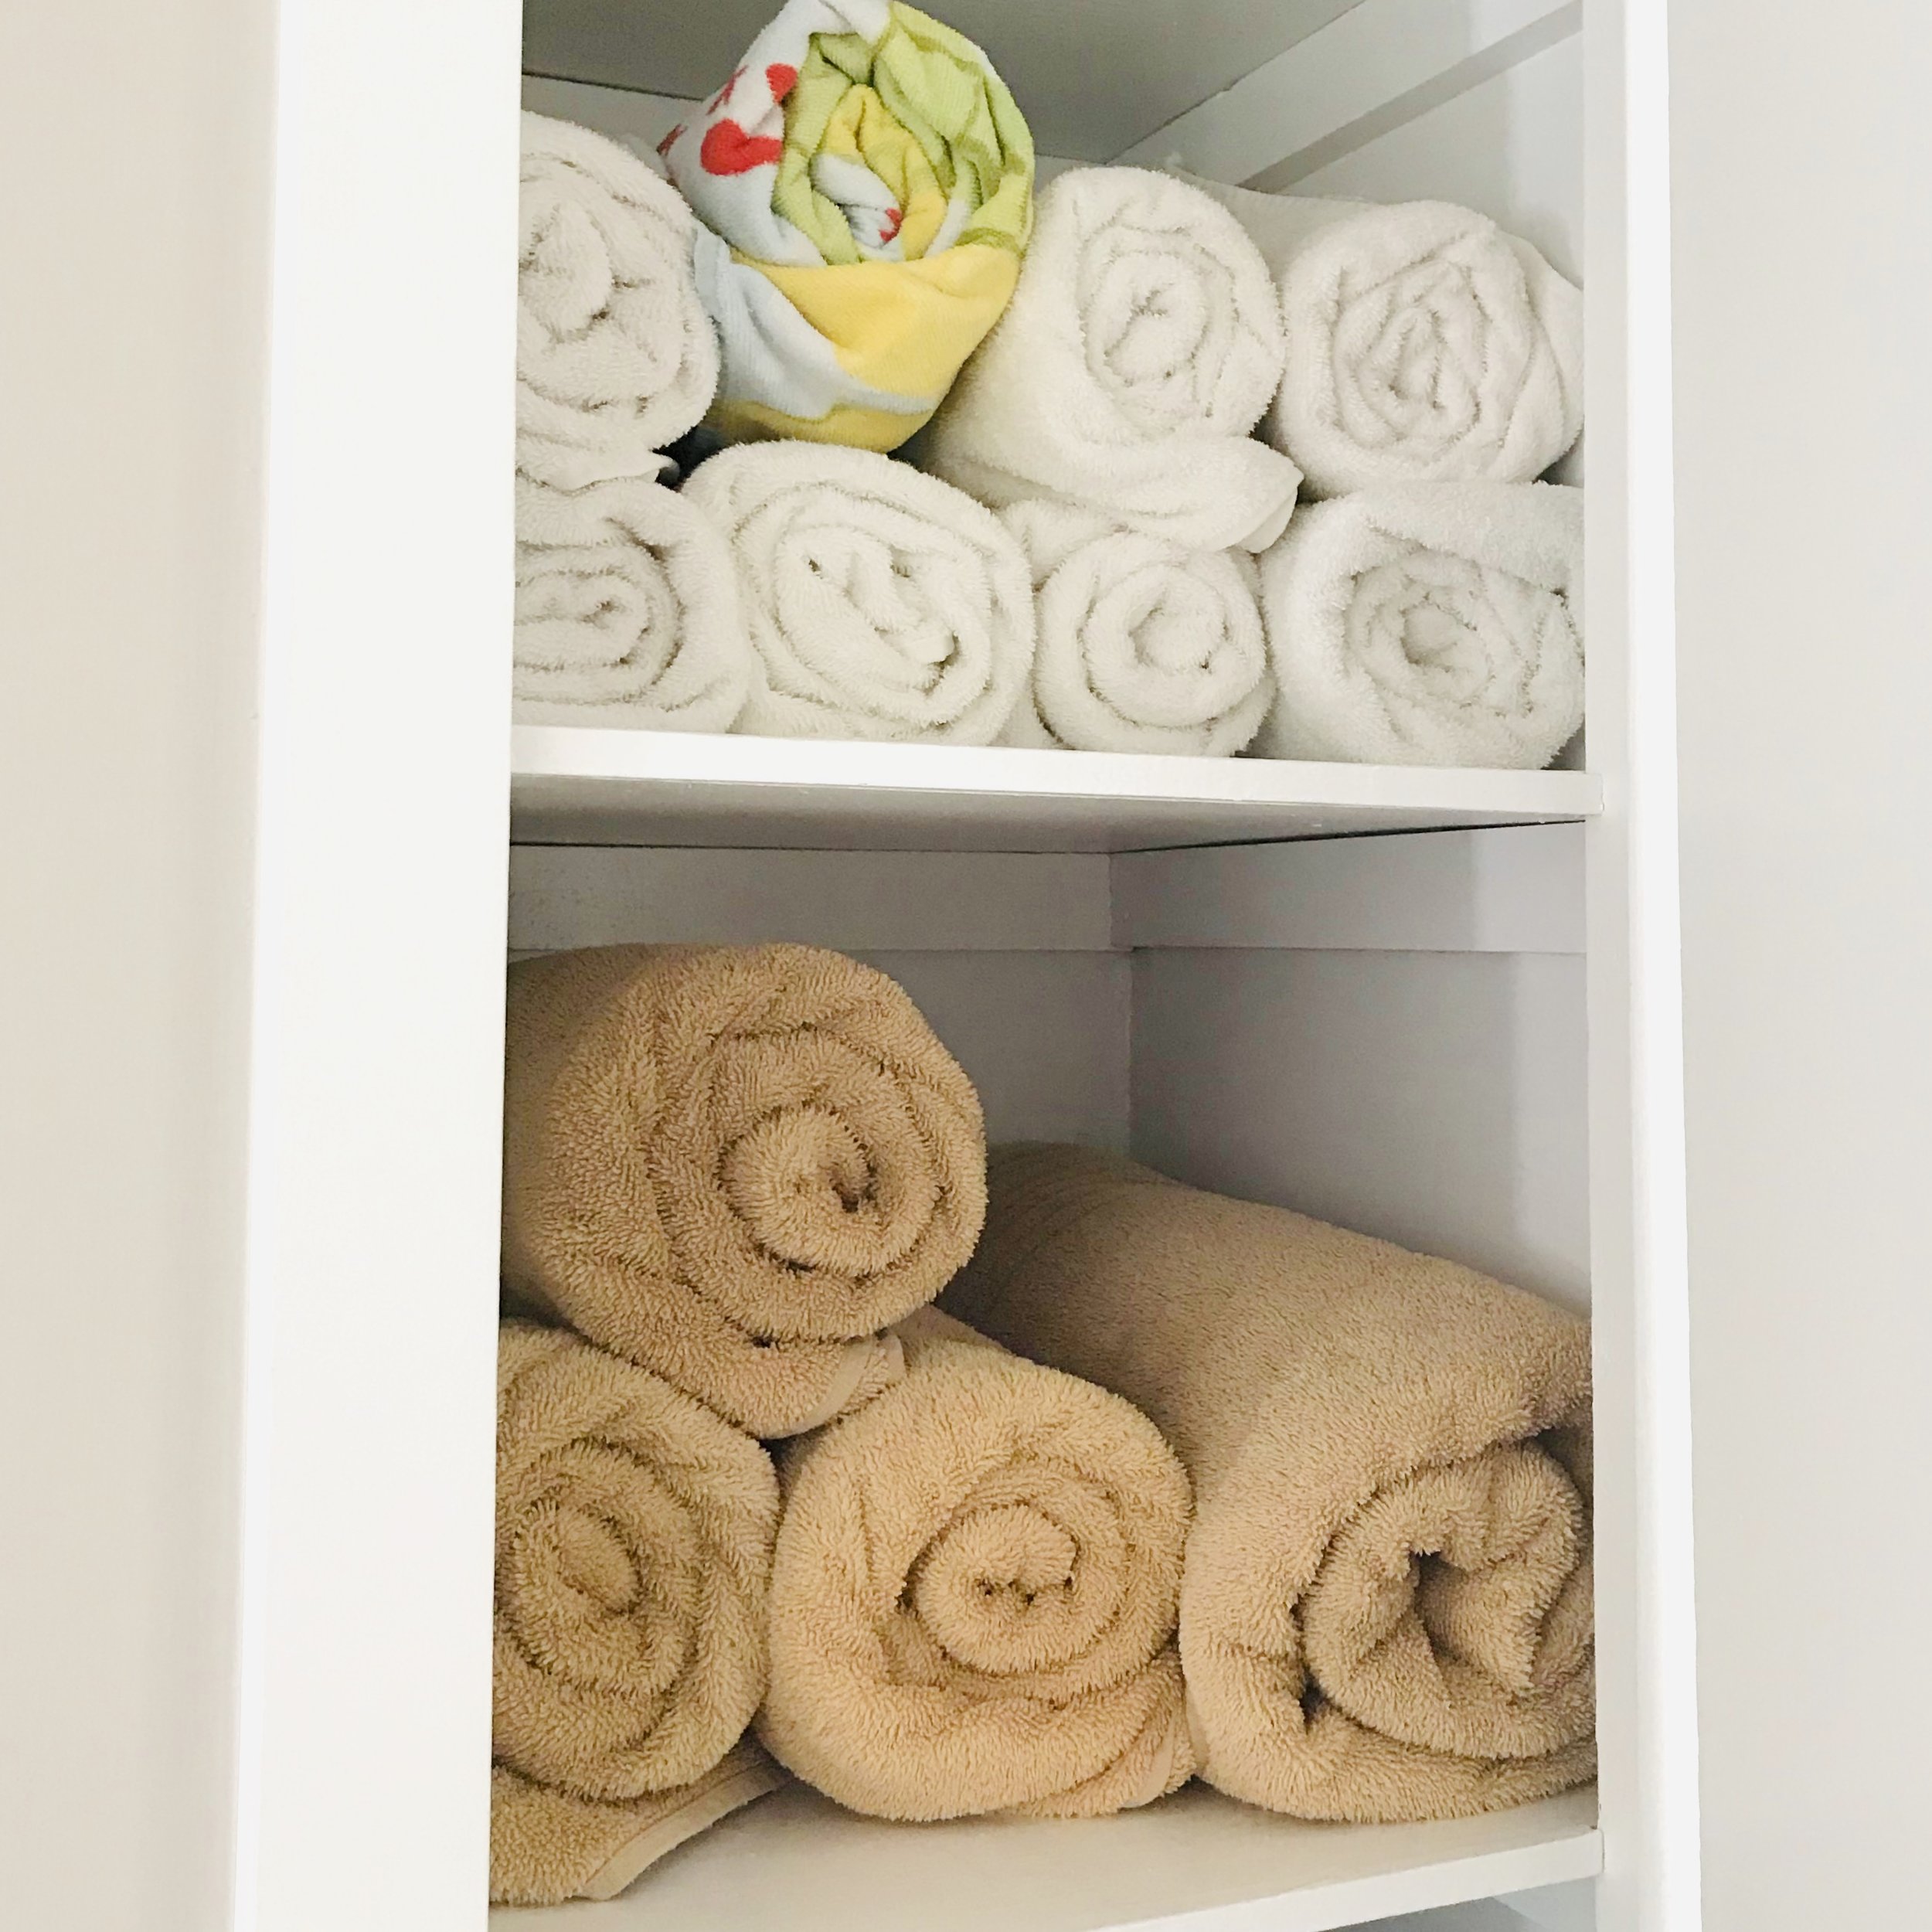
We have a narrow cupboard outside each bathroom. The cupboards are narrow but deep, so rolled towels fit better than folded KonMari-style. Towels ended up rolled and stowed in those cupboards.


Sheets & Duvet Covers
We also have two narrow linen closets — one upstairs and another down. Linens for the upstairs beds go up, and those for the downstairs beds go downstairs. We sleep Scandinavian-style (no top sheet, just a duvet in a cover), and we have two sets of sheets and two duvet covers per bed so that we don’t have to wait for clean laundry to remake the bed.
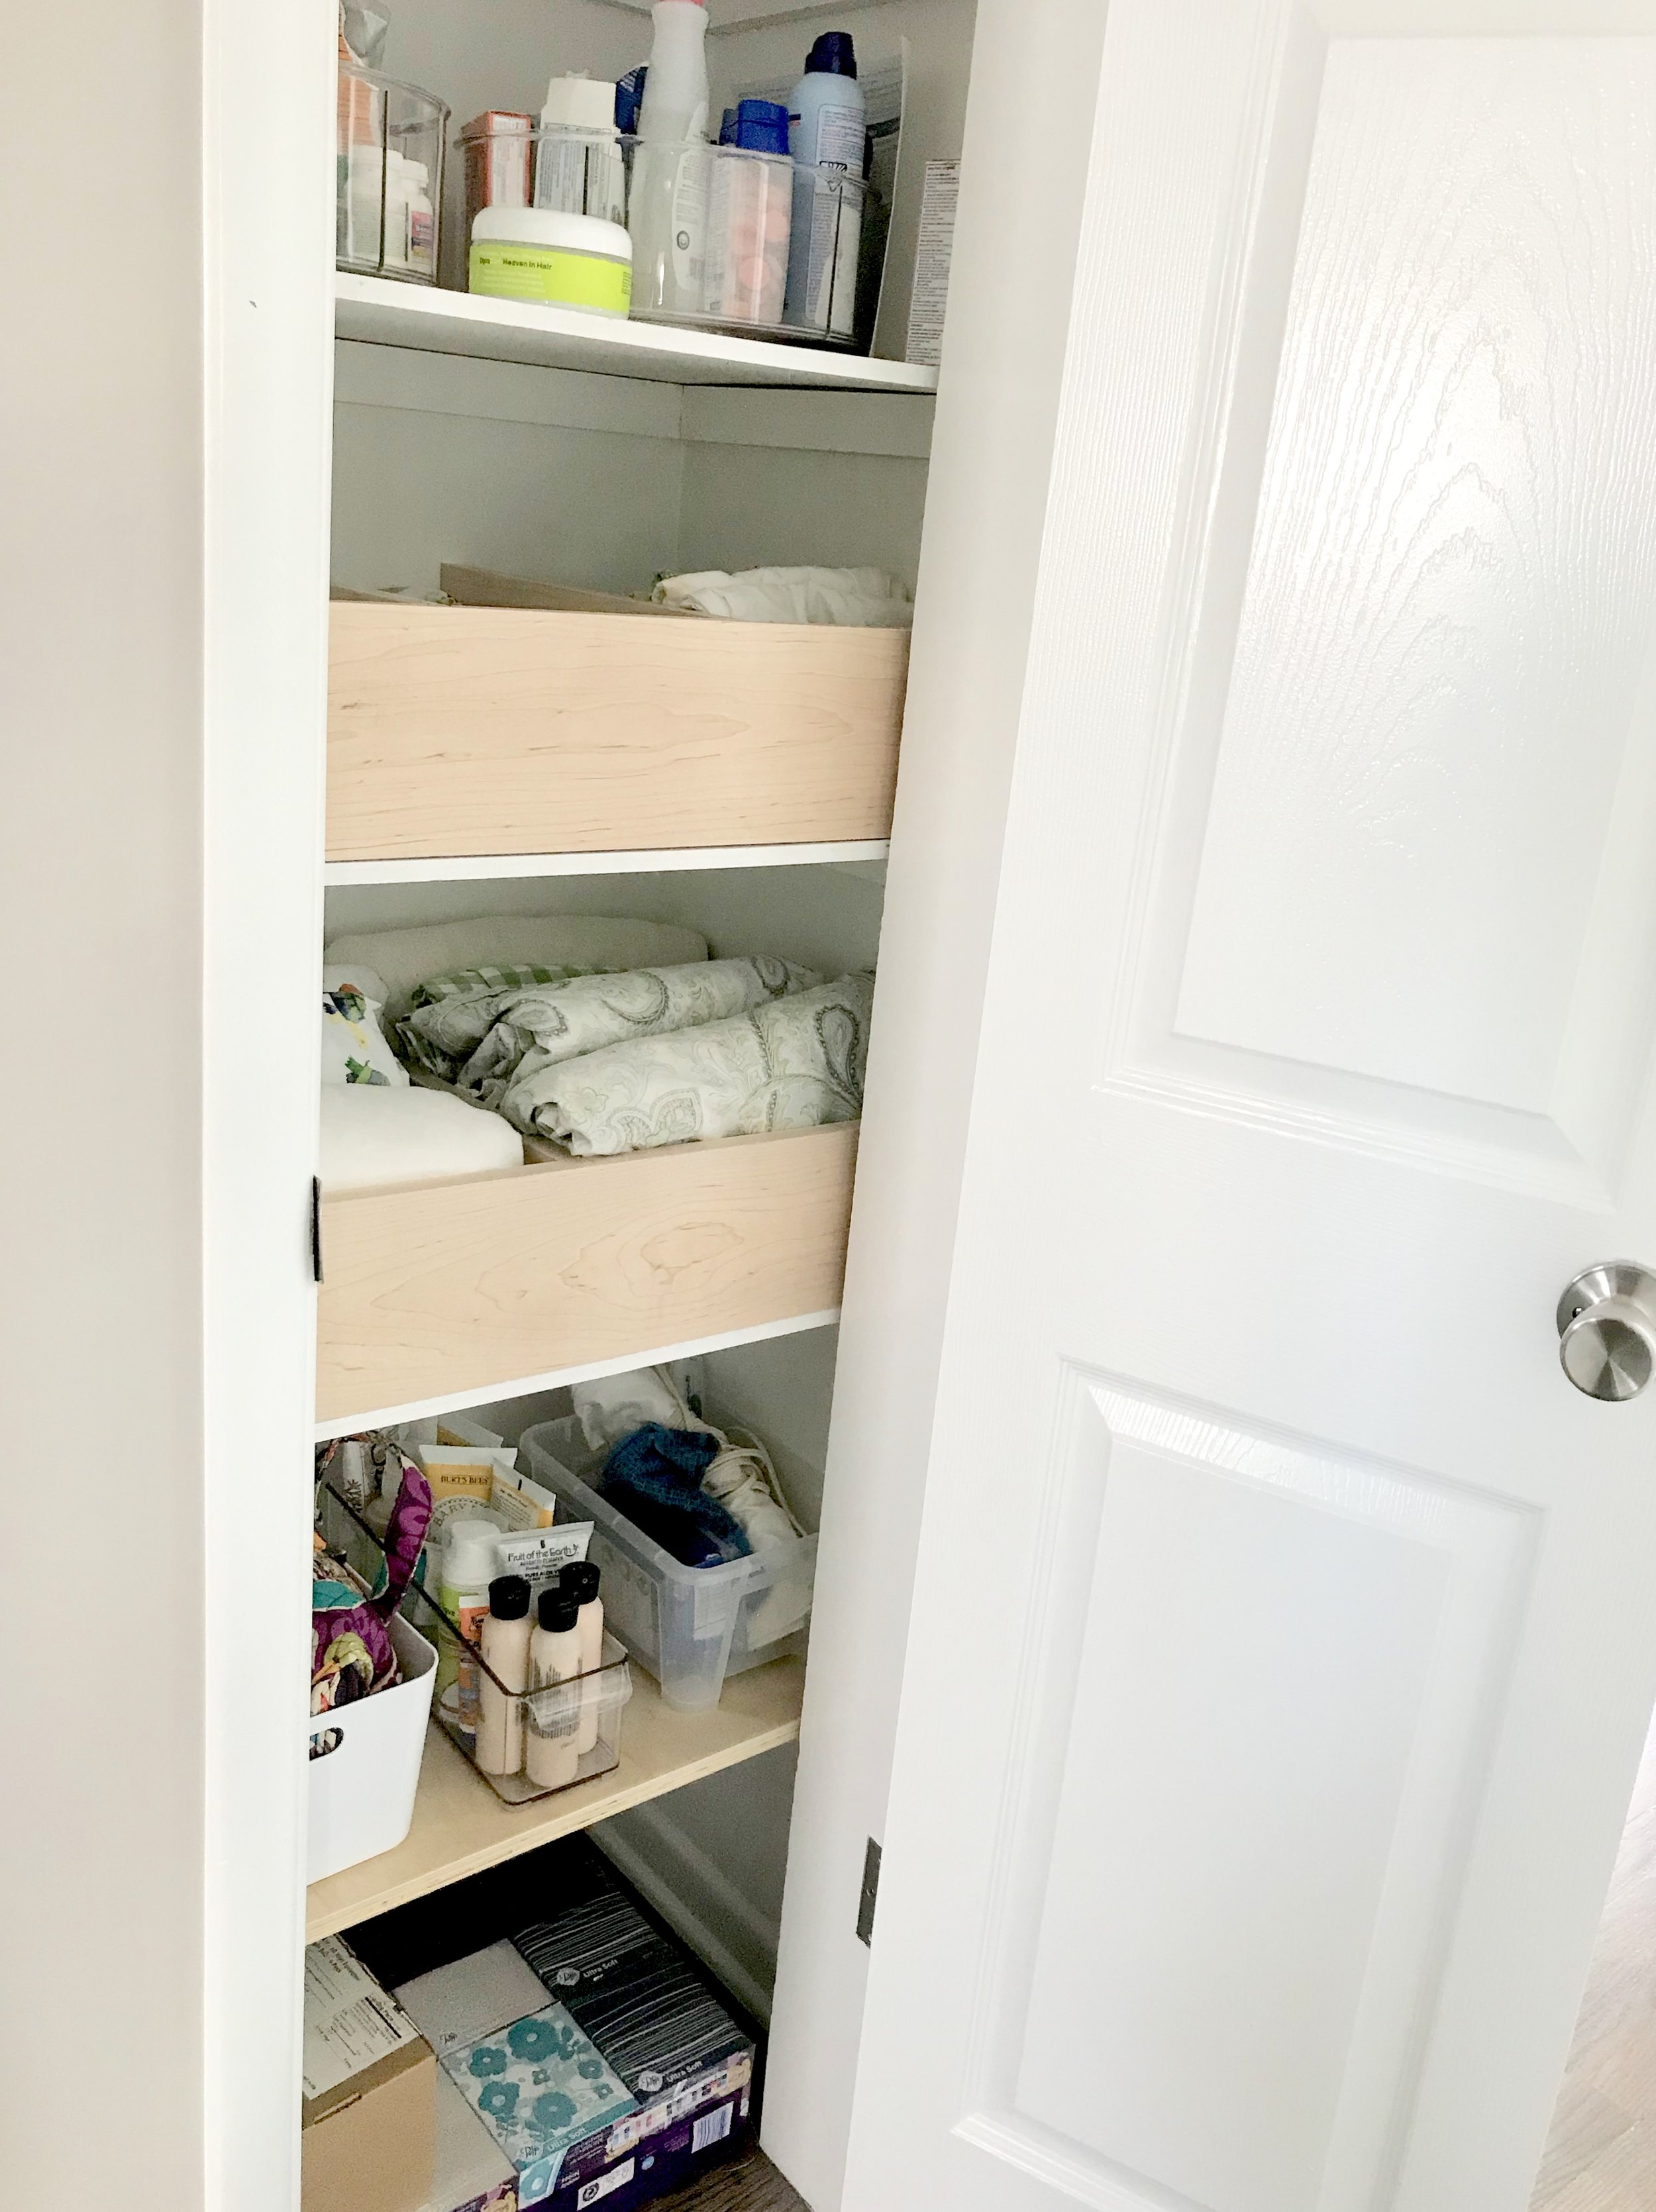
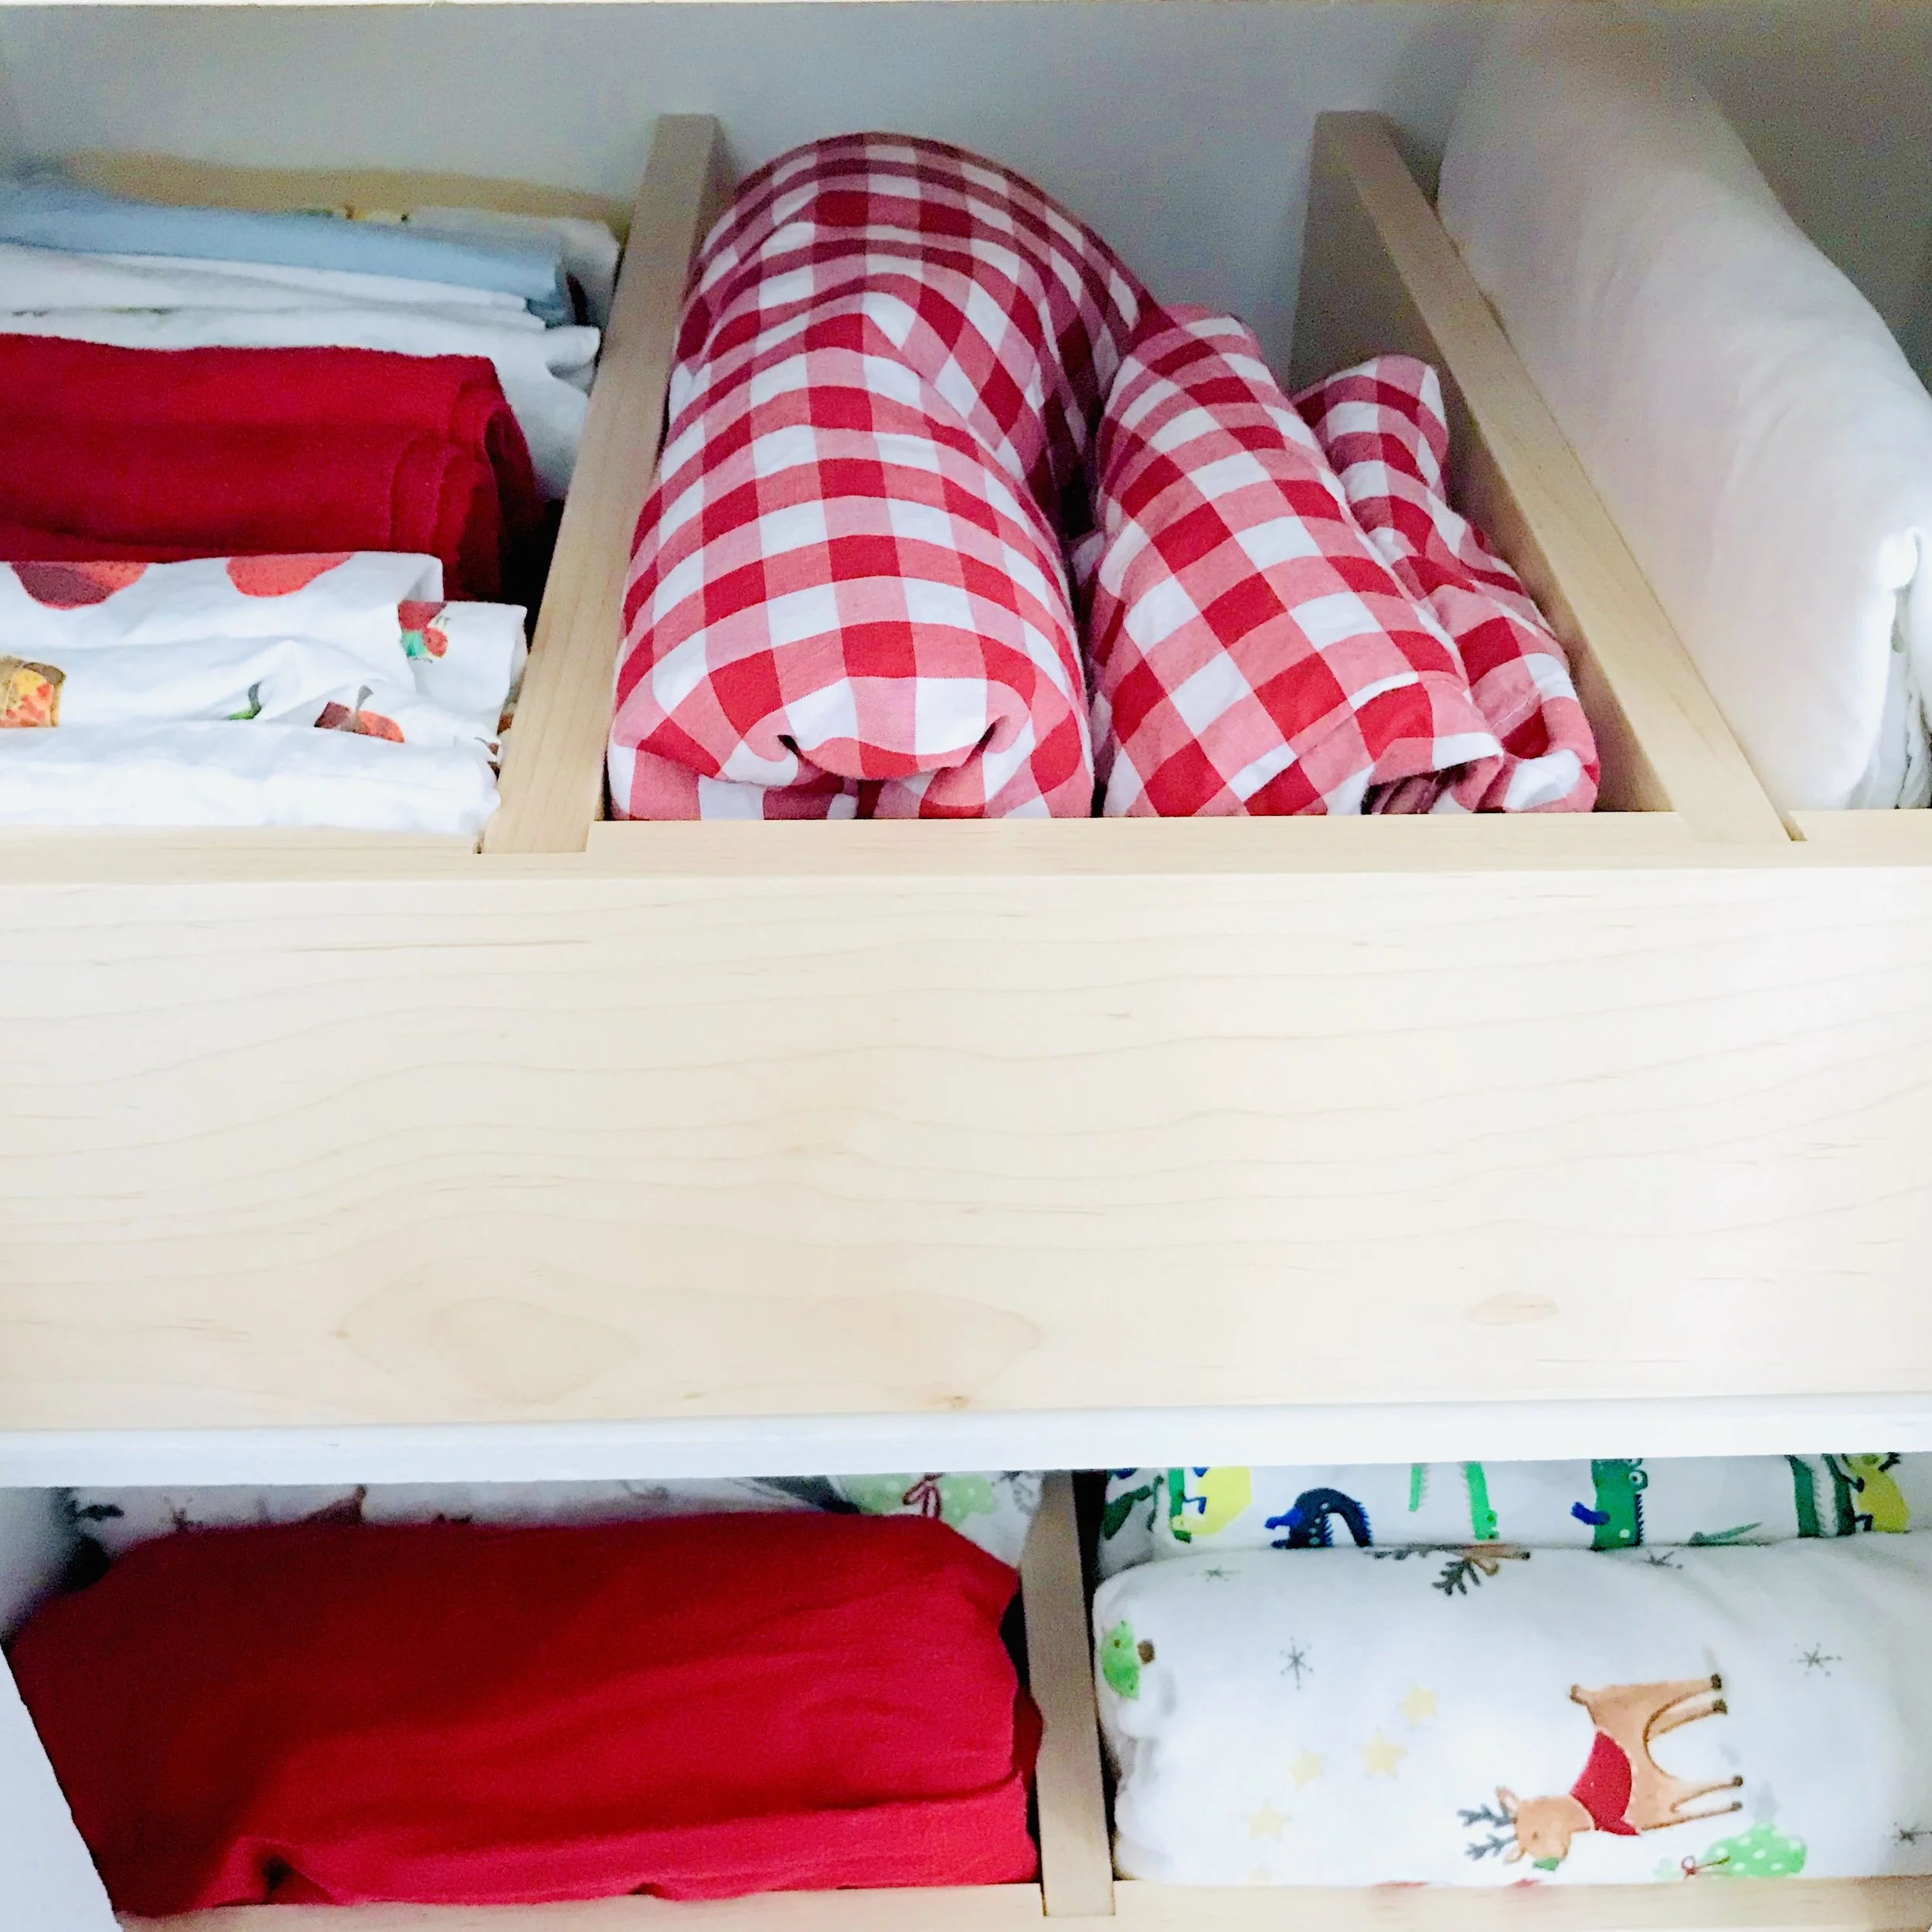
So Romano and I designed an easy solution for linen storage that doesn’t require boxes or bins — it was just too awkward for these skinny closets. And since we intend to stay in this house awhile, we were looking for a permanent solution.
Our linen closets are really just big cupboards with shelves that come nearly to the door opening. This is pretty common in older homes like ours. Because of this, the closet dividers we made are pressure-fit into the closet without screws. Therefore they are great for renters because they aren’t permanent! You can just take it with you if you move!
And these would work for holding all kinds of folded items: clothes, blankets, outdoor gear… anything you need to organize in a little closet like ours.
How to Make Closet Dividers
Materials:
1 x 6 lumber: we used maple, but you could use pine or anything. For those of you who aren’t into wood, a “one by six” is actually 3/4” x 5 1/2” by whatever length you buy.
a package of shims
sandpaper or a sander
router, circular saw, or table saw (optional)
screws and drill (optional if not using a router or table saw)
Note:
If you don’t have the tools to cut the wood yourself, you can still do this project! When you purchase wood at Lowe’s or Home Depot, they will cut it for you. Just take your measurements with you when you go!
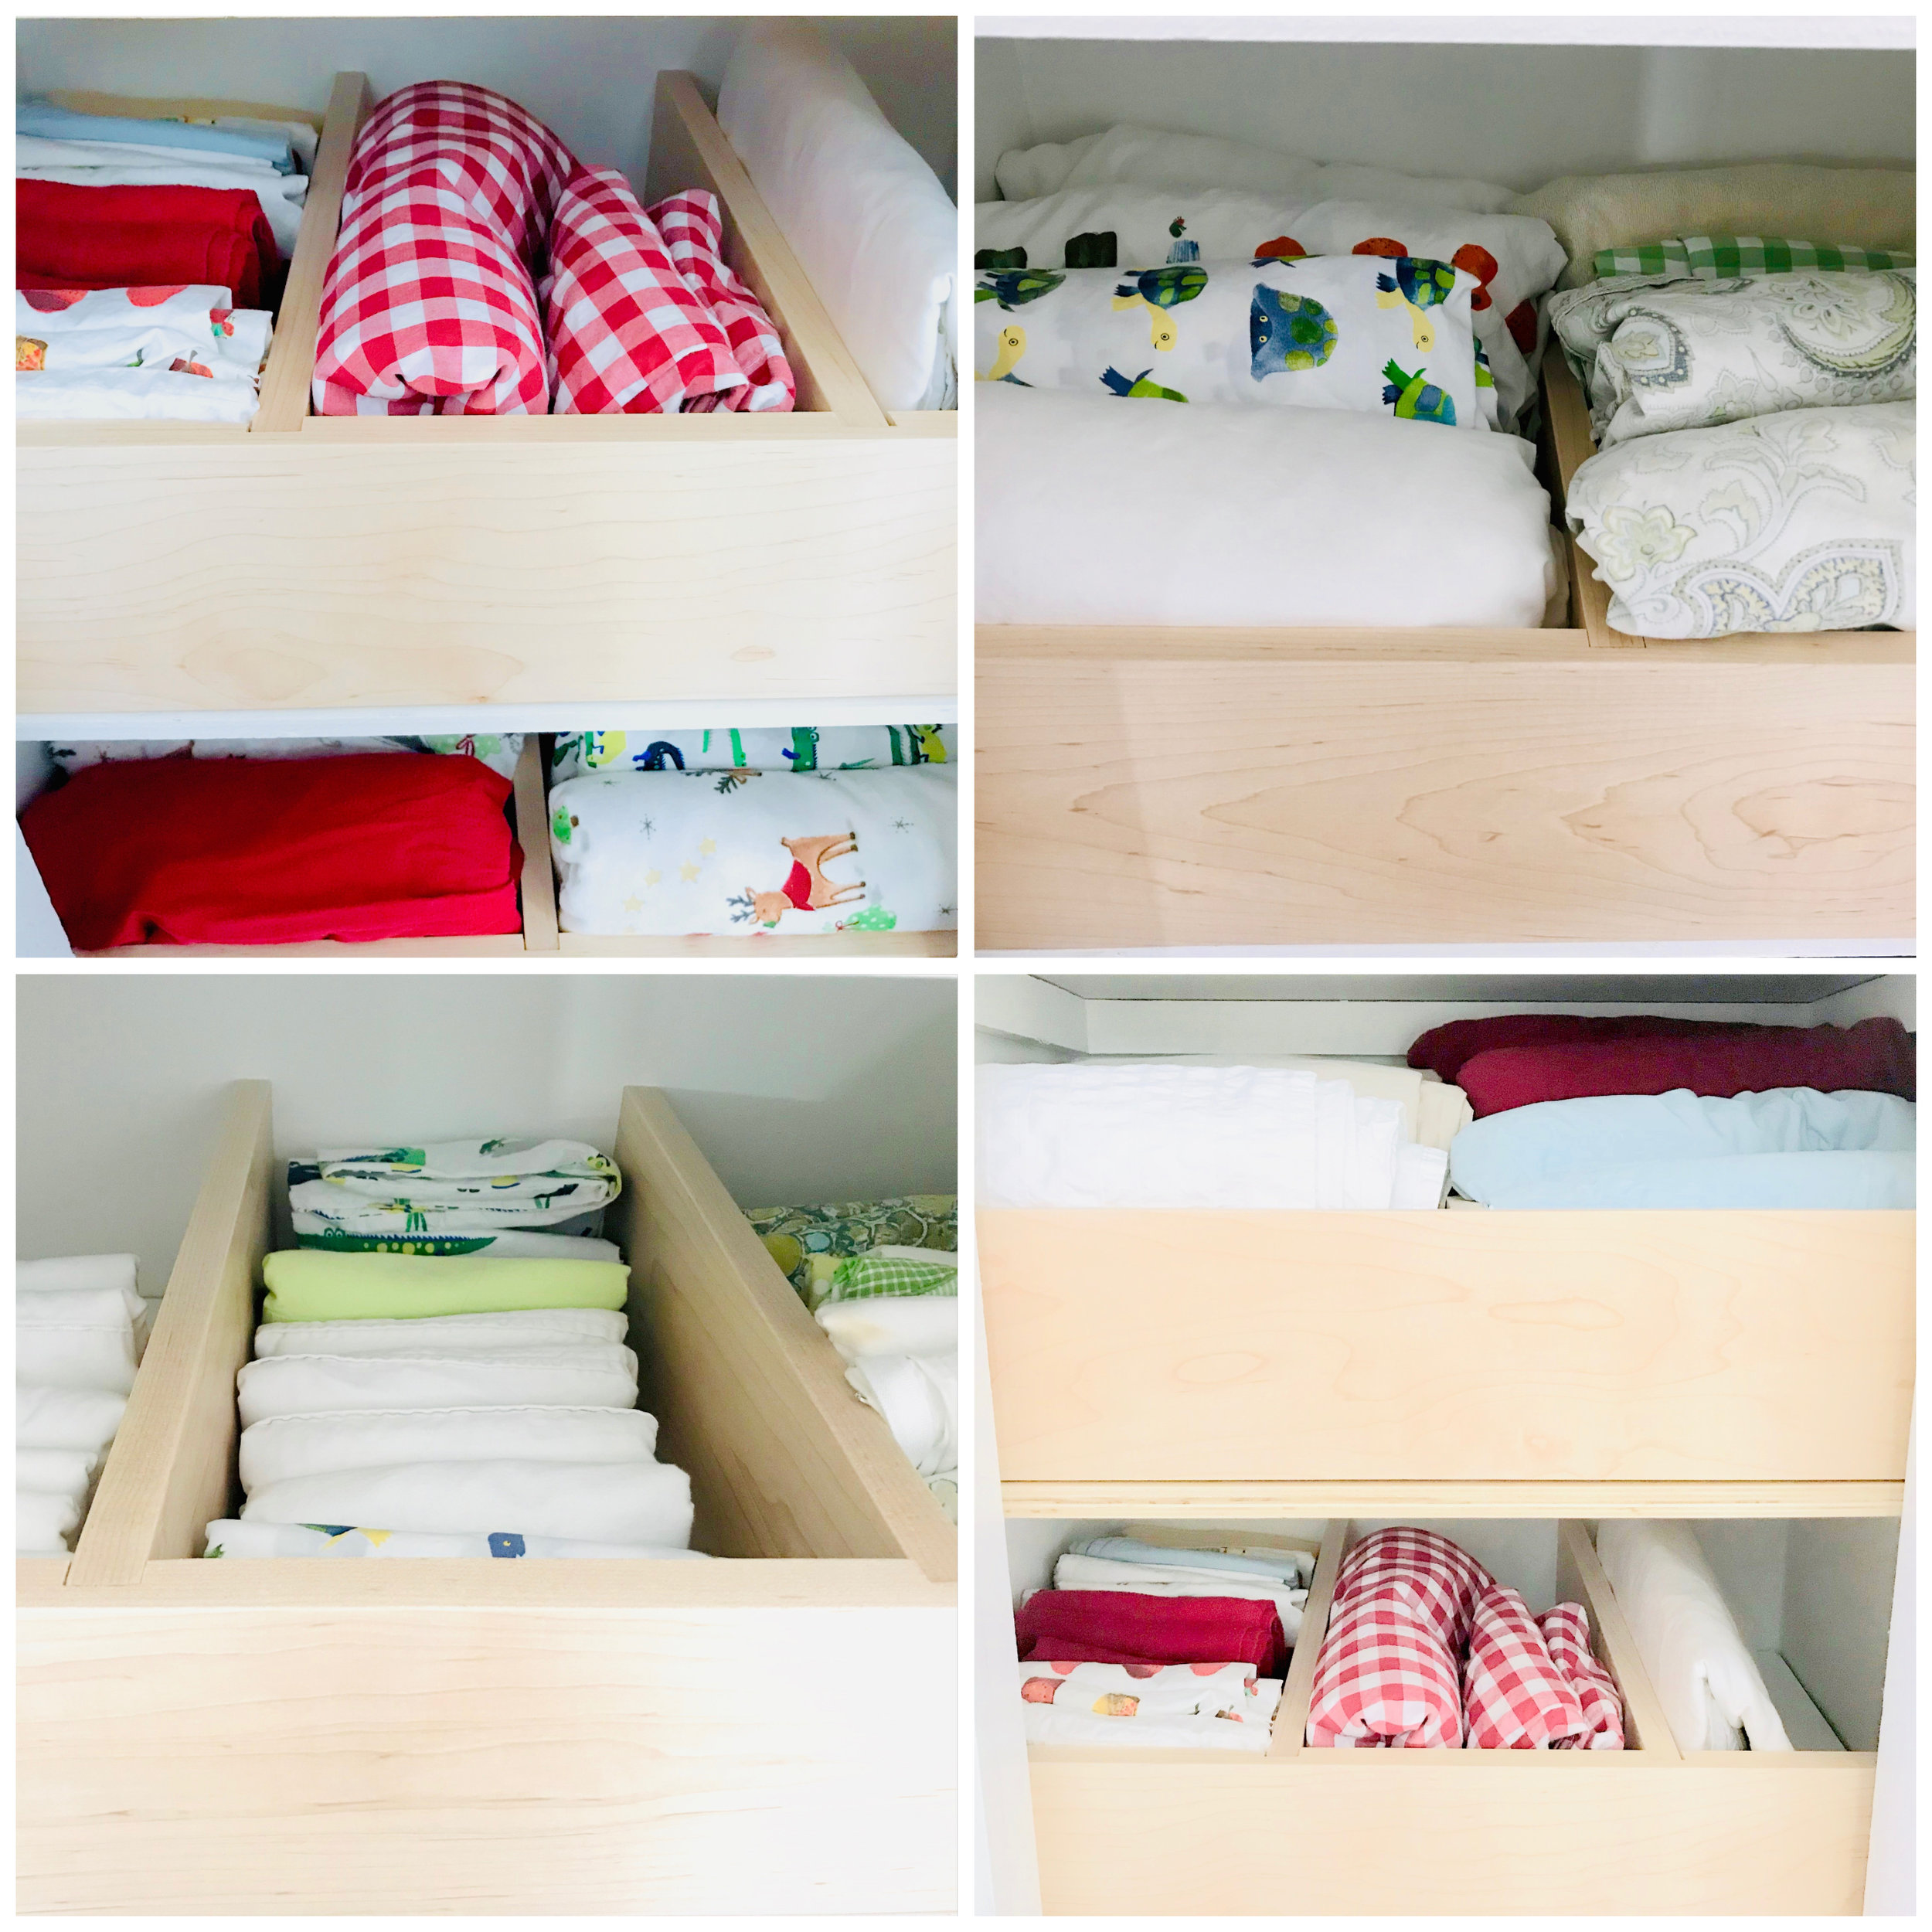
Pillowcase Storage
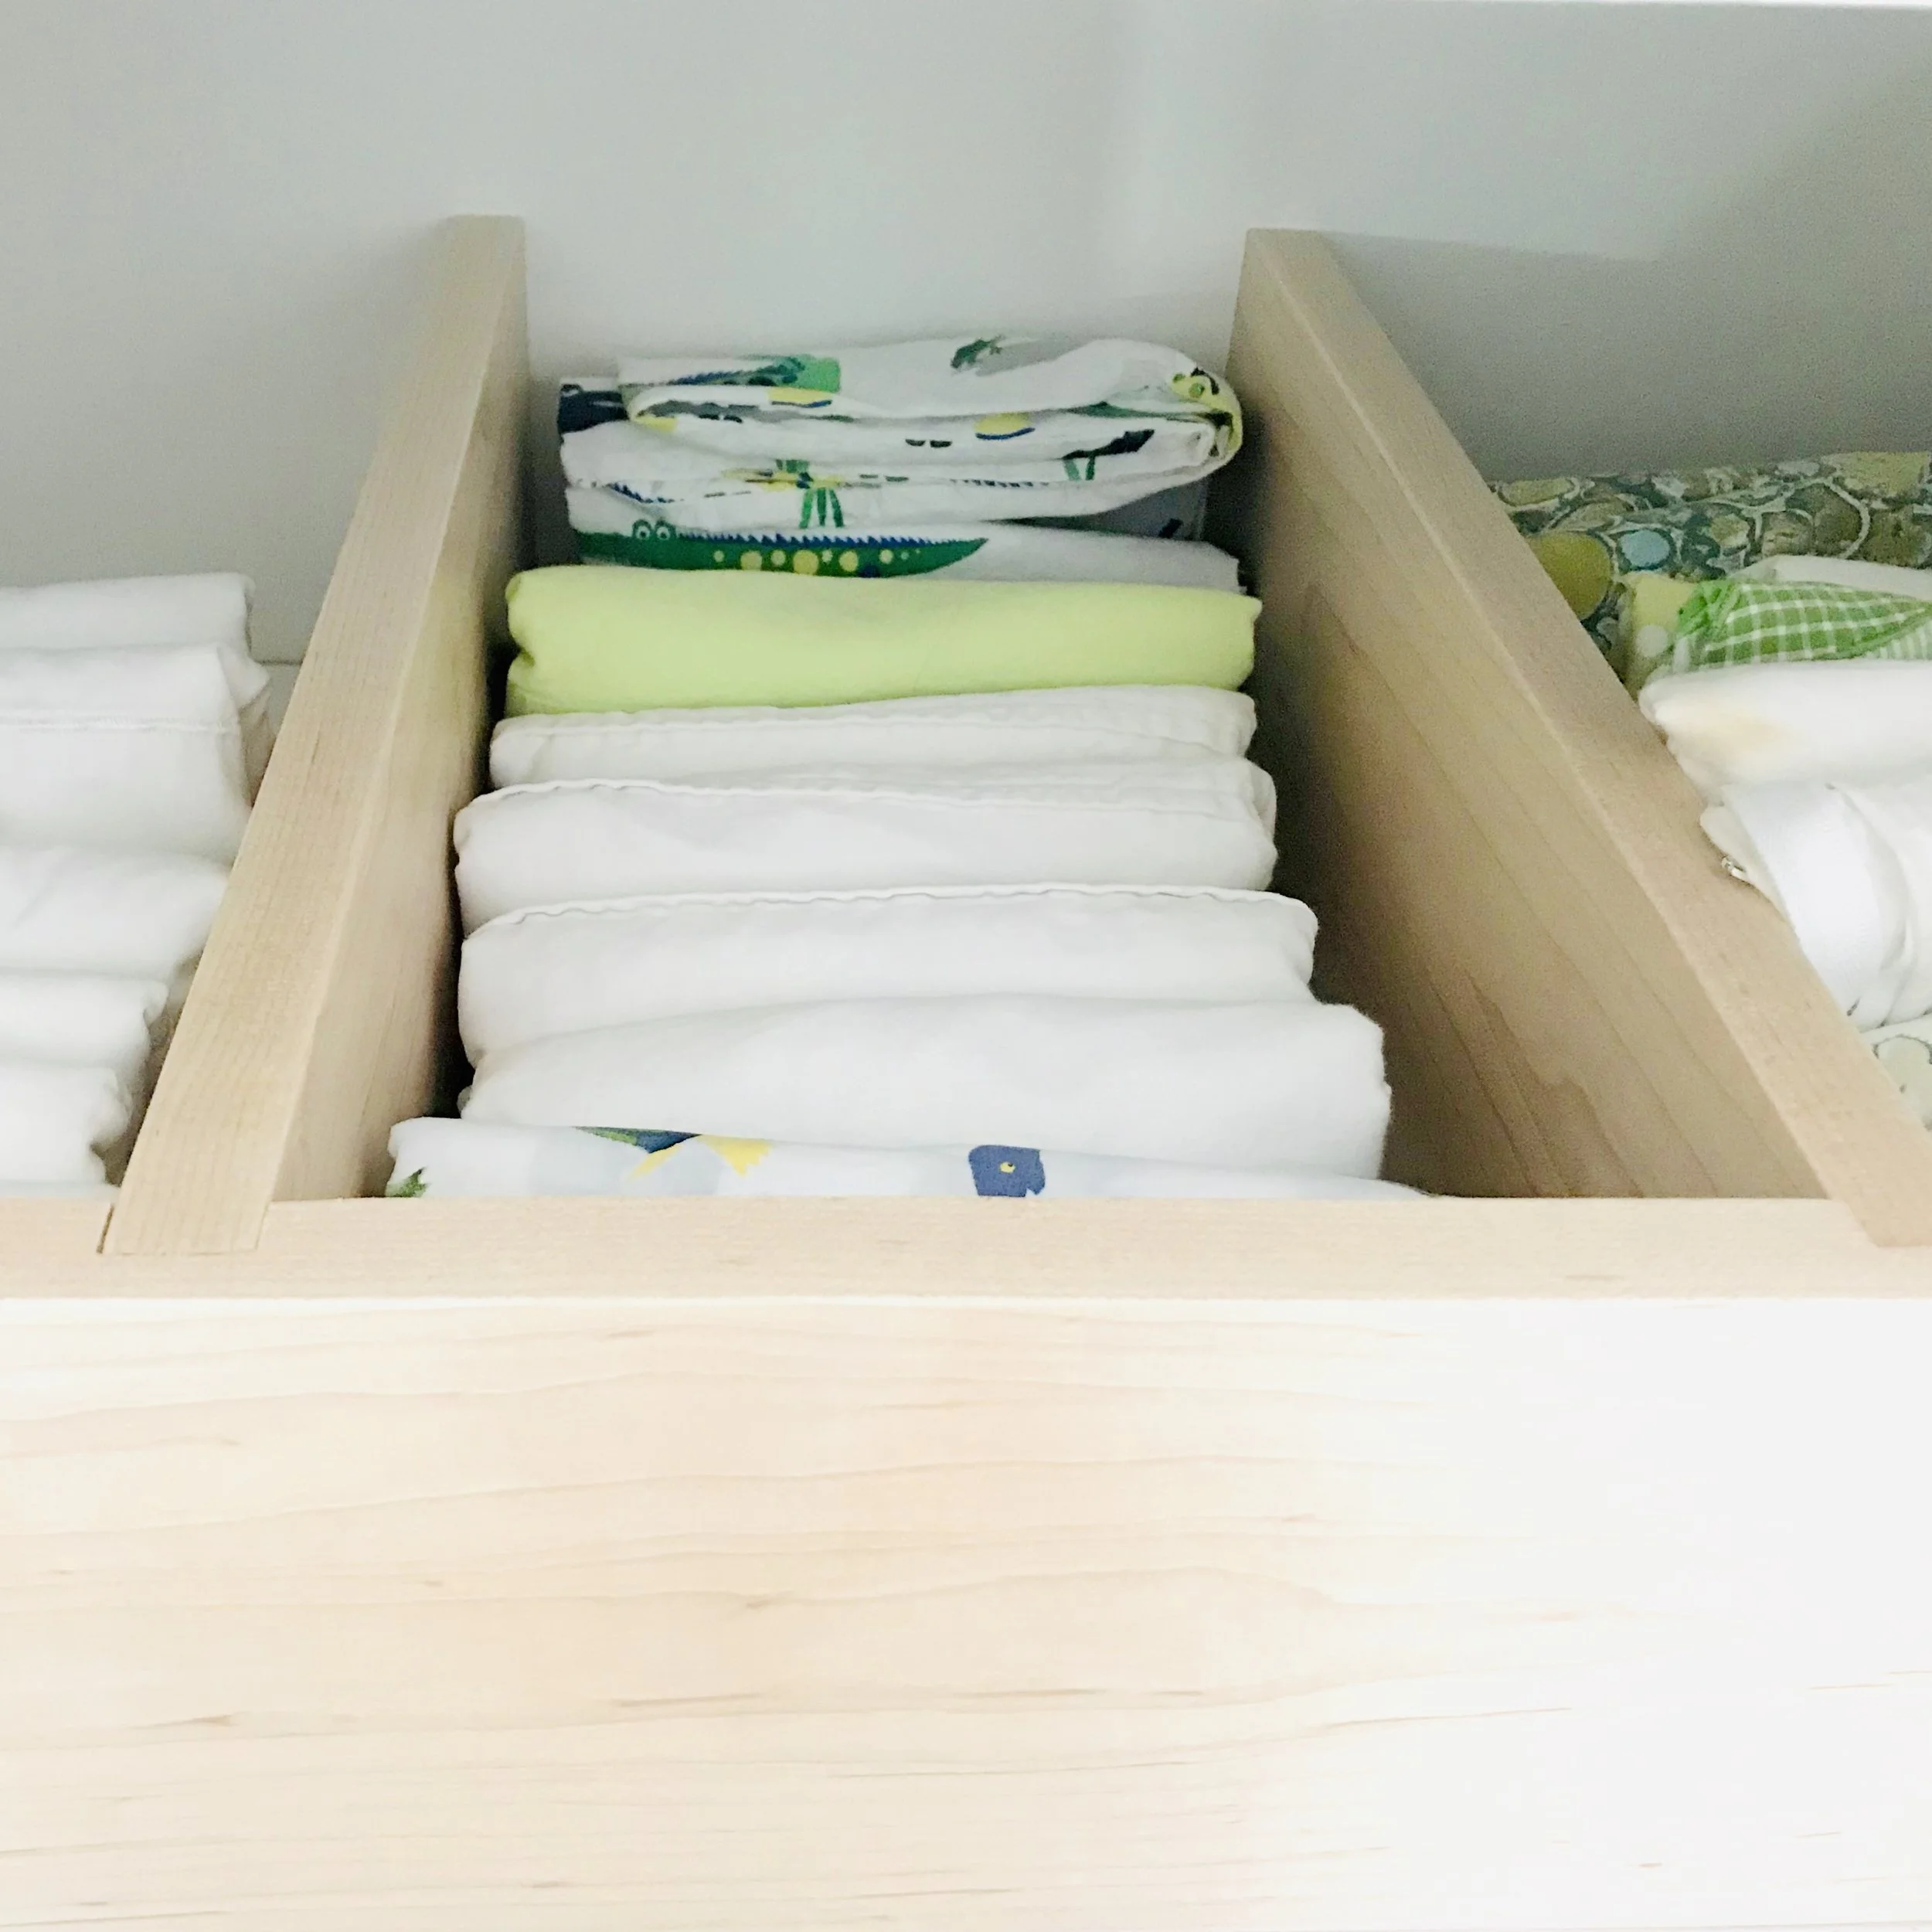
For pillowcases and smaller items, we installed two dividers, creating three sections per shelf. The pillowcases are folded and stand file-style for easy selection. Pillowcases are sorted by: standard size, king size, and shams/special pillows.
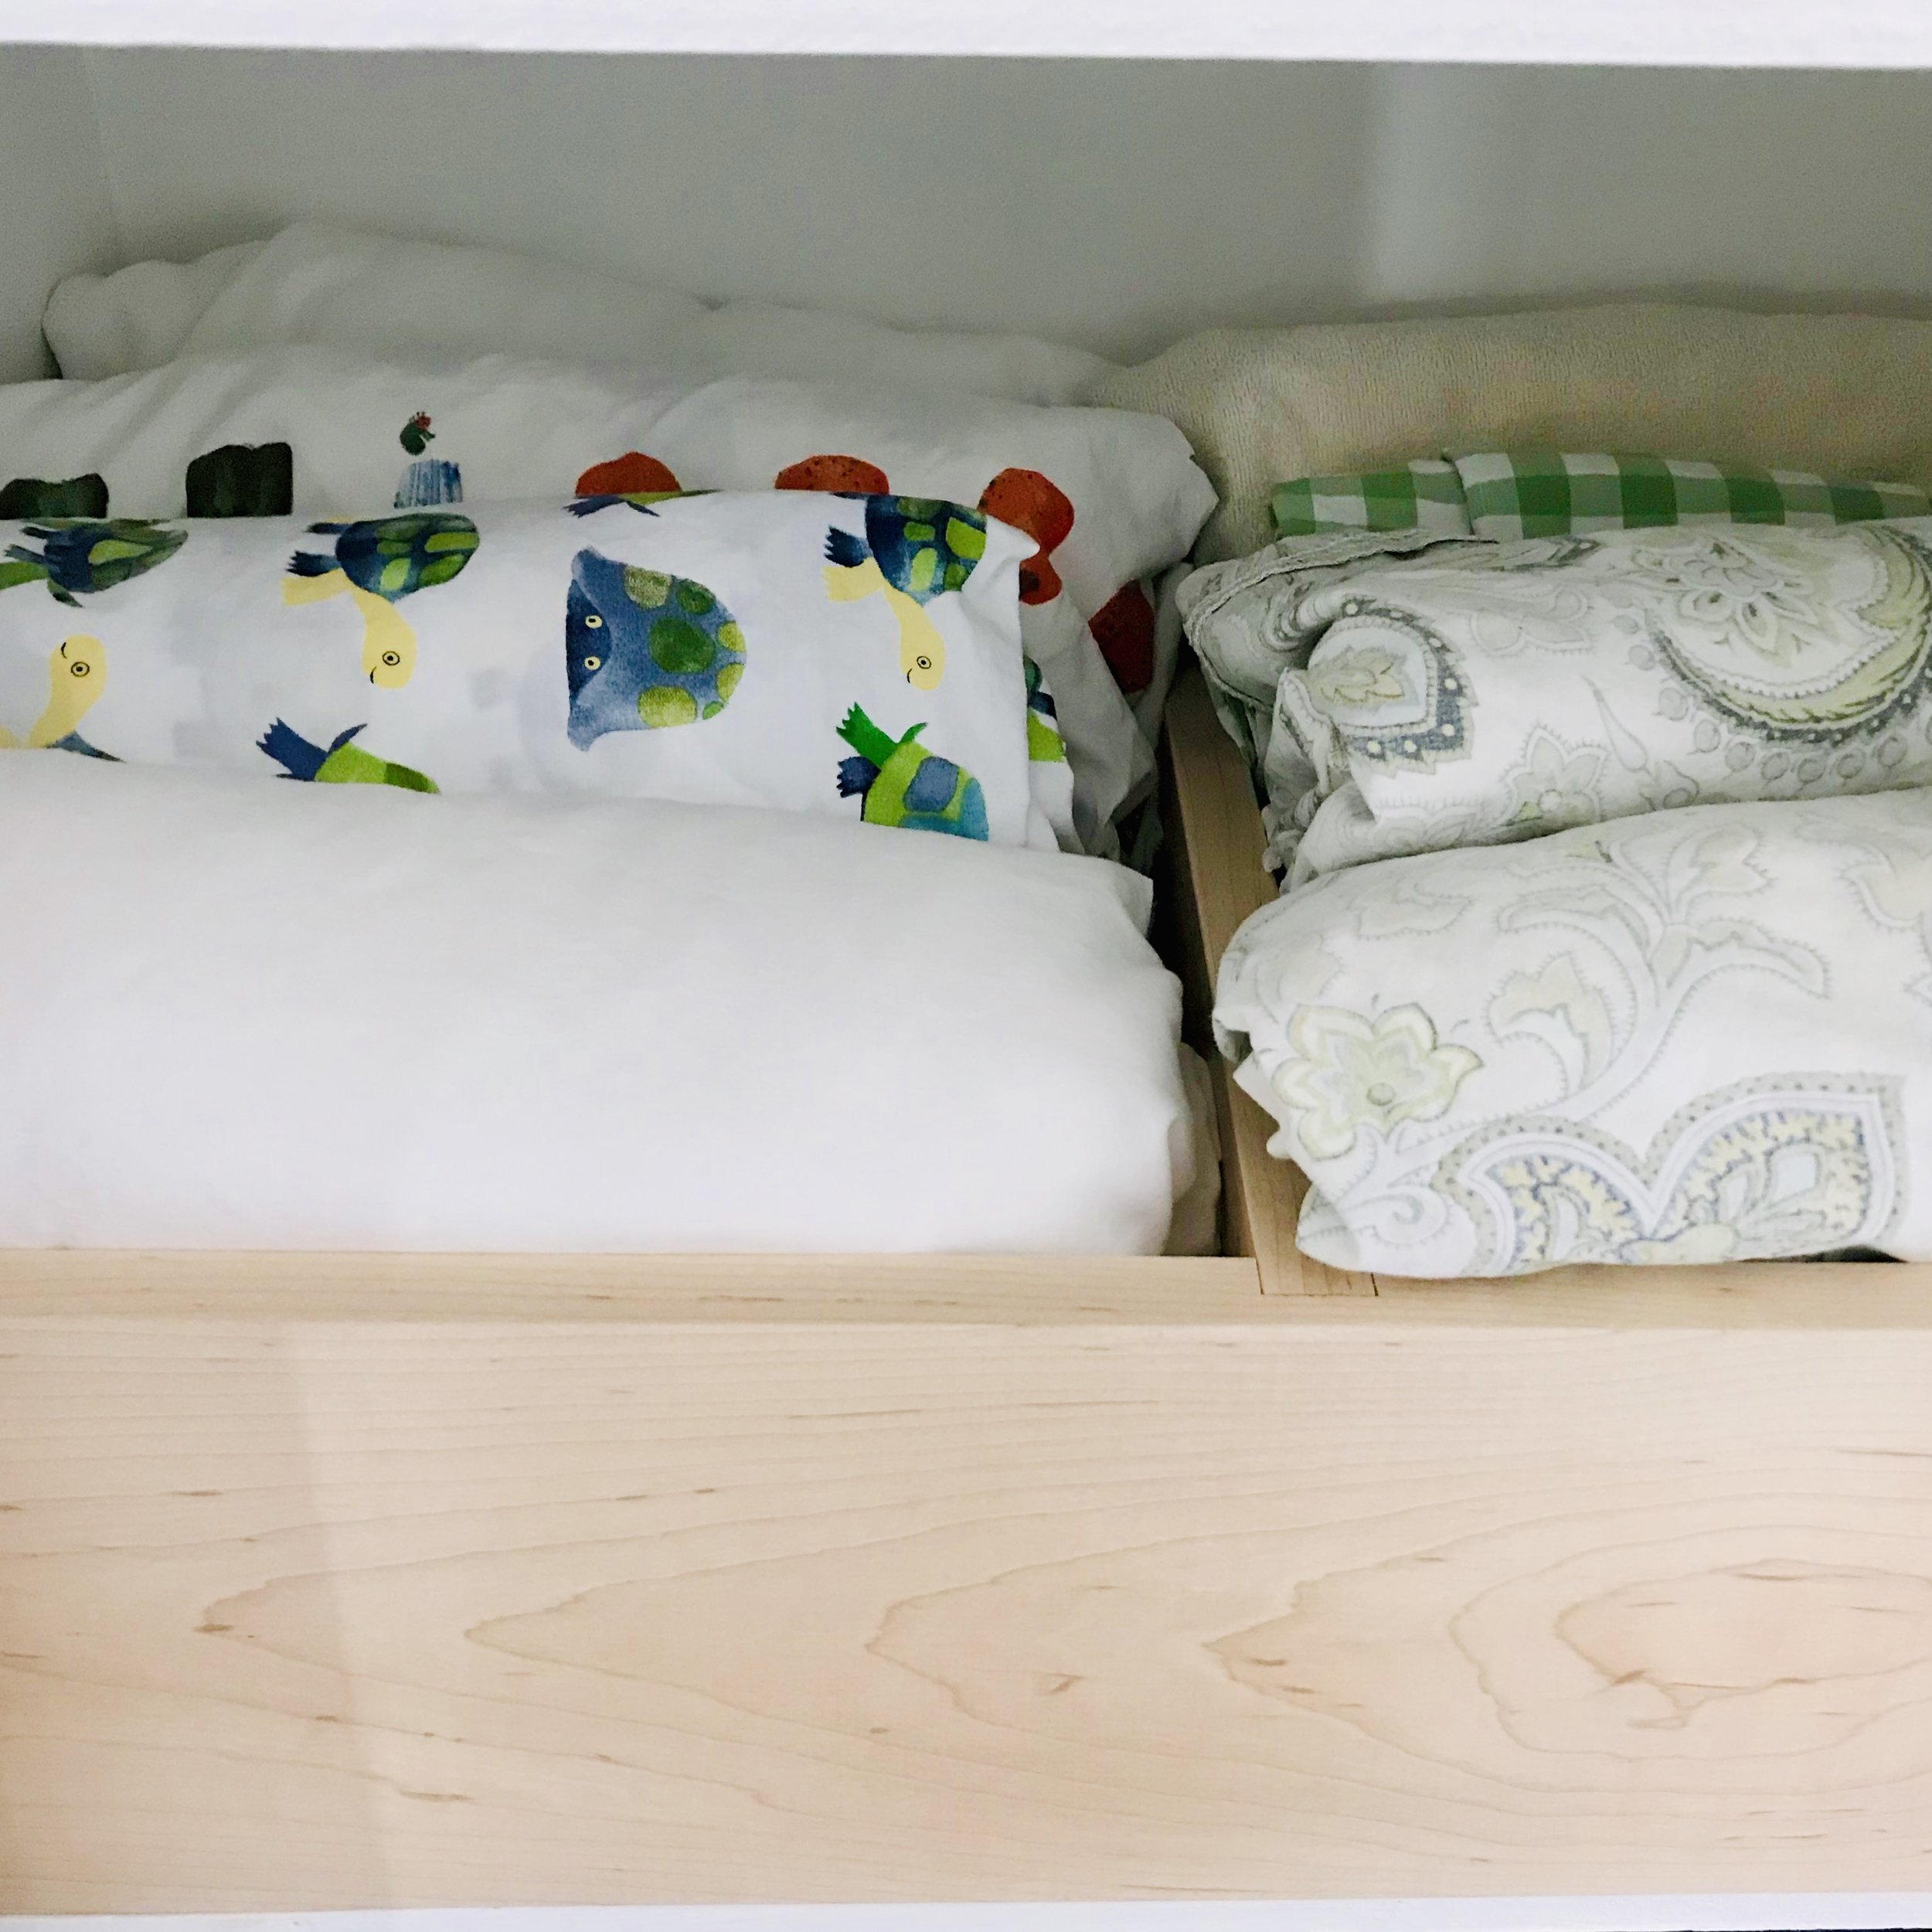
Sheets & Duvet Covers
Sheets and duvet covers are folded file-style and, because we have the room for it, they are sorted by size (twin, queen, king). But they certainly could all go together depending on your closet configuration.
Design for your linens
Don’t design anything until you have KonMari’d your linens. Then look at what you kept and your available storage space. How many shelves will you use for linens?
This storage system would also work for towels — and even clothes if your clothes closet is configured this way! You can store anything folded in the KonMari way using these dividers.

Measure & Cut
You need two measurements for each shelf: the length across the cupboard or closet opening, and the depth of the closet. Be sure to take the lumber’s dimension into account when cutting the pieces that will run back to front.
If using a router, circular saw, or table saw: cut dado joint in the front panels to hold the dividers in place.
Sand everything down so that it is nice and smooth. No one wants splinters in their sheets!
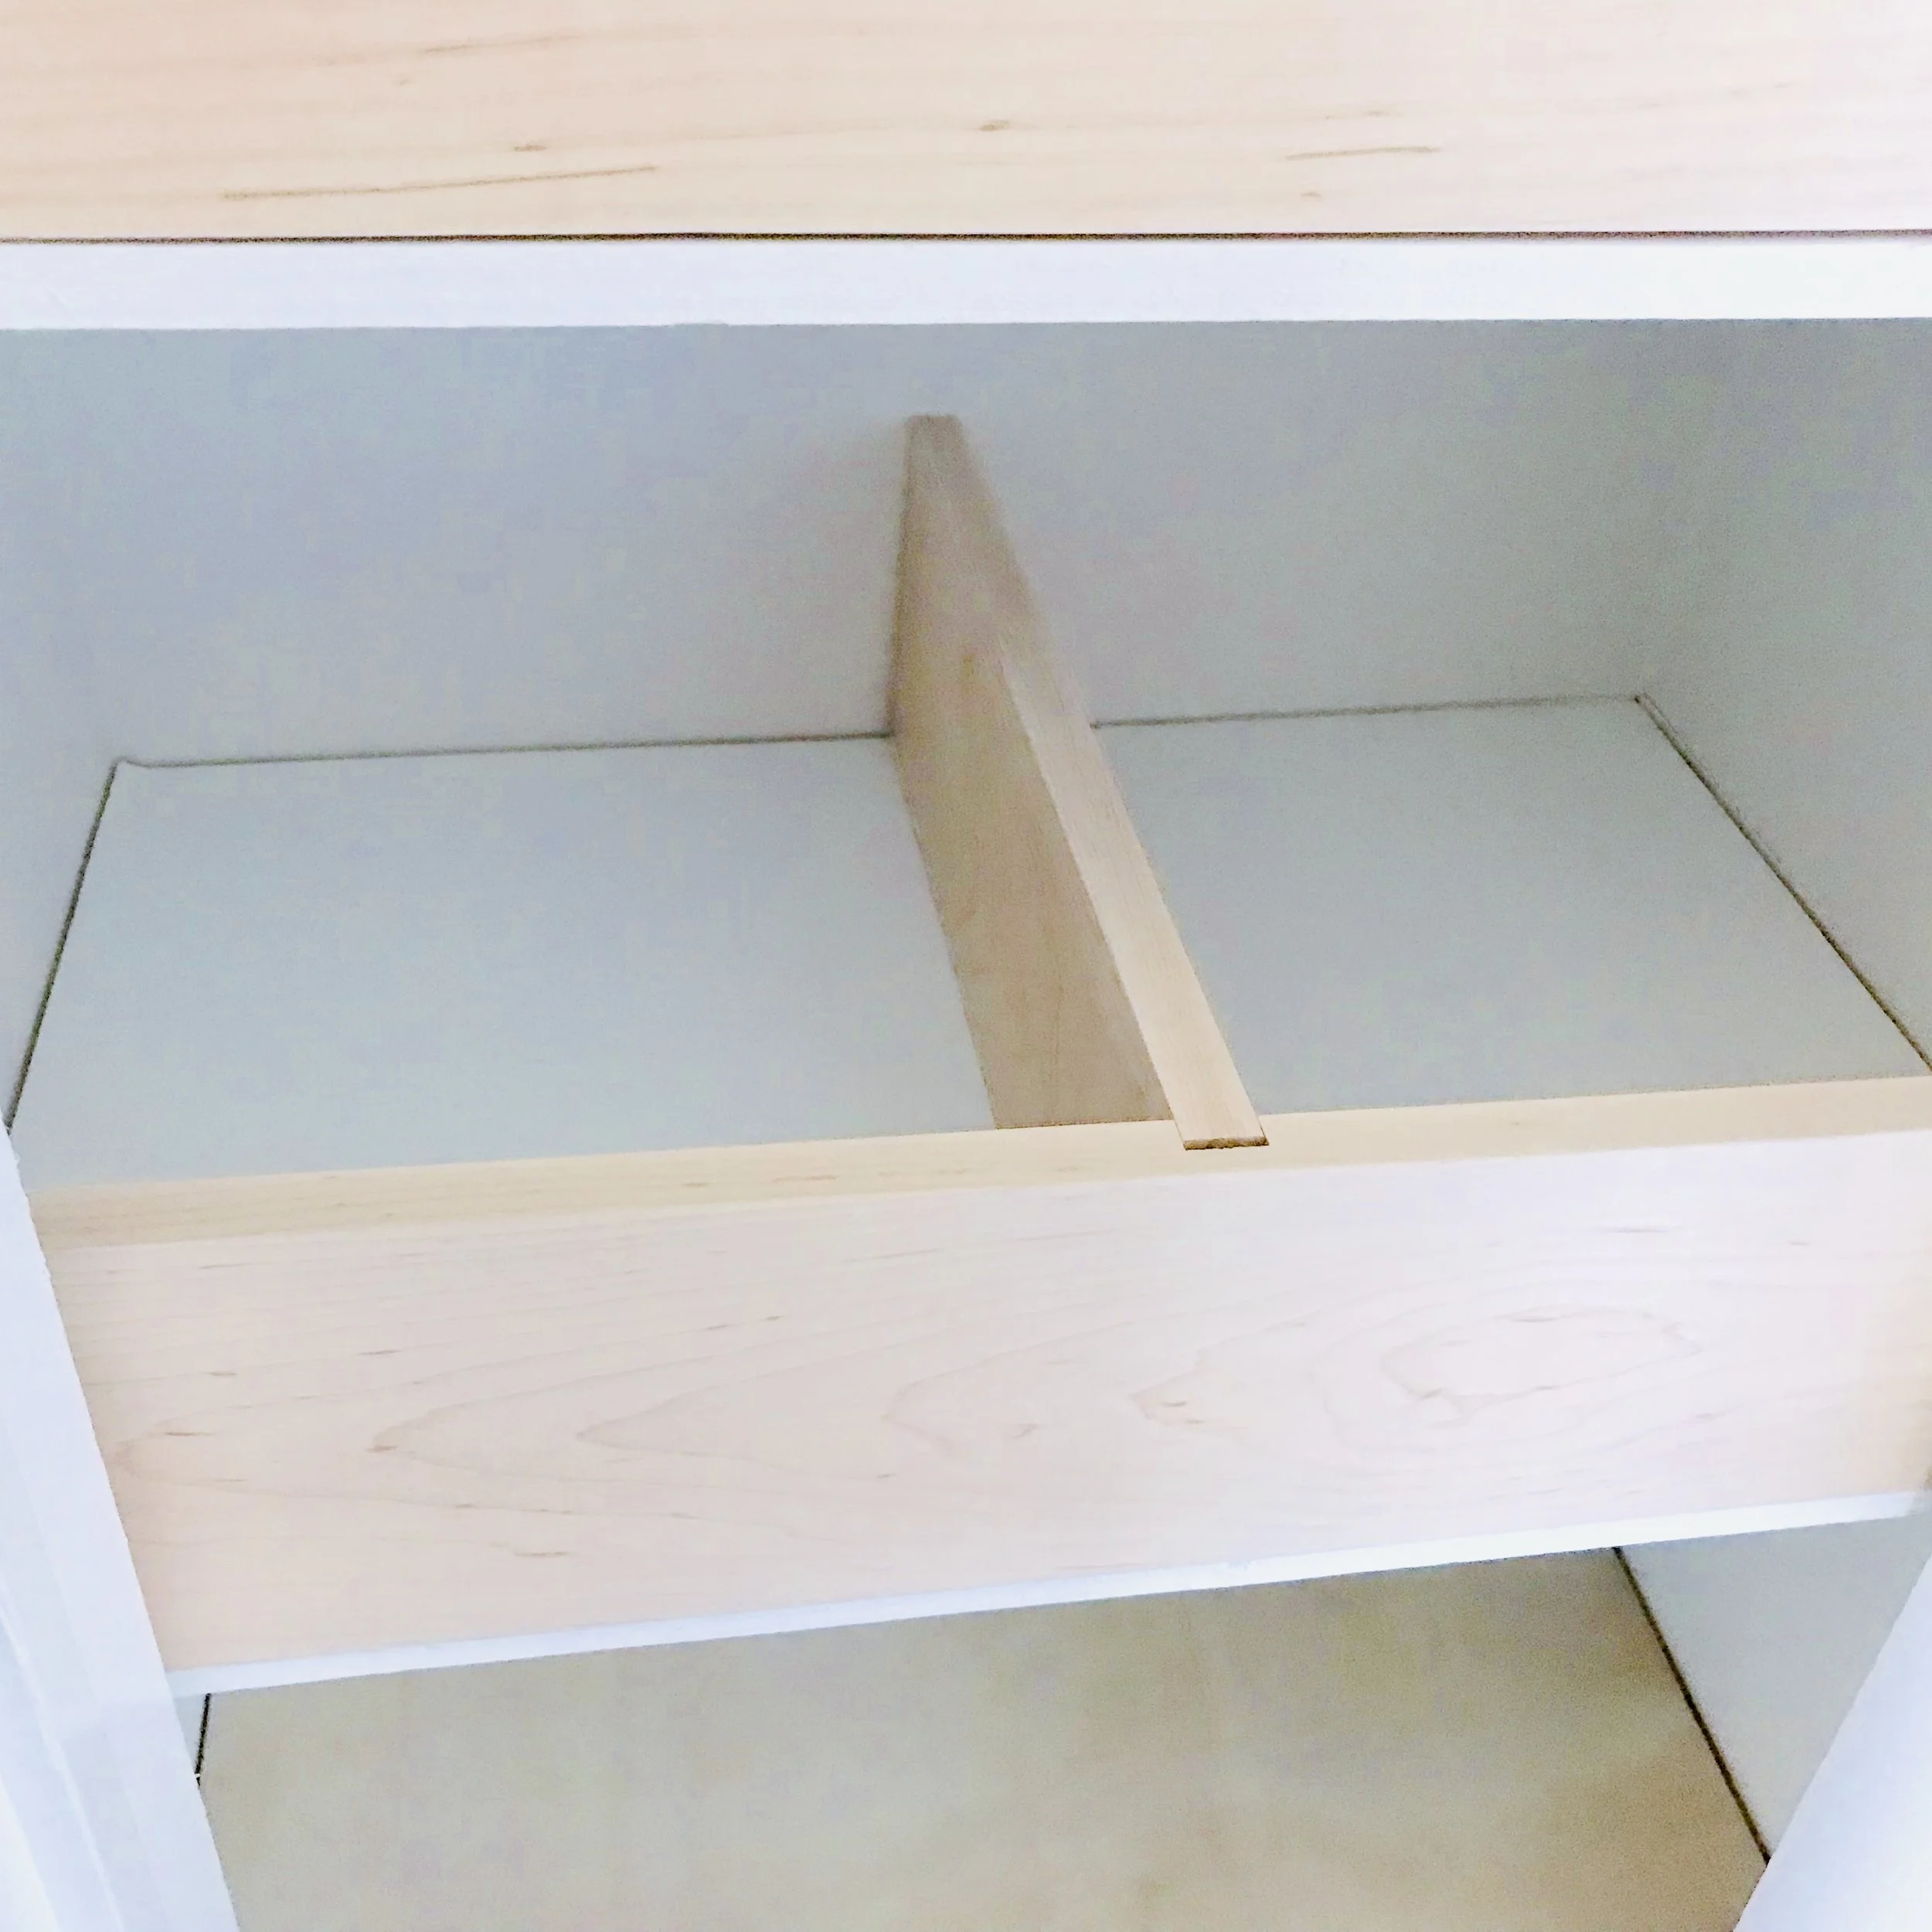
Assemble
Fit the front panel into the closet, then insert the dividers. If you have cut a dado joint for them, just insert the divider into the dado cut.
If you don’t have a table saw or router: drill pilot holes through the front panels where you want your dividers to land. Then, once the front panels and dividers are in place in the closet, screw the divider in place with two screws.
Insert Shims
Once everything is assembled, insert shims between the front panel and the closet or cupboard wall to hold the front panels tight. This will keep everything from moving around.
This video shows you the complete assembly process including how to insert the shims.
Tidy up!
Put everything away, and admire your beautiful cupboard or closet!
