Homemade Valentines

In case you haven’t figured it out: we are big on art in our family. We also like to make things. For us, Valentine cards are a great project to make at home, and these Wood Slice Valentines were free and super-fun to make!
Materials:
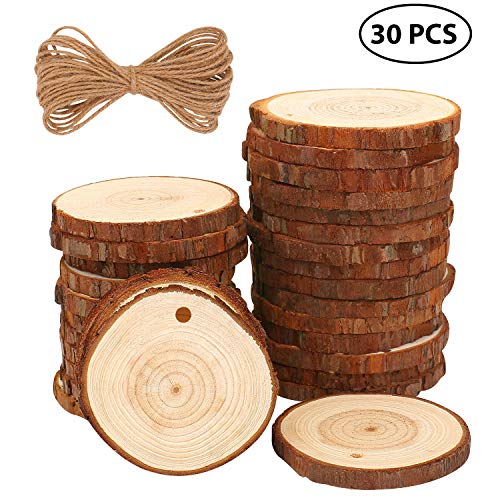
Slices of wood: 3” diameter (more on that below)
Sand paper or a sander
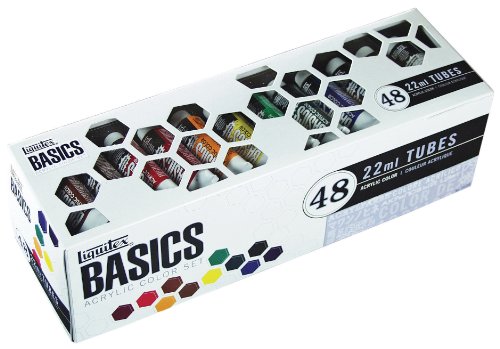
Acrylic Paint (red, gold, white, and silver)
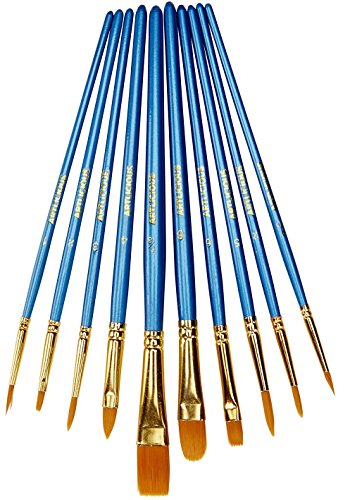
Paint Brushes
a Sharpie
Wood Slices
When we bought this house, there was a huge pile of garbage in the backyard. And in that pile was the trunk of a Christmas tree. Most people would just compost the sucker, but not me. I had an idea. I had my husband cut that tree trunk into a ton of wood slices.
Now, they were sappy and sticky and my husband swears he will never do it again because it got sap all over the saw. But the slices are awesome! And I have used them for a bunch of different projects.
Don’t have a tree or a circular saw? You can buy wood slices at a craft store, on Etsy, or online. Just look for slices that are about 3” in diameter for this project.
Sand & Bake the Wood Slices
If you buy your wood slices, they are probably already seasoned and aren’t sappy. However, if like me you cut your own, you will want to bake them for a few hours to harden any sap left — otherwise they will be sticky and won’t take paint well.
Sand each slice first so that you have a smooth finish. I used a sander, but a piece of sandpaper would be fine, too.
Line a cookie sheet with tin foil, and then place your slices in a single layer on the cookie sheet.
Bake at the lowest setting on your oven (150 º F on my oven). I baked them for about 2 hours — checking on them every 30 minutes or so.
I watched to make sure they weren’t browning (they didn’t) and that the sap didn’t run off the tin foil.
Let them cool completely before painting!
NOTE: your house will smell AMAZING after doing this — like a forest!

I have blurred out the names, but you still get the idea!

Paint
I had some red, gold, silver, and white acrylic paint leftover from another project, so we pulled those out with a pencil and some paint brushes, and I just let Bambino get to work. He painted hearts on each one in different colors.
Once they were dry, he then wrote the name of each child in his class on the back of one of the Valentines with a Sharpie.
We didn’t but you could also drill a hole in each and tie a ribbon through the top so they can be hung later. And if you want them to last forever, you could add a coat of polyurethane at the end.