The Easiest Built-In Billy Bookcases

More than 60 million Billy bookcases have been produced since its initial design in 1978. That’s a lot of books and tchotchkes sitting on those shelves! They are ubiquitous around the world, but they can look a little boring on their own. But there are some easy ways to dress up a Billy bookcase and to make it look more like a custom-built bookcase.
We have had Billy bookcases for years, and our current sets have been moved across the country three times.
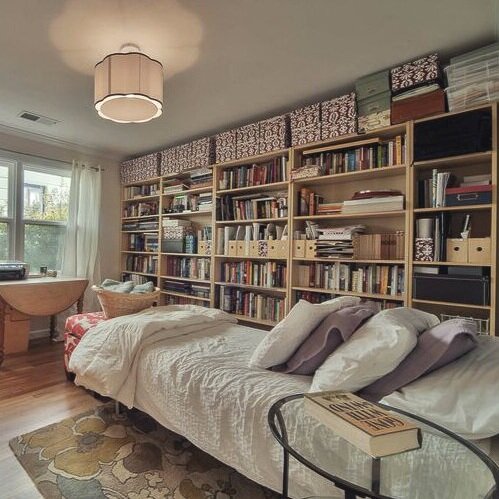
Oh look! Billy bookcases in the guest room/office of our Subdivision Sweetheart. We sold those with that house.
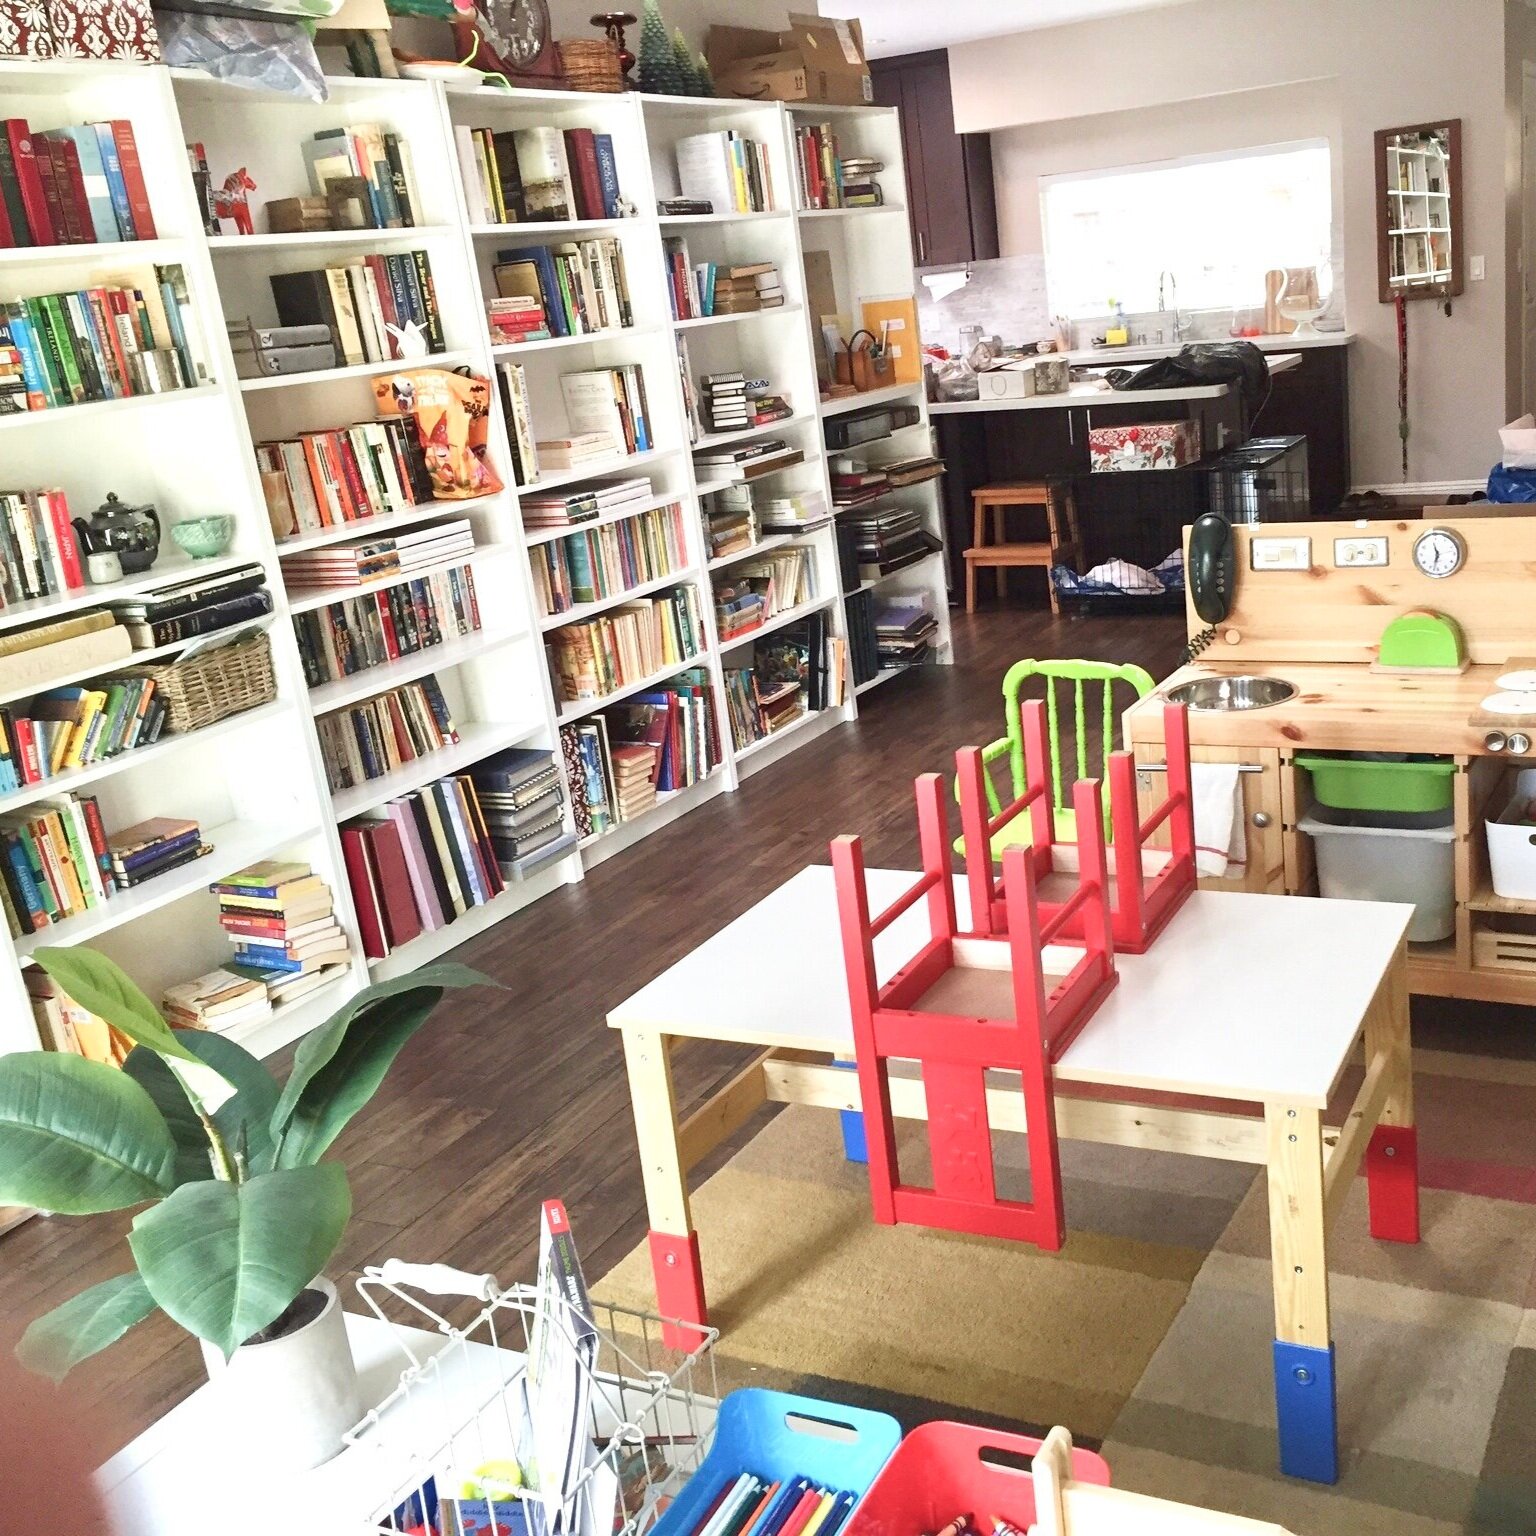
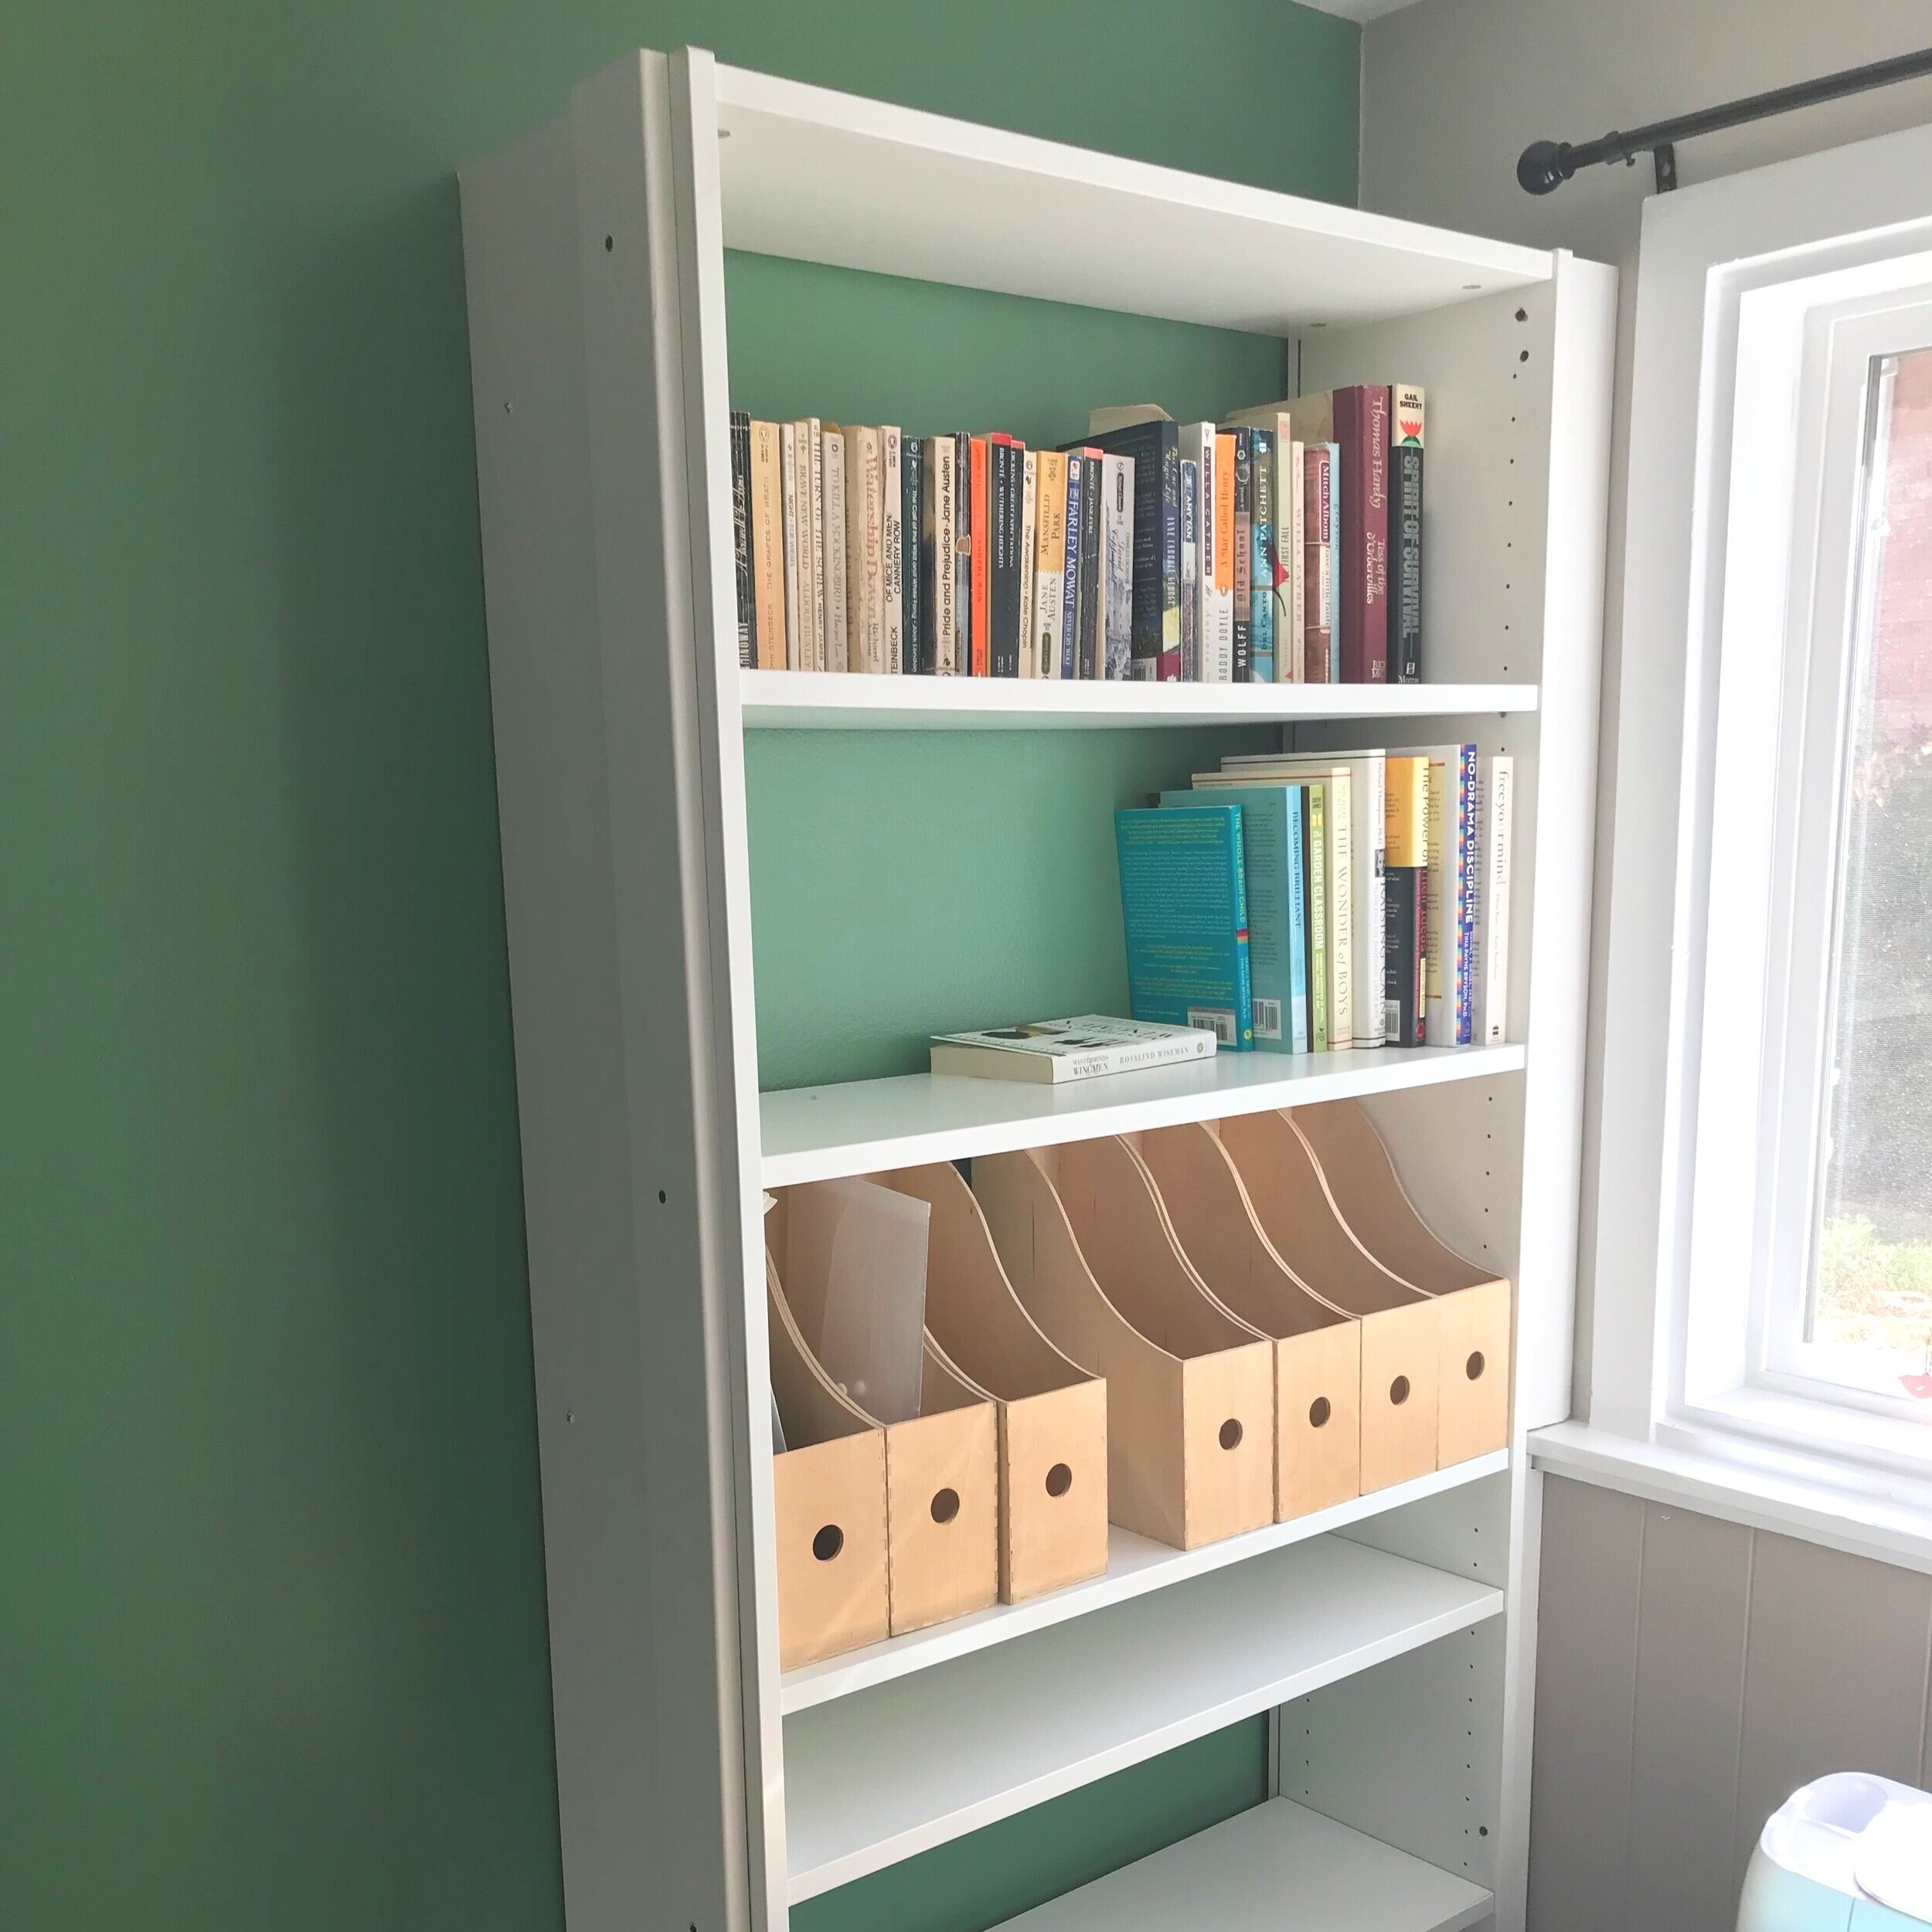
And here are some white Billys — these had already been moved once. And in this house they landed in the Art Room.
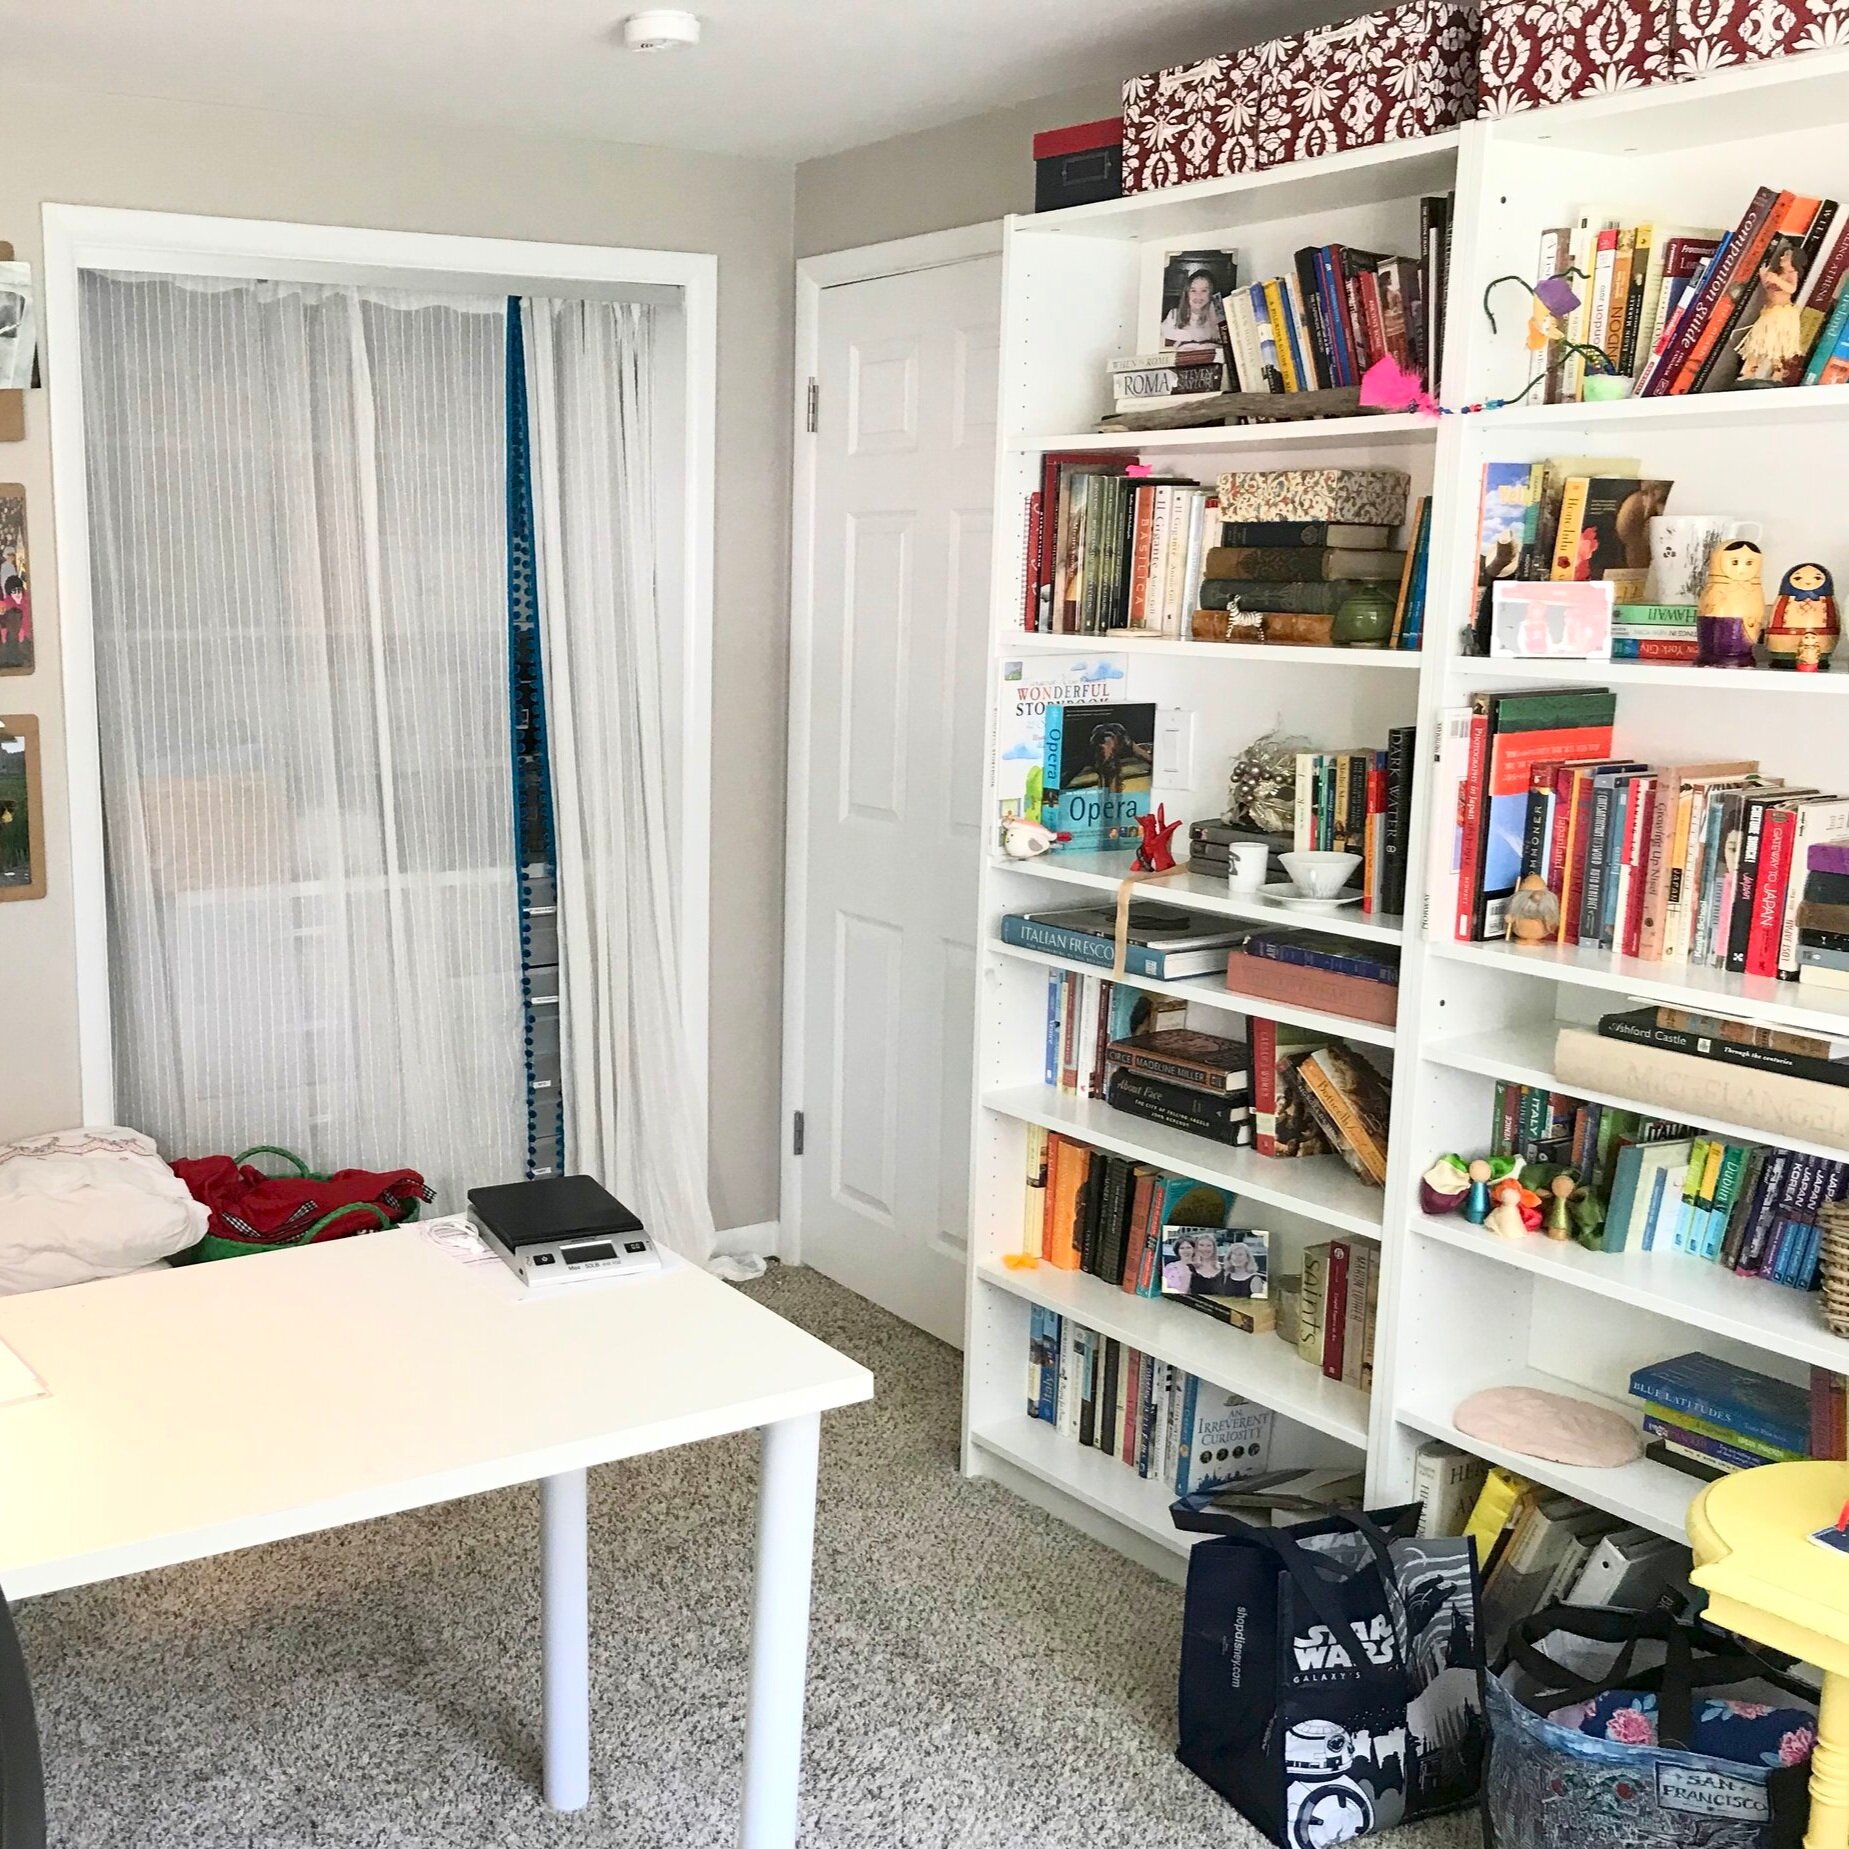
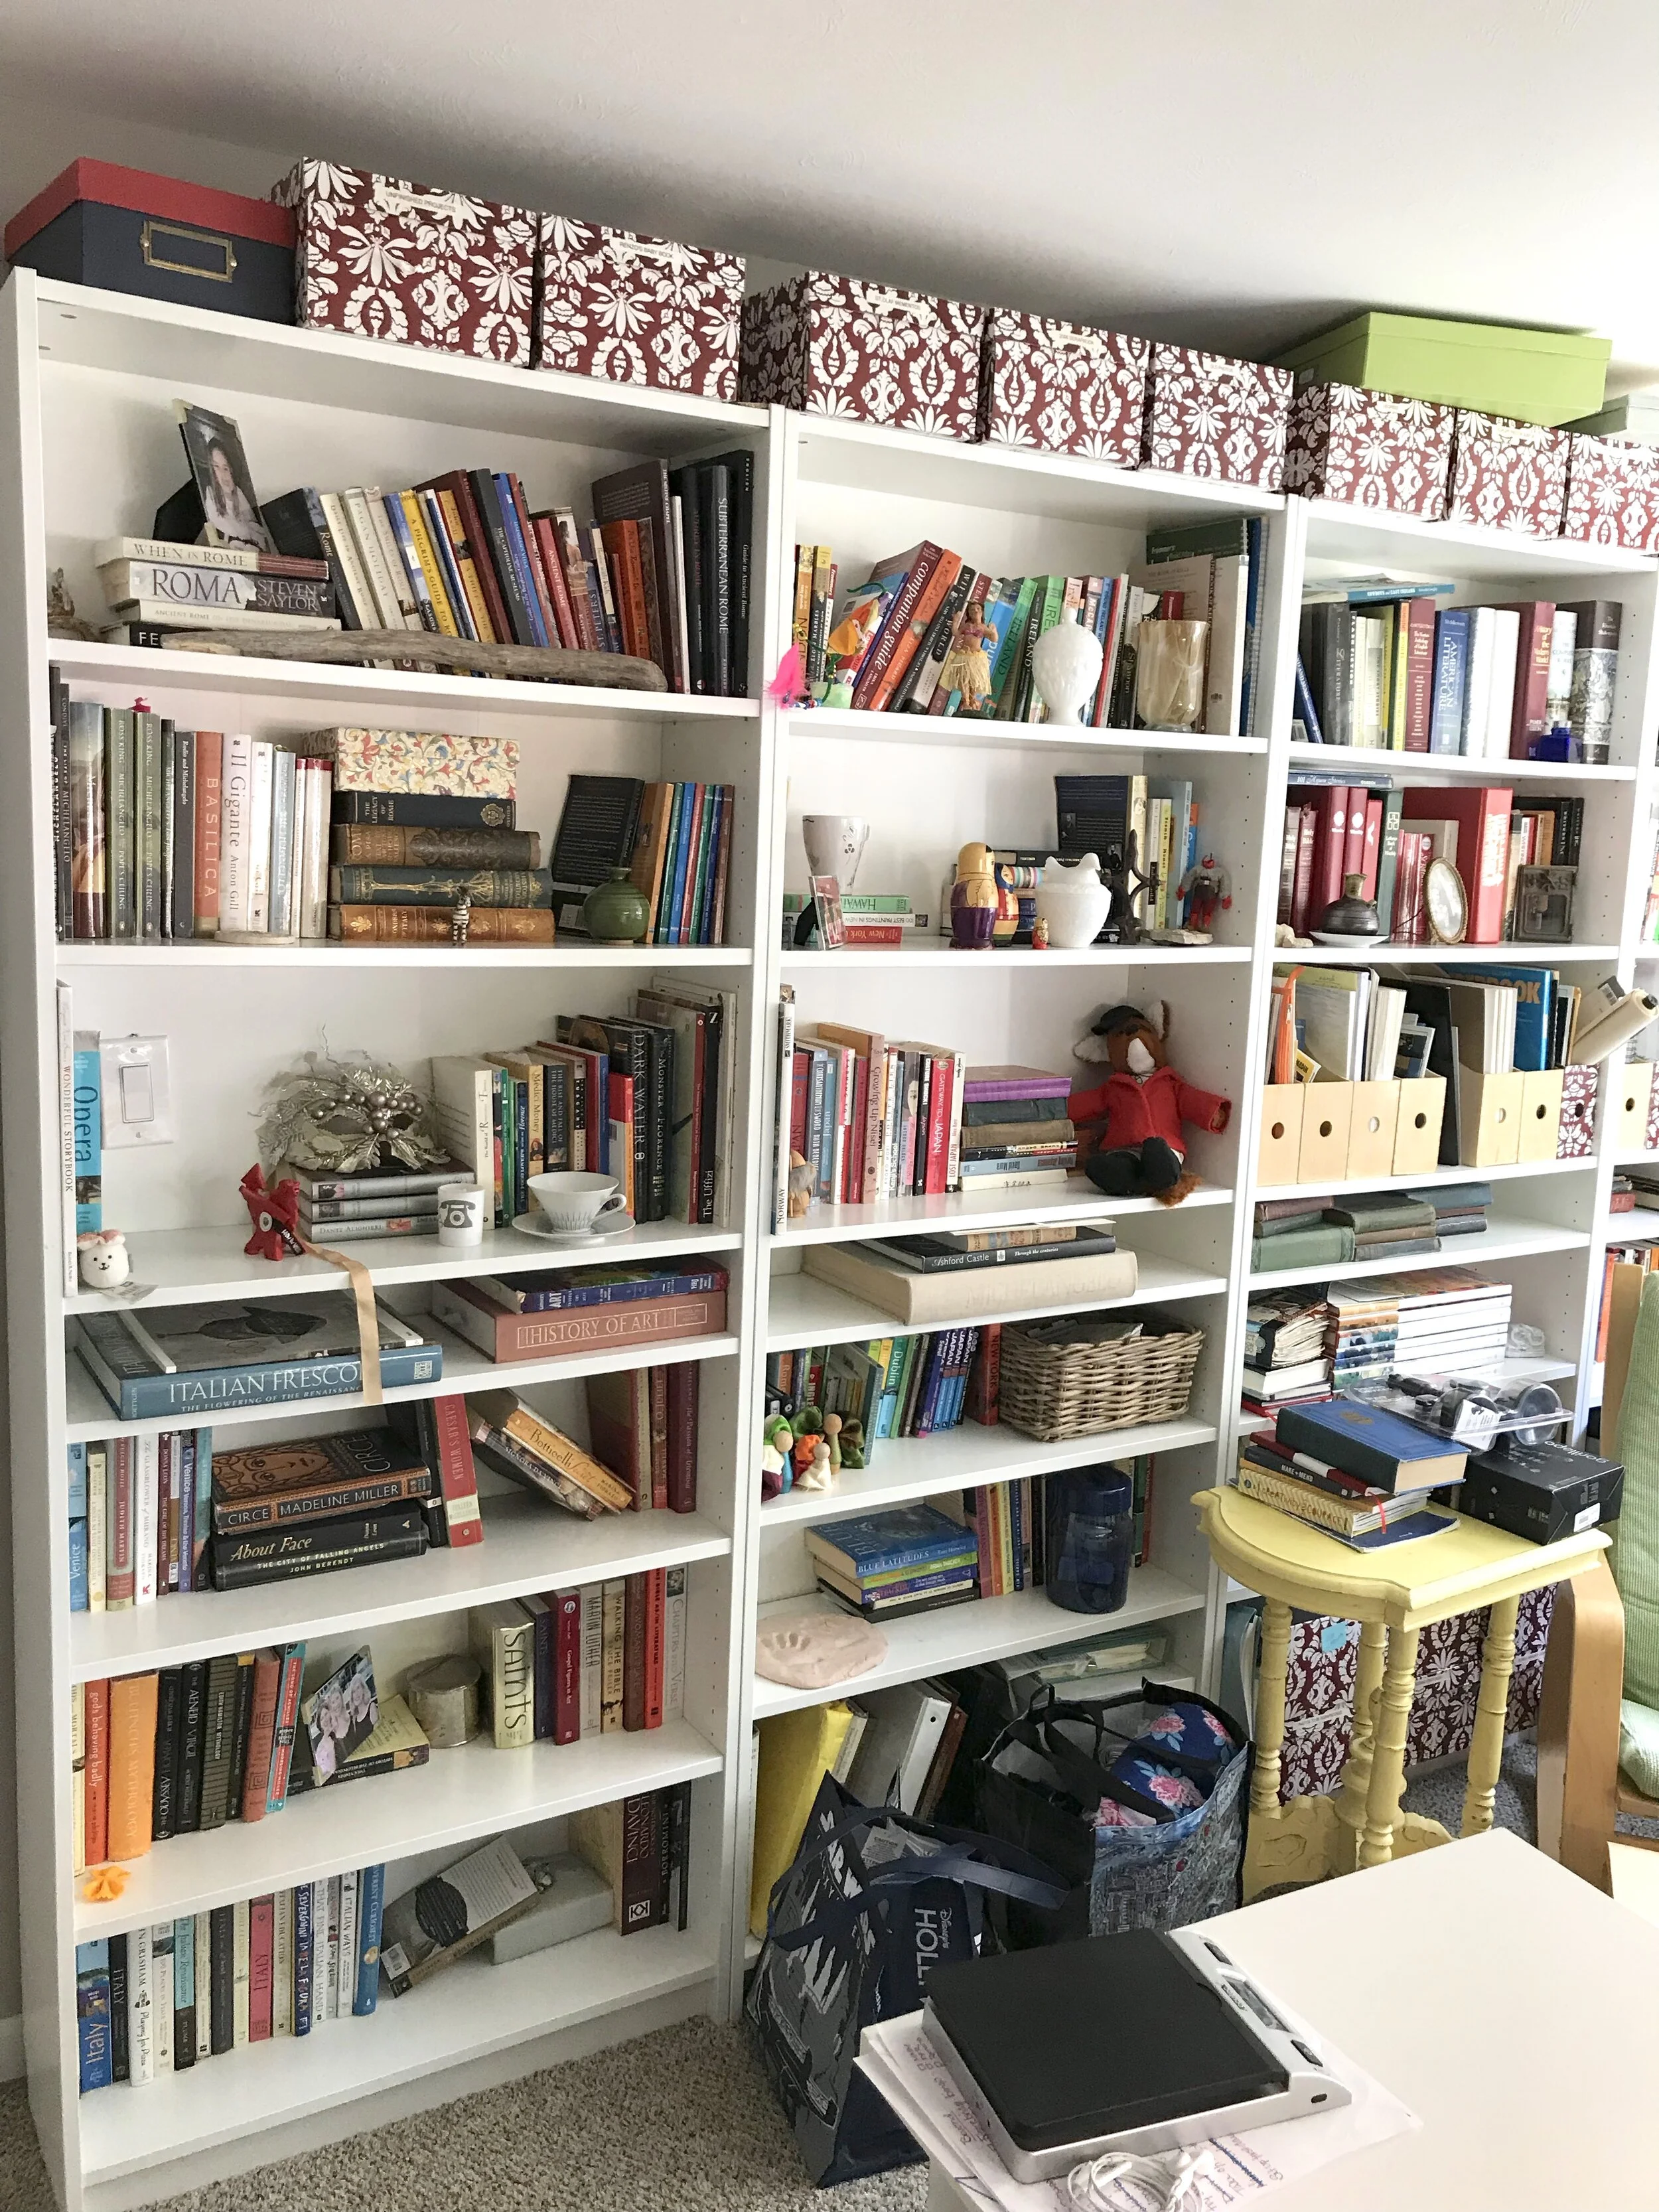
And here they are now in my Workroom — disheveled but standing. Like the rest of the room, they needed some love!
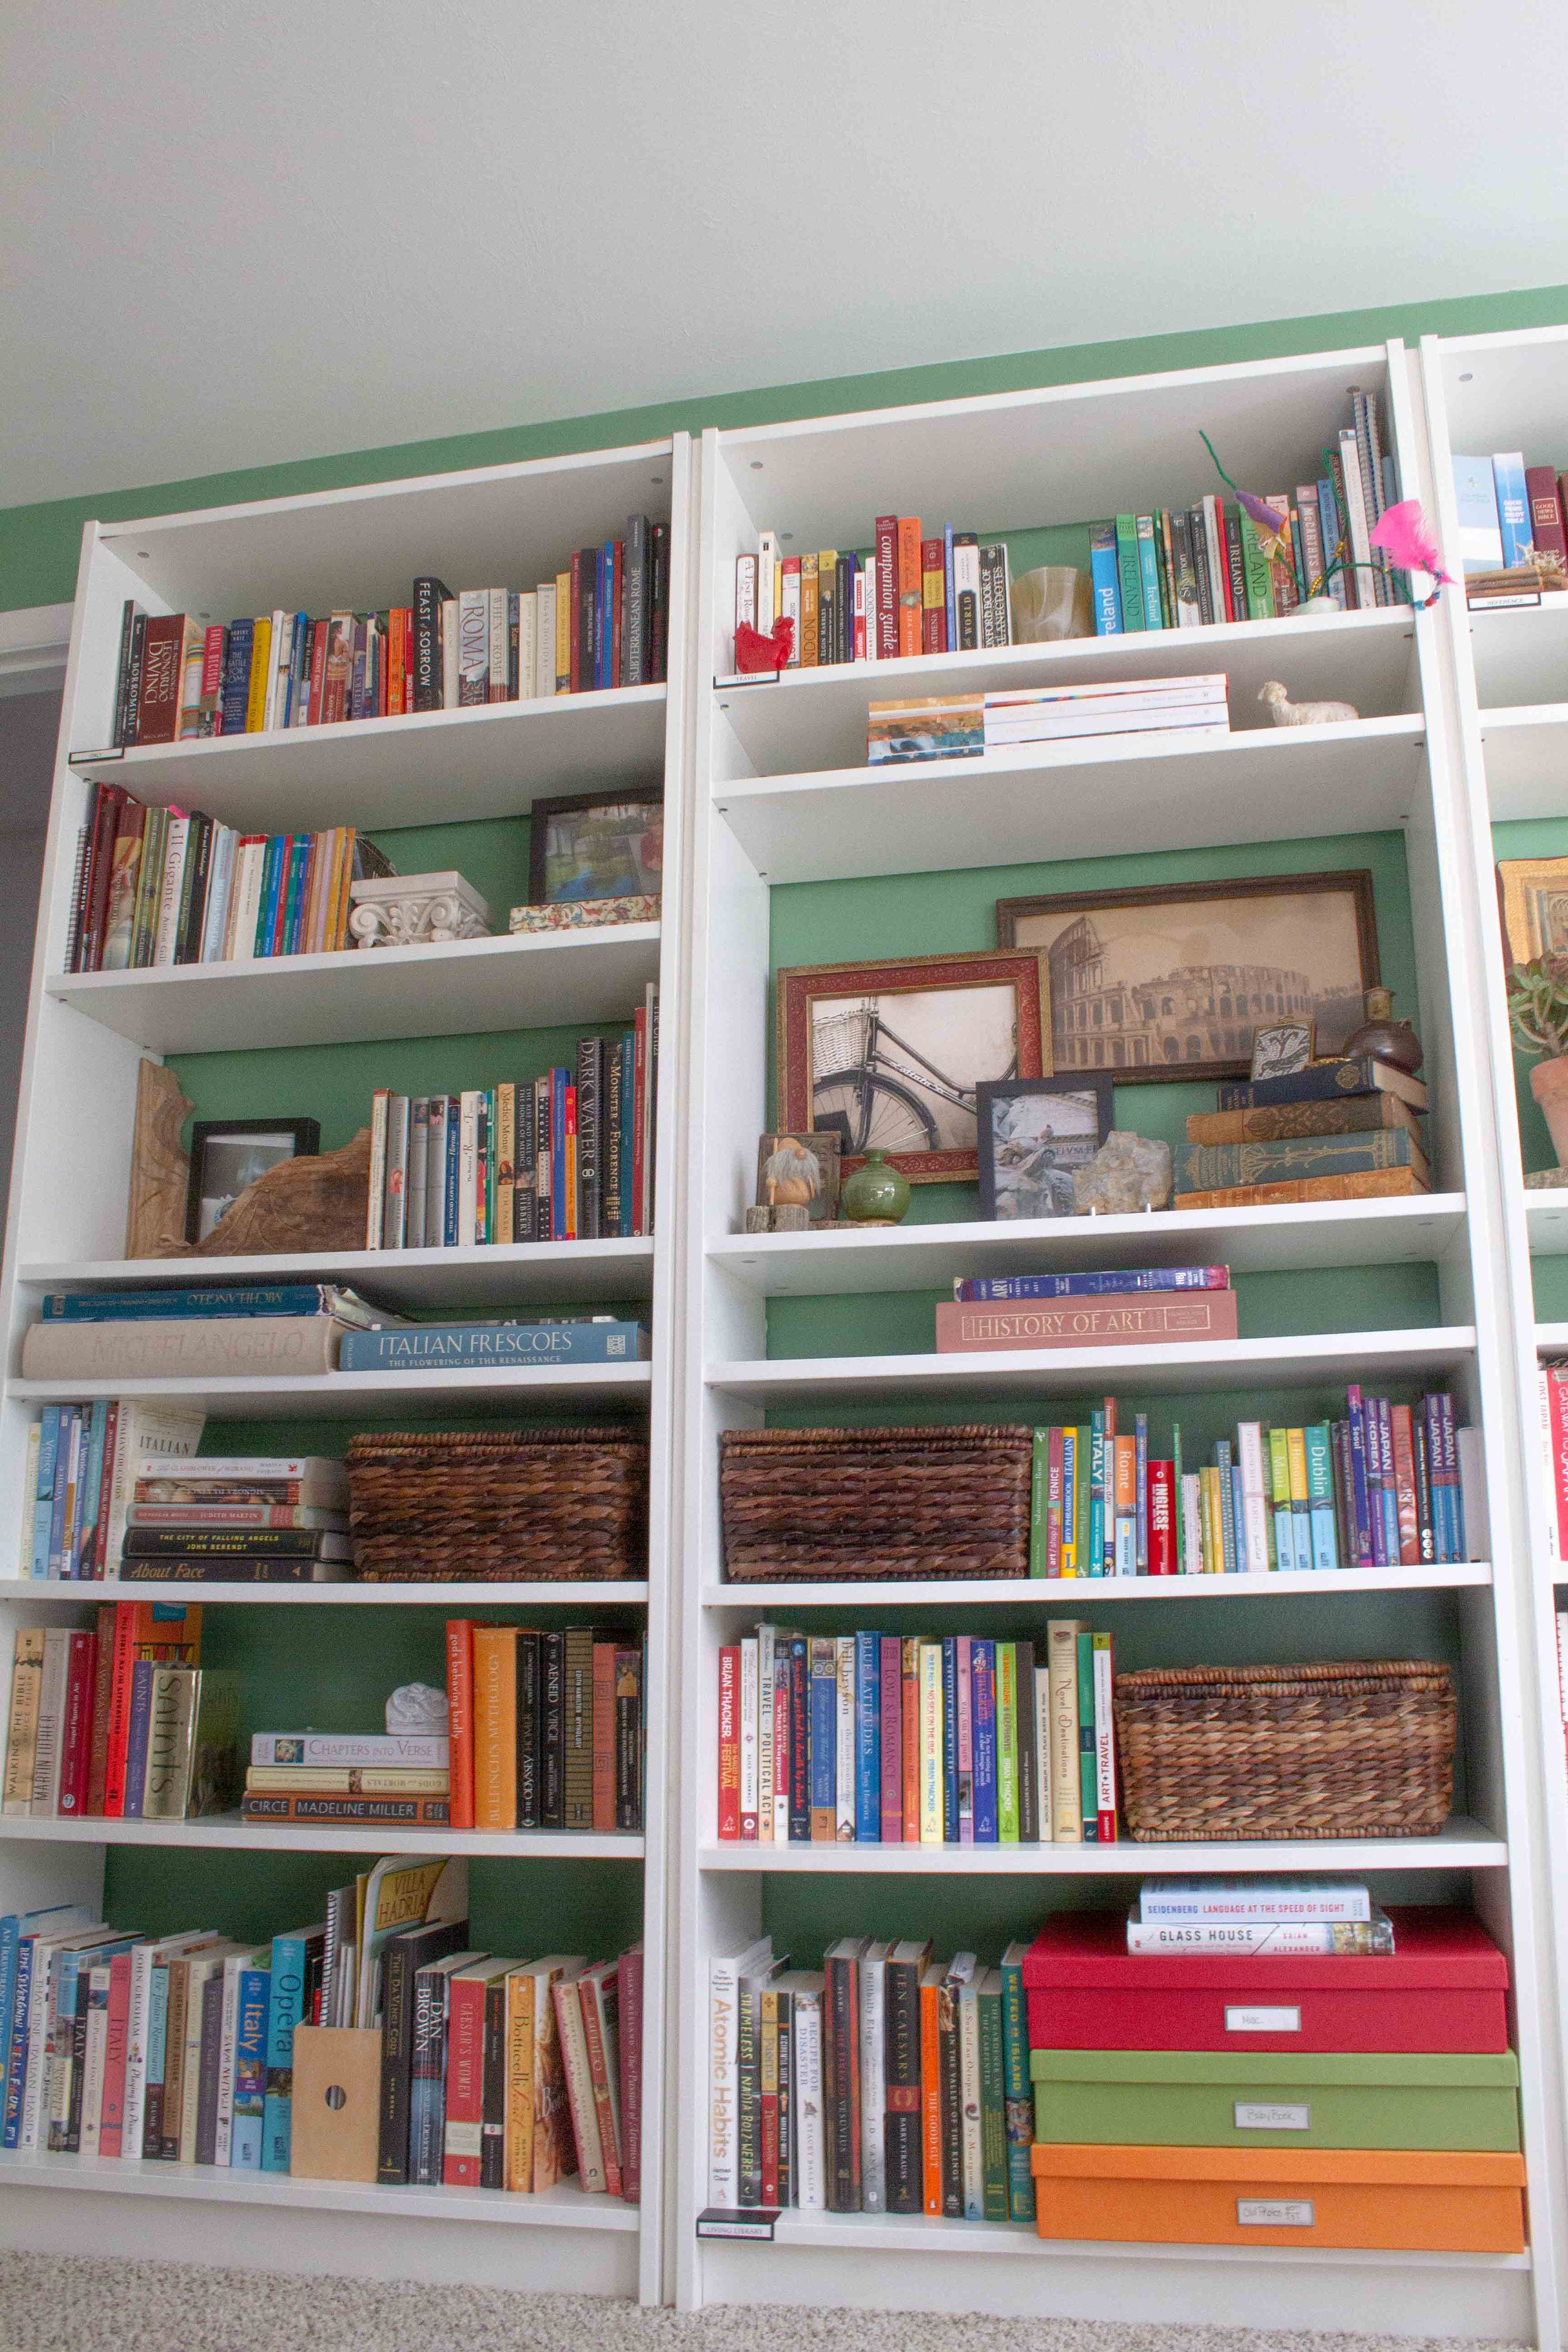
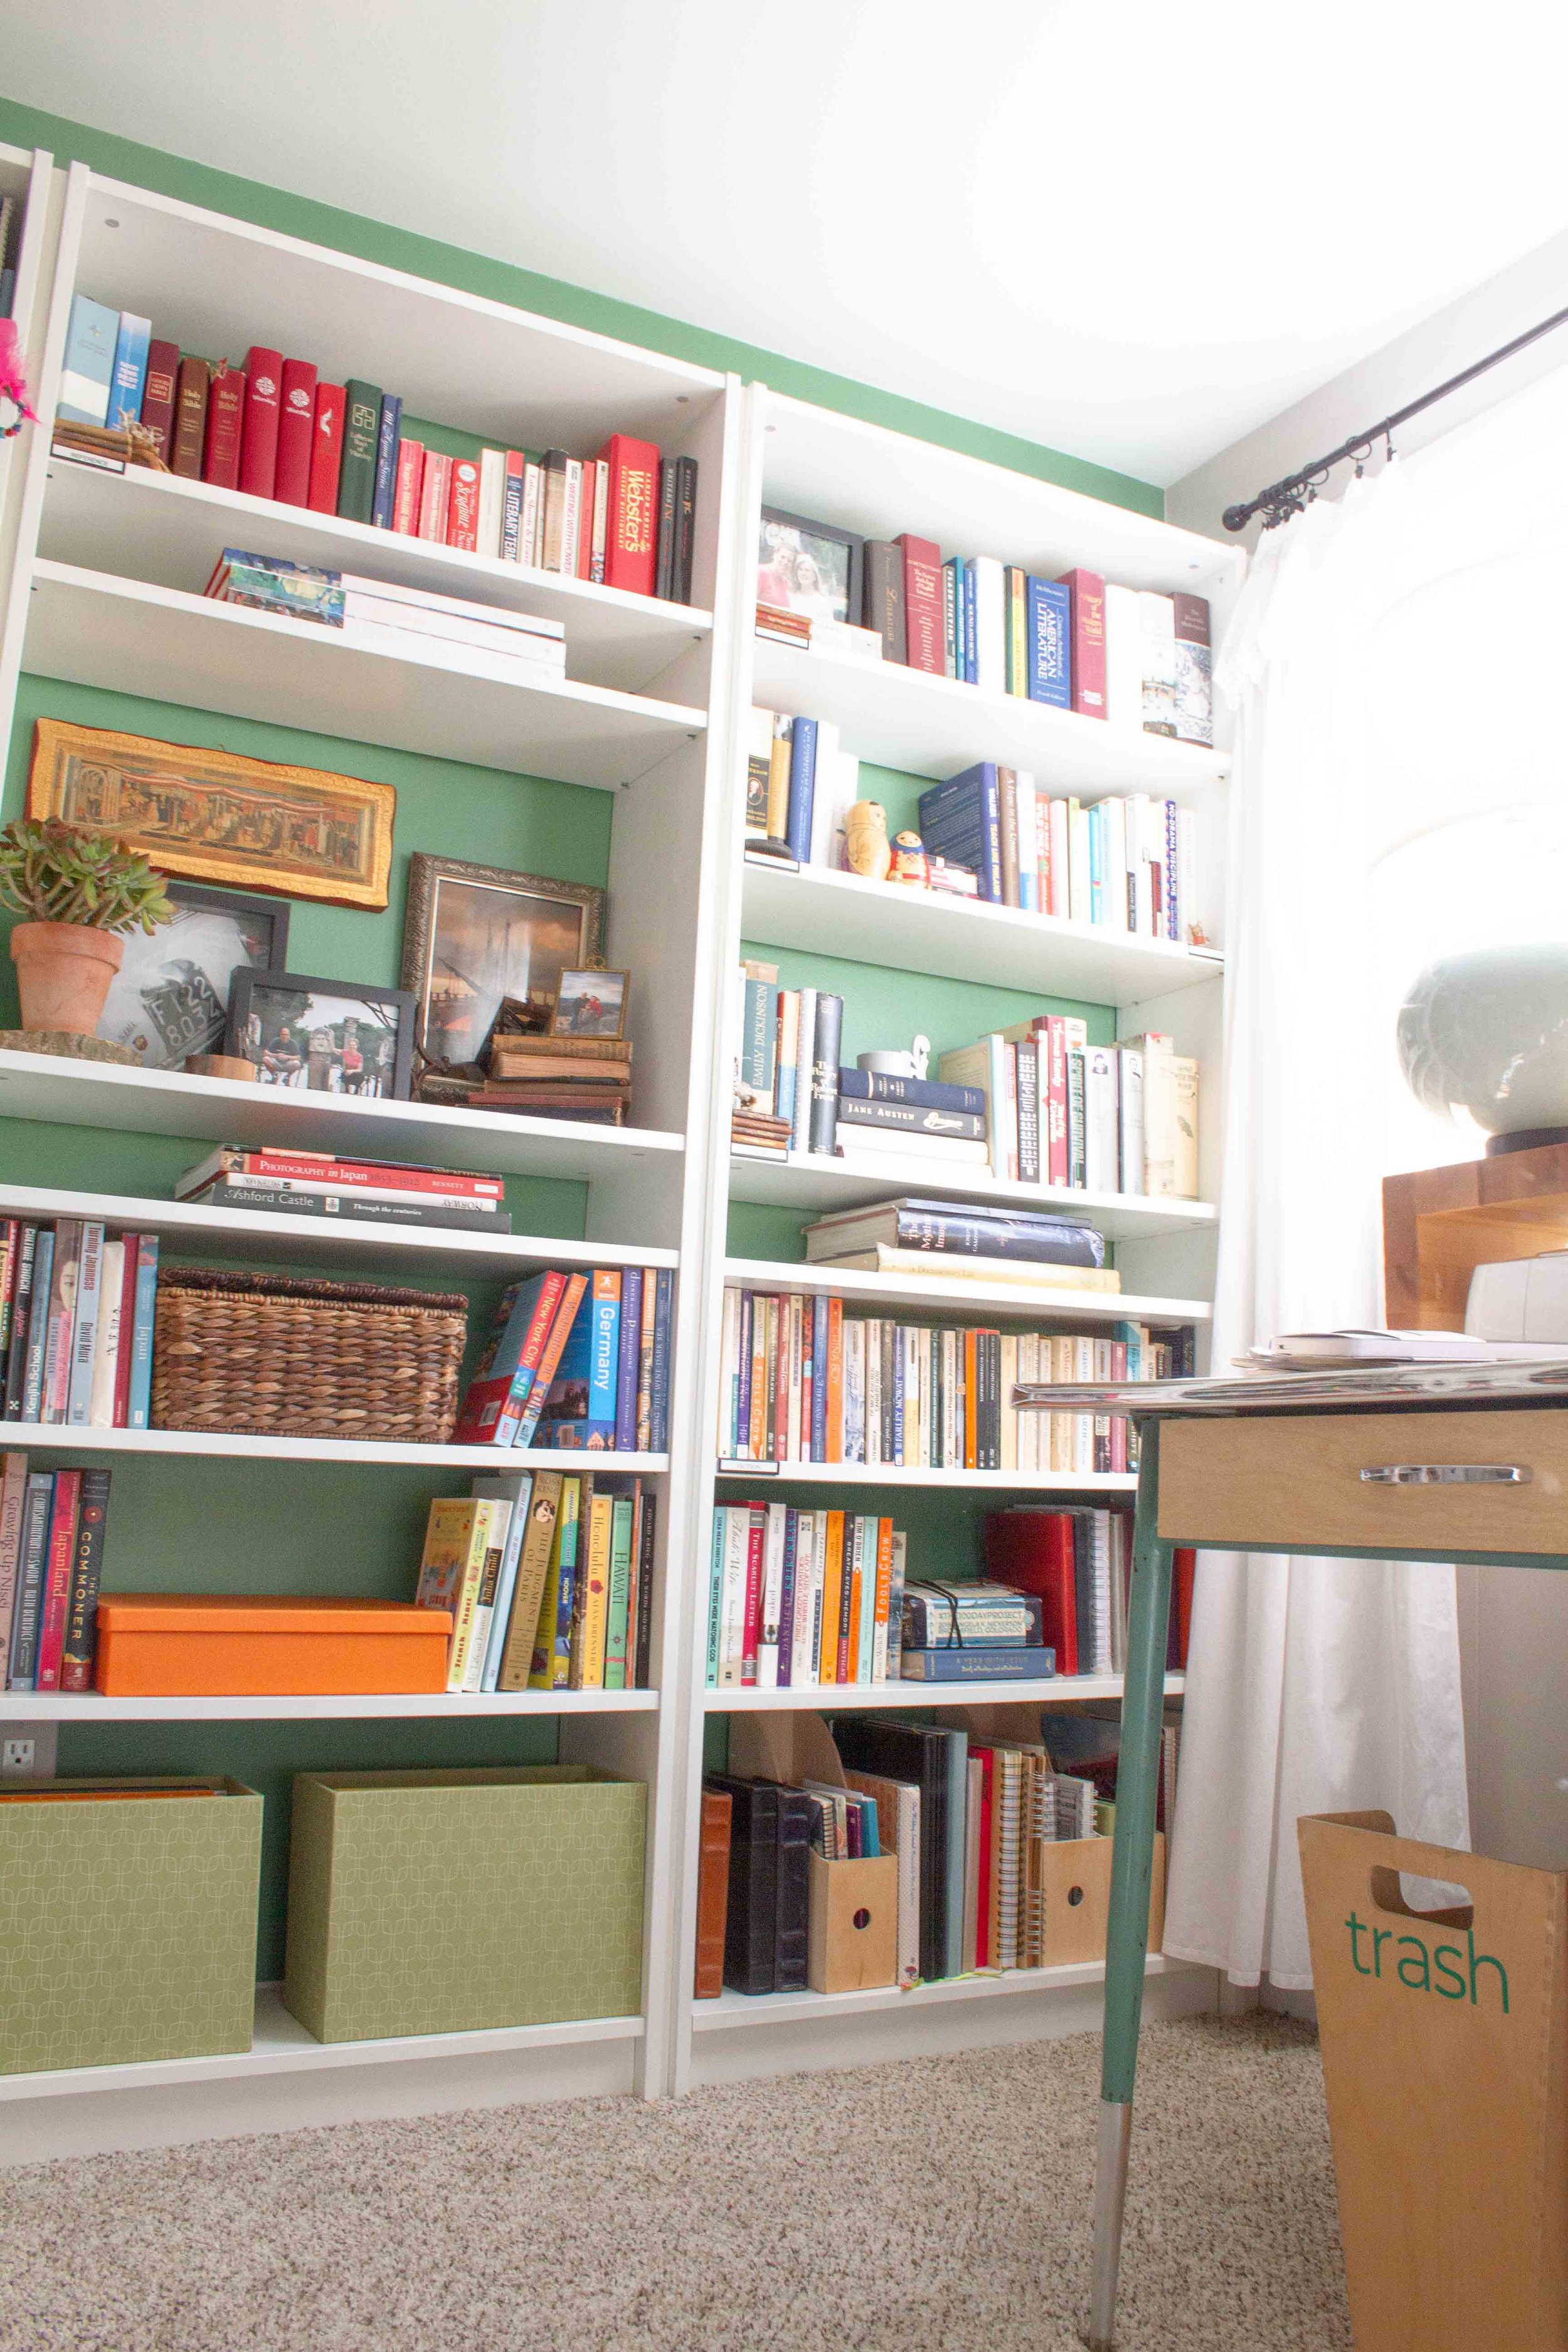
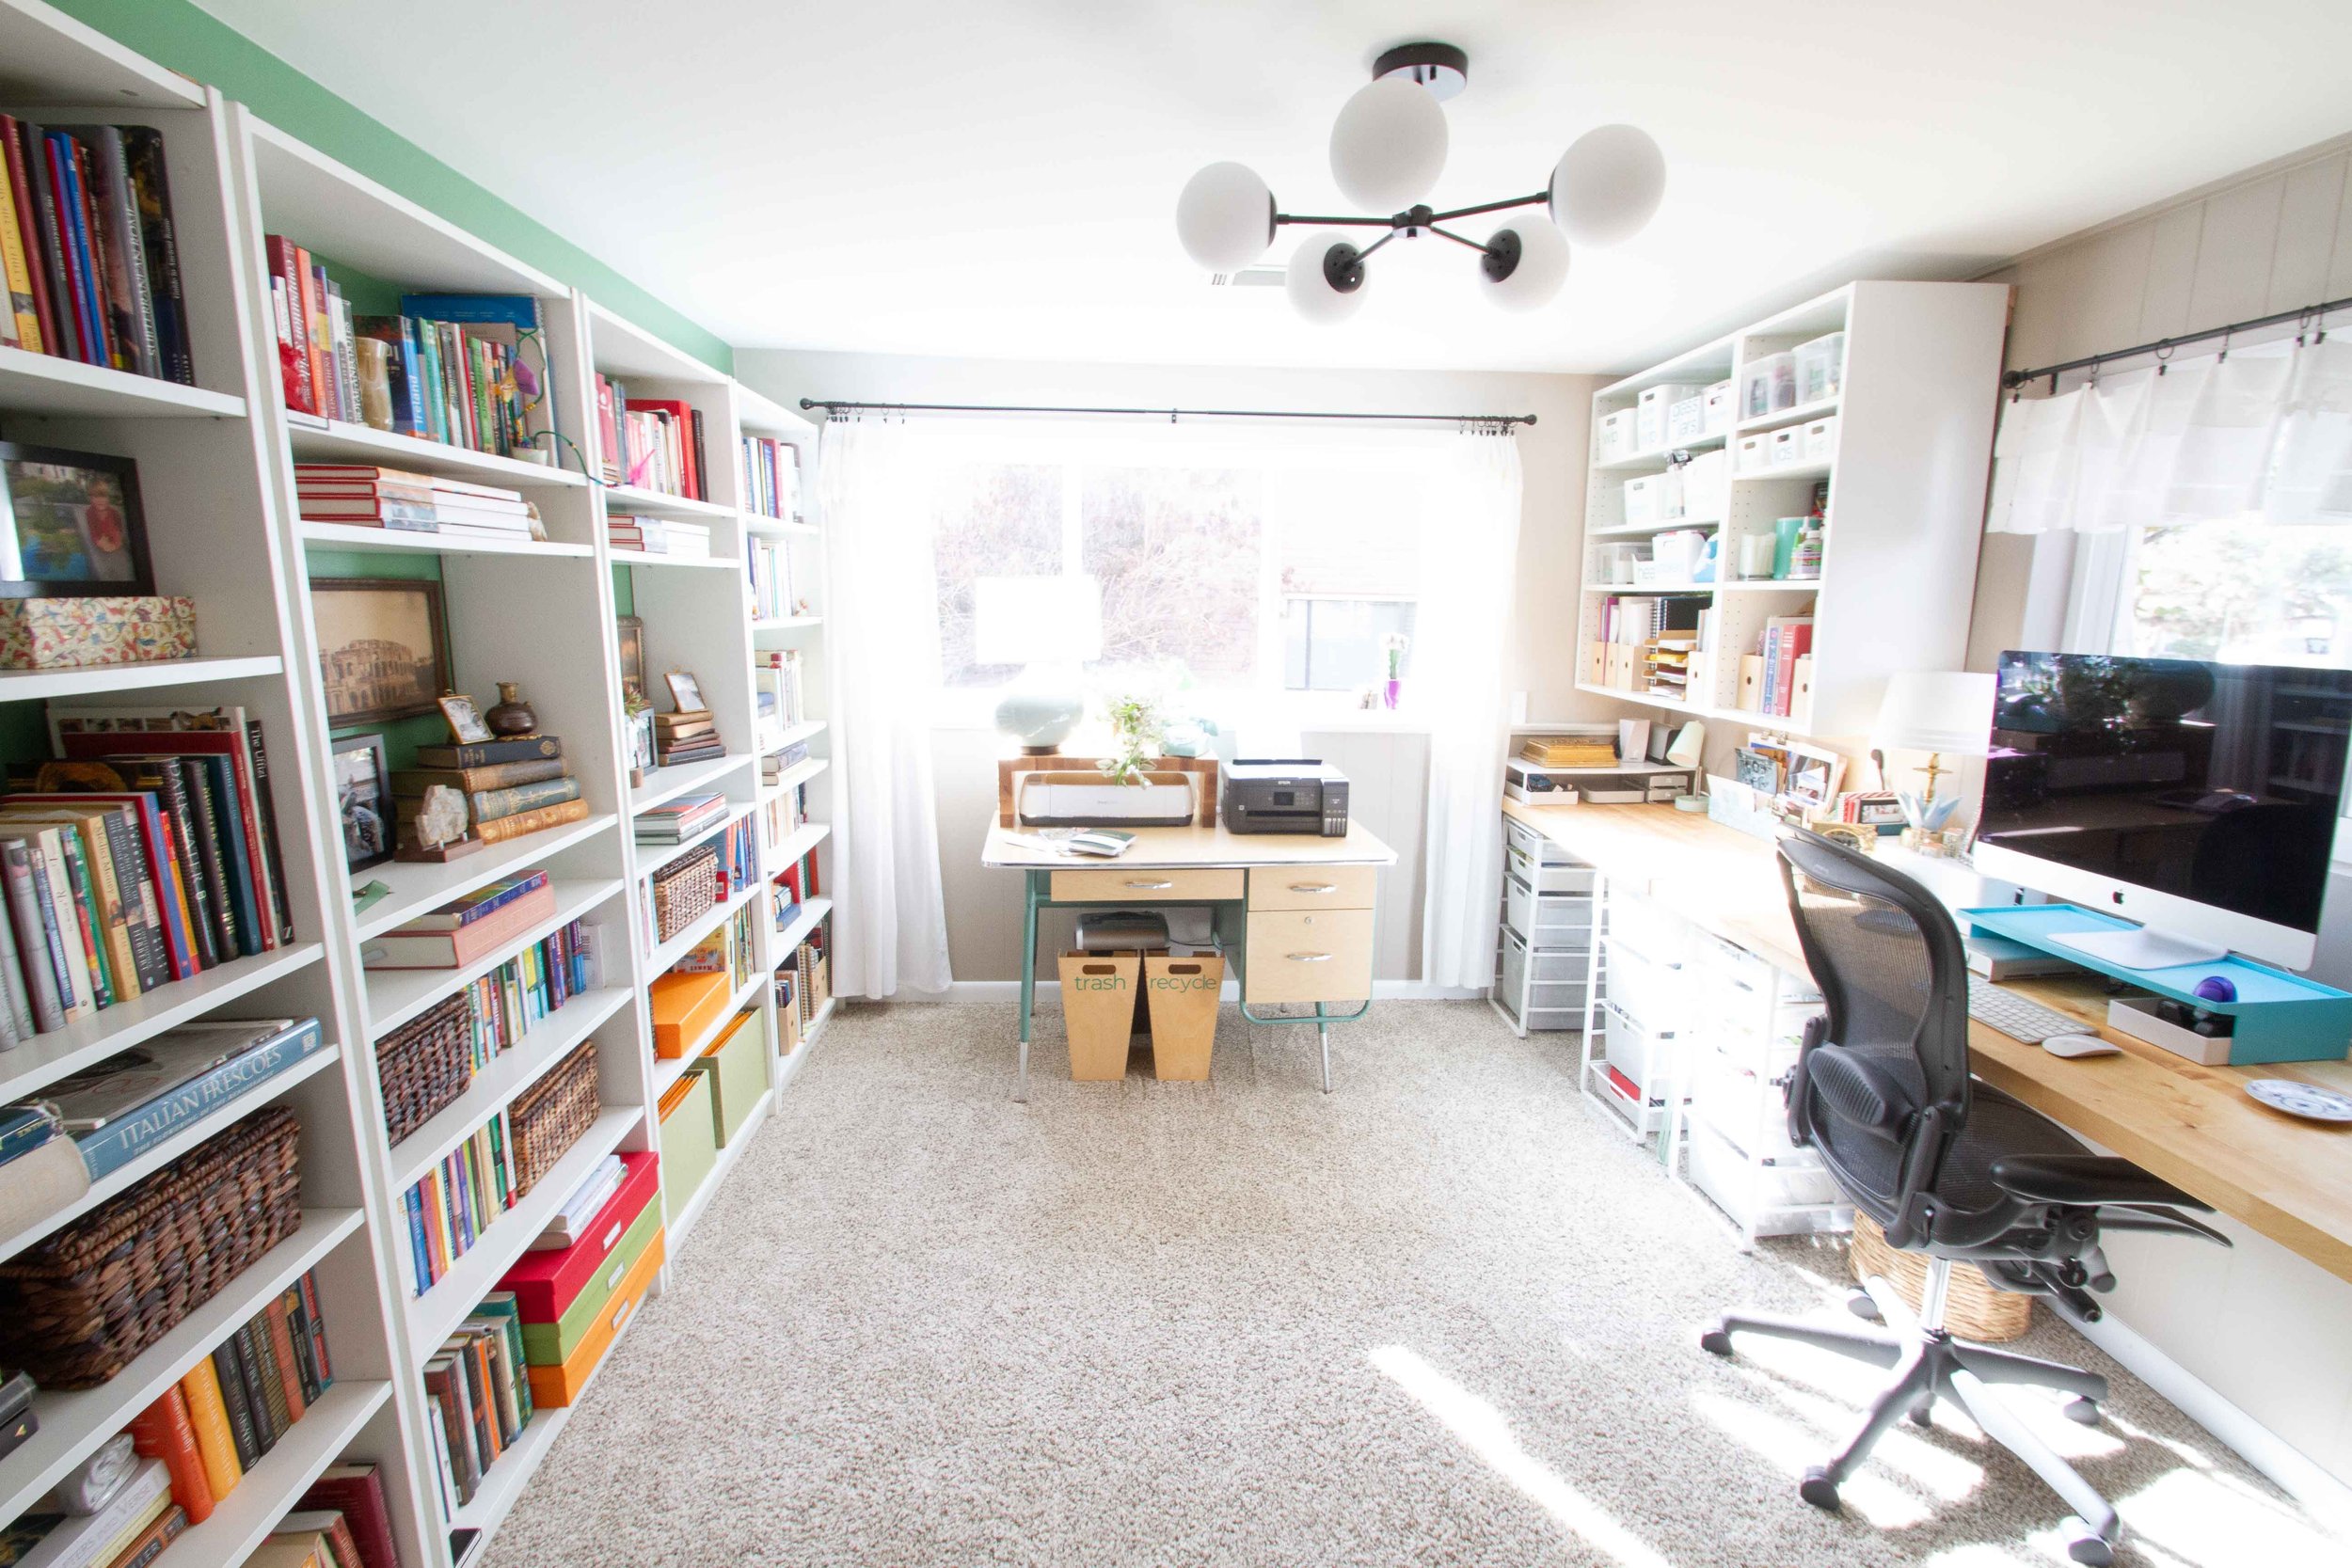
There are four full Billy bookcases in my Workroom, and my husband and I worked some magic to make them look and feel built in.
How to make an Ikea bookcase look built-in
This is a really inexpensive project, and it would work on any bookcase with adjustable shelves. There is an optional step that can come first, depending on how you plan to install your bookcase and how many you will install. Scribing a piece of trim to fit creates a more finished look when installing against a wall. However, this step requires power tools and a little carpentry know-how. It is absolutely optional. If you can’t or don’t want to take this step, just skip it and move on to the next section.
Because we used white Ikea bookcases, we used 1” x 4” pre-finished melamine trim. It matches the finish of the bookcases, and doesn’t require any painting. However, you could use any lumber in those dimensions. You could paint or stain for a contrasting look. And if your bookcases aren’t white, you could match the lumber to the finish — or paint it to make a contrasting detail. No matter what the finish, the recessed detail will make your bookcases stand out and look and feel more substantial and permanent.
Additionally, our room does not have crown molding. We live in a Mid Century Modern home, and the finishes in this room are very simple. Therefore we chose not to take the bookcases to the ceiling or to add any trim at the top. However, if your room calls for something more elaborate, there are many tutorials — including the This Old House video below — that give ideas for a more detailed installation.
This is part of a series of projects done during my Workroom Makeover. Check them all out and see the finished room here:


Optional: Scribe a Board to Fit Against a Wall
Because my bookcases are installed up against a wall with some irregularities, we cut a scribe board to fit the first bookcase snugly against that wall. If your wall is relatively square, skip this step. But the plane of the wall changes in this room to accommodate the change in the foundation and the window trim, so rather than having a small, strange gap between the first bookcase and the wall, we filled it with a scribed board.
Materials
1” x 4” pre-finished melamine trim
woodworking compass or scribes
jig saw or table saw
appropriate length screws
scrap wood for blocking
caulk
The amount of trim you will need as well as the number of screws will vary depending on how many bookcases you are installing. We only had to scribe against one wall, but your configuration might call for the same
Our project is a much simpler and more contemporary take on this tutorial from This Old House. However, the skills that contractor Tom Silva illustrates are the same that we used. If you begin the video at about 8:30, Silva shows exactly how to use a compass or scribe to trace the lines you’ll need to cut a trim board just like we did.

Step 1: Scribe and Cut Trim Board
Scribe a board to fit over any irregularities and cut to length. Be sure to scribe around baseboards as needed.

Step 2: Fasten Scribed Board
Fasten the scribed board to the bookcase using screws. The screw holes can be filled later with spackle.

Step 3: Fill gaps with Caulk
Fill any gaps between the scribed board and the wall or bookcase with caulk for a clean finish.
An Easy Way to Install a Billy Bookcase
Materials
1” x 4” pre-finished melamine trim
Saw to cut trim to length (or have it cut at the lumber yard)
L-brackets (2 per bookcase)
Appropriate length screws.
For the trim pieces, we used 1 1/4” drywall screws.
For attaching the L brackets, we used 1 1/4” drywall screws into the wall and #10 3/4” screws into the top of the bookcase.
Drill and drill bits
Driver bit for drill
Clamps
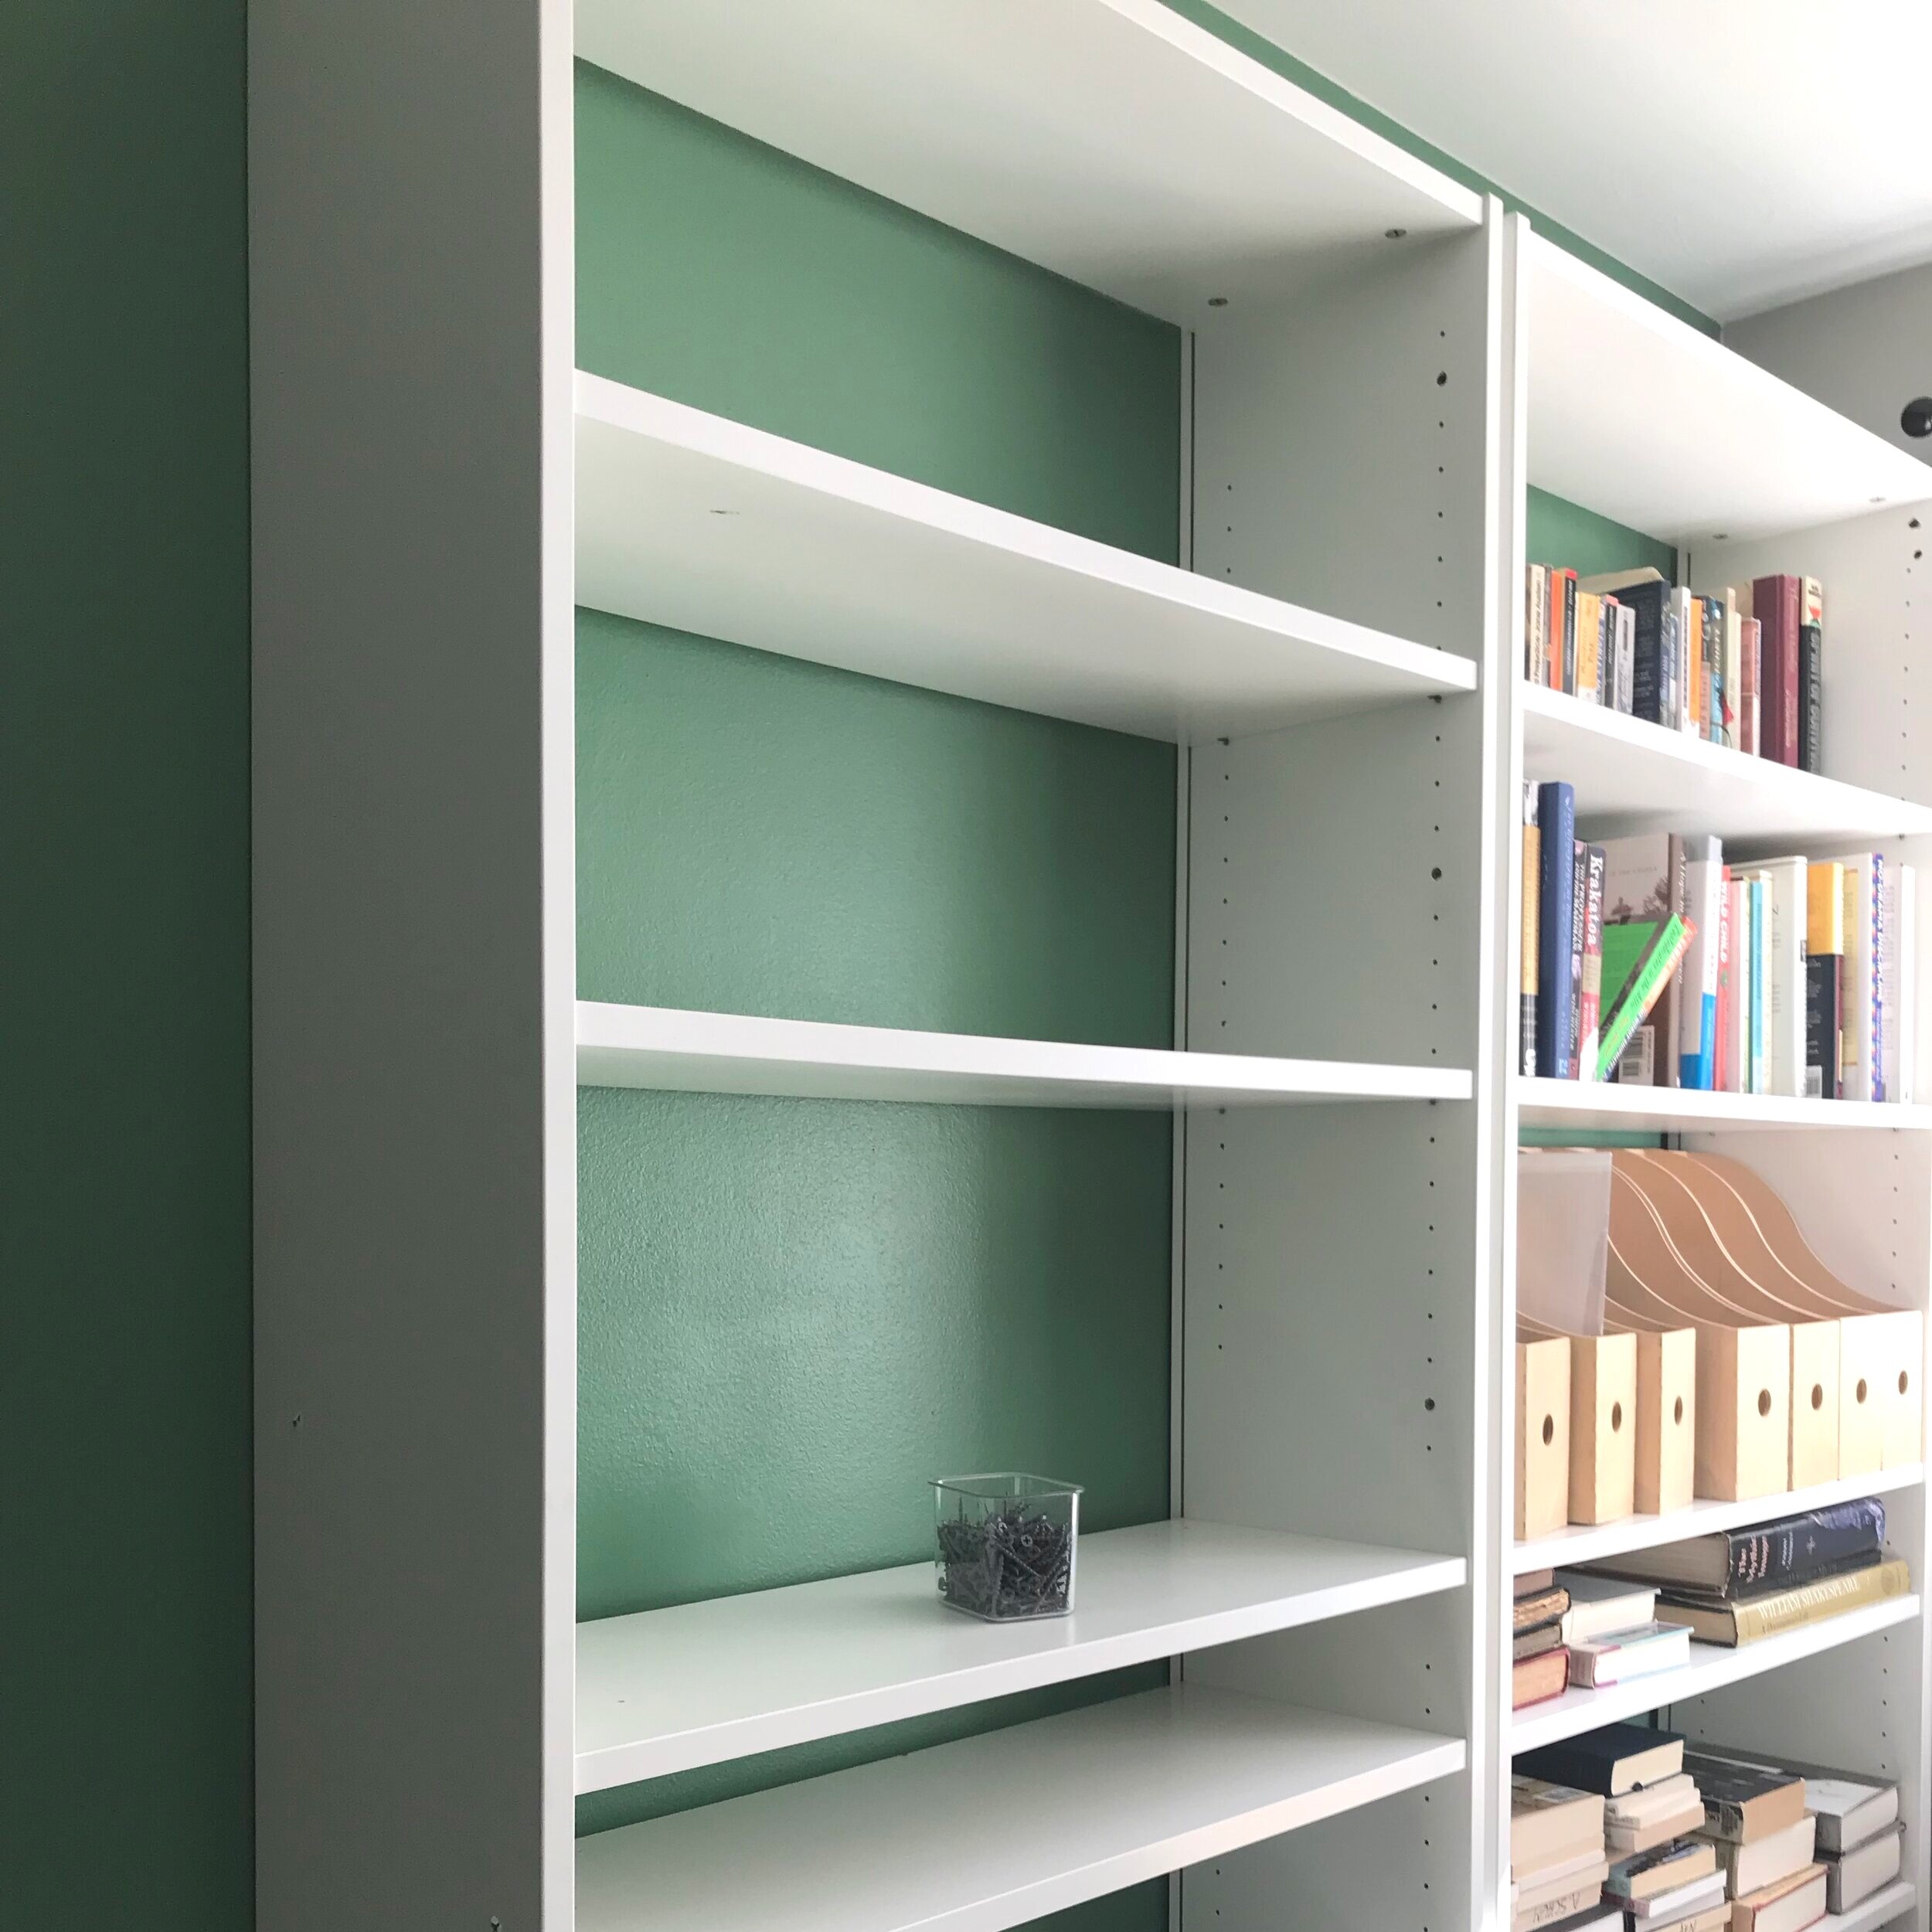
The amount of material you will need varies depending on how many bookcases you are attaching together. We attached four bookcases together, so we used 4 pieces of trim: three between the bookcases and one for the scribed trim piece at the wall.
We chose to install the trim pieces 1” back from the front of the bookcase. The shadow created adds dimension and depth to the finished design. However, you could certainly install it flush with the bookcase’s edge for a different look.
Step 1: Position the first bookcase
Measure your wall and your bookcases. Figure out where your first bookcase should be positioned. If using a scribed trim piece, install that before anything else.
Step 2: Install trim Piece
Once the first bookcase is in place, cut a piece of trim to the proper height. Position it 1” in from the front edge of the bookcase. Clamp it into place. Then use screws to attach the trim piece to the first bookcase at the top, middle, and bottom.
Step 3: Position Bookcase & Screw Together
Move the second bookcase into position next to the first. Clamp it into position. Then screw through the pre-drilled holes of the second bookcase into the trim piece securing the second bookcase to the first at the top, middle, and bottom.

Step 4: Repeat Steps 1-3 as needed
Attach another piece of trim. Move the next bookcase into place. Then screw them together. Repeat until all bookcases are attached to each other.
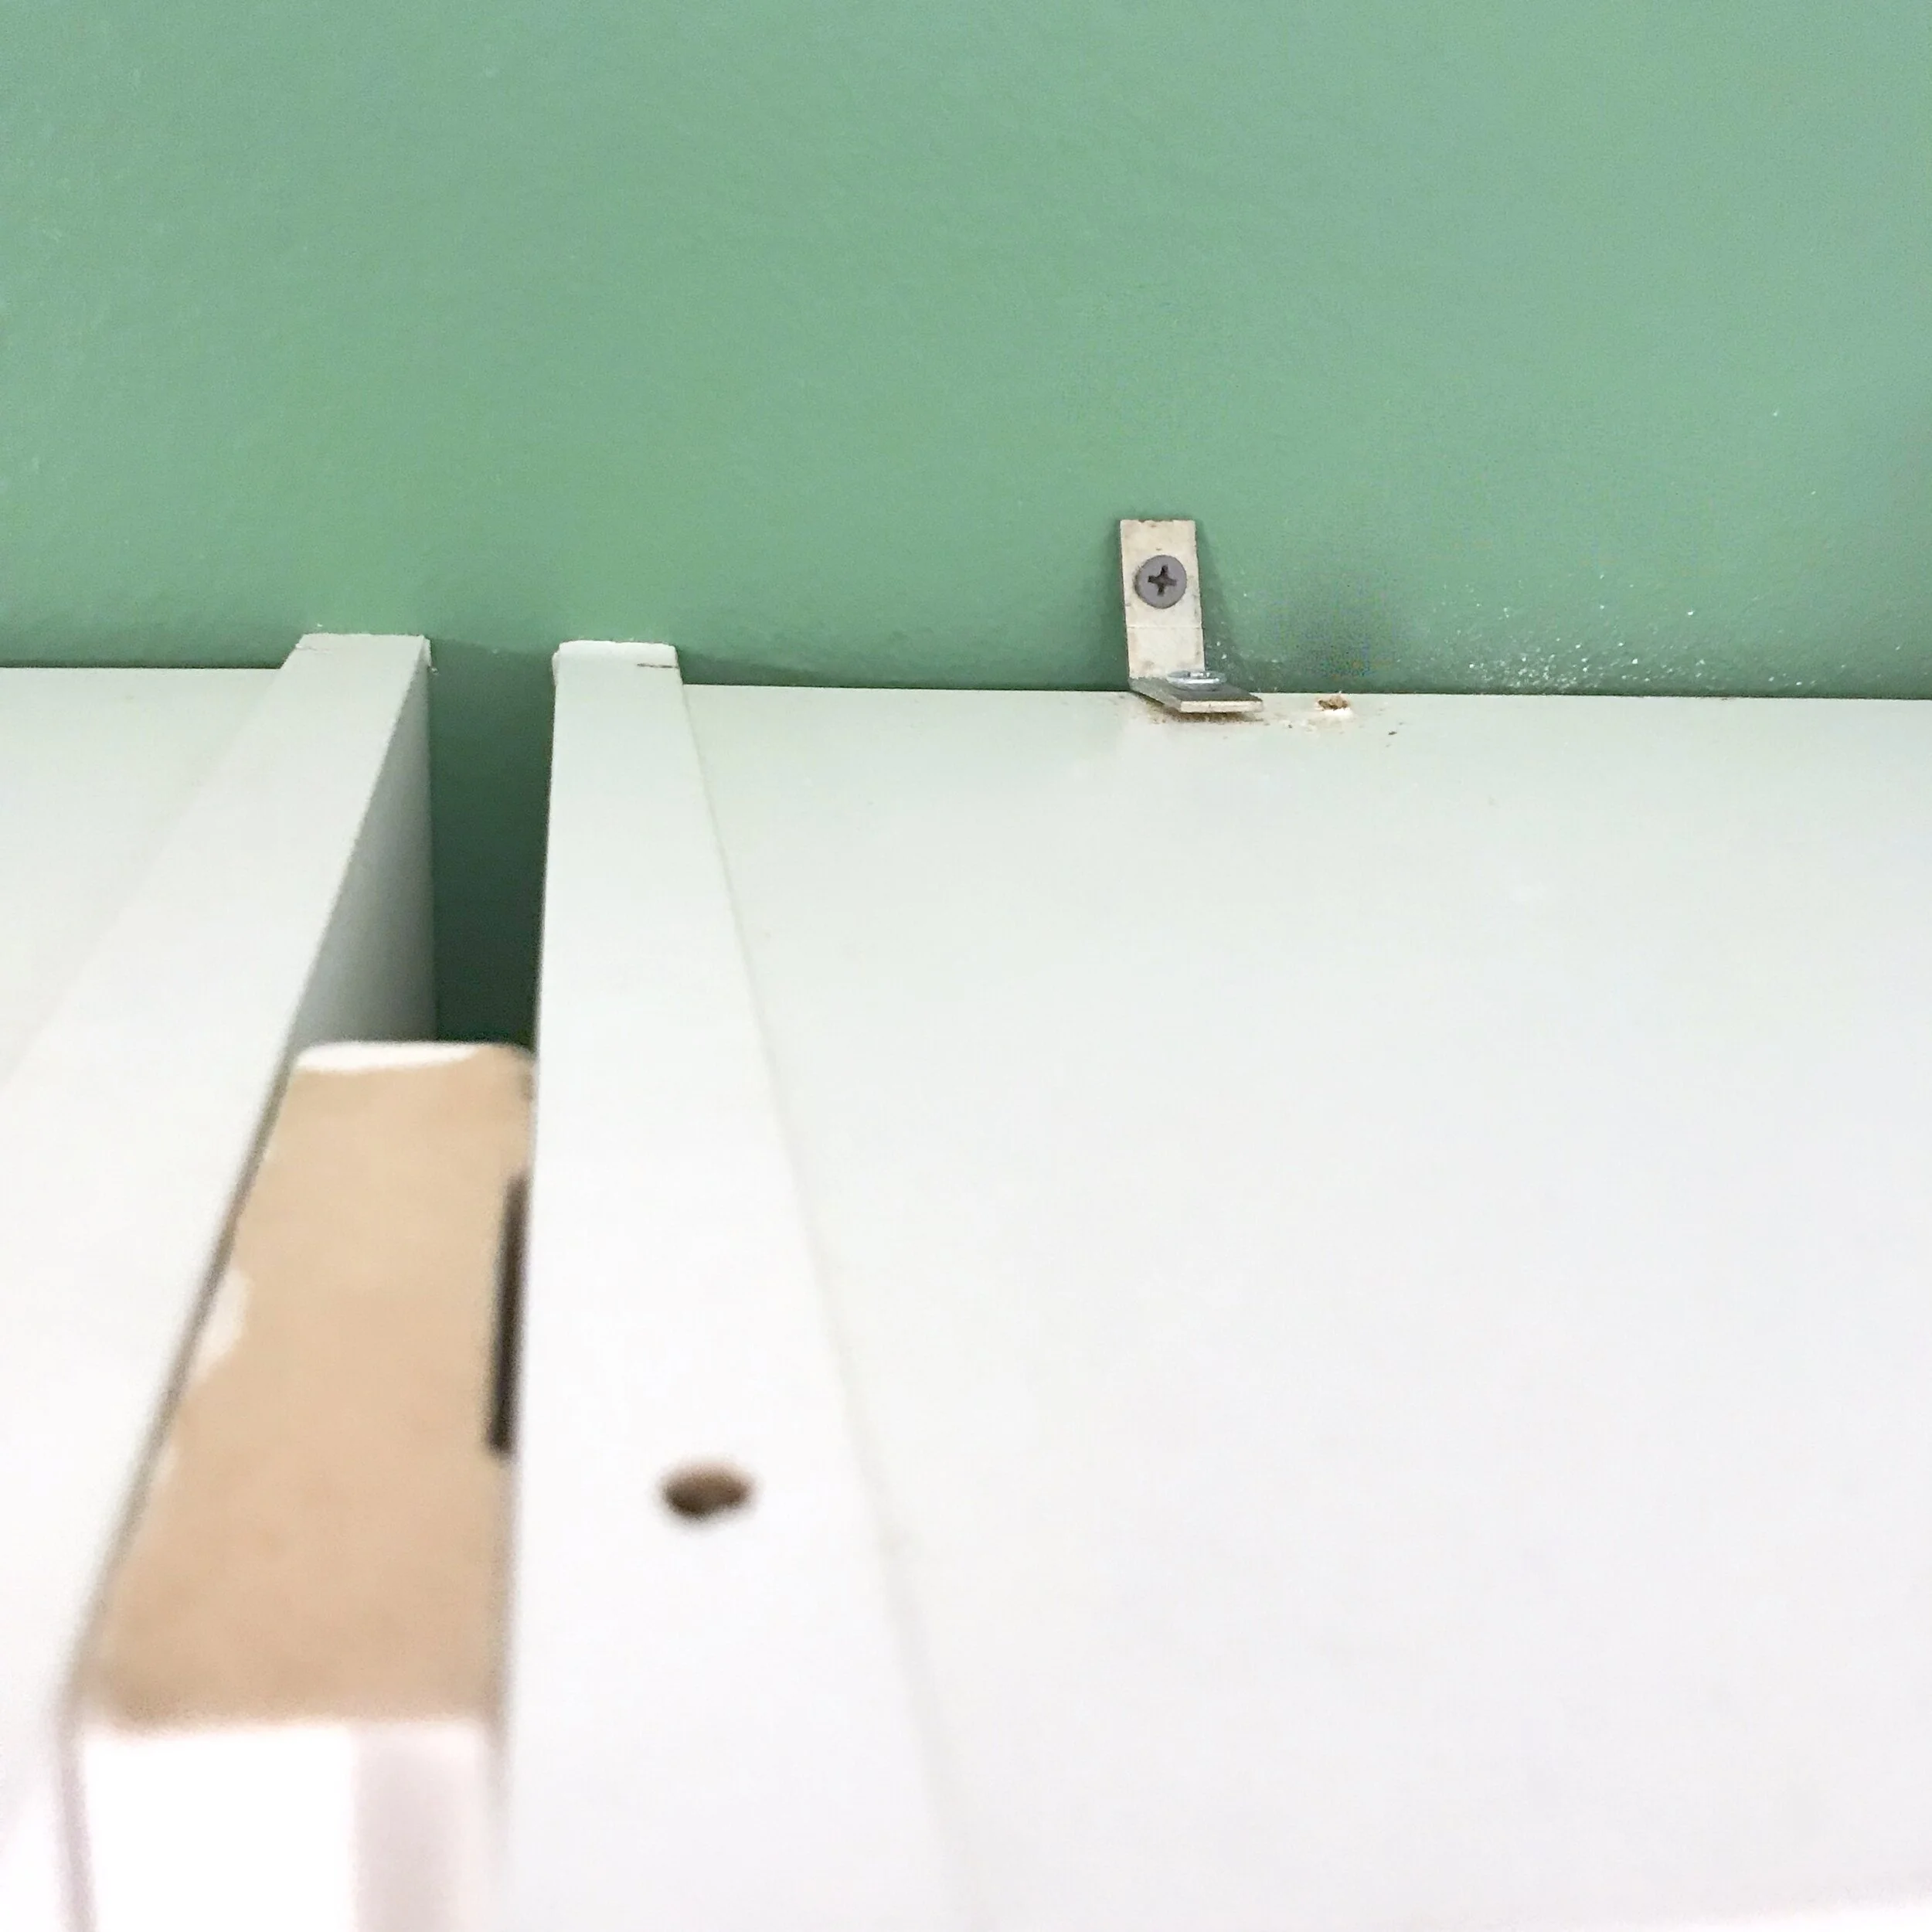
Step 5: Level & Anchor to Wall
Once all of the bookcases are attached to each other, use a level and square them all up. Then find the studs in the wall and anchor each bookcase to the wall using L-brackets secured into the studs. Depending on the width of the bookcases, you should be able to anchor at least one L-bracket on each bookcase into a stud — possibly two.
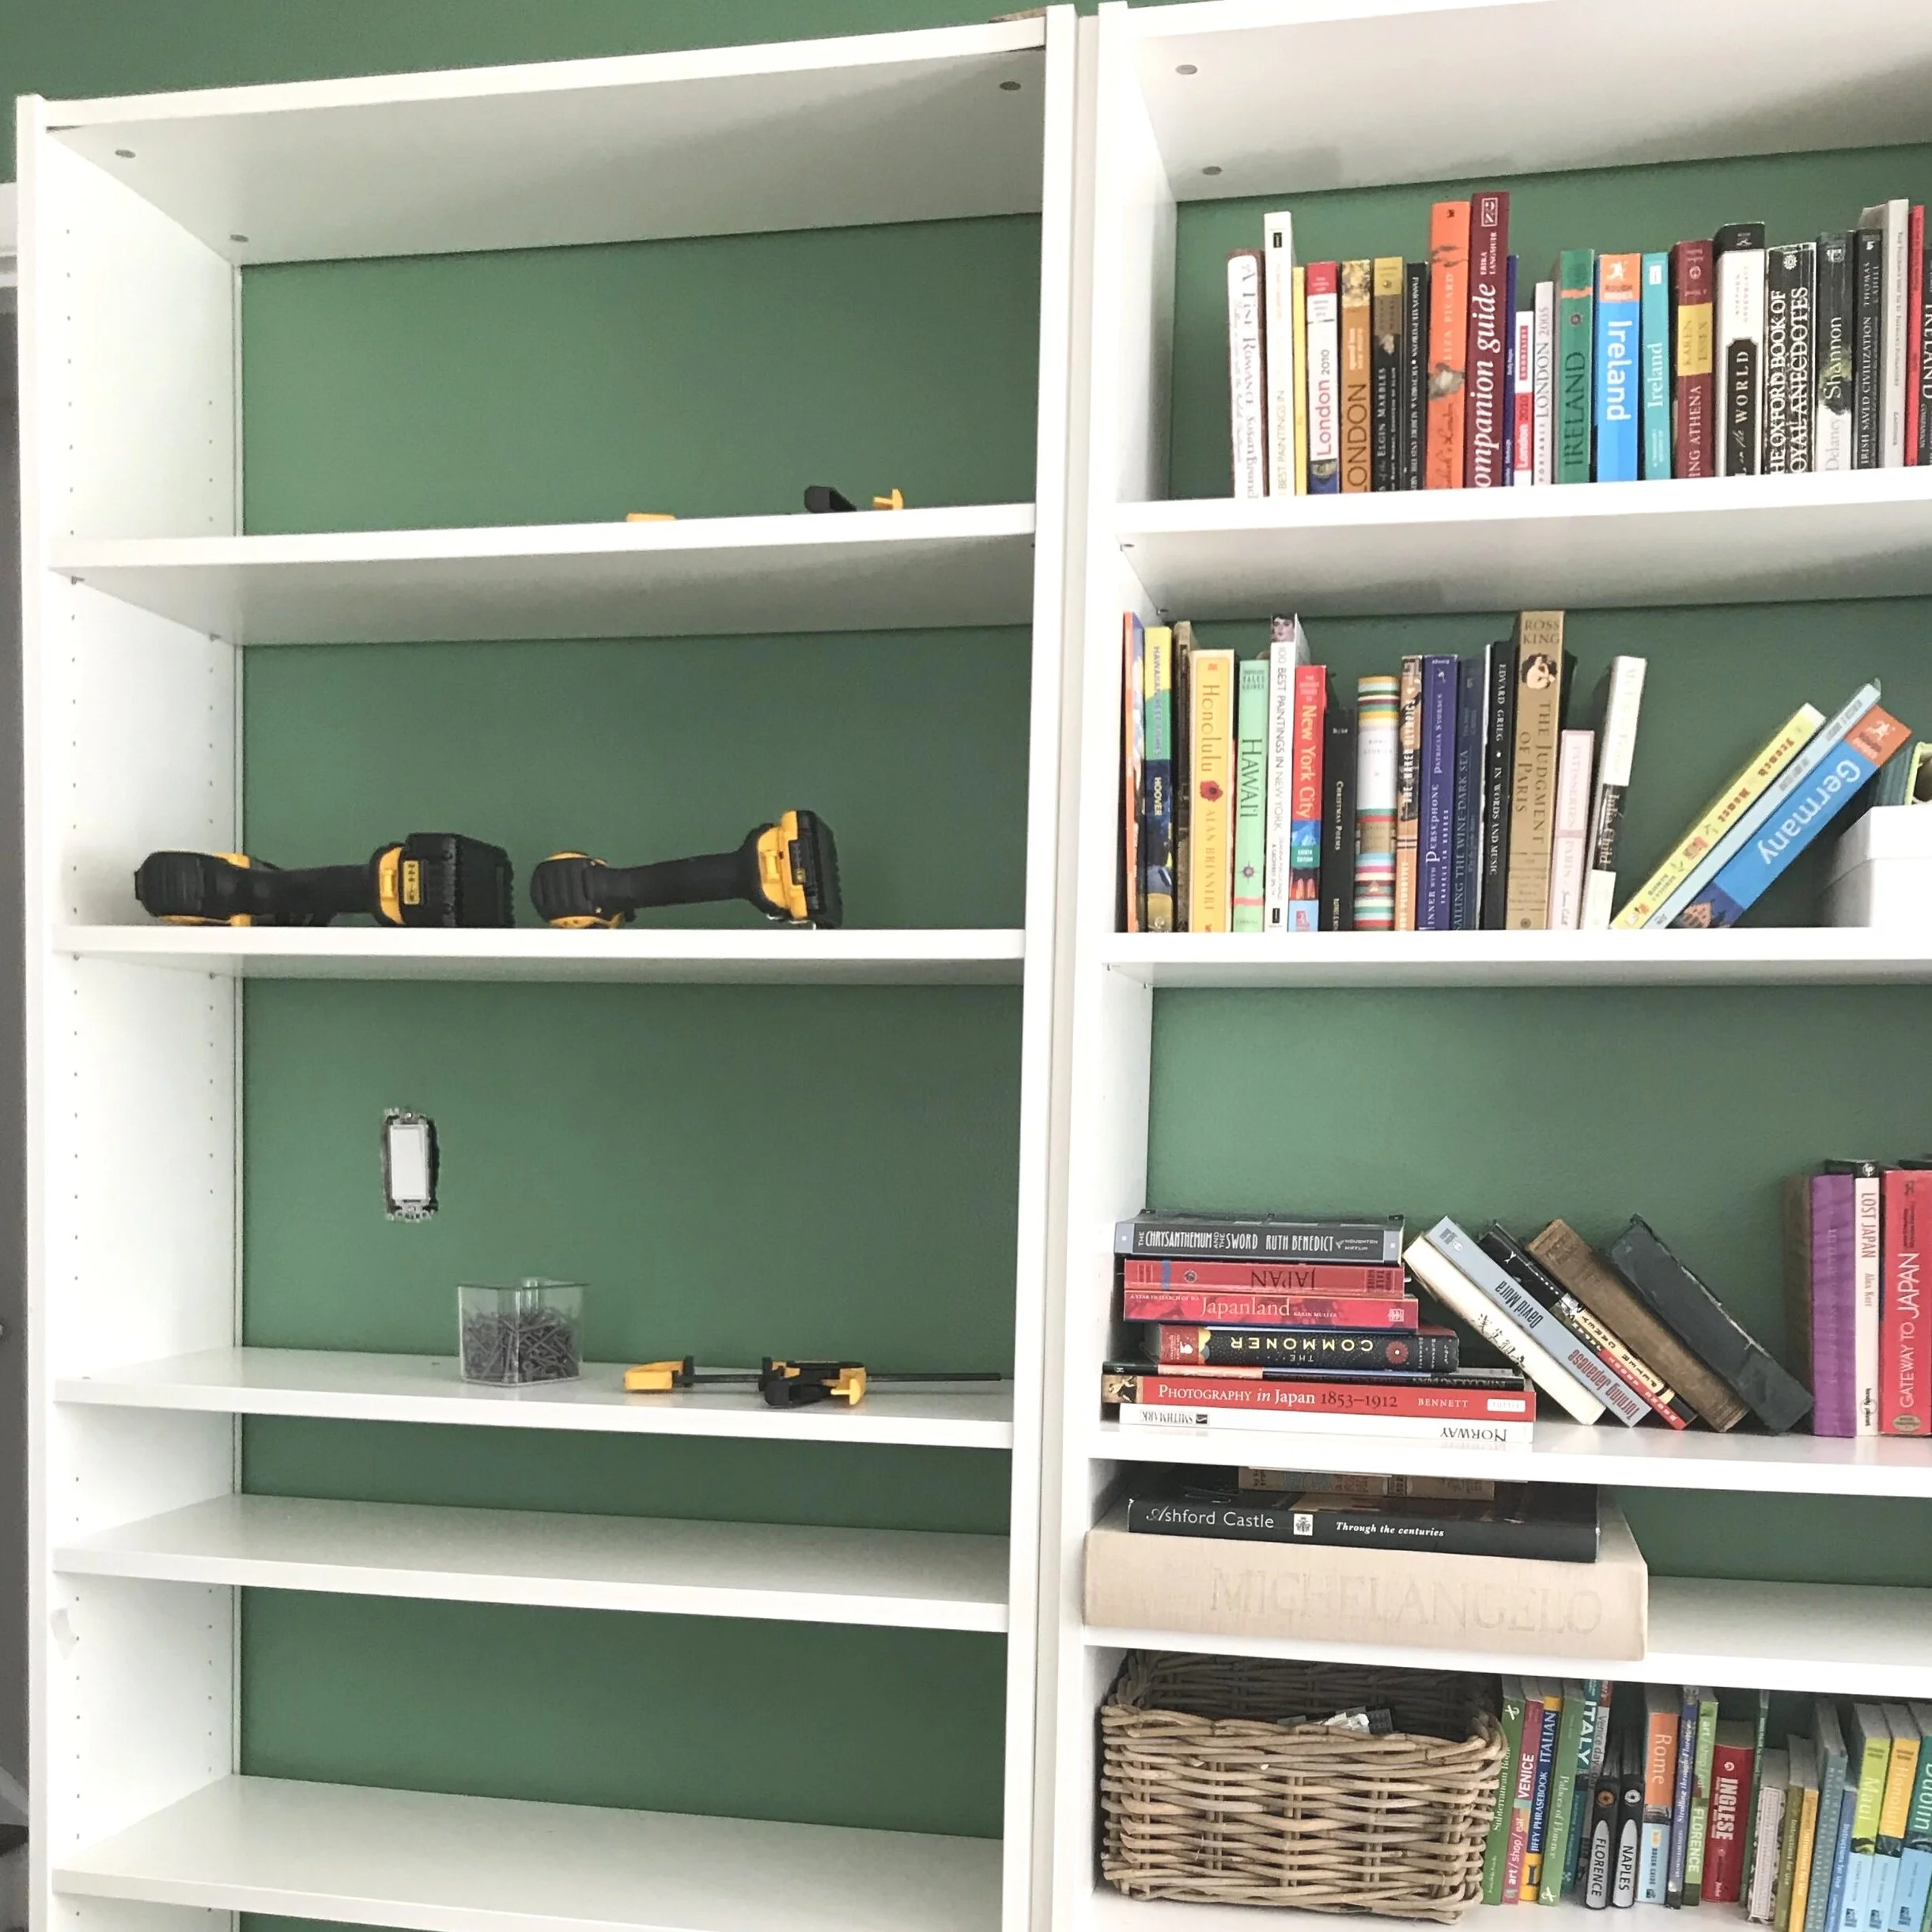
Step 6: Cover Screws with Paint
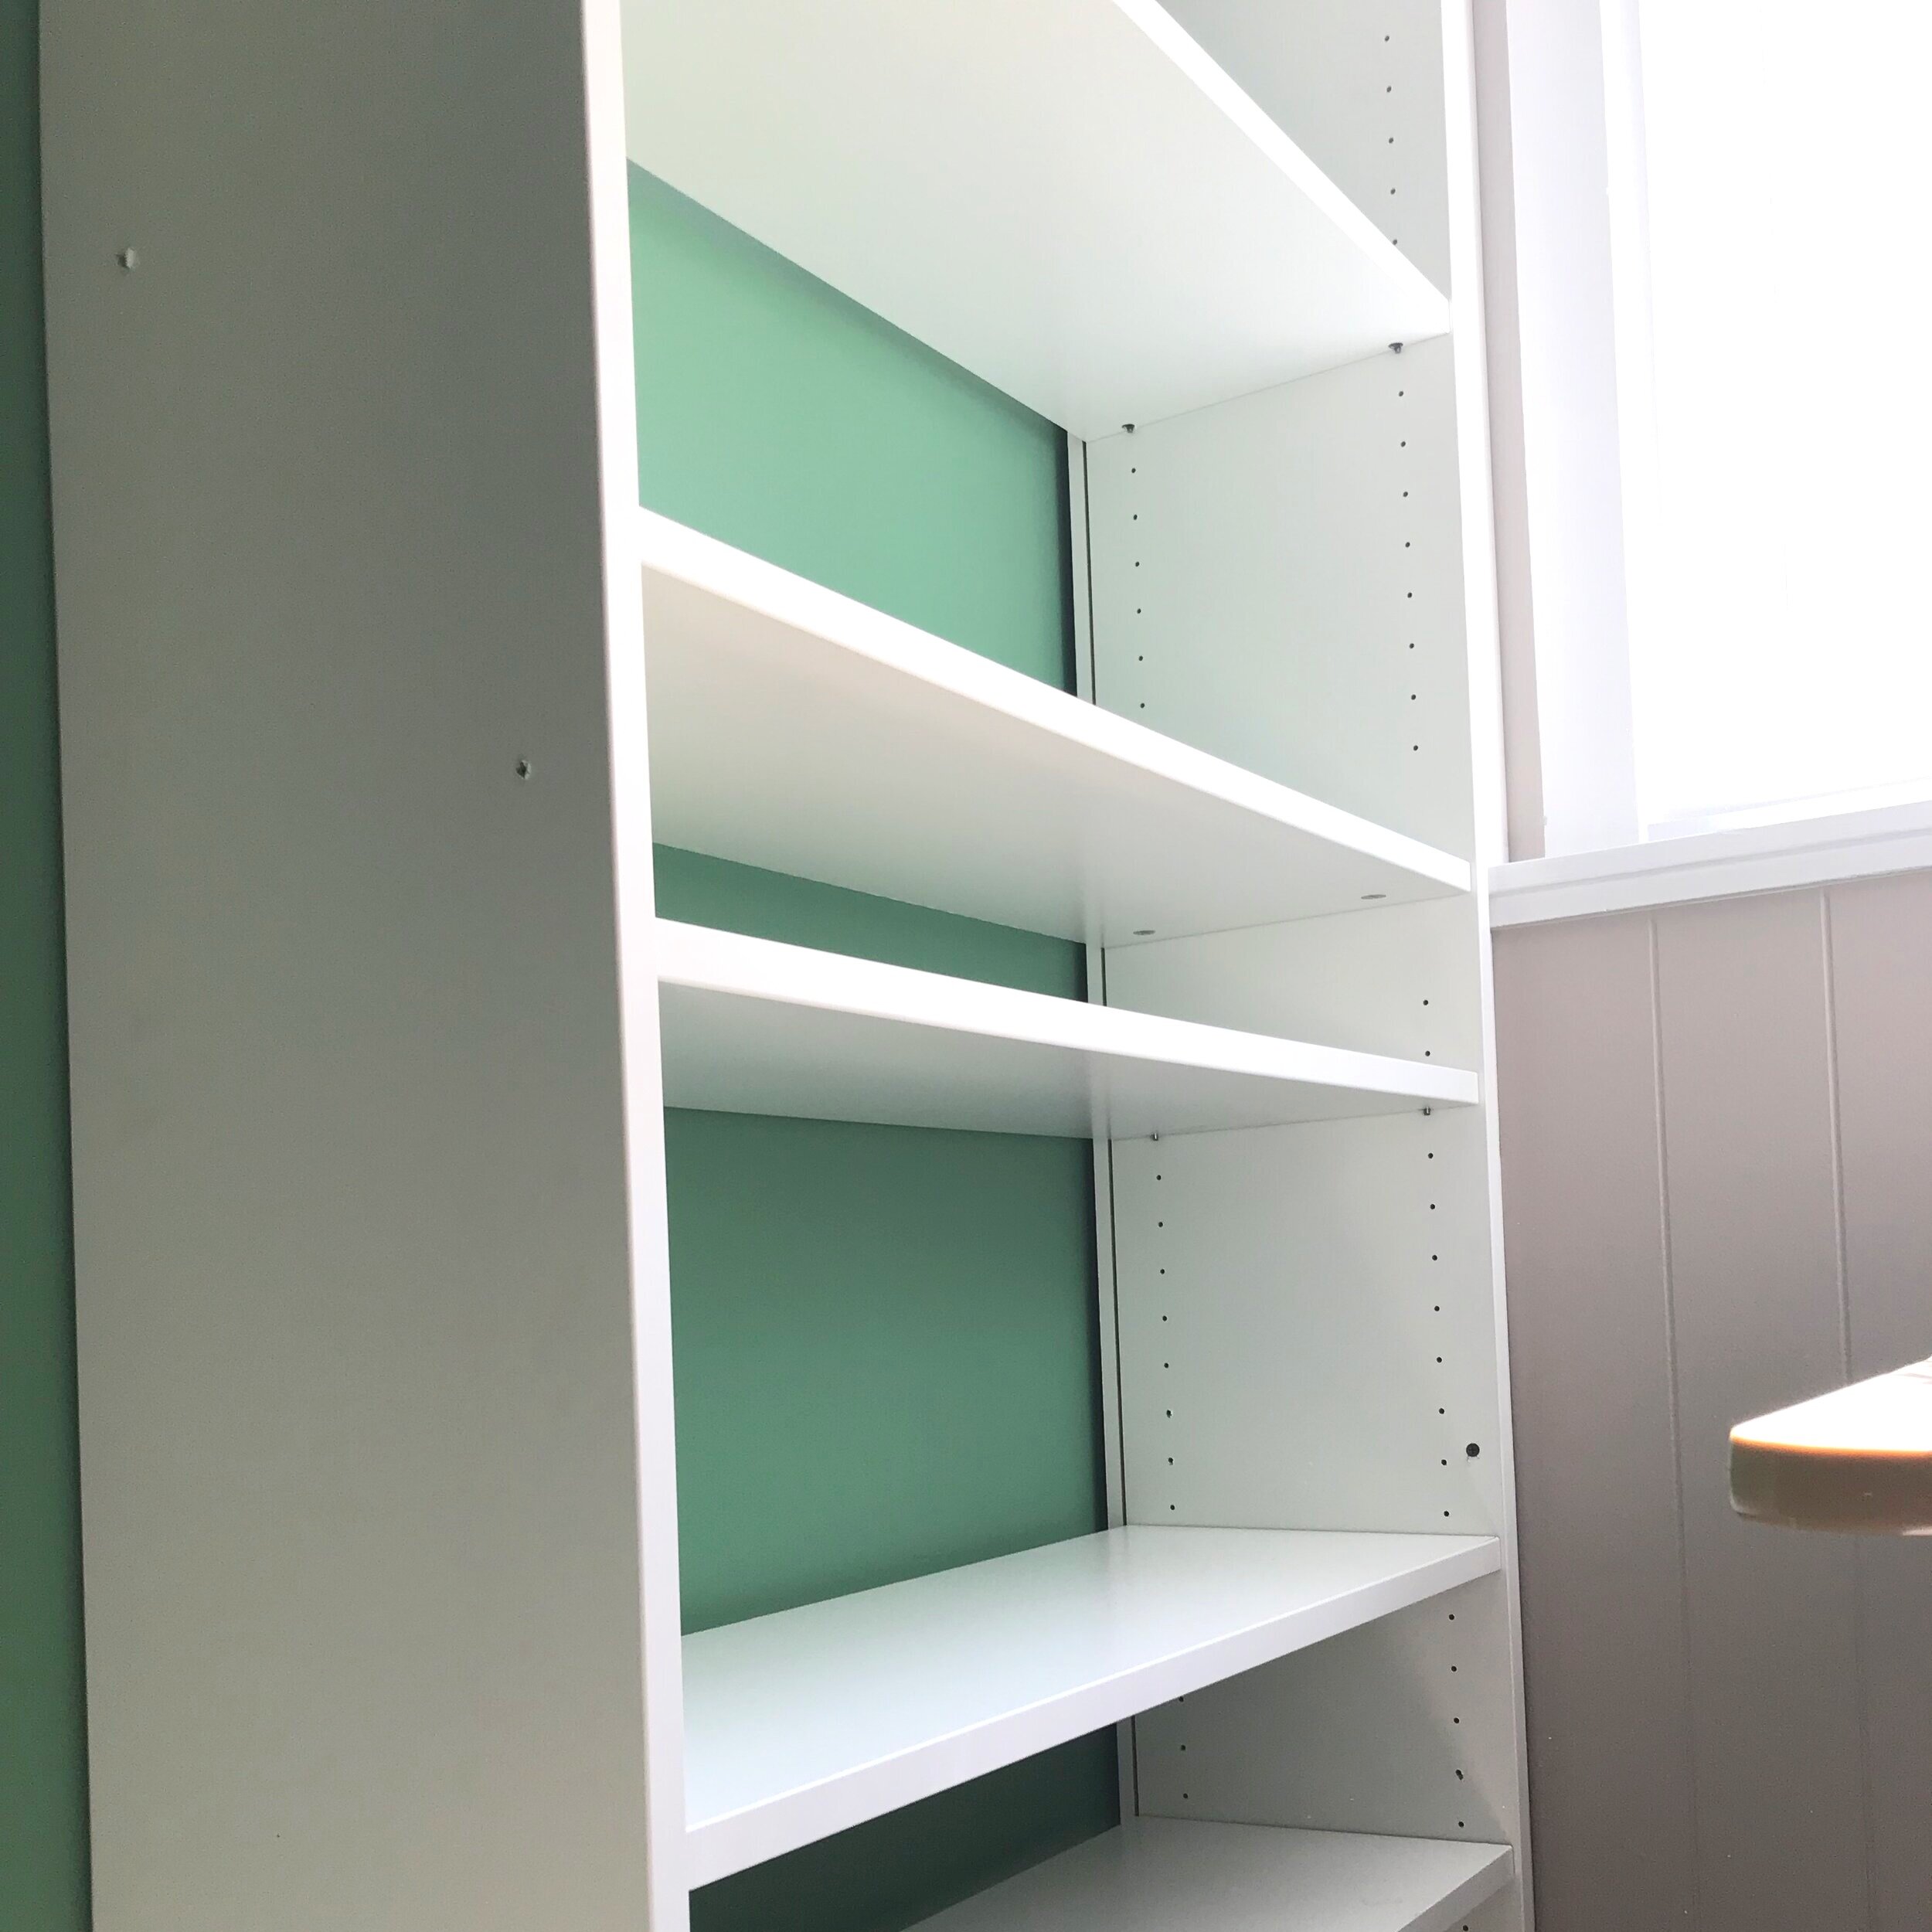
Use paint that matches the color of your bookcases to mask the screws. Alternately, fill all of the extra holes in the bookcase with spackle to disguise them. Follow my tutorial for more information on how to do this and to hide the channel in the back of the bookcase if you are removing the backs.
After the bookcases were installed, I wanted to hide the holes and back channel so that they looked more finished. This tutorial teaches you how to make your installed bookcase look even more polished and permanent.
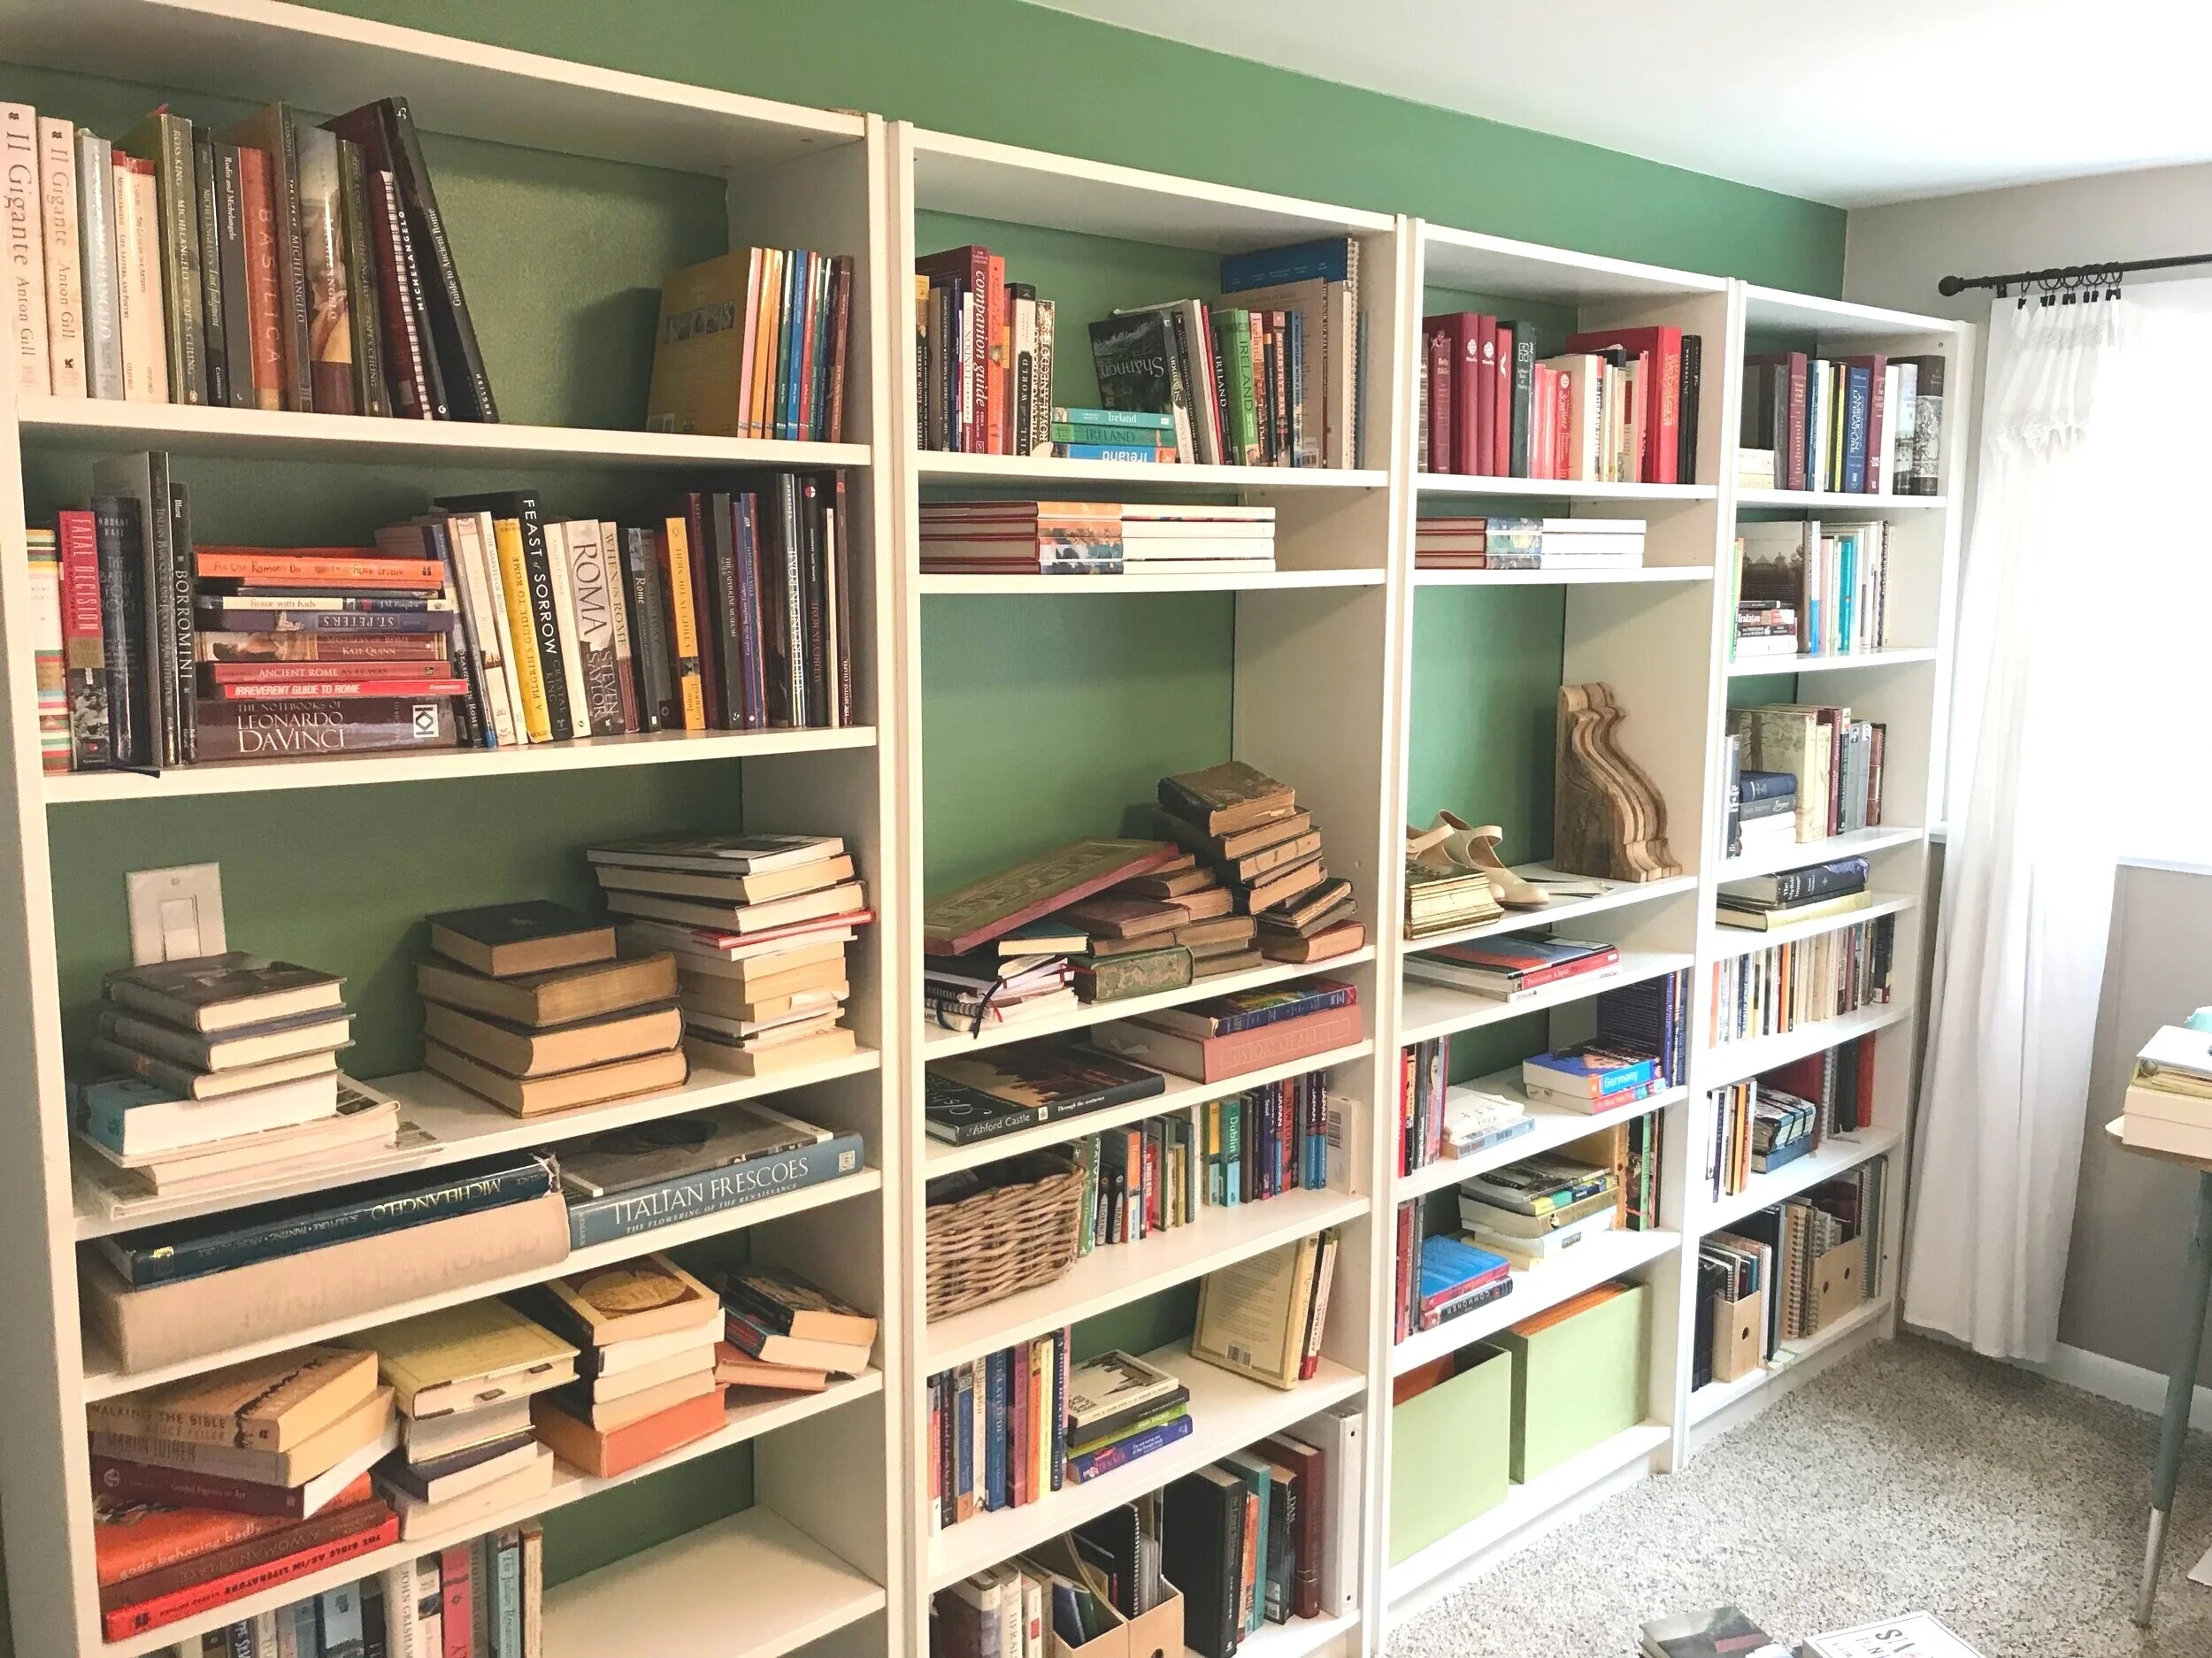
Before
Before being installed, the bookcases looked off-the-shelf and standard. Fine. But not stylish.
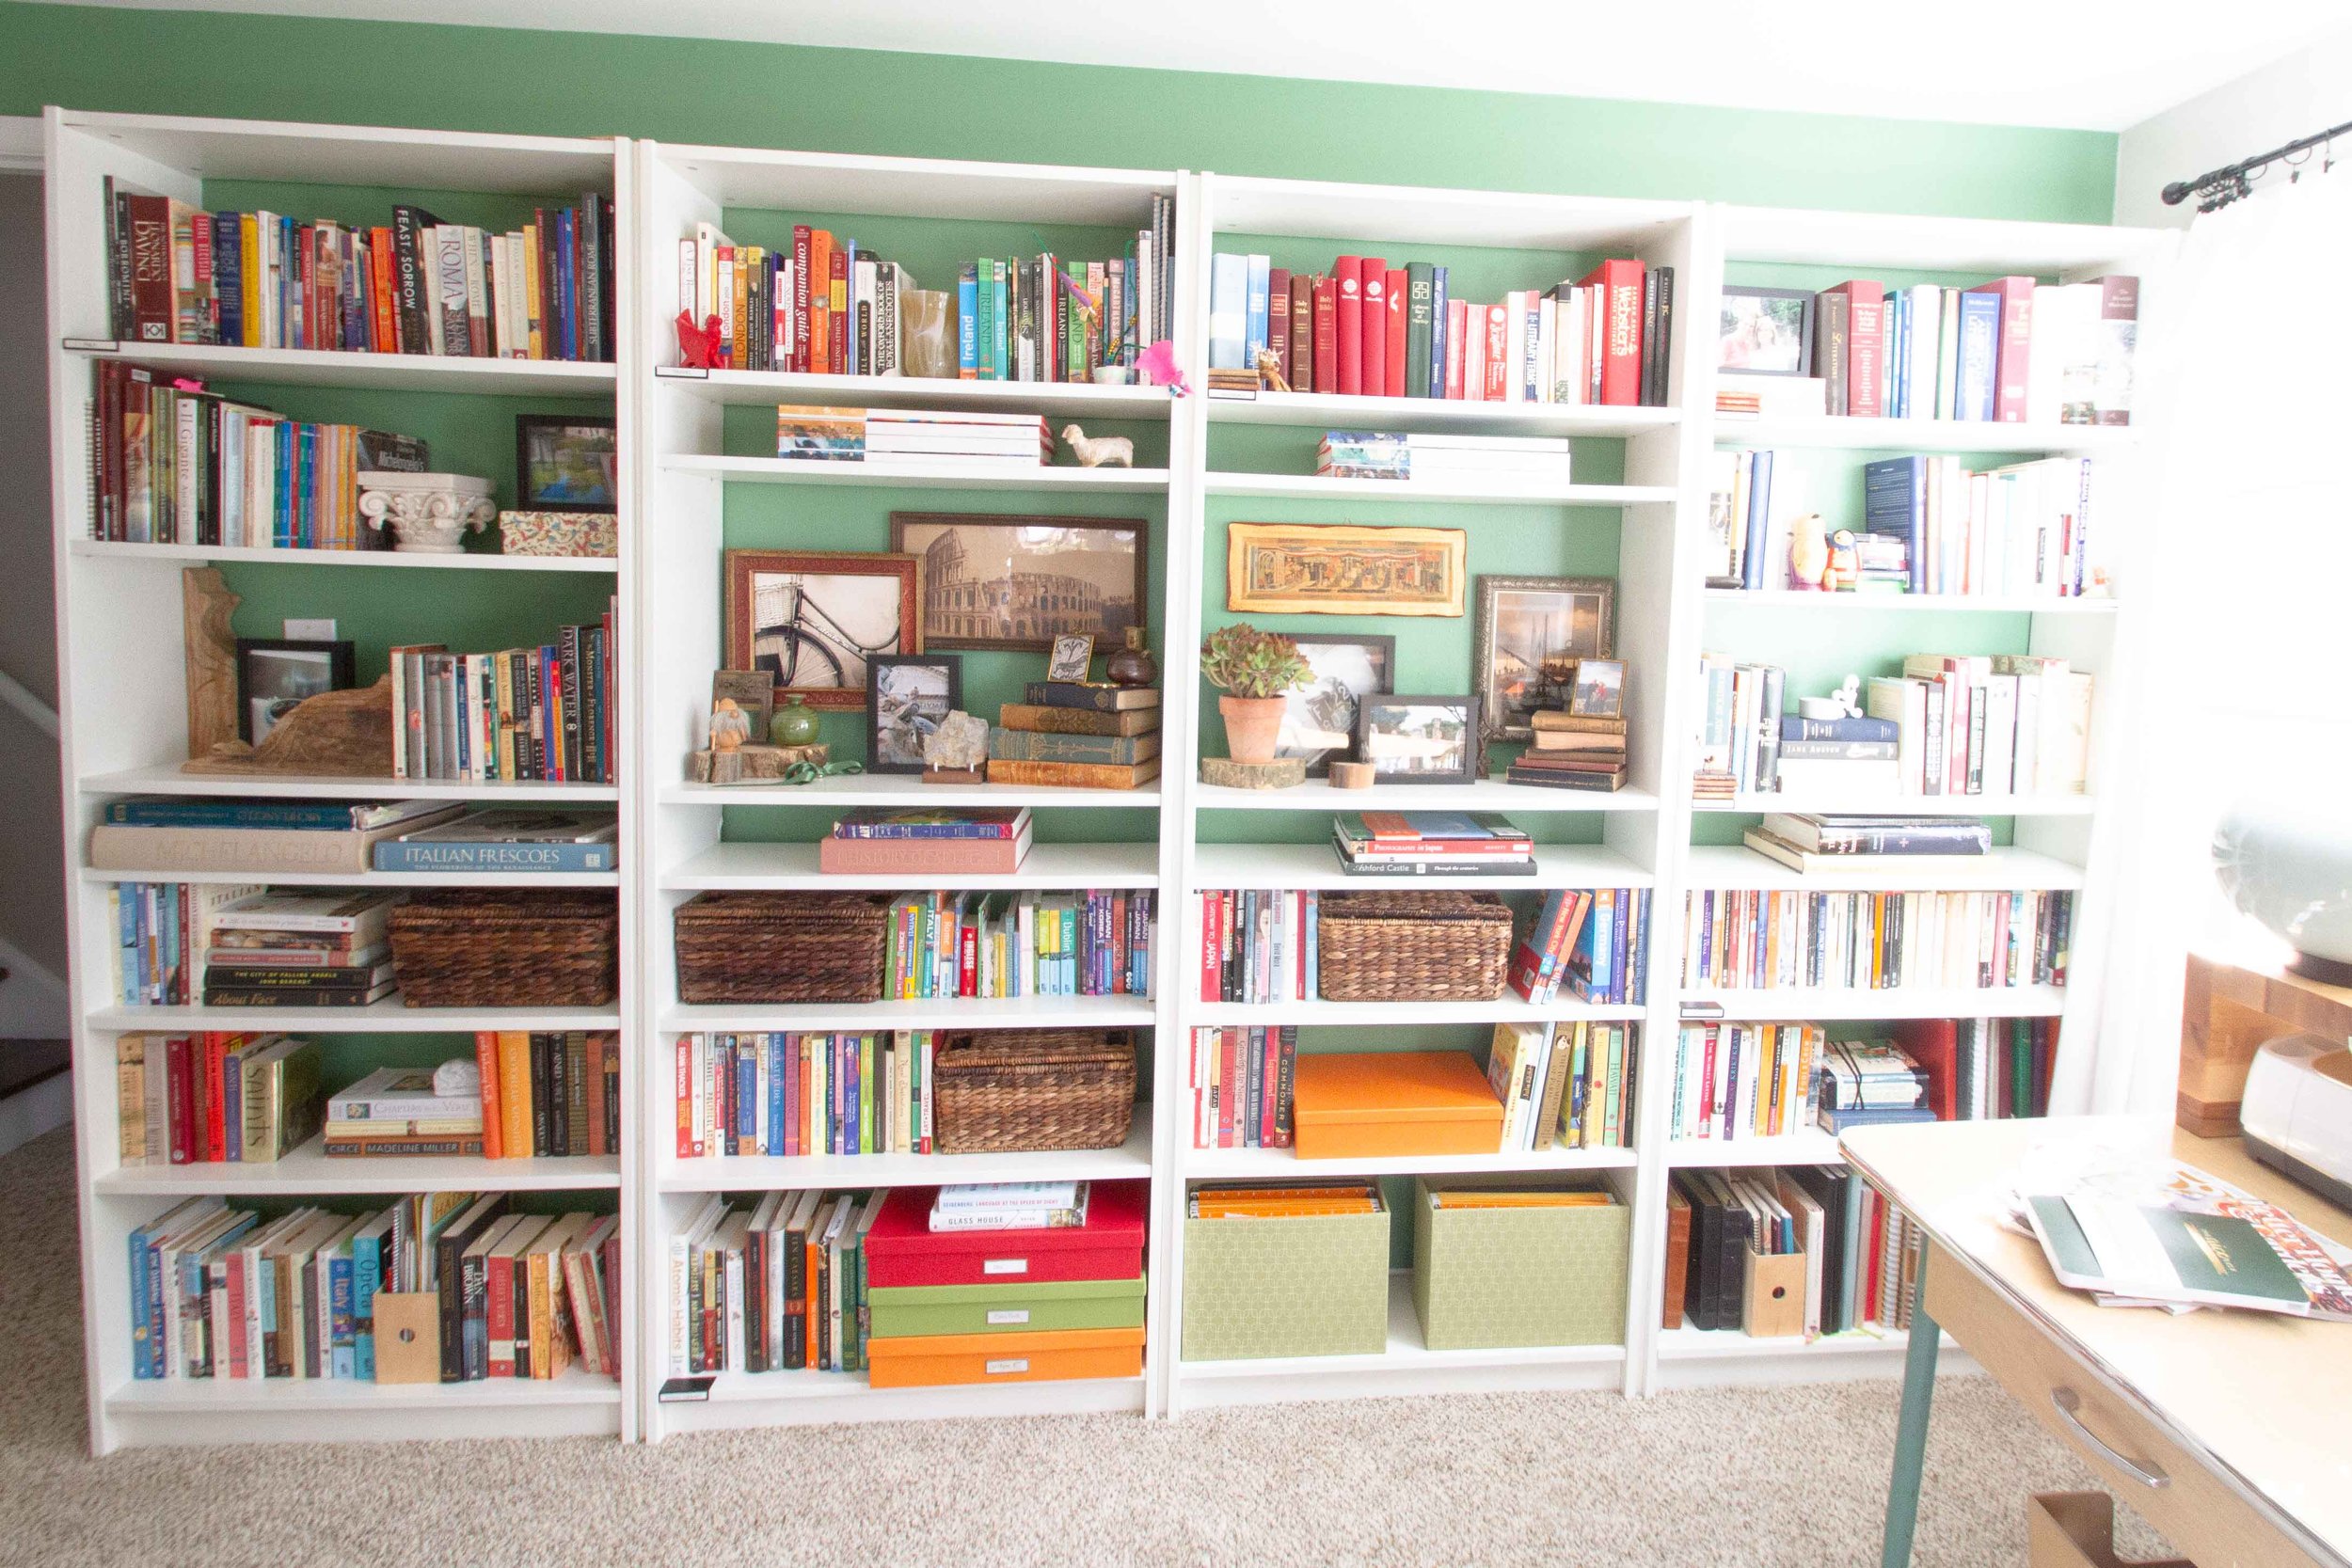
After
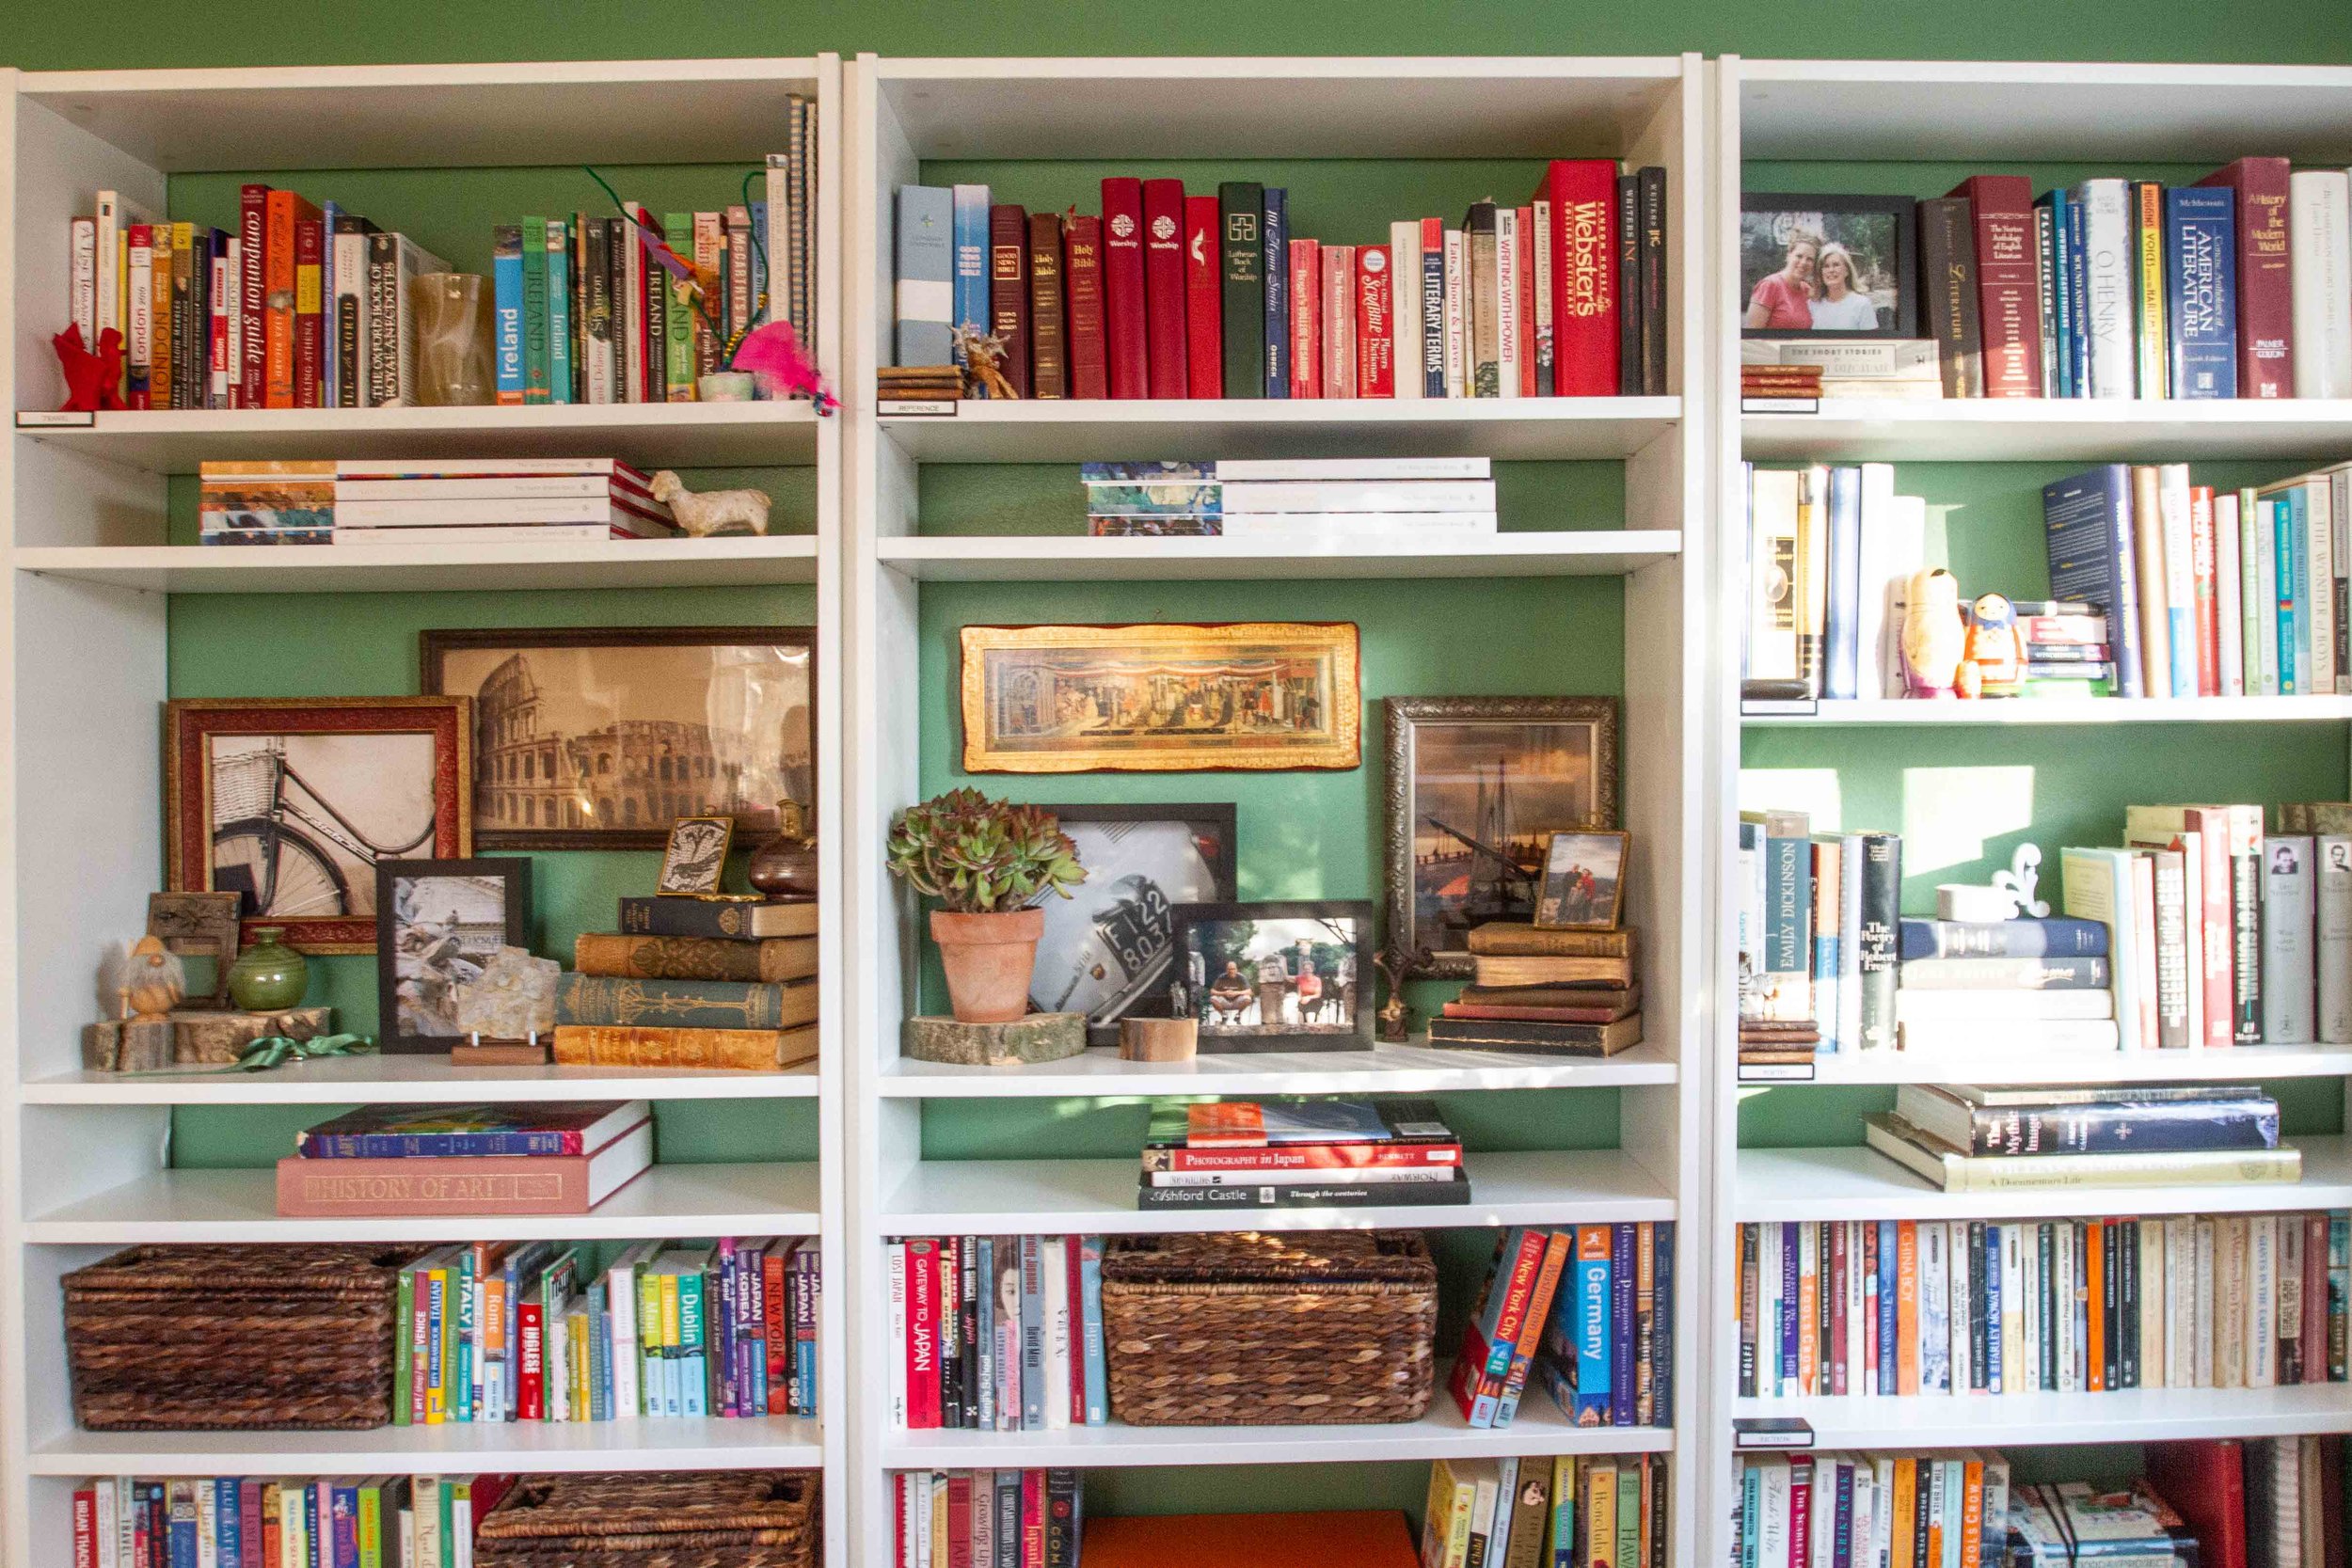
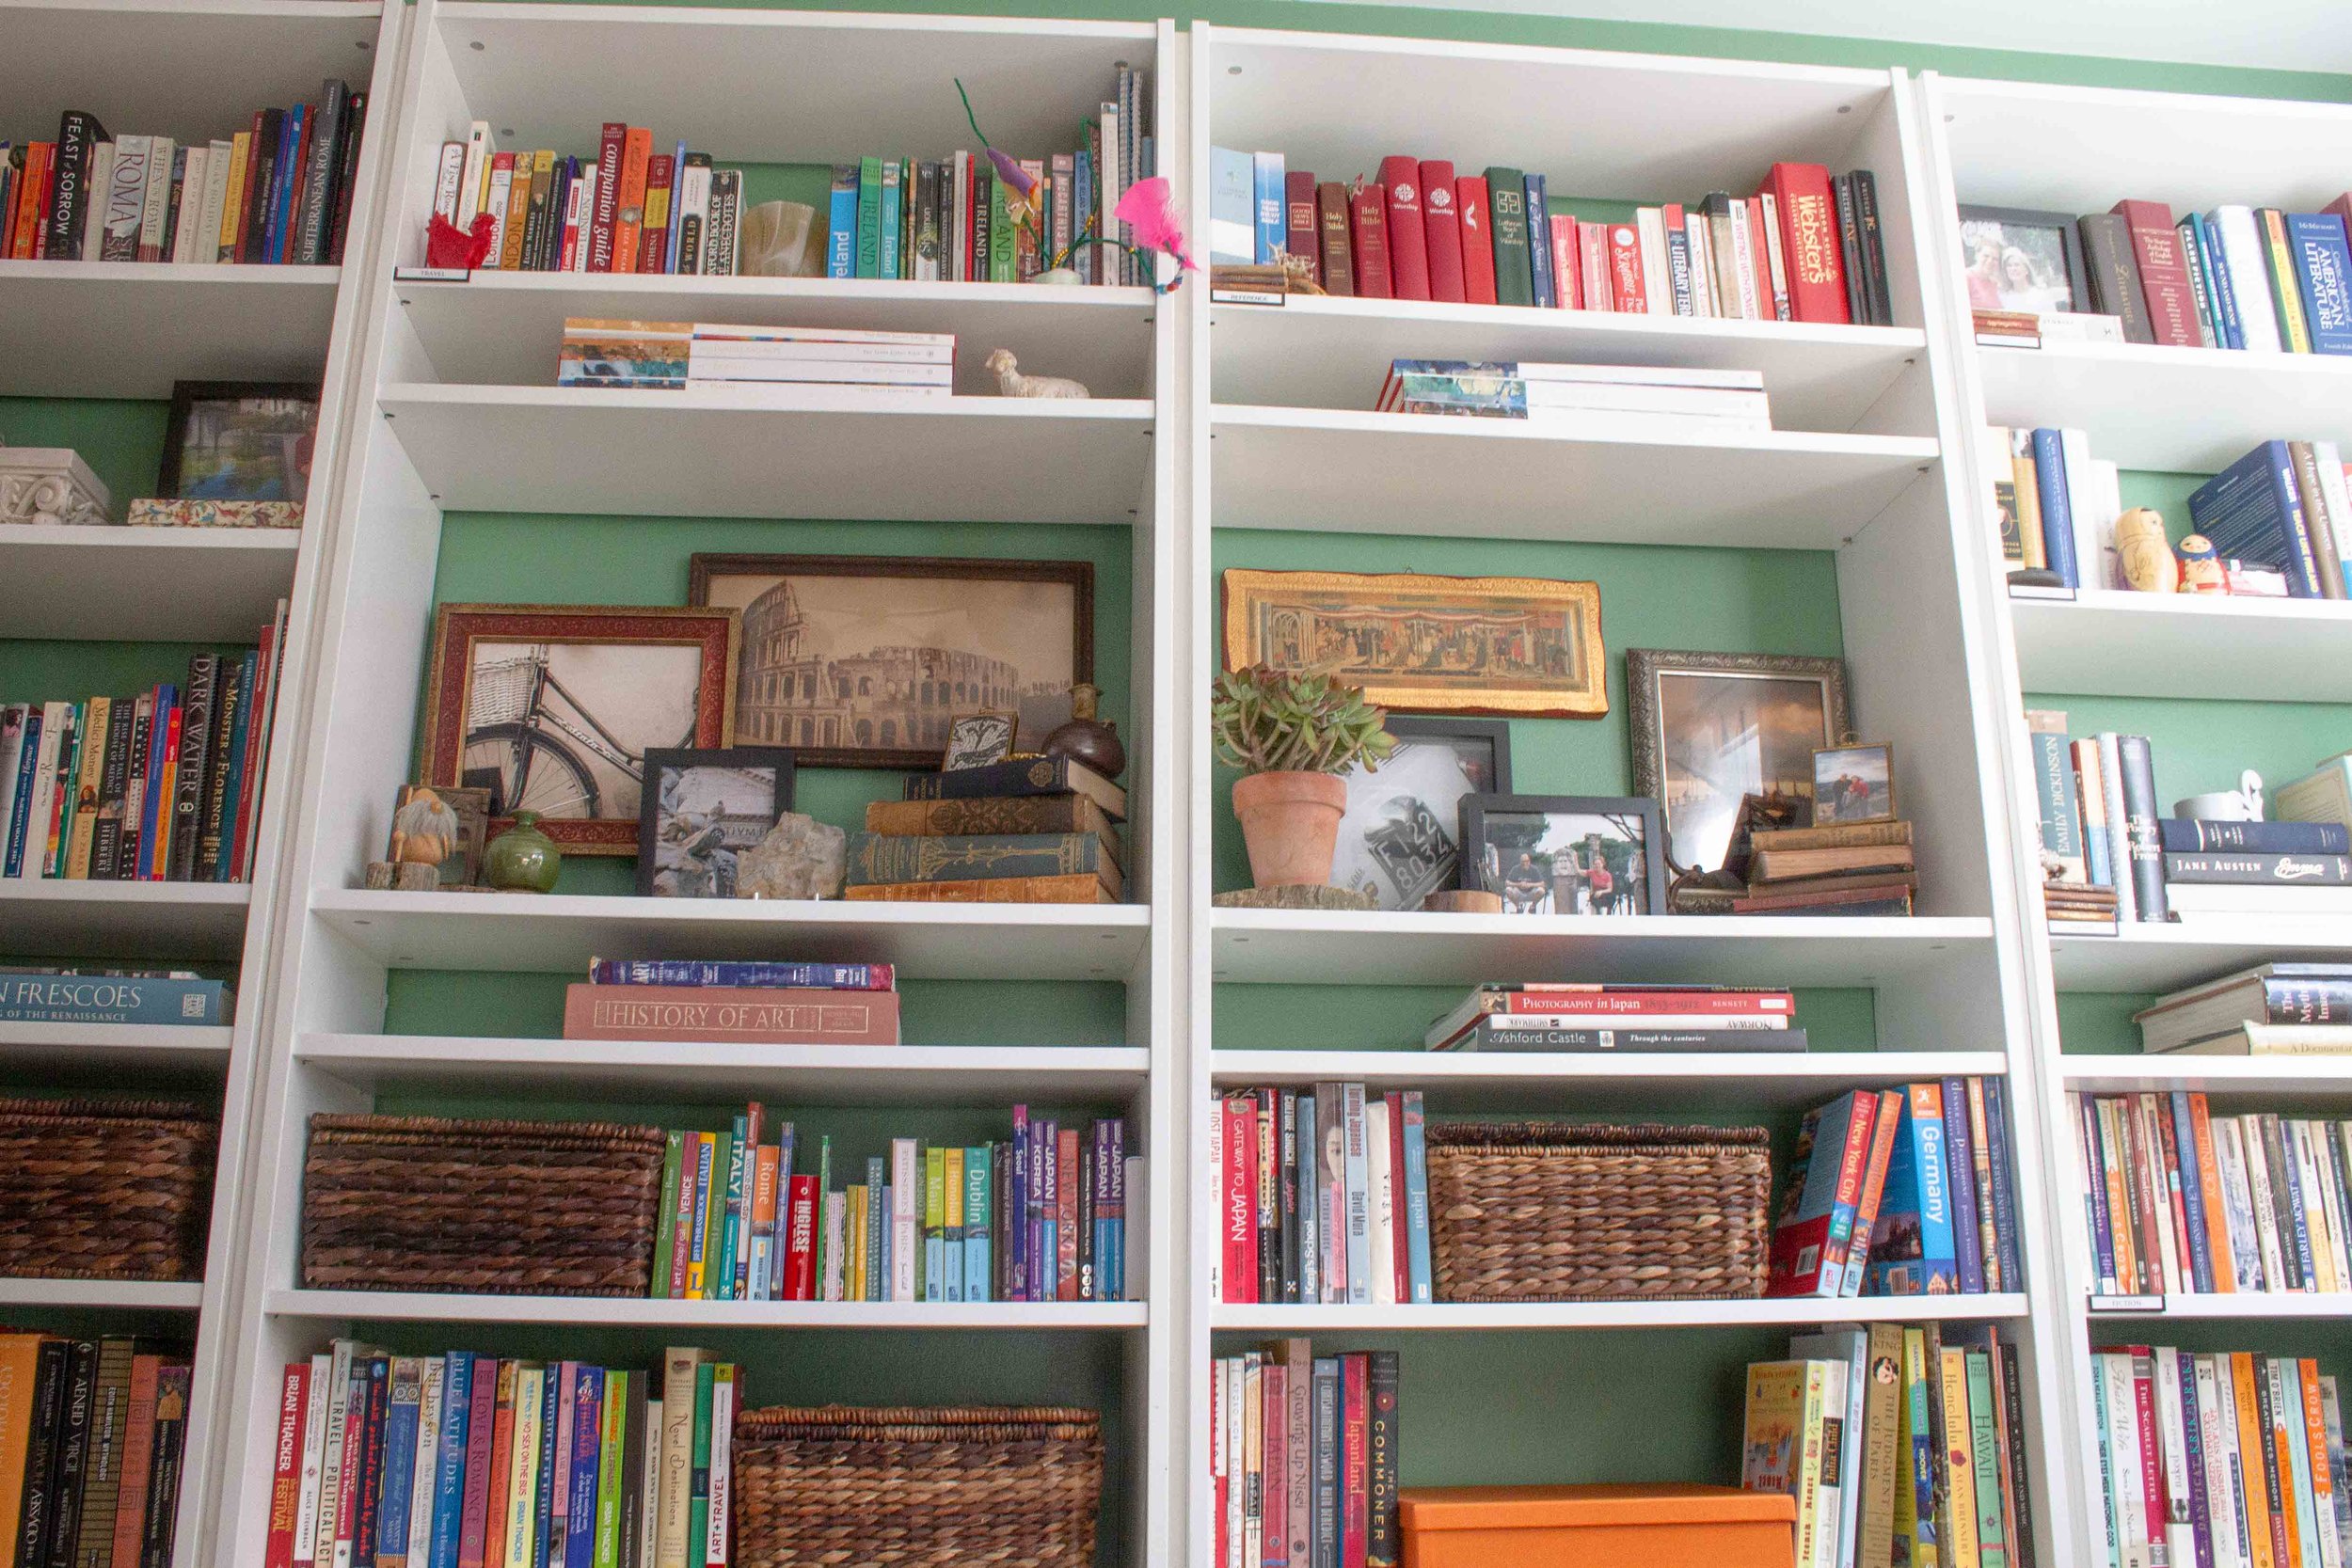
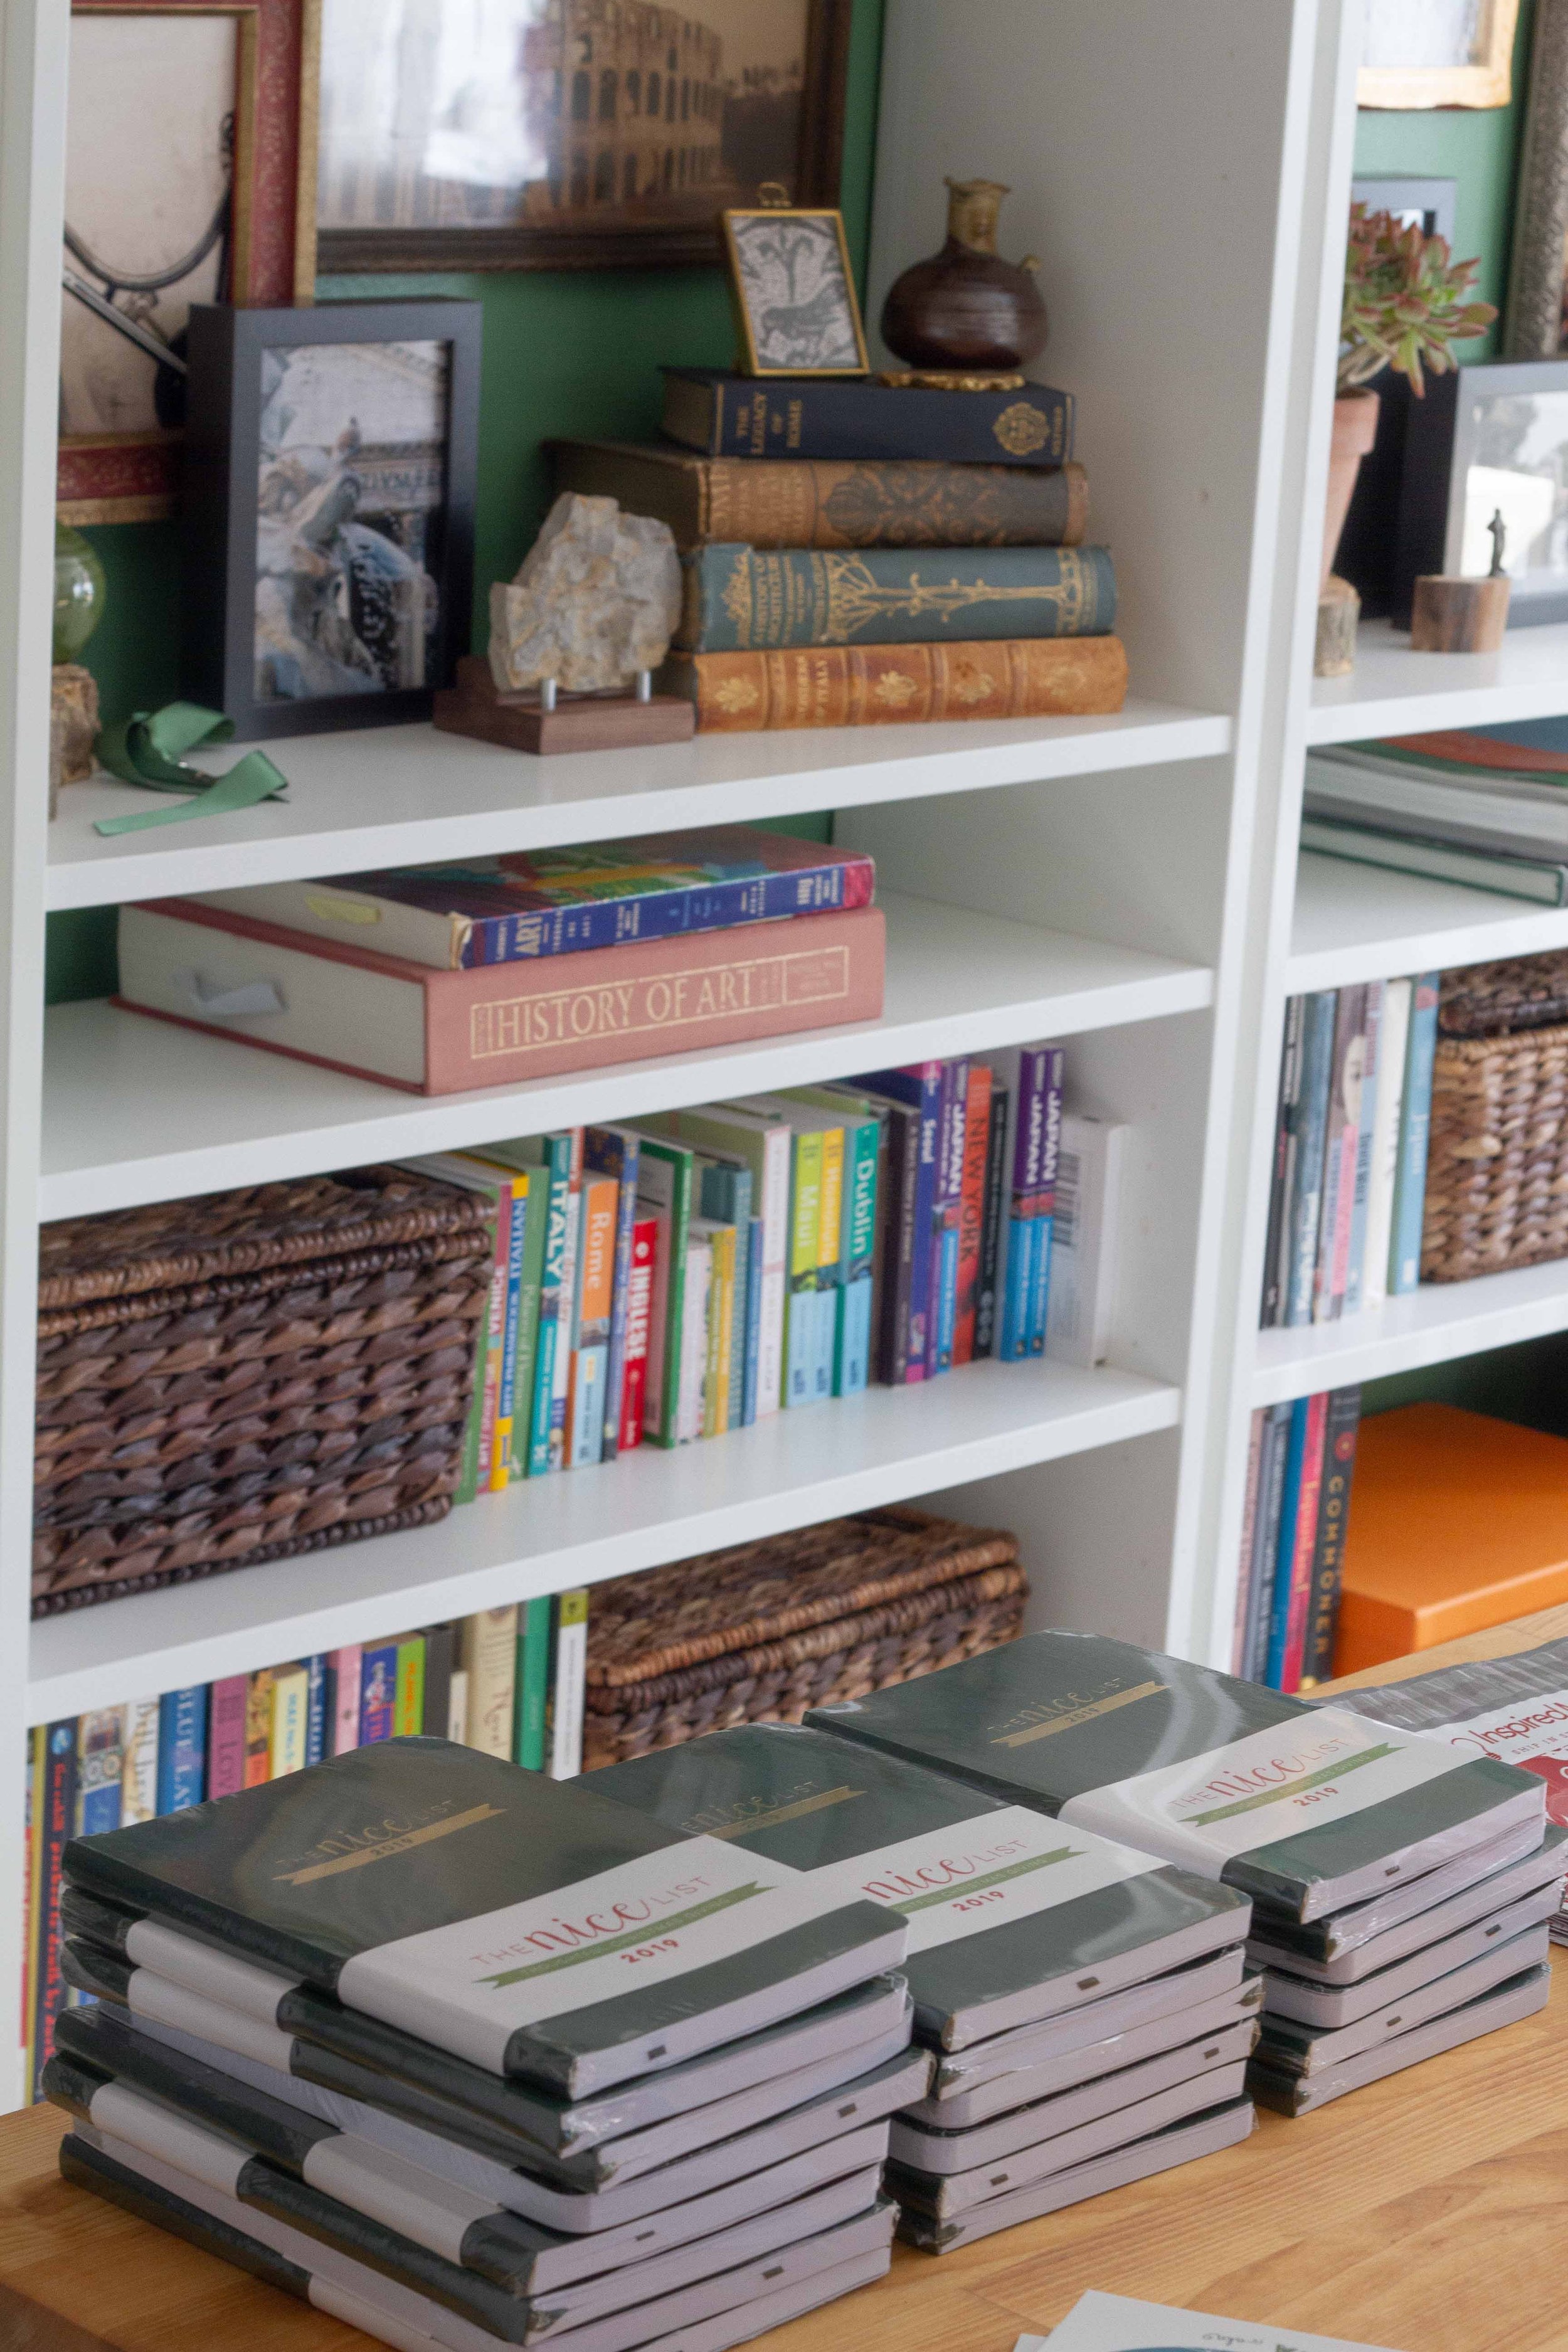
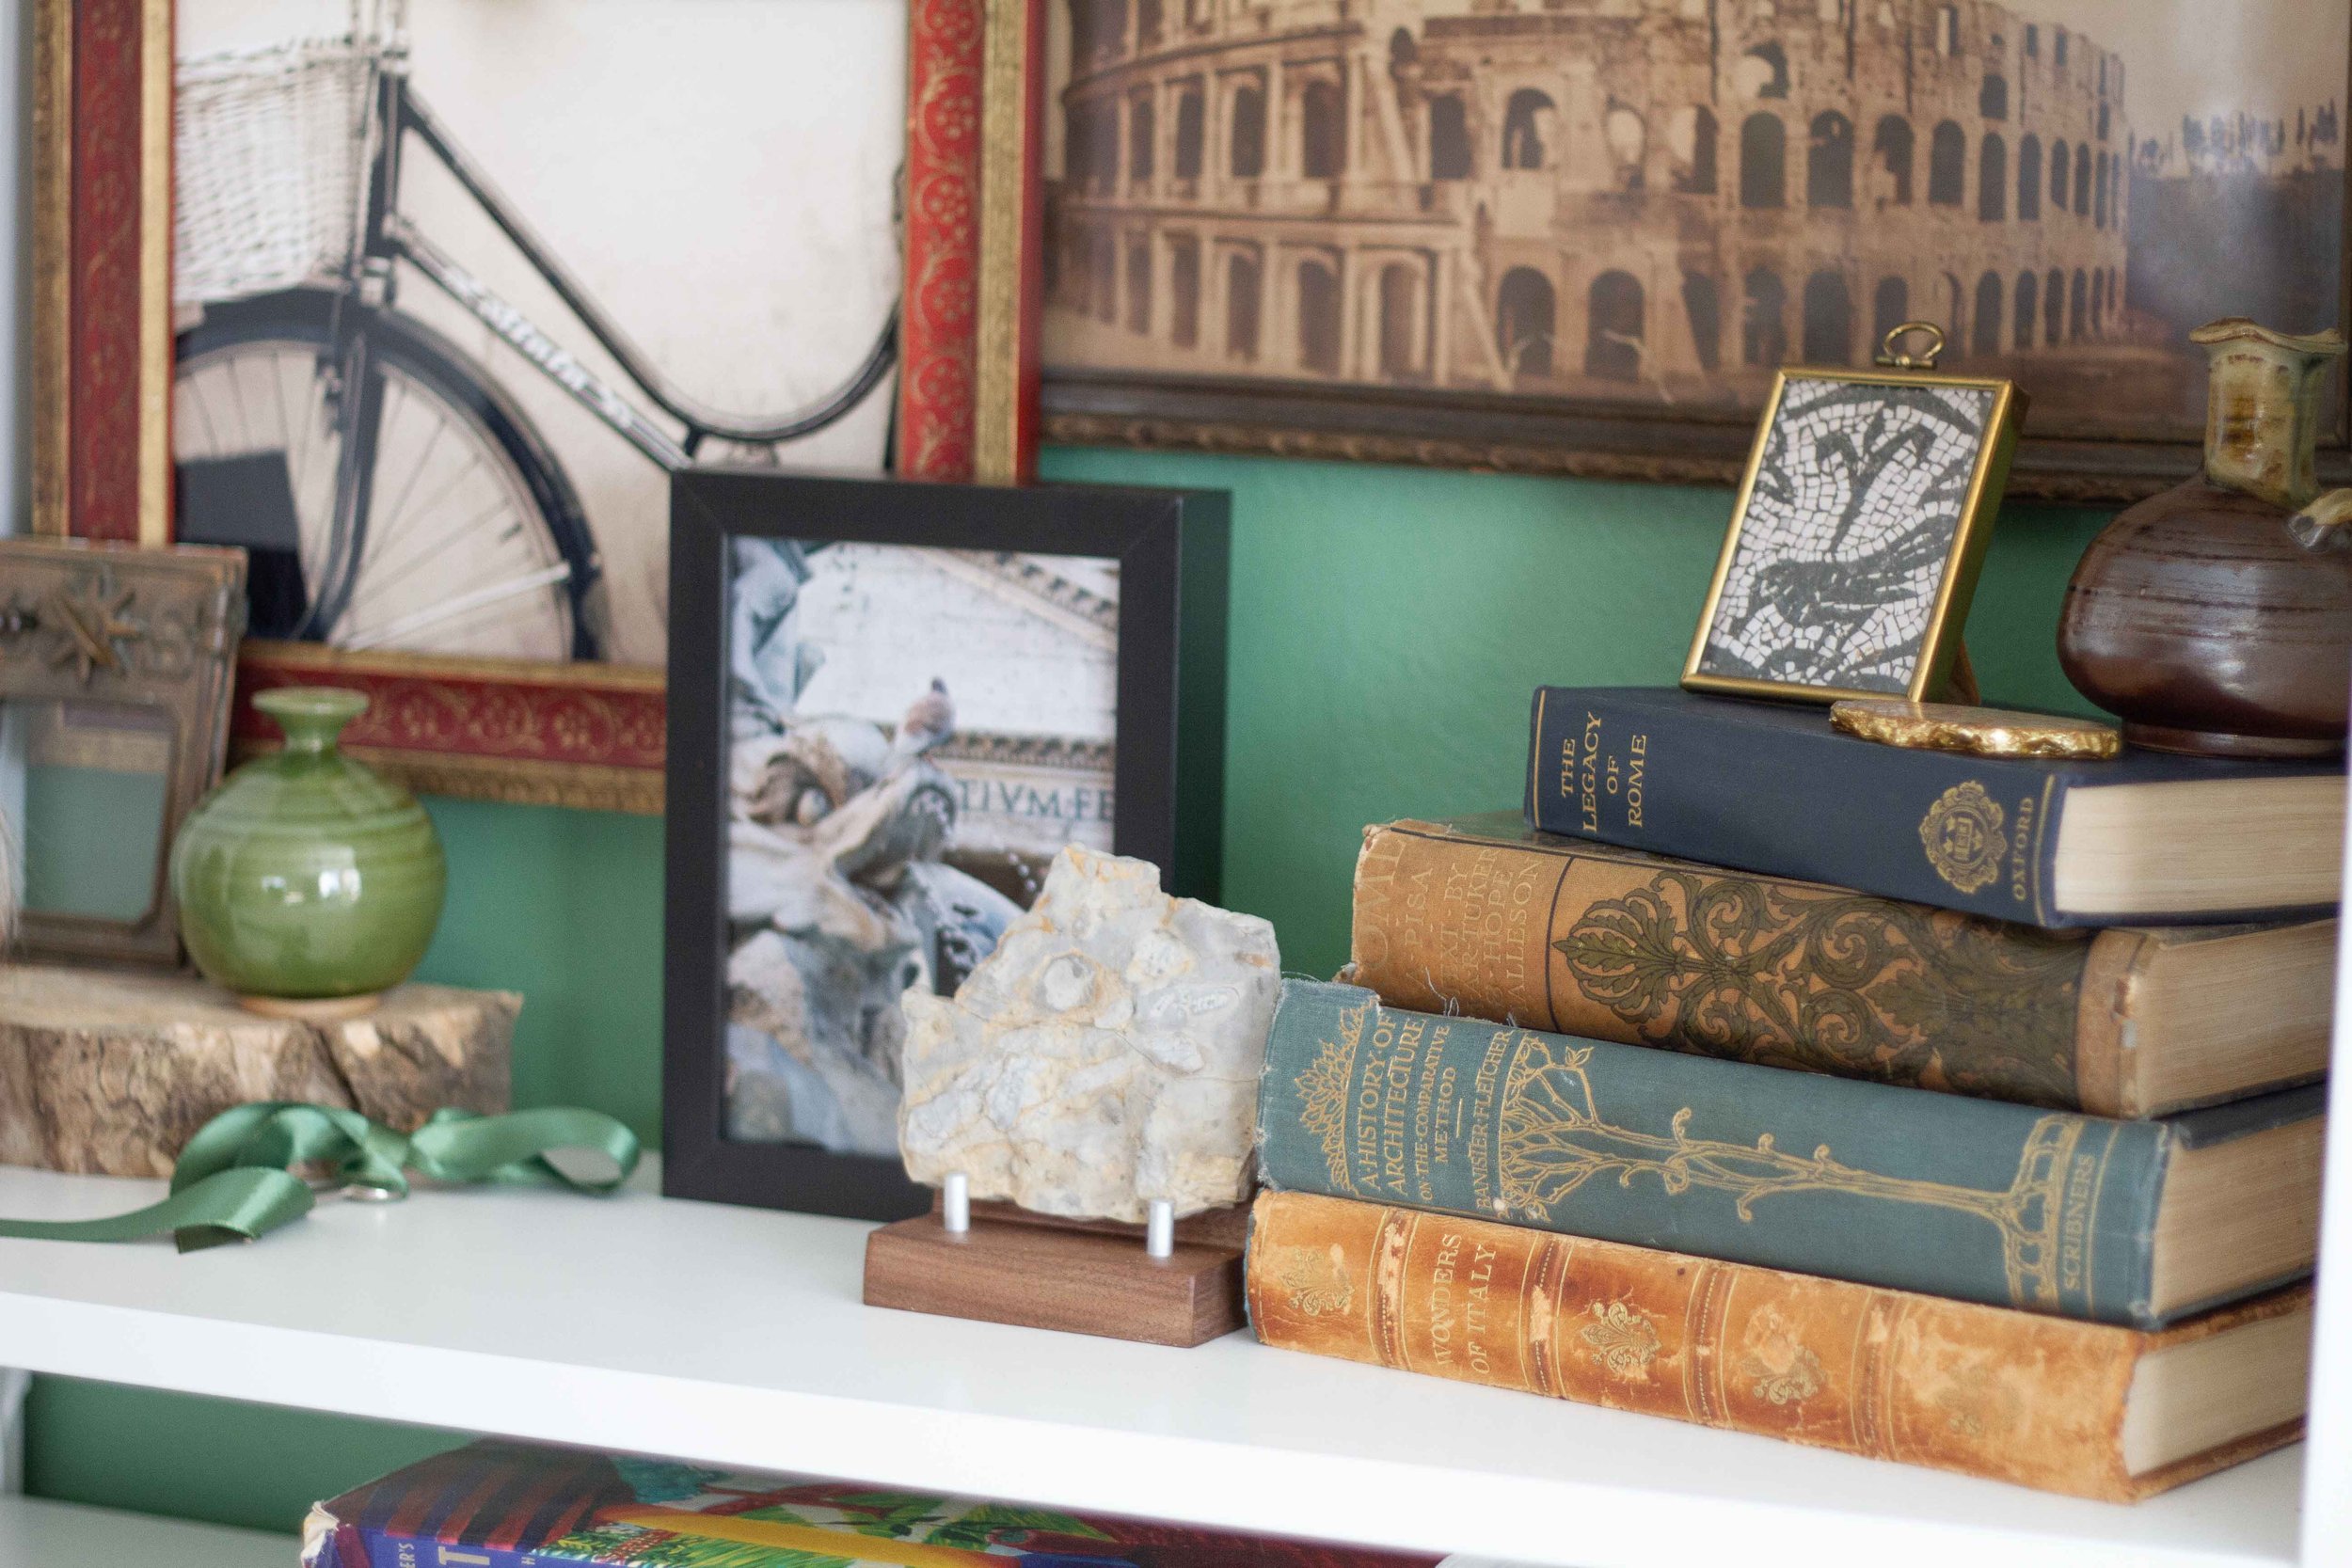
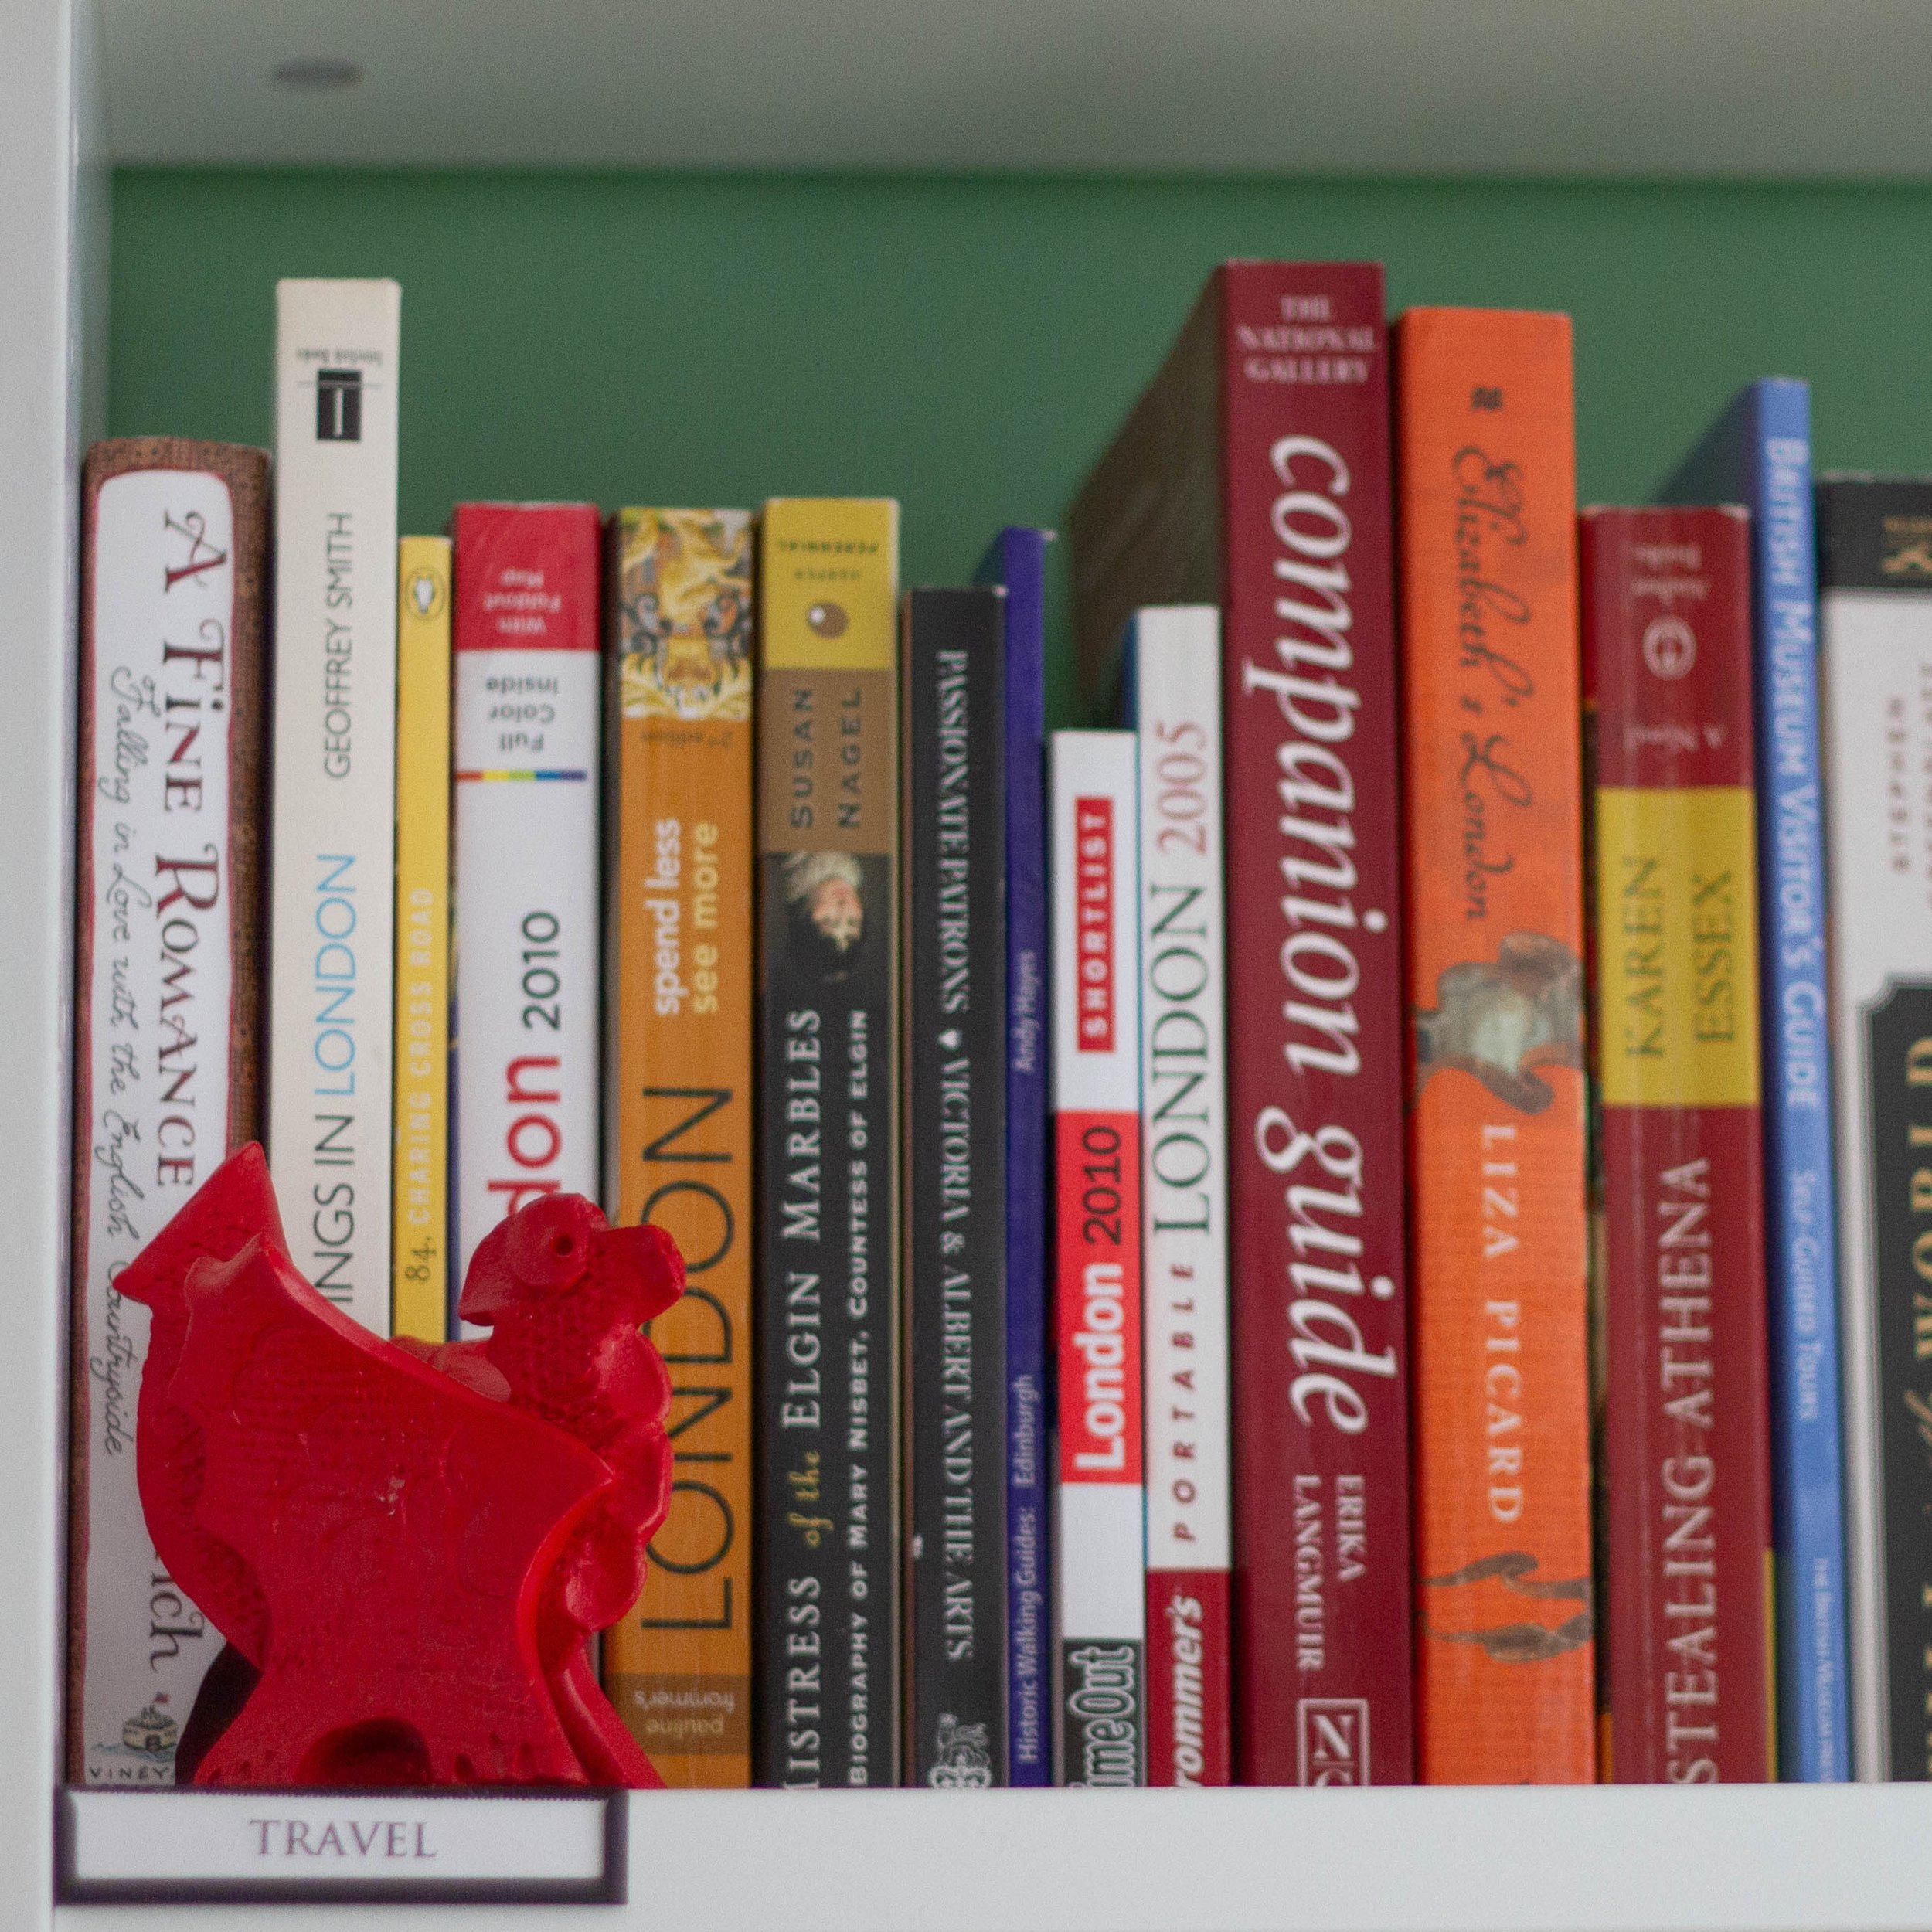
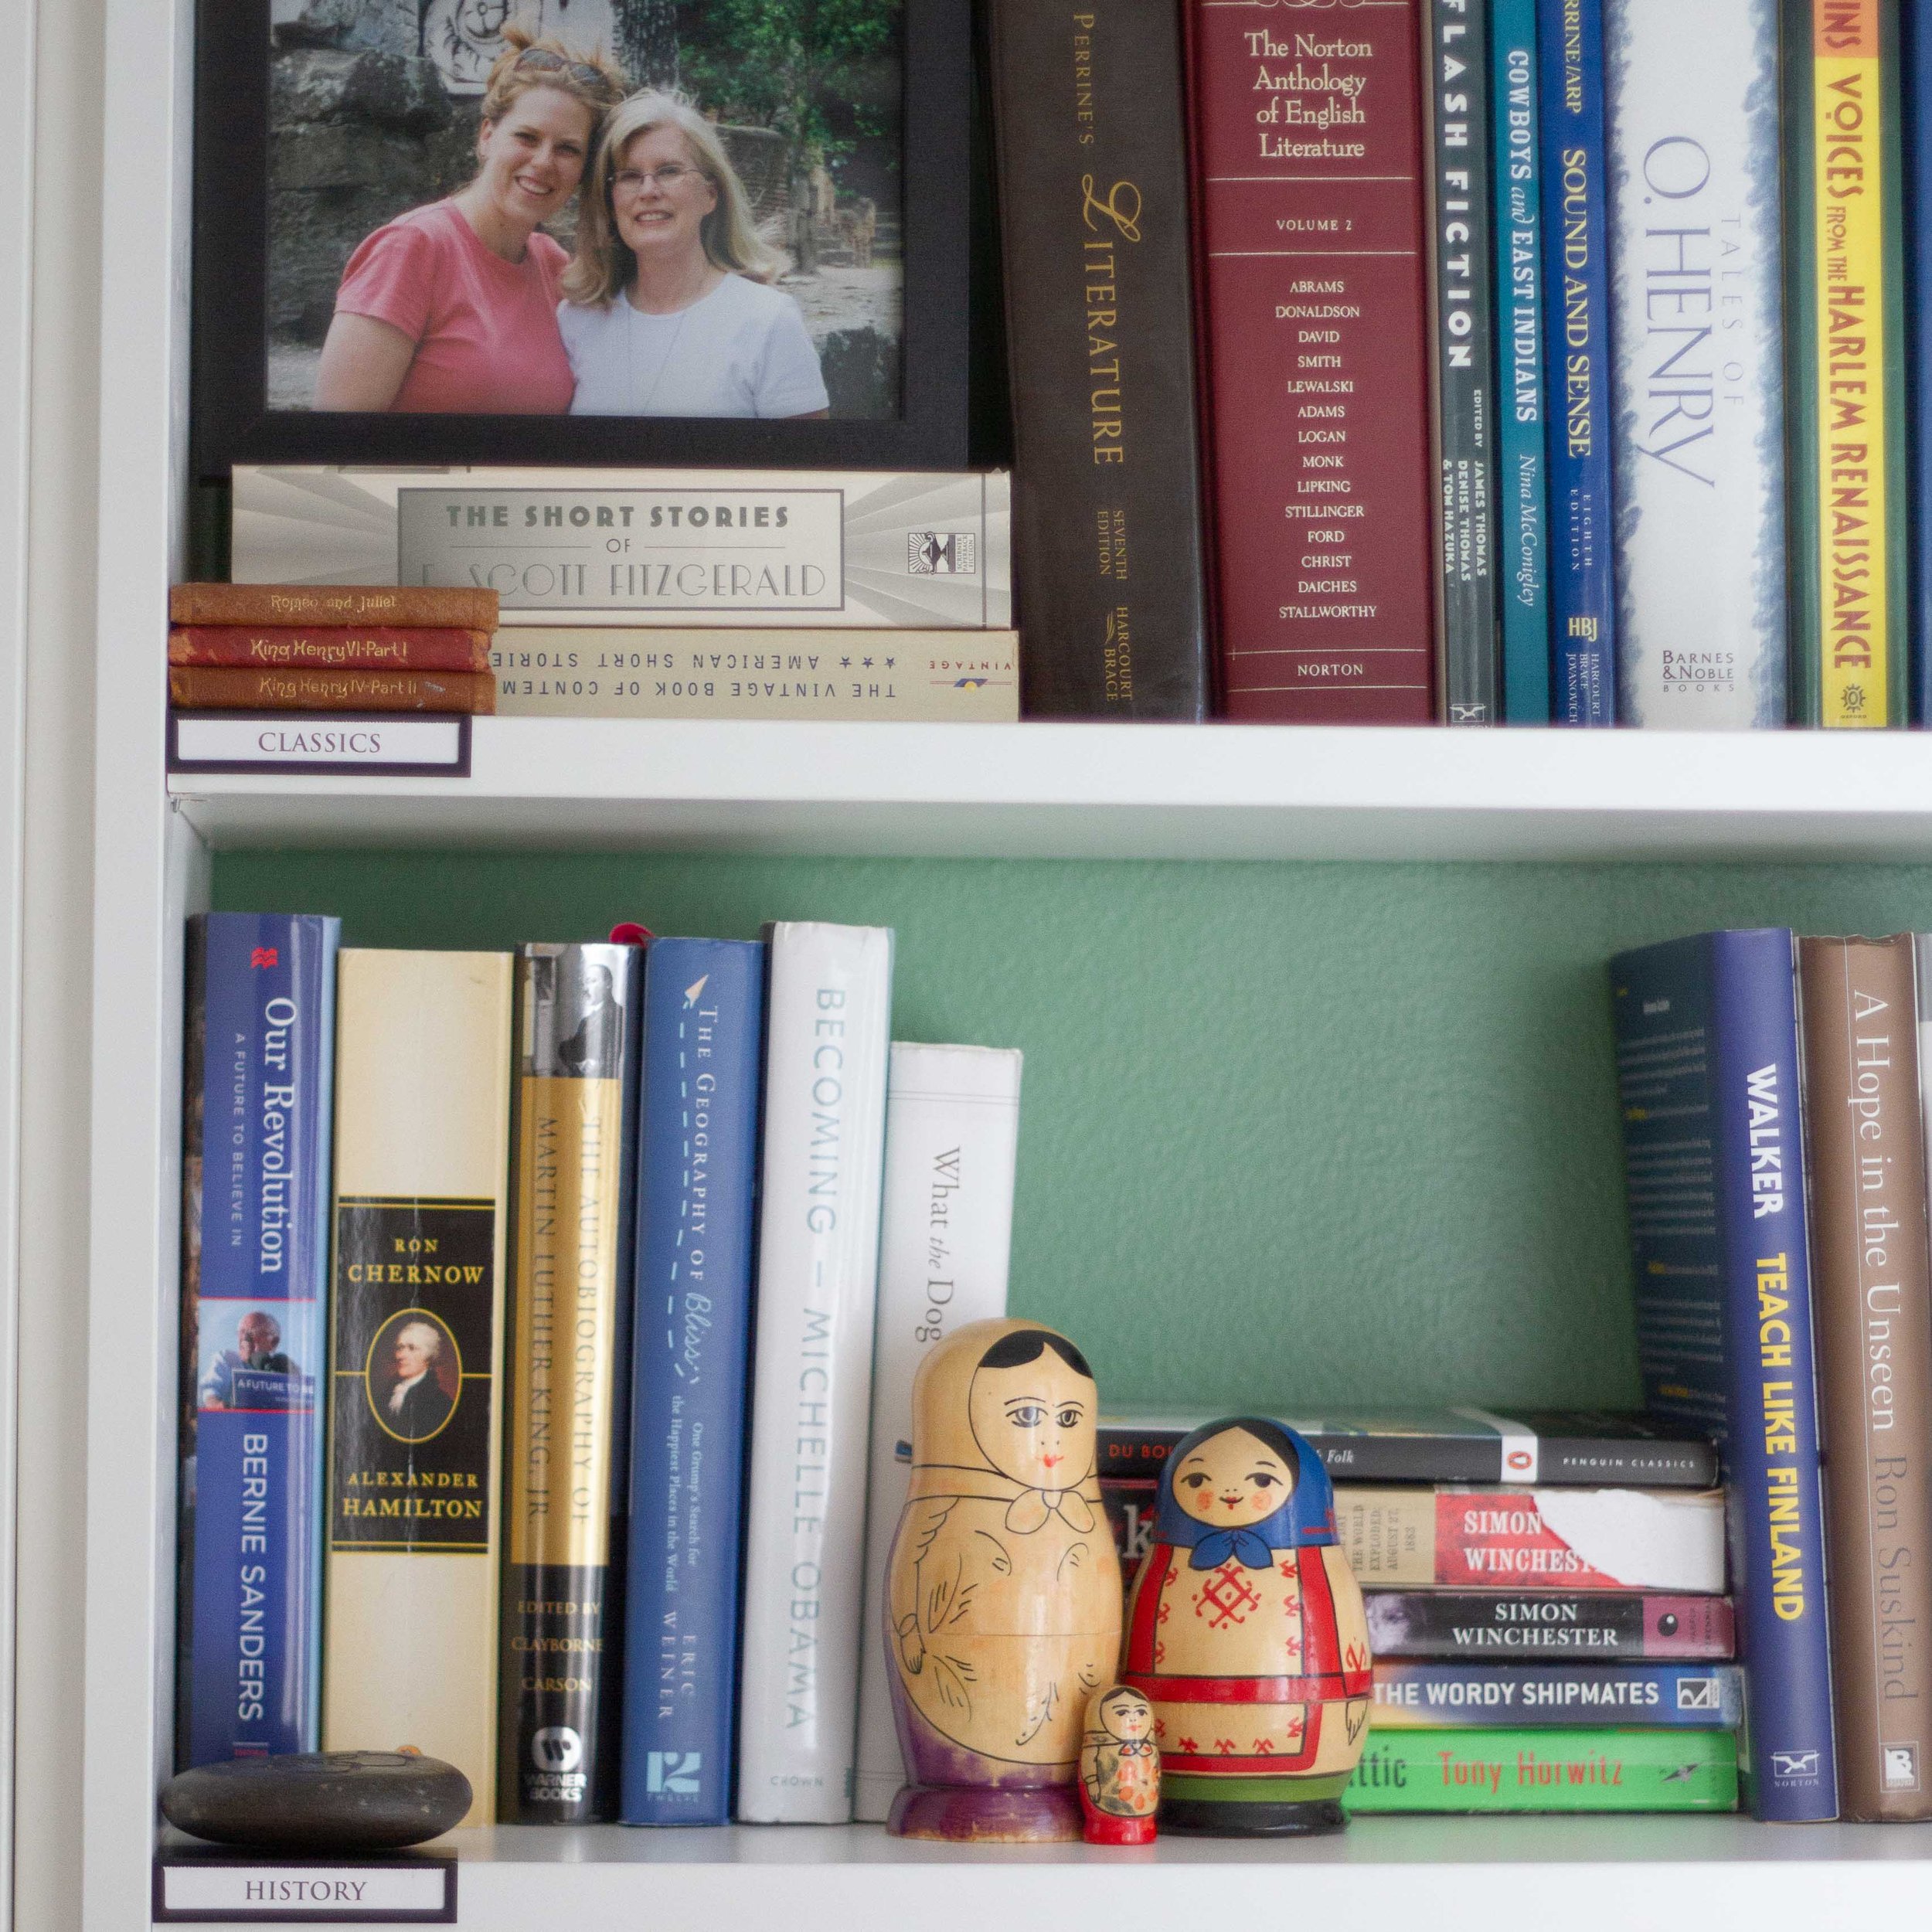
Even without being staged, the green makes the books and other items on the bookshelves pop.
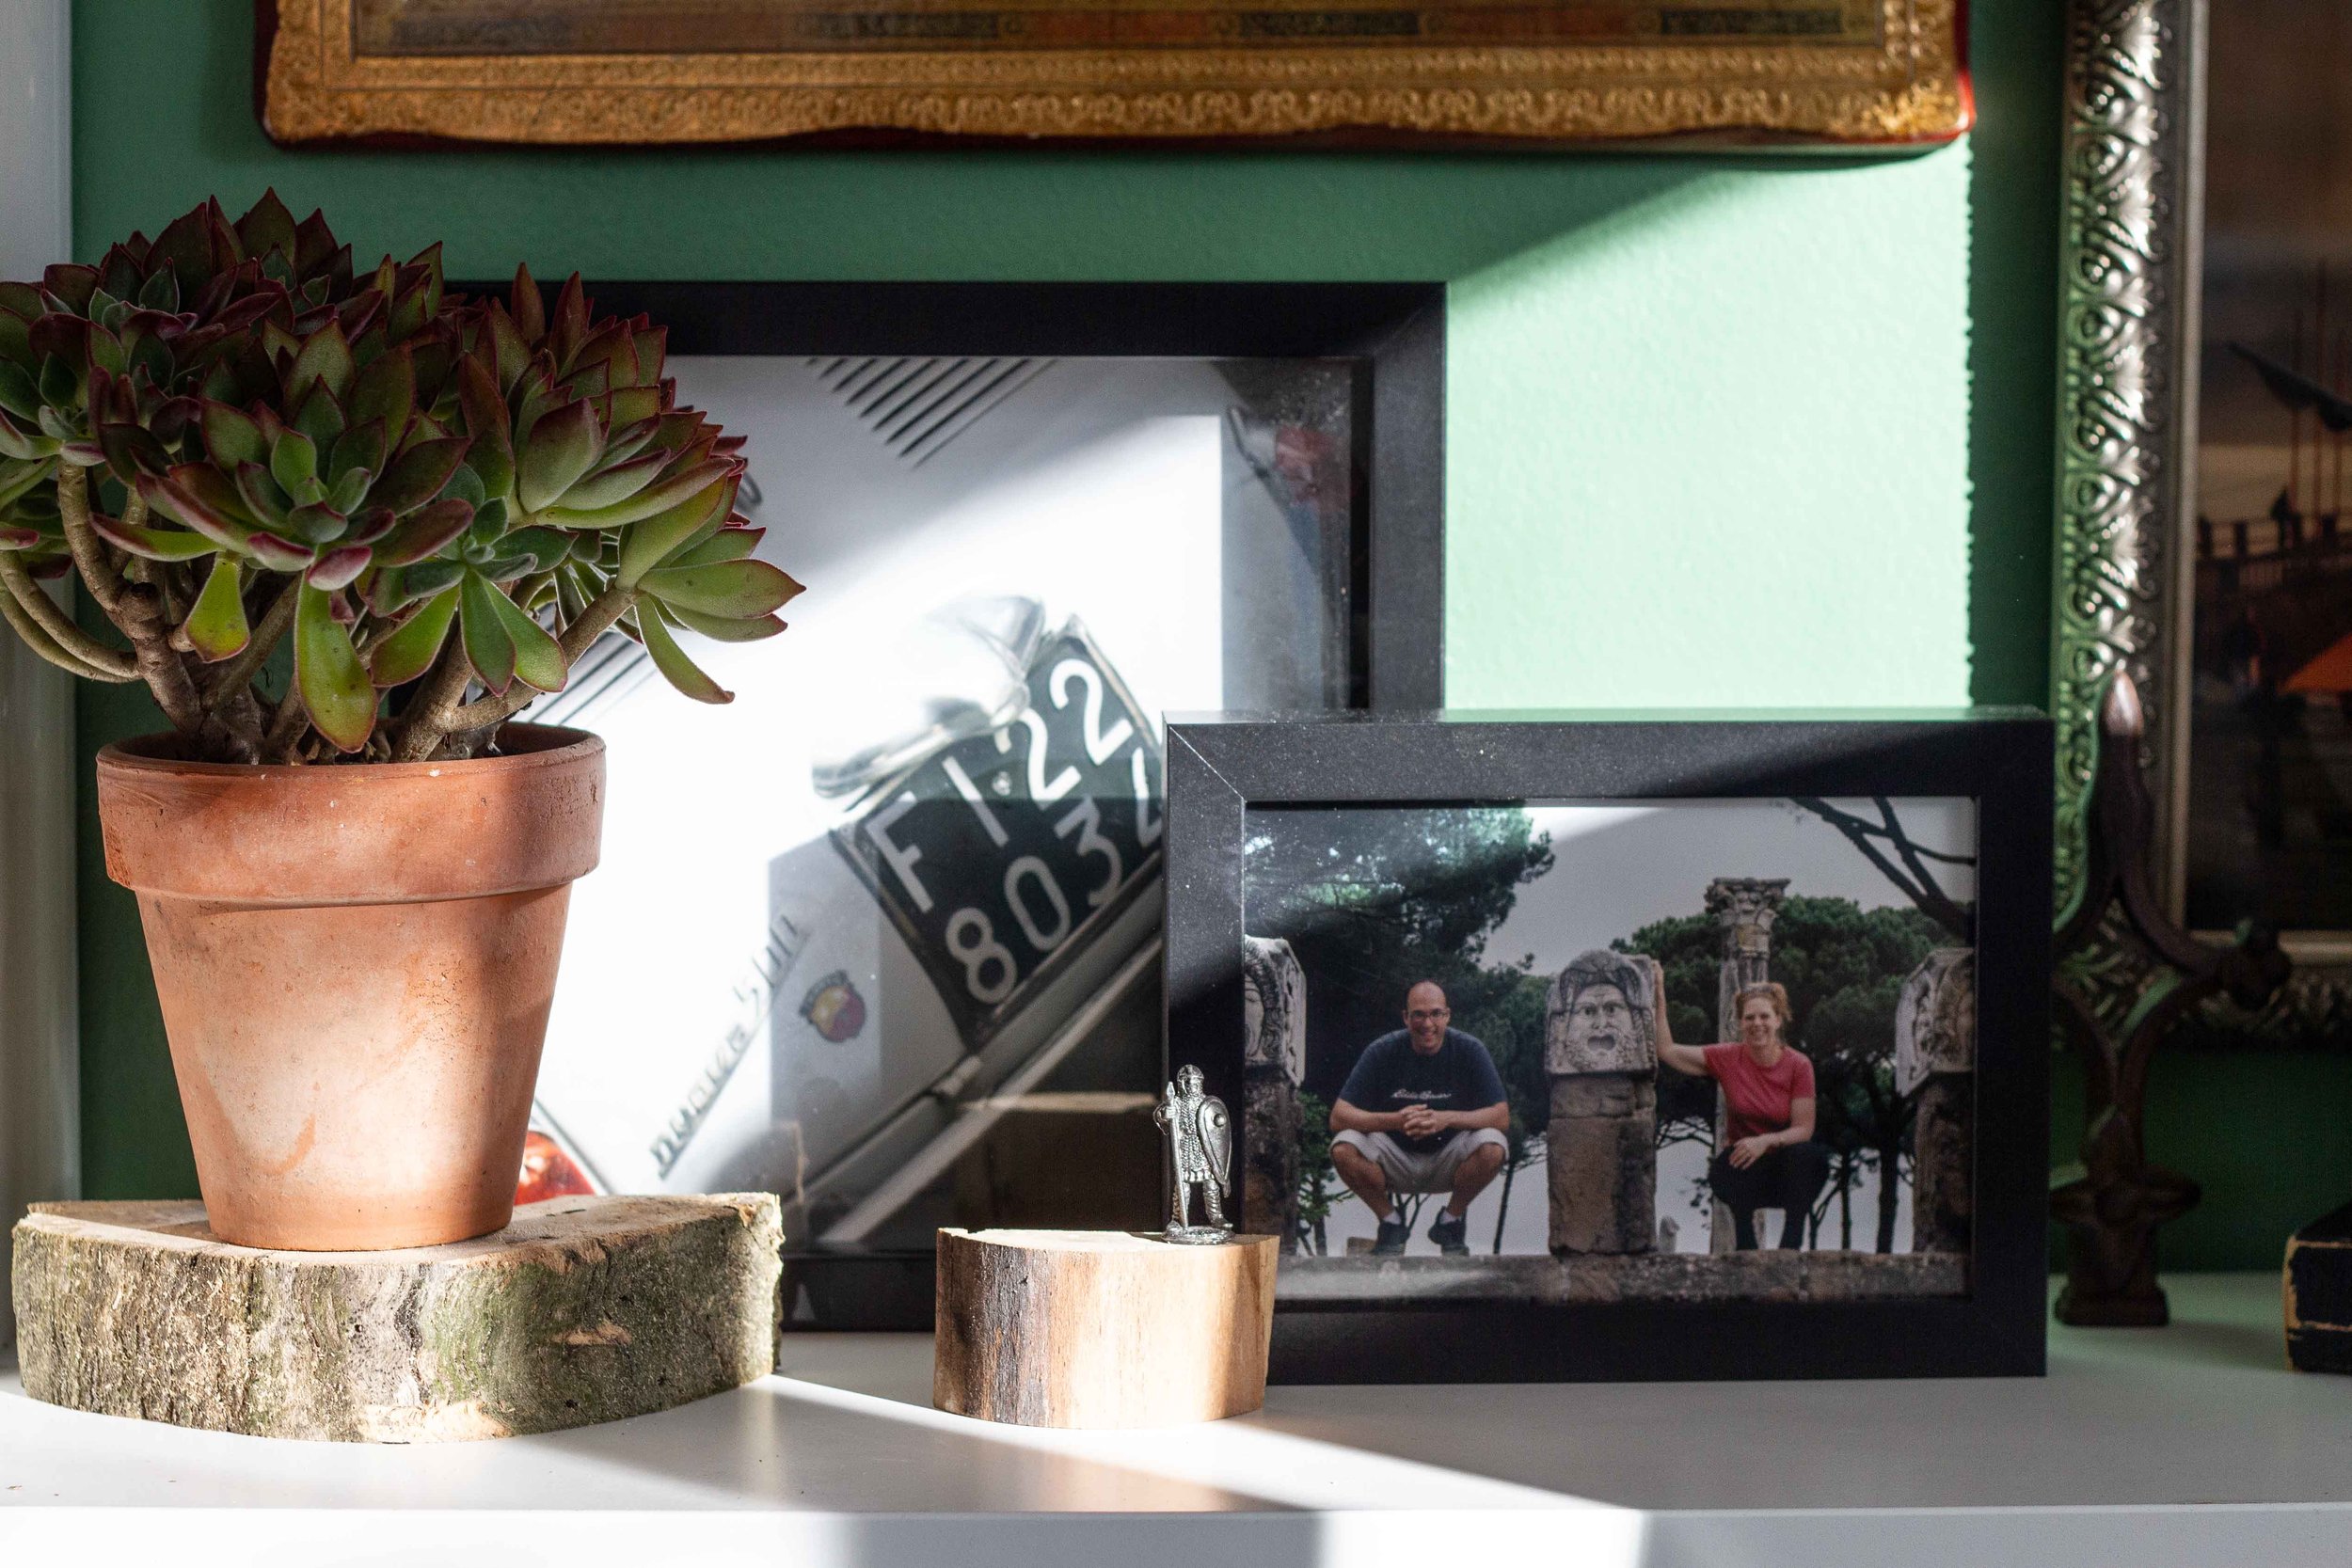
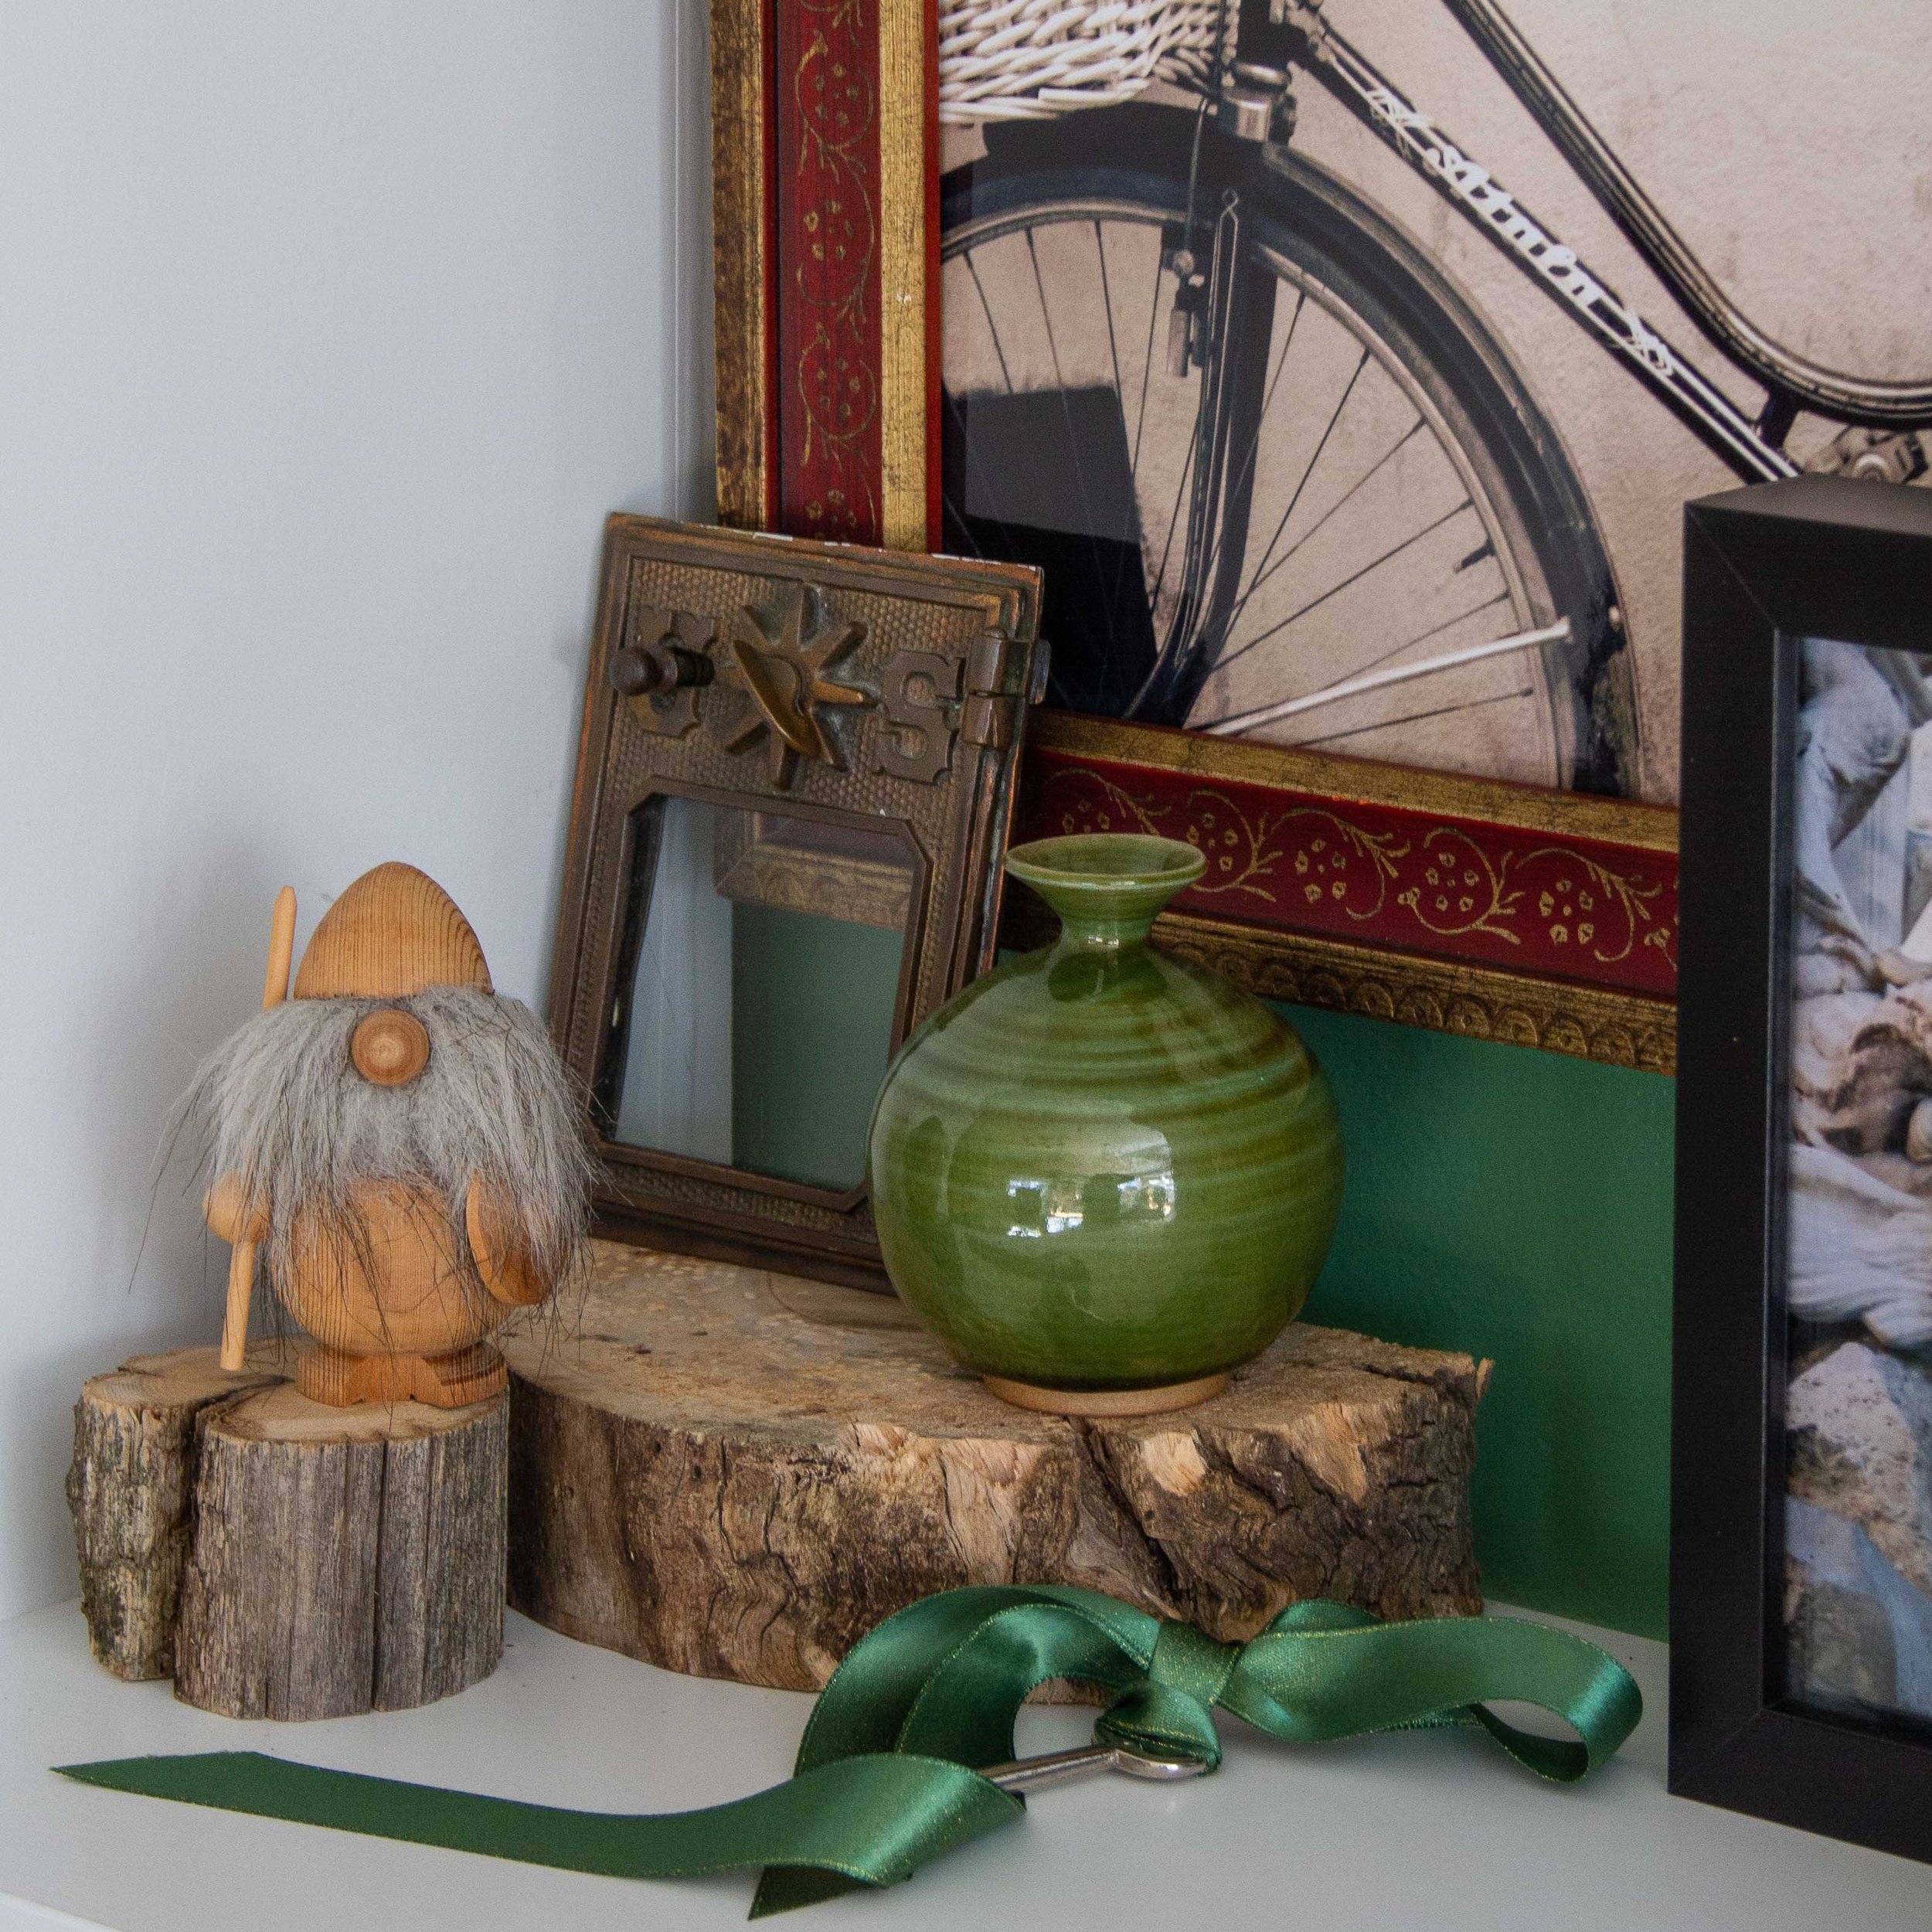
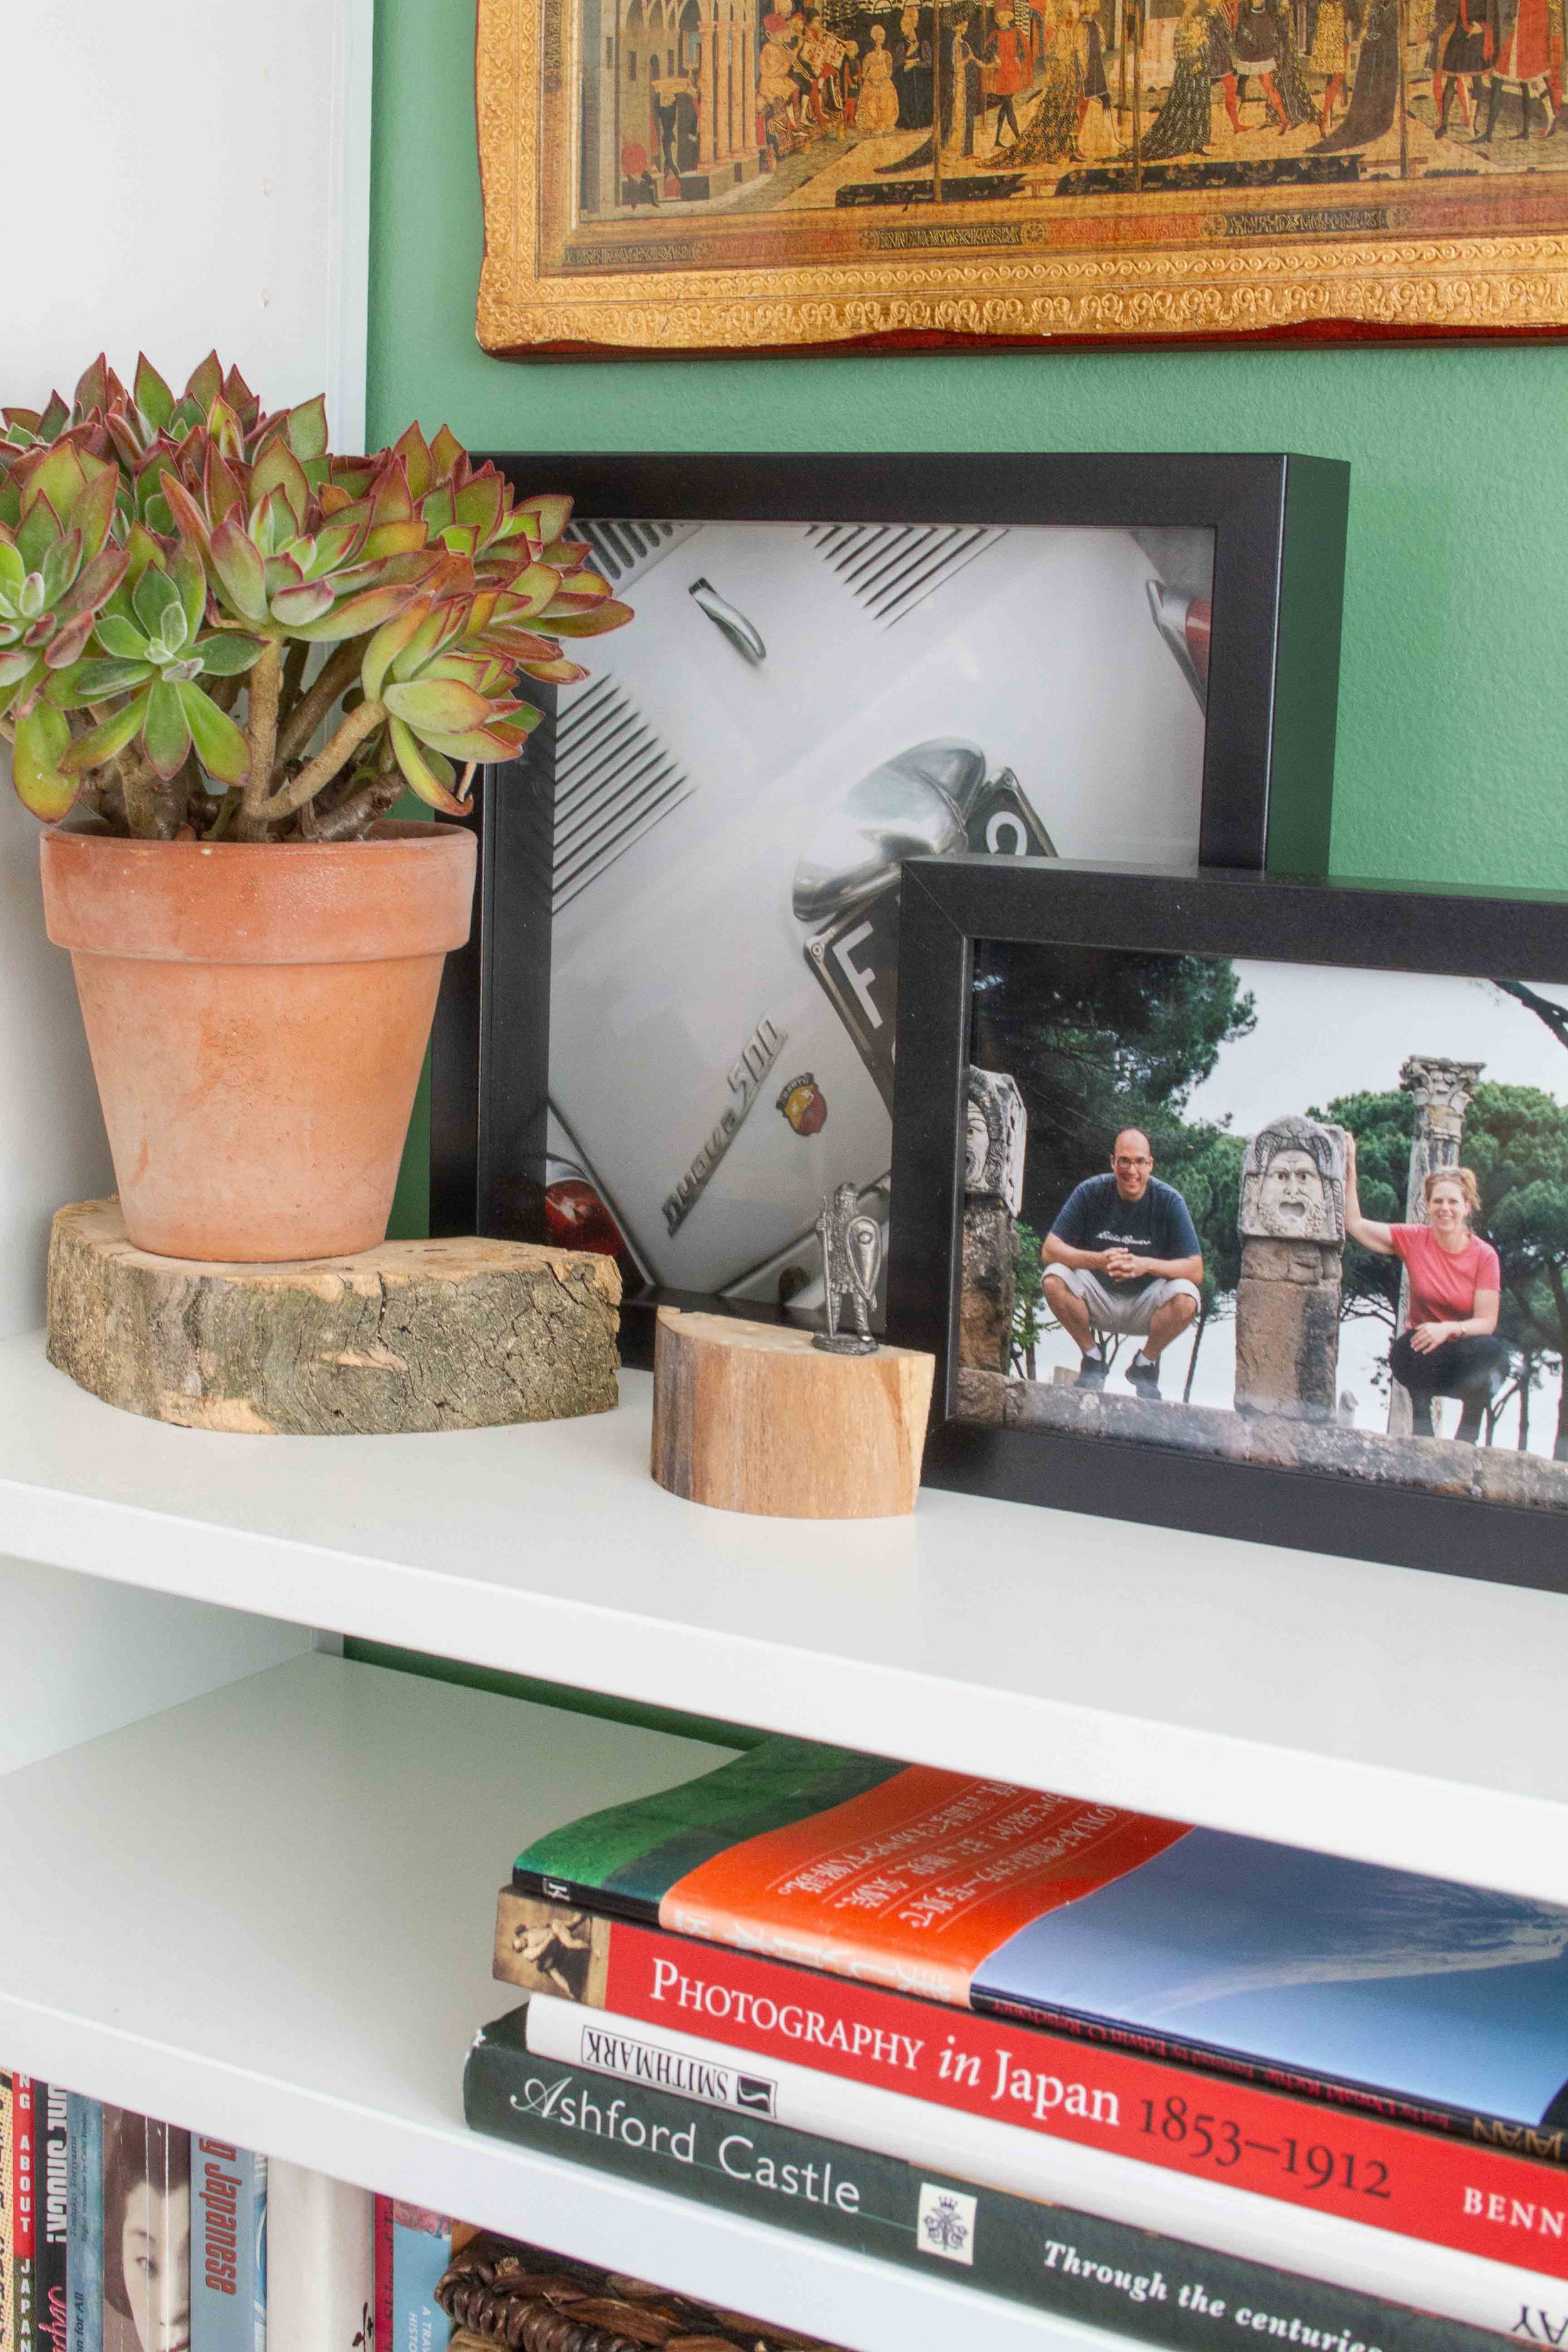
And here they are: styled and finished!


Safety when Removing the backs of Billy Bookshelves
Stock bookcases like the Billy bookcase from Ikea depend on their backs to help provide structural stability. If you choose to remove the backs as we did, it is important that you compensate for that loss of vertical strength by attaching the bookcases securely to the wall — into the studs. Frankly, if you have children or pets or if you live anywhere where there are earthquakes, any bookcase should be anchored to the wall to prevent it from falling over and crushing someone.