
Hide the Holes in Your Billy Bookcase
The Billy Bookcase: the Ikea workhorse ubiquitous around the world for book hoarders and decor enthusiasts alike. In fact, more than 60 million Billy bookcases have been produced since its initial design in 1978. That’s a lot of books and tchotchkes sitting on those shelves.
We have had Billy bookcases for years, and our current sets have been moved across the country three times.
Oh look! Billy bookcases in the guest room/office of our Subdivision Sweetheart. We sold those with that house.
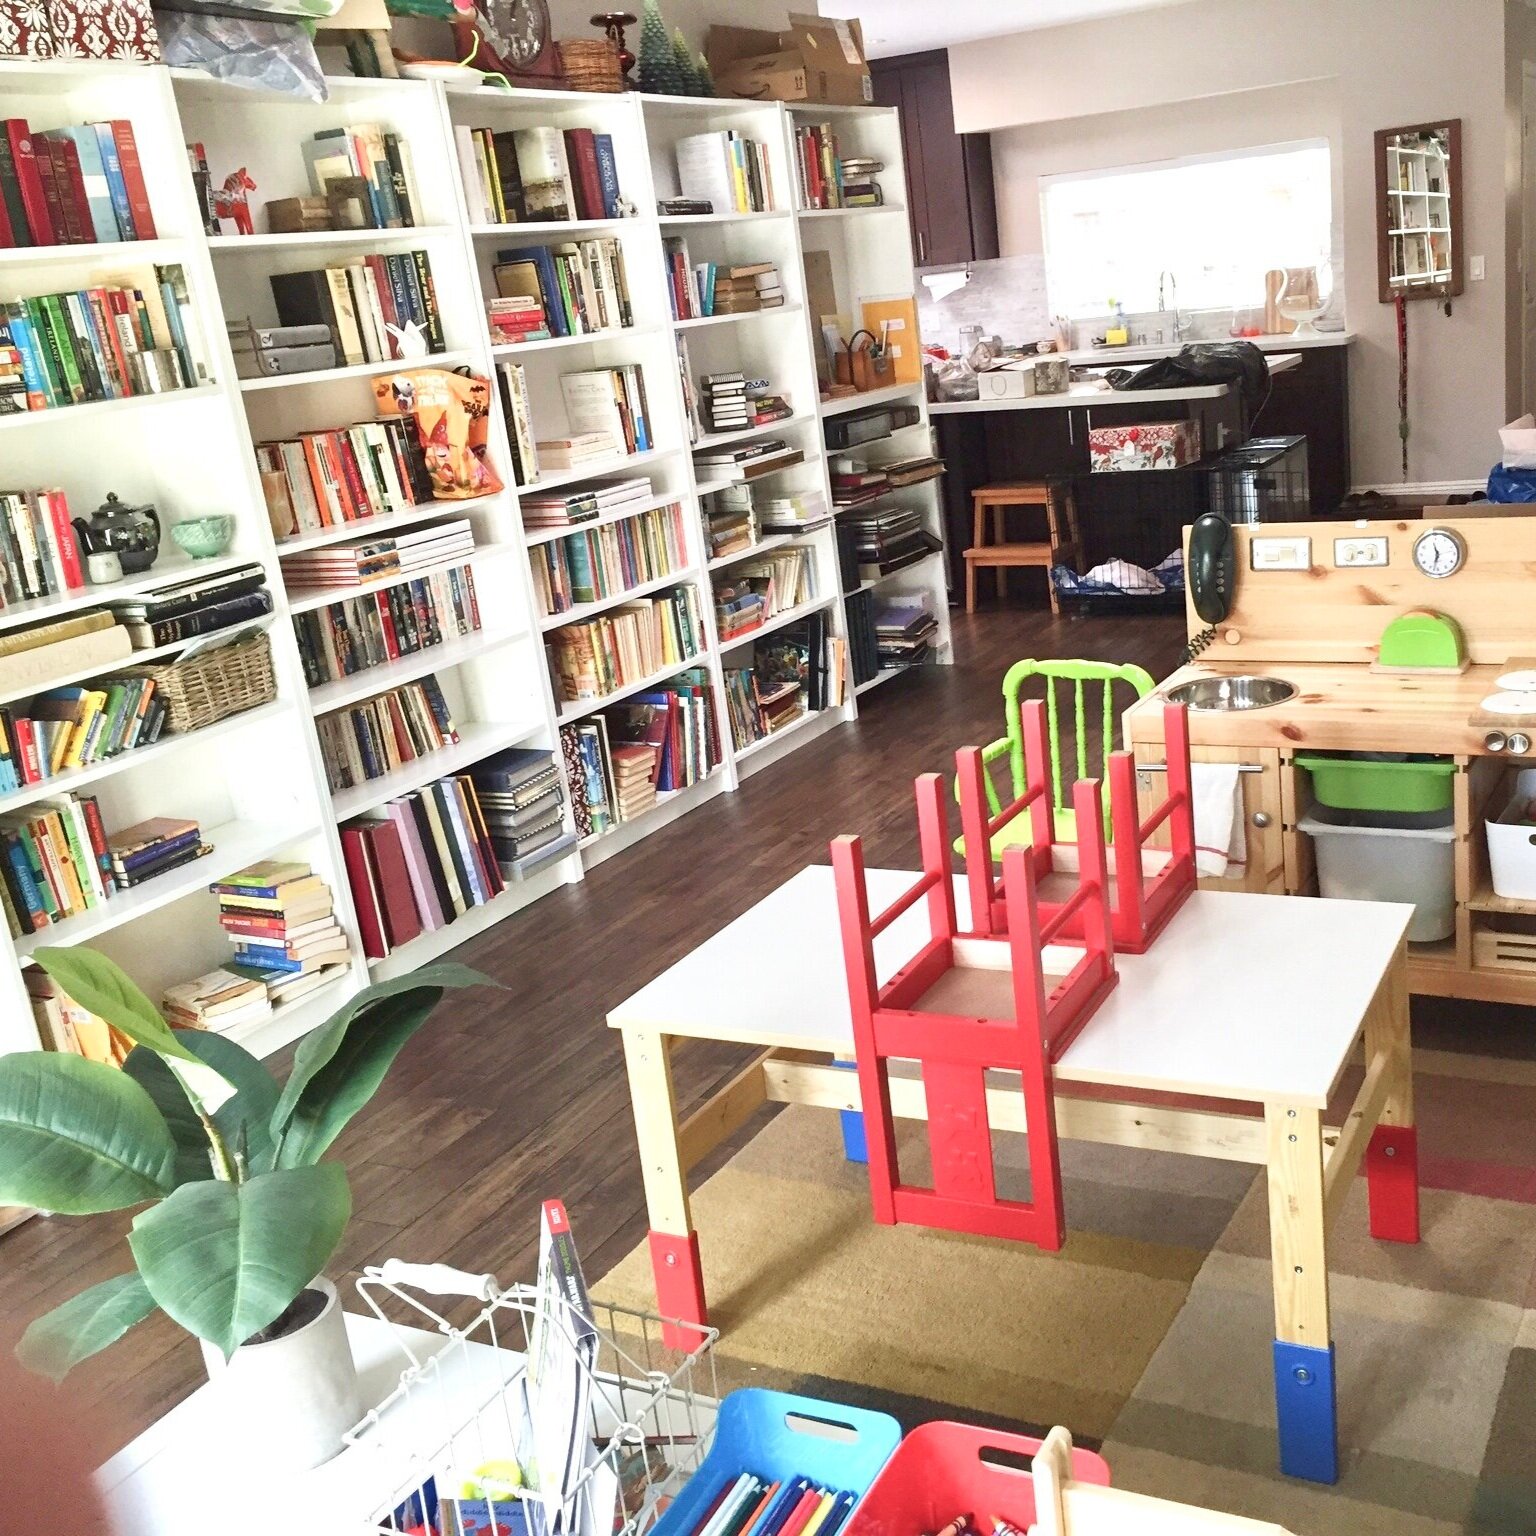
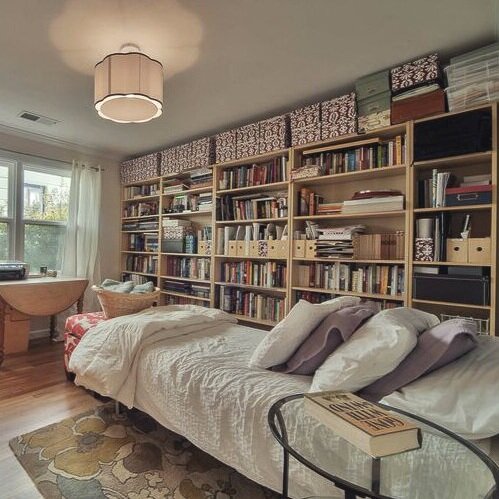
And here are some white Billys — these had already been moved once. And in this house they landed in the Art Room.
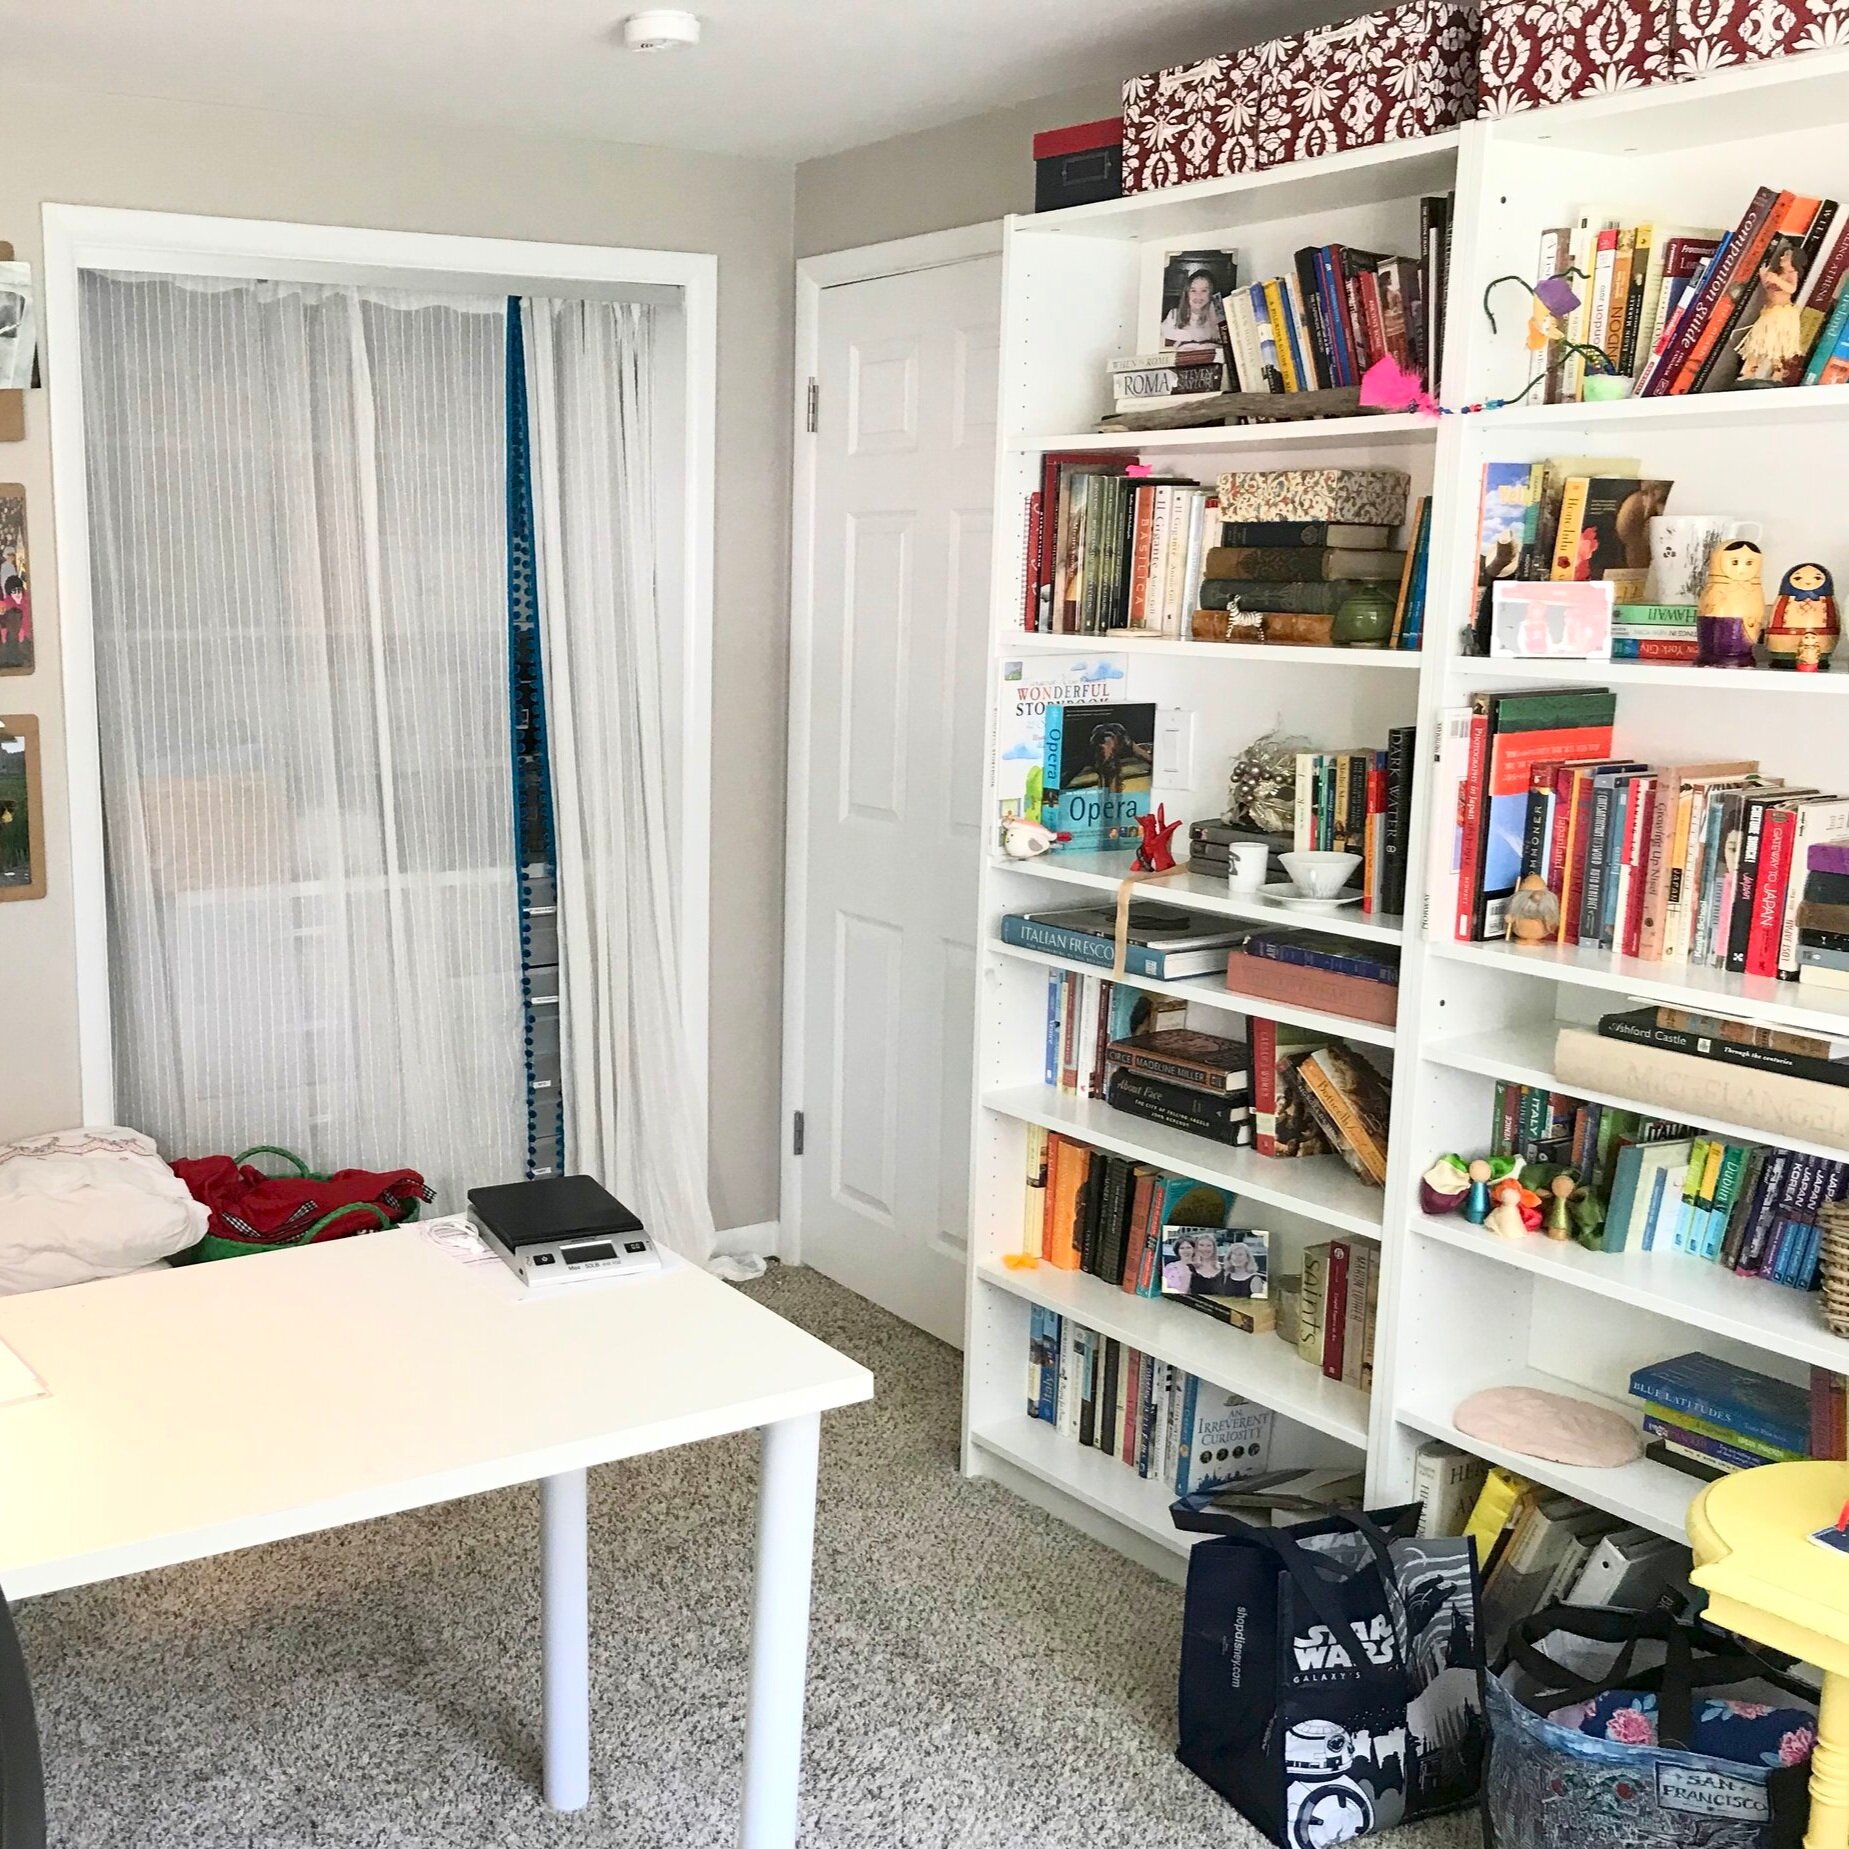
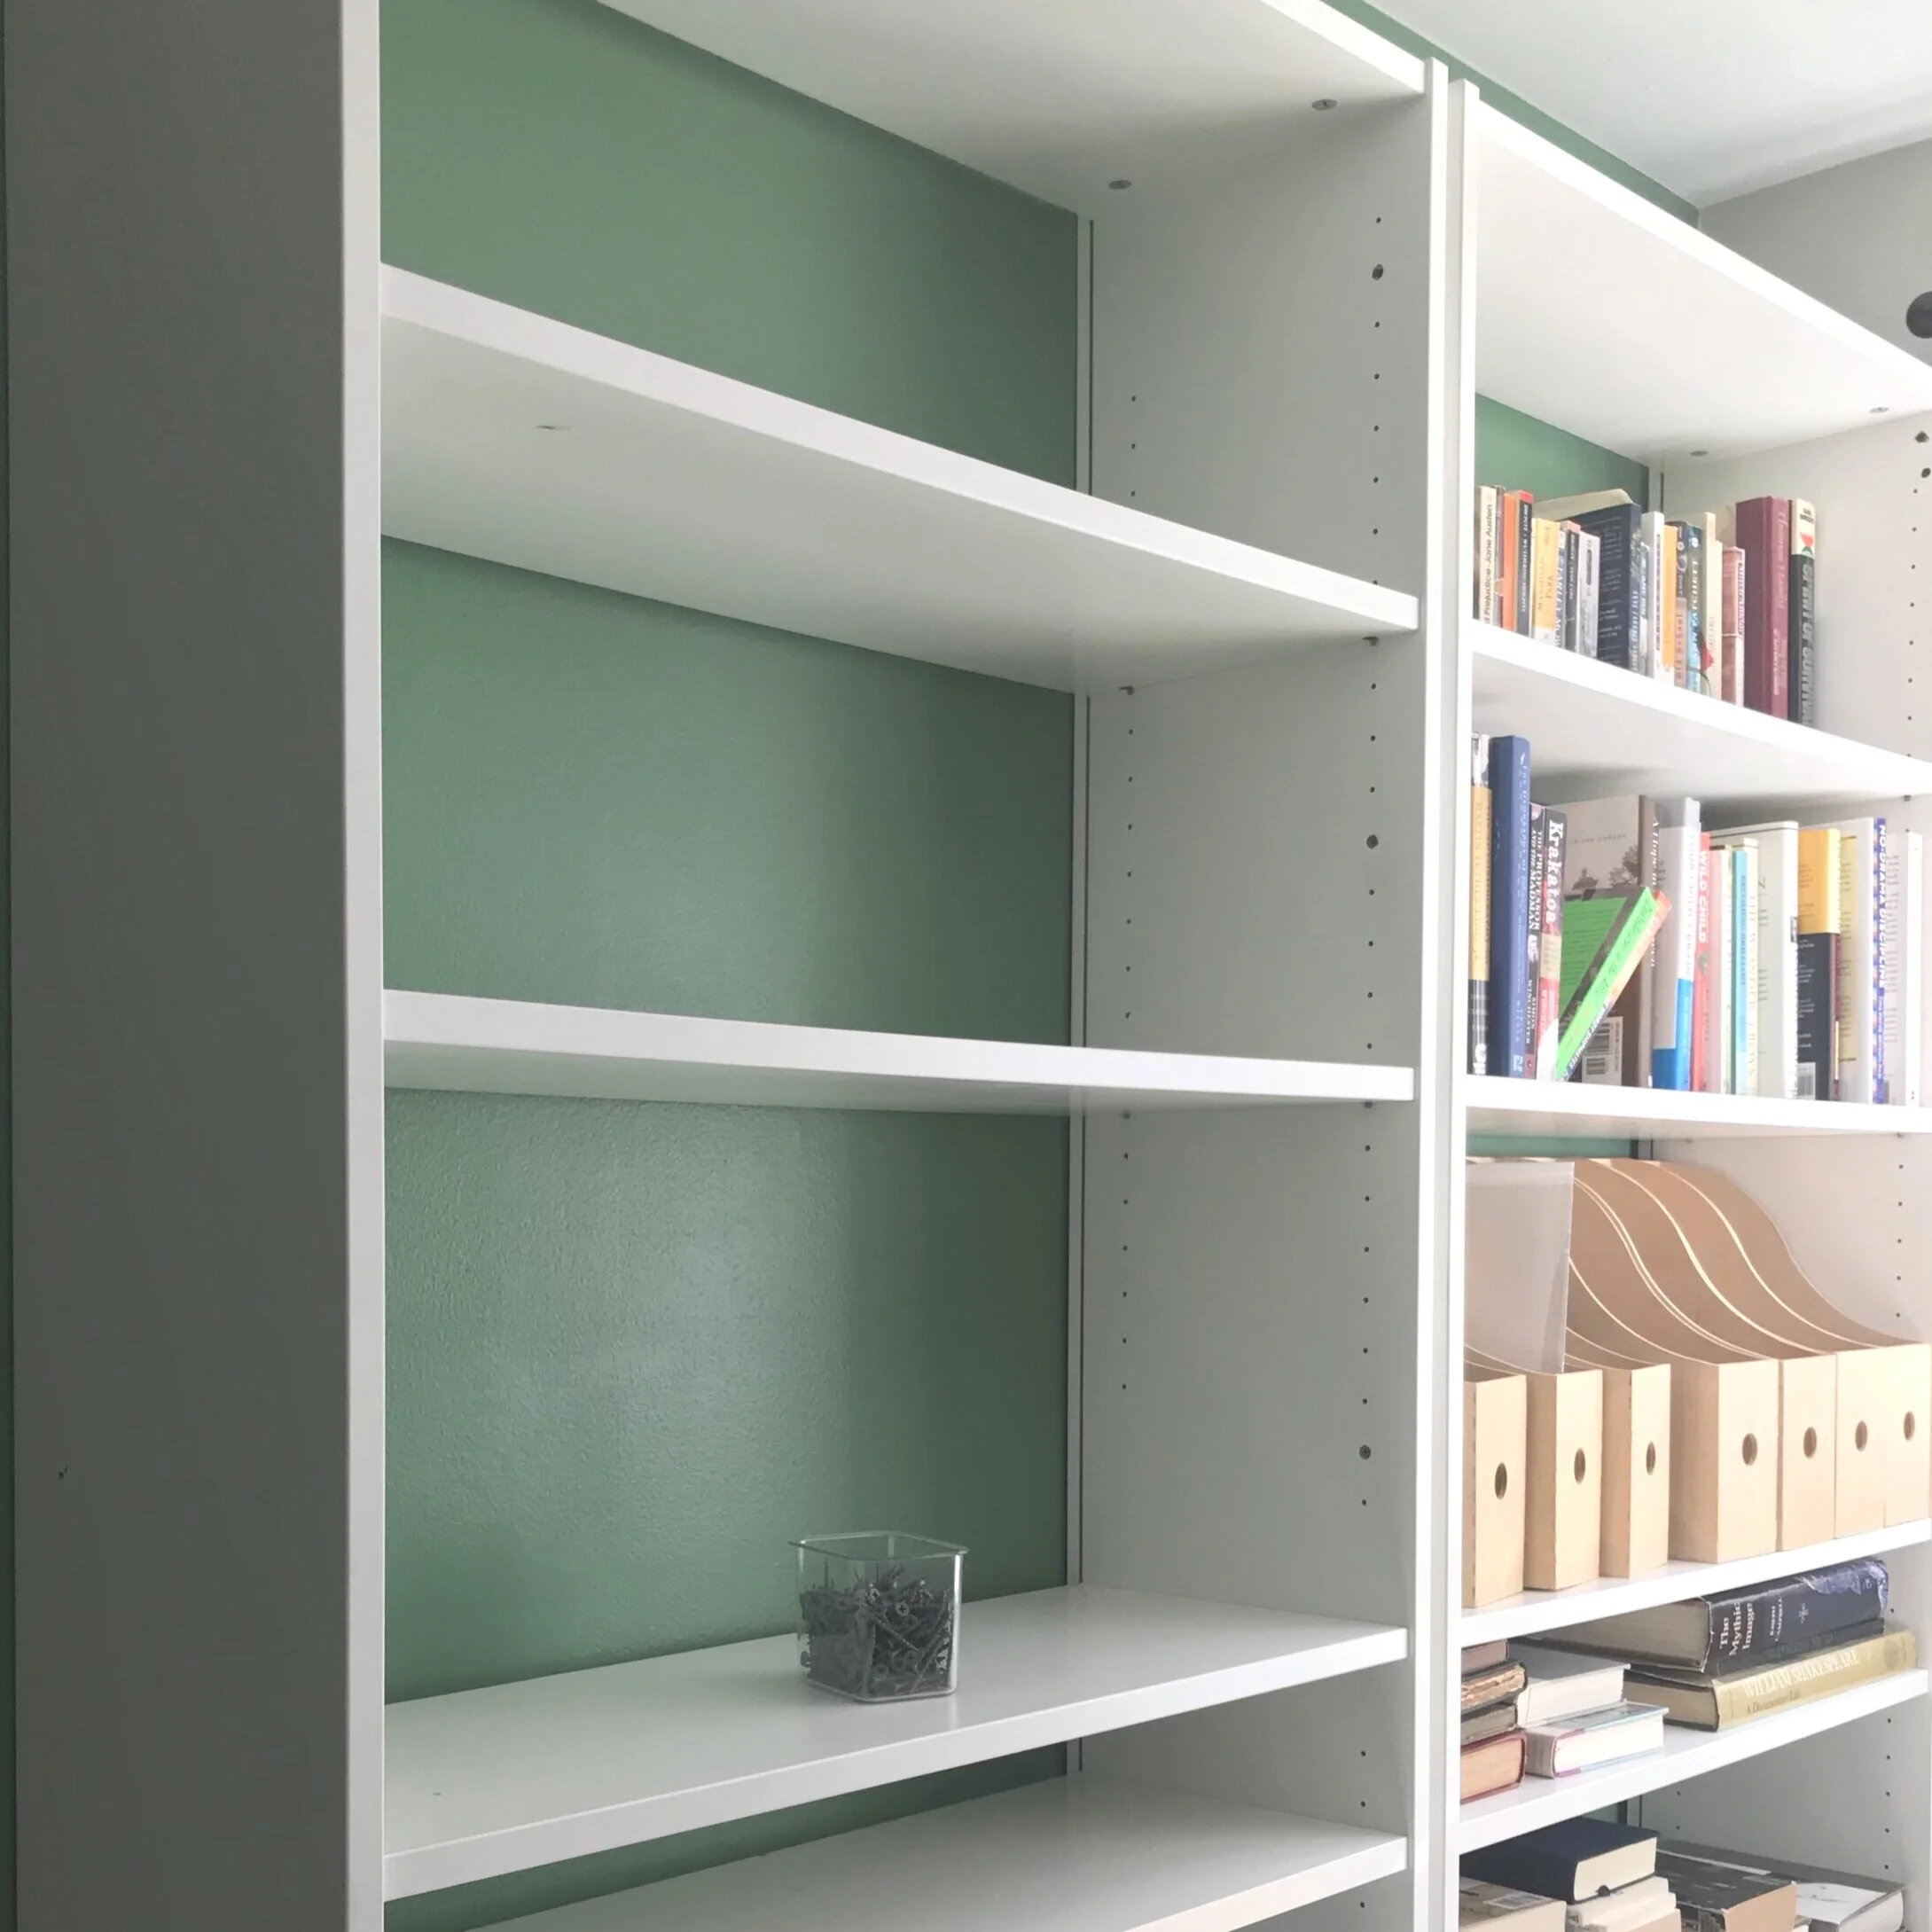
And here they are now in my Workroom — disheveled but standing. Like the rest of the room, they needed some love!
There are four full Billy bookcases in my Workroom, and my husband worked some magic to make them look and feel built in. Once that was done, I wanted to hide the utilitarian holes and grooves that give away the Billy-ness of these bookcases.
I started with the holes.
How to Hide the Holes in a Bookcase with adjustable shelves
This is a really inexpensive project, and it would work on any bookcase with adjustable shelves.

Materials
Spackling
Putty knife
Damp rags or paper towels
I used Dap’s Spackling that changes color from pink to white as it drys which was really helpful in knowing when it was dry and done. However, that function is completely unnecessary. It was primarily helpful as I was taking photographs of the process!


Note
I highly recommend placing all of your books and objects on the shelves and determining a rough placement before you begin this process. It isn’t impossible to remove the spackling if you decide to move a shelf. In fact, it is pretty easy. But save yourself some work and get the shelves in place and make sure you know where you want everything to go before you begin. Then take photos so you remember how you had each shelf set up before removing the shelves from the bookcase.

Step 1: Position all of the Shelves
Determine the placement of your shelves and put in the pins to hold the shelves in place. Then remove all shelves leaving the pins in place.
Step 2: Apply Spackling
Using the putty knife, apply a small amount of spackling to each section of holes. I worked from top to bottom filling first one row then the next. Use plenty of spackling and push it into the holes as much as you can. You could also use your fingers for this process, but I found a putty knife to be more effective.

Step 3: Allow to Dry slightly
Before Step 4, give your spackling some time to dry — just a few minutes. I worked from the top to the fixed middle shelf. Then did the opposite side. Then I moved on to Step 4 which seemed to be just the right amount of time for drying.

Step 4: Scrape away excess
Again using the putty knife, scrape away the excess putty until the holes are filled flush with the surface of the bookcase.

Step 5: Wipe surface
Using your damp rag, wipe down the surface surrounding the holes. Allow to dry. Using the pink spackle really helps to identify the places that need cleaning for this step.

Step 6: Clean Any Residue
Use another clean rag and wipe the surfaces once more. If there is any stubborn residue, lightly sand it with a very fine grit sandpaper. This shouldn’t be necessary, however, unless you allow the spackle to dry too long.
Over time as the spackle dries, the holes become less and less apparent. If after 24 hours, they are still more visible than you would like, go over them again. The spackle shrinks slightly as it dries, and you may need to top off a few holes. No need to remove what you already applied. Just go over it again.

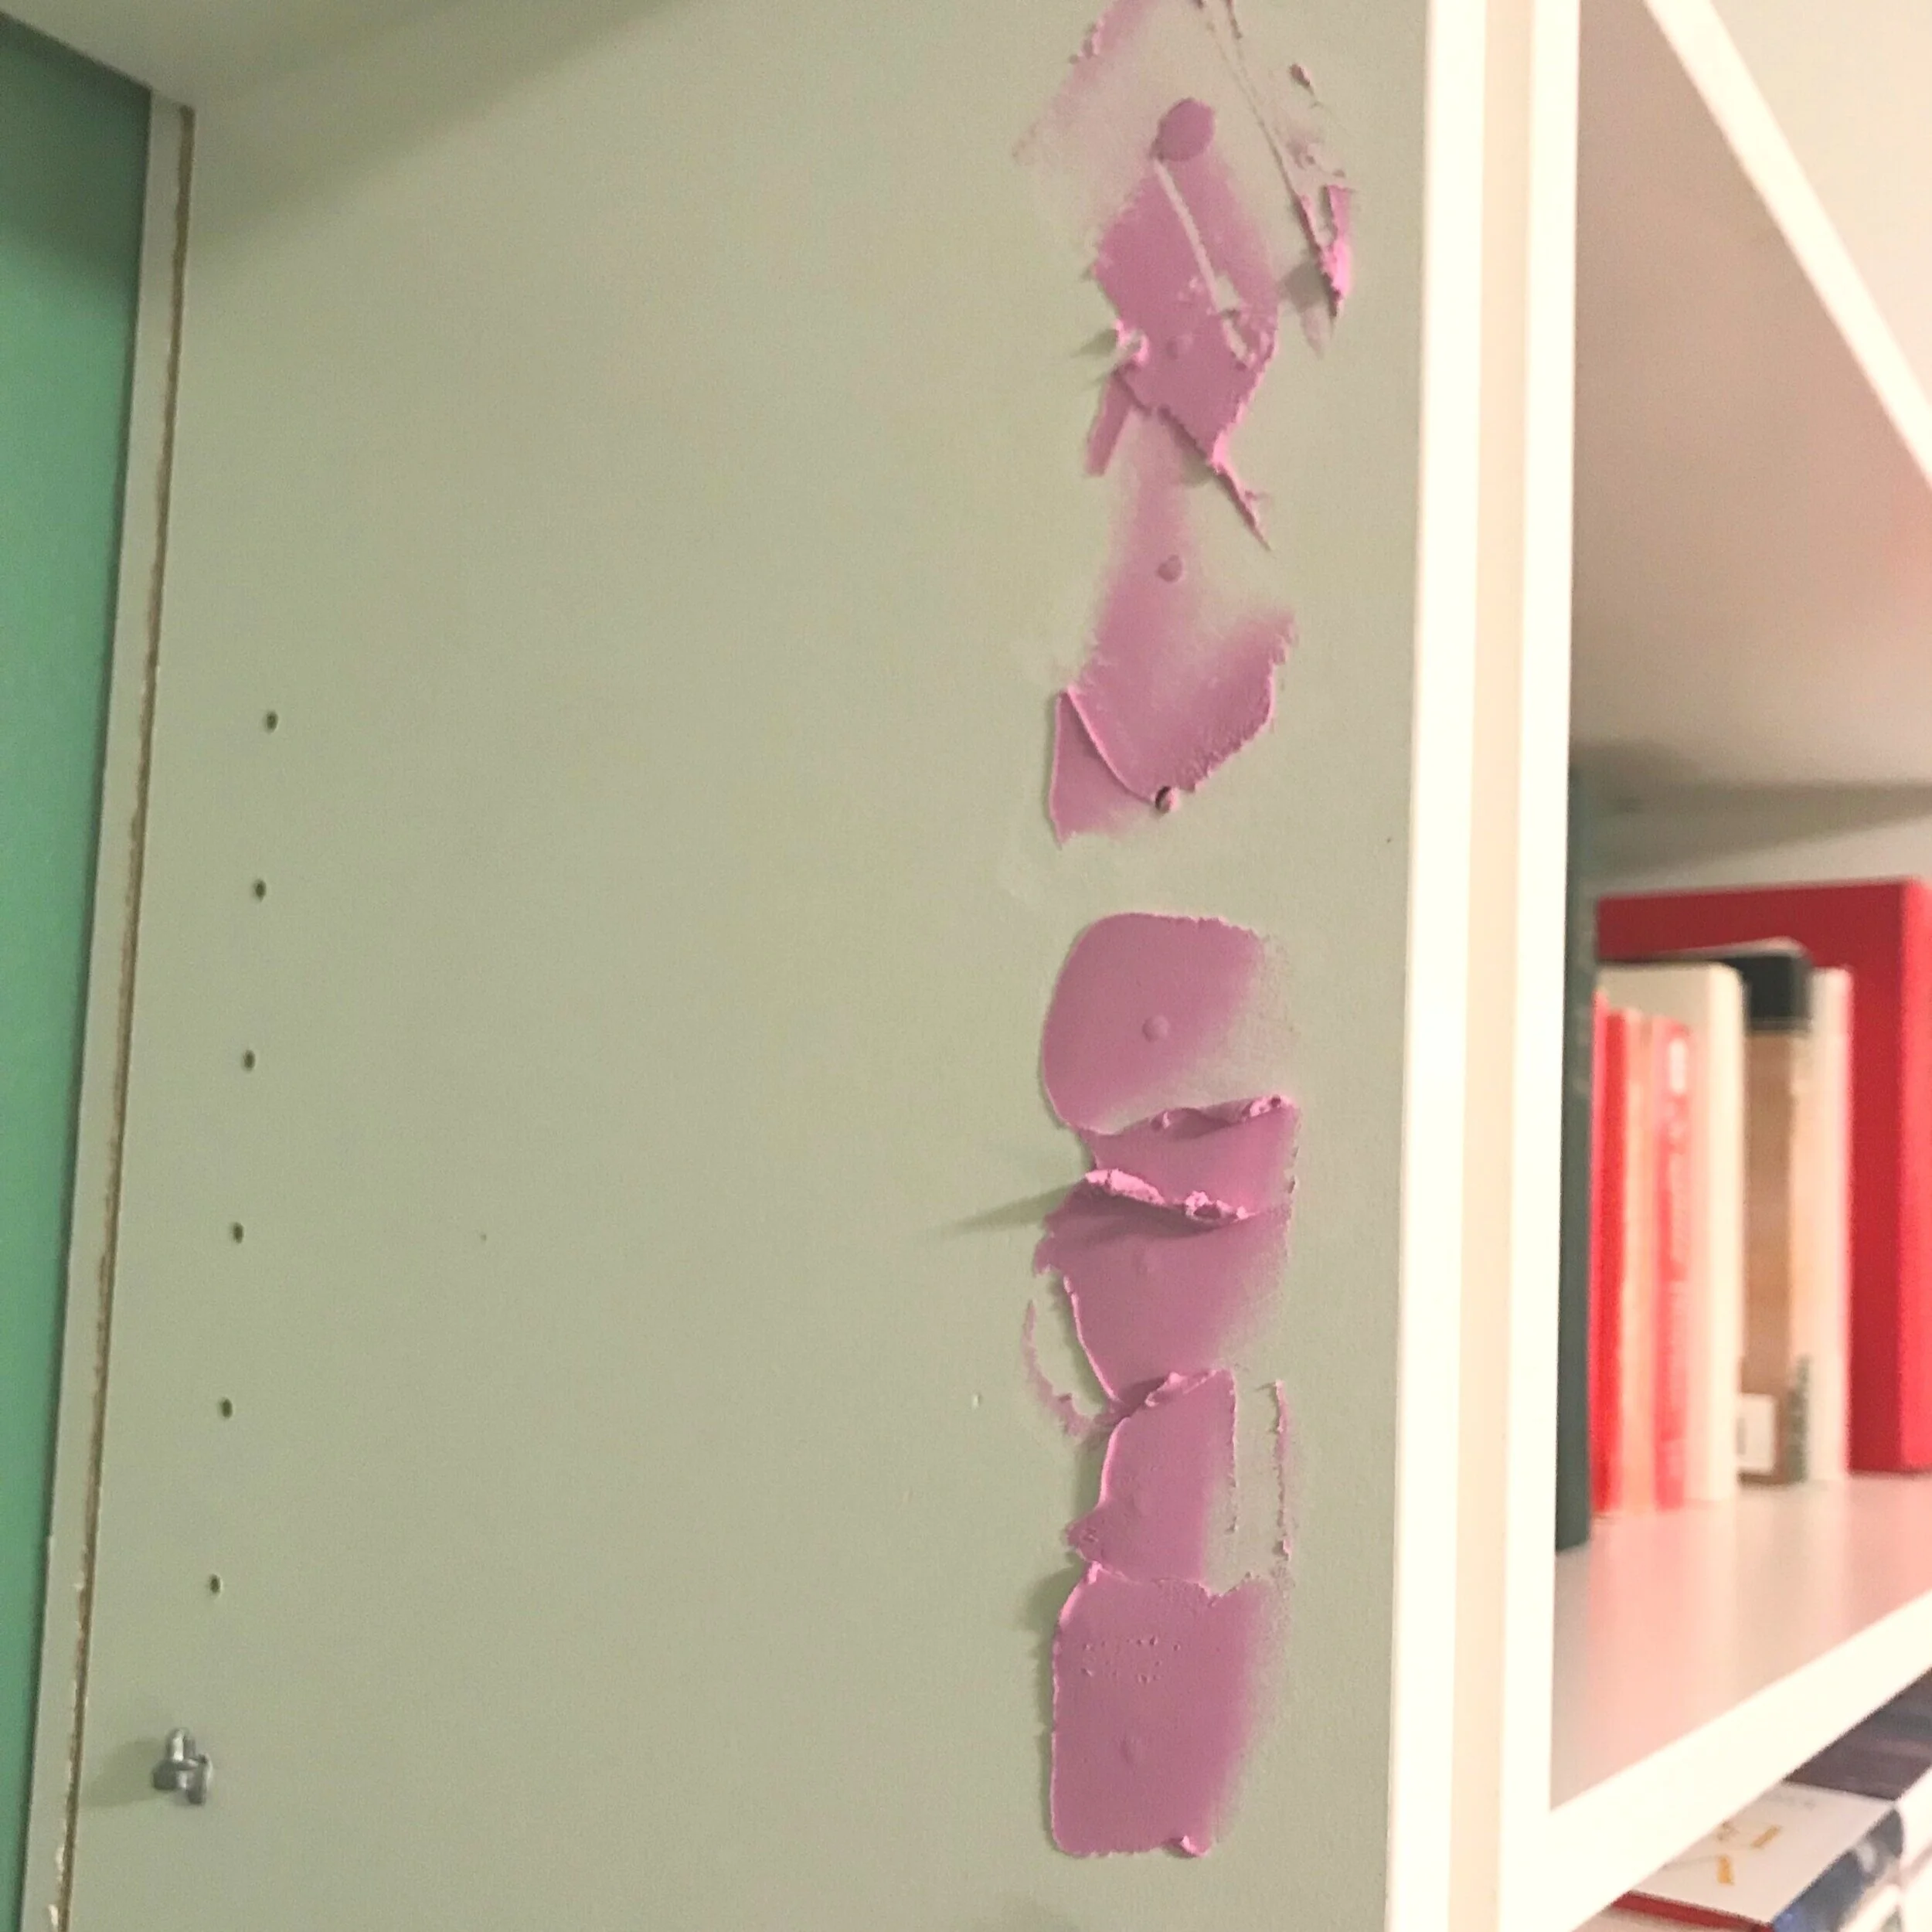
These holes have just been finished. The spackle is still pink and very visible.

After about an hour, the holes are much less visible.

After drying for a day, the holes are nearly invisible, and the overall appearance of the bookcase is greatly improved!
This method also works to fill screw holes if you have screwed your bookcases together as we did for stability. And should your bookcase have any nicks or dings, you could also try filling them with spackle. If you are painting your bookcases, either fill the holes first and then paint or follow this process, and then touch up the paint when you are certain the spackle is dry. Don’t rush this step, or the paint will bubble and will become a mess!
If you do need to move a shelf once you have covered the holes, just pop the spackling out with a small knife point. Then fill any remaining holes using the same process.
Happy spackling!
How to Hide the Back Groove on Your Bookcase
We removed the backs of our bookcases so that the wall’s paint color would show through. But this left the groove into which the bookcase’s back slips exposed. I wanted to cover that groove.
Materials
White electrical tape
Scissors or a knife
Optional: brayer


I tried this two different ways. First, I filled the groove with spackling thinking I would treat the groove the same way I handled the holes. However, the end result wasn’t as seamless as I had hoped, and it took a lot more time. So I tried using white electrical tape, and I am very pleased with how it looks in the end. The tape truly disappears, and the end result is clean and seamless.
Note
If you remove the backs of the bookcases, you are removing one of the most important elements for your bookcase’s stability. If you decide to do this, be sure to anchor your bookcase to the wall, and if you are using multiple bookcases, mount them together as well. This will provide better structural support and ensure that your bookcase won’t easily fall over.

Step 1: Remove all of the shelves
This is much easier and looks better if you take off all of the shelves (except the fixed middle shelf) first.

Step 2: Apply the electrical Tape
Starting at the top of a section, run a smooth band of electrical tape from the top to the bottom of the opening. I lined the tape up just over the edge of the groove which created a neat line.

Step 3: Trim & Smooth
Trim your electrical tape at the bottom and smooth it down well using your hand or the brayer.
Repeat for all remaining shelves.
Billy bookcases and any bookcase with removable shelves are fantastic and flexible pieces of furniture. Just covering the holes and grooves makes them look even better. Even with shelves that are completely unstaged, the difference is dramatic!
Before
Before the back groove and shelf holes were visible.
After

After both the back groove and holes have effectively disappeared.
